Setting up own without authentication on the RouterNode - LSM 3.6 SP1 Business + Prof.
NOTE

TLS on RouterNode 3 requires TLS in the software
When TLS is enabled onRouterNode 3 , RouterNode 3 will only communicate via the TLS port (the default is 2153). Software components such as the CommNode server will no longer be accessible via the standard TCP port (default: 2101) until TLS has also been configured within the software.
- The configuration interface opens, (see Configuration interface).
- Certificates are available (see Create your own certificates (OpenSSL under Windows/Linux)).
- Use Konfiguration to select the input.
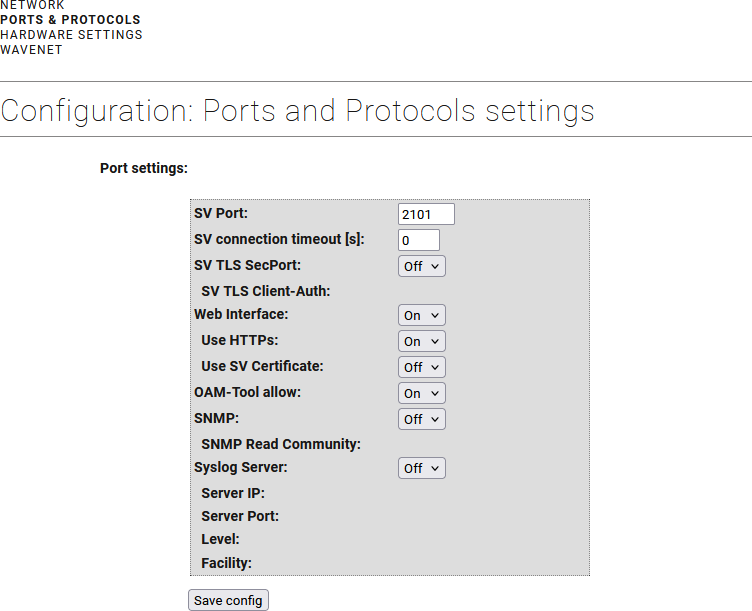
- From the drop-down menu, select item Ein.
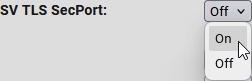
- From the drop-down menu, select item Aus.
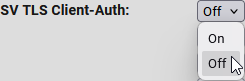
- From the drop-down menu, select item Aus.
NOTE
Lockout due to faulty certificate
An incorrect certificate can interrupt the connection to the RouterNode 3. For this reason, the embedded WaveNet server is first converted to TLS and then to the configuration interface. If the certificate is faulty and a connection to the WaveNet server cannot be established, the configuration interface will still be accessible. In this case, the certificate can be replaced.
- Leave the setting set to Ausuntil you are certain that the certificate works.
- Once the TLS connection to the WaveNet server has been established (identifiable by “TLS” in the WaveNet Manager), change the setting to Ein.
- Click the button Save, to apply the changes.
- RouterNode 3 informs about restart.
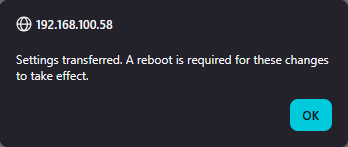
- After restarting, log in to the configuration interface again.
- RouterNode 3 already uses TLS, however, the standard certificate is still in use.
- Open the Sicherheit & Zertifikate tab using Administration.
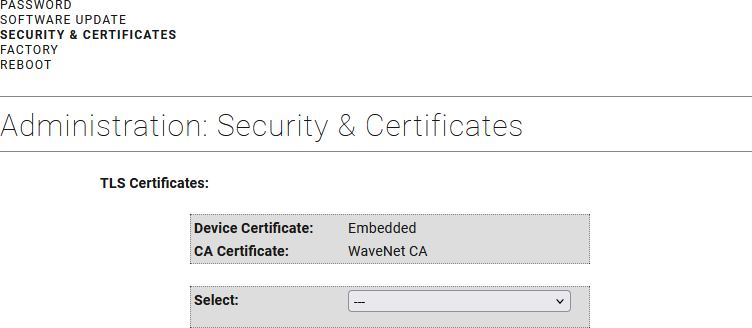
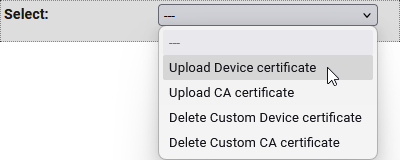
- From the drop-down menu, select item Upload Device certificate.
- The selection area for the certificate and key appears.
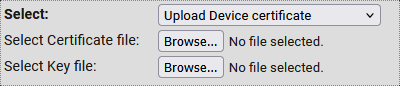
- For the entry Select Certificate file select the certificate file in DER format (example:
customdevice_crt.der). - For the entry Select Key file select the key file in DER format (example:
customdevice_key.der). 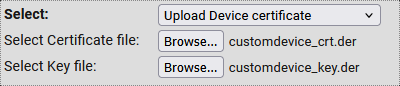
- Click the Apply button.
- Certificates uploaded to RouterNode 3.
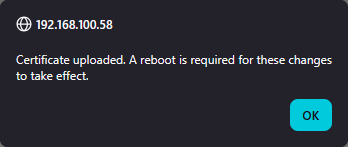
- Open the Reboot tab using Administration.
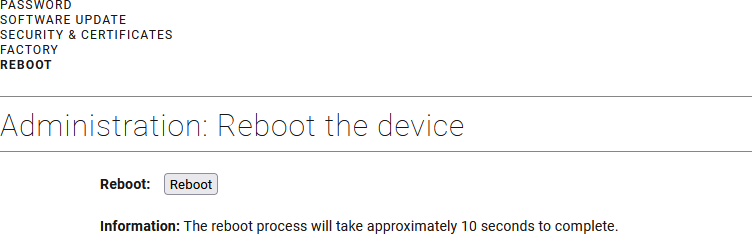
- Click the Reboot button.
- RouterNode 3 informs about restart.
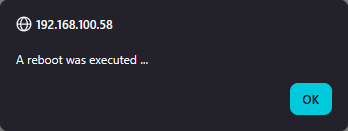
- RouterNode 3 restarts.
After restarting, the RouterNode 3 indicates that its own device certificate and the WaveNet CA certificate are in use:

After successful connection of software and RouterNode 3
Only perform these steps once you have successfully established a connection to the software with your own certificates (see Set up TLS with your own certificate in the software).
- Open the configuration interface of the RouterNode 3.
- Use Konfiguration to select the input.
- From the drop-down menu, select item On.
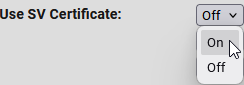
- Click the button Save, to apply the changes.
- RouterNode 3 informs about restart.
- RouterNode 3 restarts.
- RouterNode 3 is set up with its own certificates without authentication.