Creating an event - LSM 3.6 Business + Prof.
Use an event to trigger a response. Ideally, you should create the response beforehand (see Creating a response). This allows you to select the response easily while creating the event.
In our example, the event is a transponder accessing a locking device.
- Use Network to select the input.
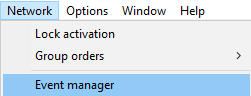
- The Network event manager window will open.
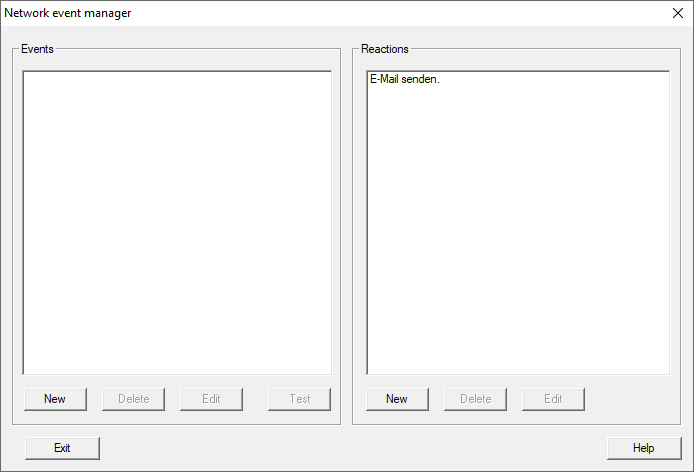
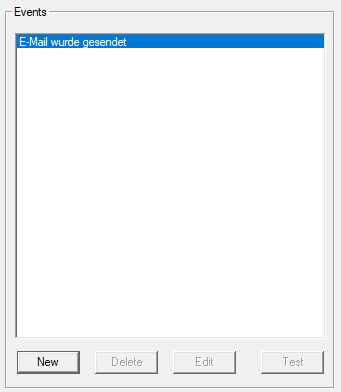
- Click the New button in the left-hand Events section.
- The New Event window will open.
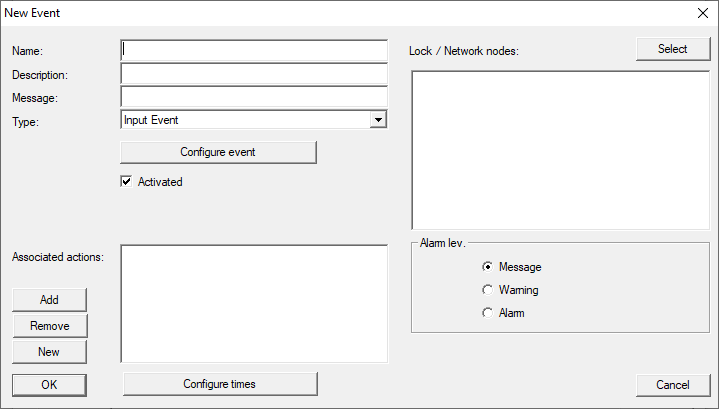
- Enter a name and optionally a description for the event.
NOTE

Meaning of Message and Alarm lev.
The Message and Alarm lev. fields are relevant if you are using a Network reactionresponse.
If you receive these messages with the EventAgent, the EventAgent evaluates these two pieces of information.
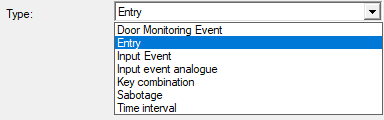
- Select the type of event from the drop-down menu (example: Access).
- Click the Configure event button.
- The Access event window will open.
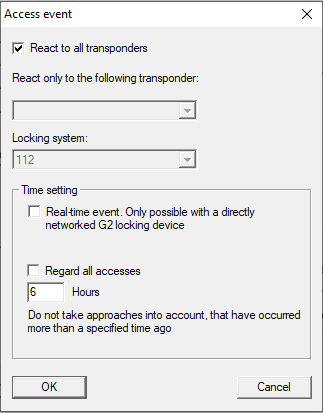
- Activate the
 React to all transponders check box.
The event will occur with every transponder operation. Alternatively, you can restrict the event to a single transponder. - If you are using the event for directly networked locking devices (WaveNet), enable the Close-up range modeReal-time event checkbox in the TargetTime setting section.
Otherwise, configure to what point in the past the entries should be taken into account. - Click on the OK button.
- Access event window closes.
- Click the YesSelect button in the Locks/network nodes section.
- The Administration window will open.
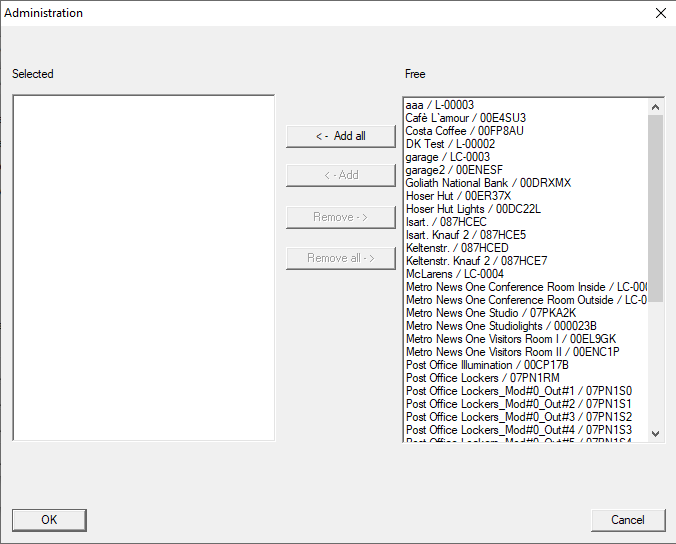
- Add the locking devices on which a transponder should trigger the event.
- Click on the OK button.
- Administration window closes.
- Click the Add button and add the previously configured response.
- The event will trigger the responses selected here.
- Click the Configure times button.
- The Configure times window will open.
- Configure the times at which the event is triggered in this window.
For example, you can take into account night rest periods. - Close the dialogue by clicking the OK button twice.
- The newly created event is now listed.
- Click on the Exit button.
- Your LSM offers you the option of notifying the communication node of the changed settings immediately.
You can also forward the settings manually at a later stage. See Setting up the gateway and VN host server for an example of a description. 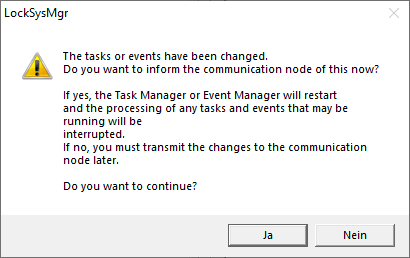
- Click on the Yes button.
- Your LSM interrupts ongoing task and event manager activities if needed and transfers the changed settings.
- Network event manager window closes.
The response will now be triggered when the event occurs and the corresponding service is running.