Installing TLS with a standard certificate in software - LSM 3.6 SP1 Business + Prof.
This chapter uses the WaveNet Manager to illustrate the setup for LSM Business. In the example, an existing RouterNode 3 is converted to TLS. The installation consists of the following parts:
- Installing TLSConnector (Windows Explorer: Folder: C:\Program Files (x86)\SimonsVoss\TLSConnector)
- Restart service for CommNode server (Windows services)
- RouterNode 3 Configure (WaveNet Manager)
- Transfer configuration files (LSM)
If you do not yet have a RouterNode 3 in your WaveNet Manager, the procedure is almost identical. Instead of replacing the existing RouterNode 3 with the same configuration ( Replace with ...), simply add it again (Add: IP or USB router or Find IP or USB router).
- LSM 3.6 SP1 incl. additional applications installed.
- LSM open.
- RouterNode 3 configured for TLS with default certificate (see Setting up the standard certificate on RouterNode 3).
- RouterNode 3 in the same network.
- Copy the file TLSConnector.cfg.json from the installation directory of your LSM or WaveNet Manager to a temporary location.
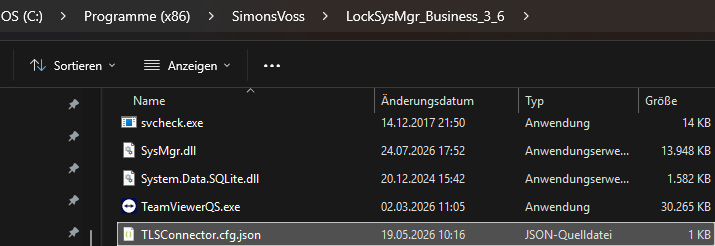
- Open the file TLSConnector.cfg.json with a suitable editor.
- Edit the file (see for TLSConnector.cfg.json for default certificatecontent) and save.
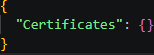
- No own certificate entered = software components use standard certificates for TLS connections.
- Copy the file TLSConnector.cfg.json to the folder C:\Program Files (x86)\SimonsVoss\TLSConnector.

NOTE

TLSConnector folder for all software components
As several software components (WaveNet Manager, CommNode Server, etc.) establish a TLS connection, TLSConnector.cfg.json is located in a neutral folder. All software components that establish a TLS connection access this file (and any certificates stored in this folder).
- TLS configuration file TLSConnector.cfg.json is available for all software components.
- Open the Windows Services and search for the service SimonsVoss CommNode Server.
- Restart the service.
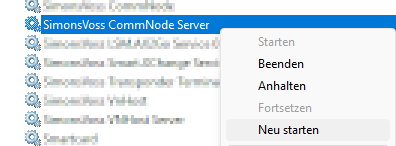
- When restarted, the service SimonsVoss CommNode Server reads the TLSConnector.cfg.json and also uses the settings saved there.
- Open the WaveNet Manager via Network - .
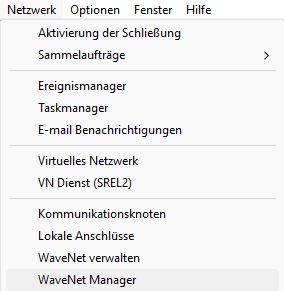
- A window displaying the WaveNet Manager’s path details opens.
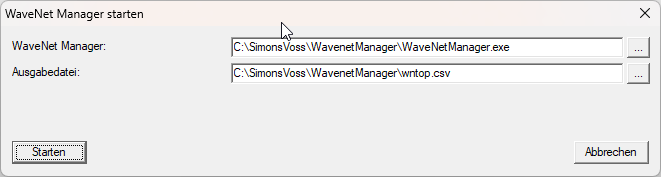
- Make sure that the paths to the WaveNet Manager files are correct (WaveNetManager.exe and wntop.csv).
NOTE
Changed default installation path for WaveNet Manager from LSM 3.6 SP1 onwards
Previously the WaveNet Manager and the WaveNet files were installed in the following folder: C:\Program Files (x86)\SimonsVoss\WavenetManager. This folder is located in the protected program folder and problems may occur if is not started with admin rights.
From LSM 3.6 SP1, the WaveNet Manager is therefore installed in the following folder: C:\SimonsVoss\Wavenet Manager (see also Release Notes LSM 3.6 SP1).
The required files are normally copied from LSM to the new directory or created by the WaveNet Manager itself. They appear automatically after the LSM is launched for the first time.
- If necessary, adjust the paths.
- Select the
WNManager.inifile from the old installation directory and apply. It contains the WaveNet password.
- Click the Start button.
- WaveNet Manager asks for the password for the WaveNet configuration.
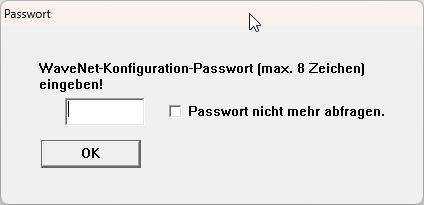
- Enter the WaveNet configuration password.
- Click on the OK button.
- The WaveNet Manager opens.

- RouterNode 3 is not currently linked via TLS.
- Right-click to open the RouterNode 3 context menu.
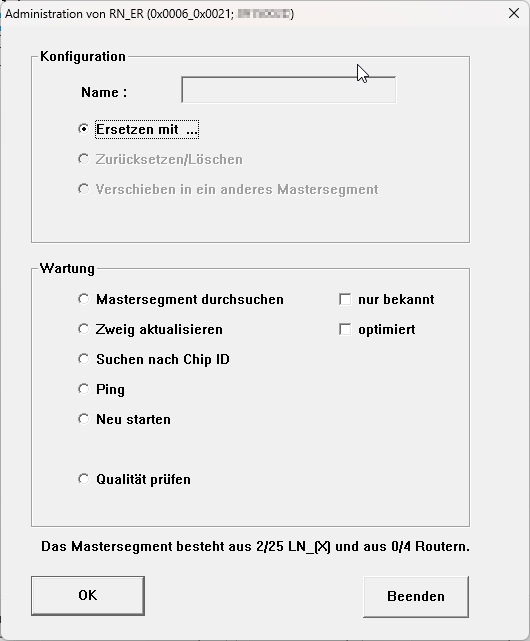
- Select the option Replace with ....
- Click on the OK button.
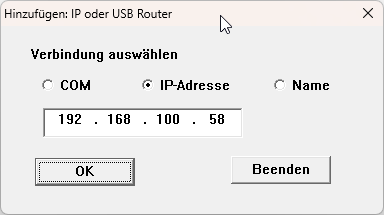
- WaveNet Manager asks for the IP or host name of the RouterNode 3.
NOTE
Adding TLS-protected RouterNode 3 only with IP
TLS protected RouterNode 3 cannot be integrated via the hostname.
- If necessary, determine the IP address of RouterNode 3 (see the manual RouterNode 3).
- Select the IP address and enter the IP address.
- Click on the OK button.
- WaveNet Manager writes the configuration again to the RouterNode 3.
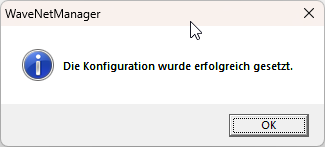
- If the TLS connection is successful, this is indicated in WaveNet Manager by the abbreviation TLS at RouterNode 3.

- Click on the button SAVE.
- Click on the Exit button.
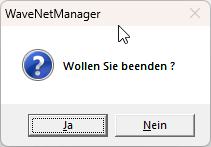
- Click on the Yes button.
- The WaveNet Manager closes and the import dialogue opens.
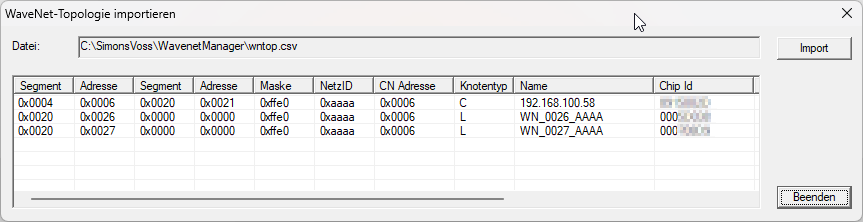
- Click the button Import.
- The results overview opens.
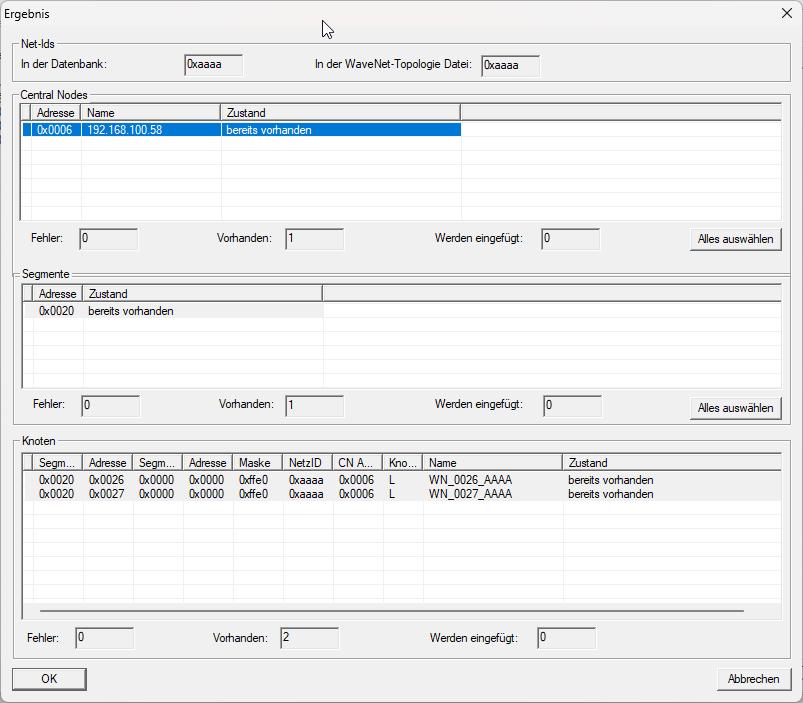
- Click on the OK button.
- The results overview closes and the import is executed.
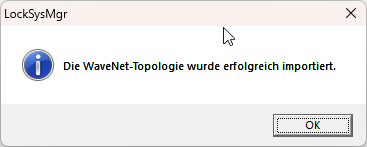
- RouterNode 3 is linked with TLS.
- Select Network/.
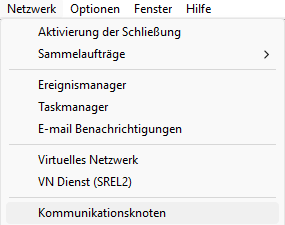
- Ensure that the communication node used for your WaveNet is visible.
The reading for RouterNode 3 must be within the range of Connections.
If necessary, use the arrow keys to switch to the correct communication node ( and
and  ).
). 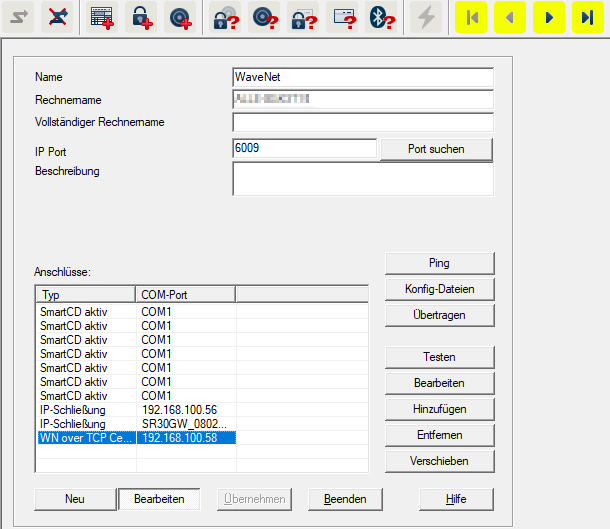
- Click on the Config files button.
- The Explorer window will open.
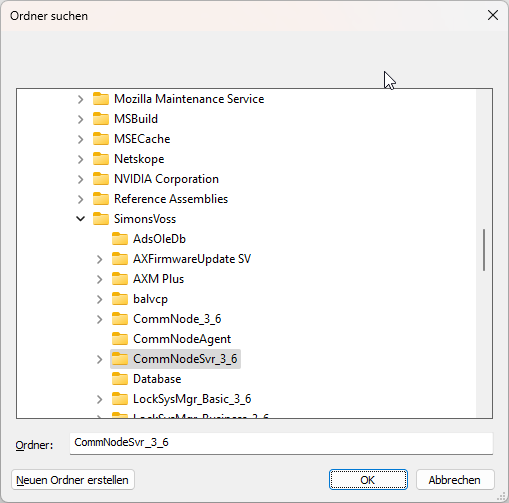
- Select the folder in which your CommNode server is located (default: %ProgramFiles(x86)%\SimonsVoss\\CommNodeSvr_3_x).
- Click on the OK button.
- A query regarding the node-specific path appears.
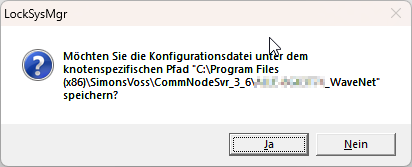
- Click the No button.
- Config files are saved in the services directory.
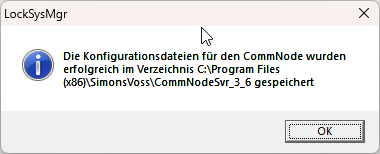
- Click the Transmit button.
- Configuration files are transferred to the service.
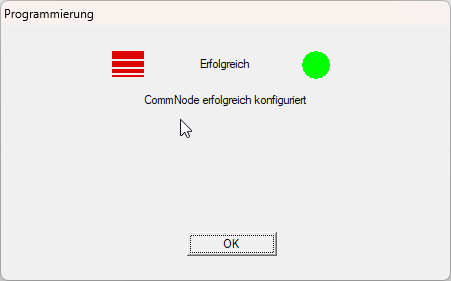
- The service now knows not only which TLS settings to use, but also which routers to address with TLS.
- RouterNode 3 is connected to TLS.
- RouterNode 3 lights up turquoise.