Remote desktop connection (from LSM 3.5 SP2) - LSM 3.6 Business + Prof.
From LSM 3.5 SP2, you will be able to manage the forwarded remote desktop ports for each hostname directly from within LSM.
- SmartCD.MP and SmartCD.HF cannot be routed through via the CommNode-Agent. Forwarding takes place directly via the remote desktop connection.
- Open the connection settings of the Remote Desktop session.
- Click the button remotedesktop-sitzung verbindungseinstellungen: Optionen einblenden [offen] to show options.
- Change to the tab Local resources.
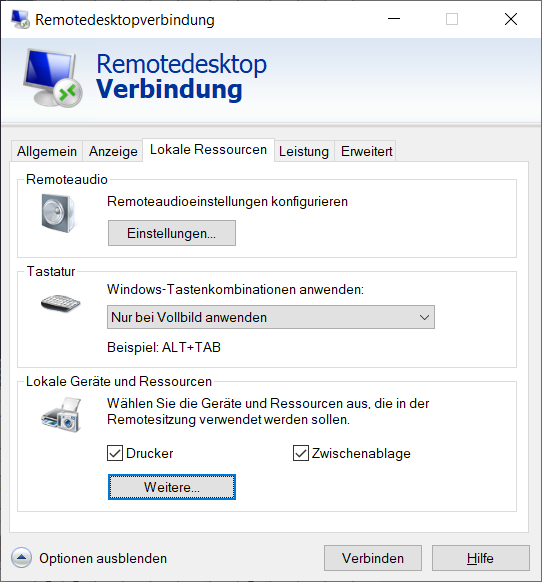
- Click the button Remotedesktop Einstellungen lokale: Weitere [offen].
- Make sure that the checkbox
 Ports is activated.
- Click on the OK button.
- Connect to the remote desktop.
- Press the Windows key and R at the same time.
- The Run window will open.
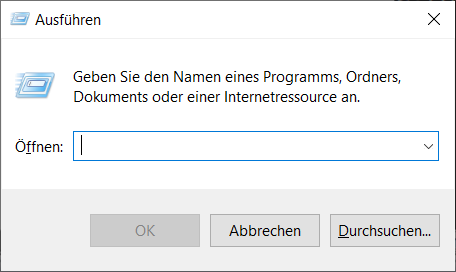
- Enter a CMD in the input field.
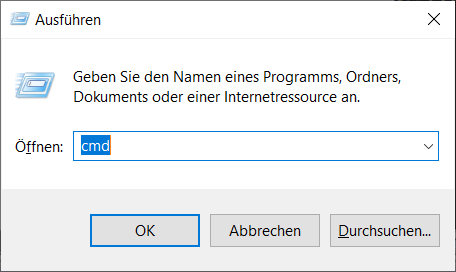
- Click on the OK button.
- The Command prompt window opens.
- Unplug SmartCD.MP/SmartCD.HF from the terminal client.
- Enter change port /q.

- The command displays the output without SmartCD.MP/SmartCD.HF connected.
- Reconnect the SmartCD.MP/SmartCD.HF to the terminal client.
- Enter change port /q.
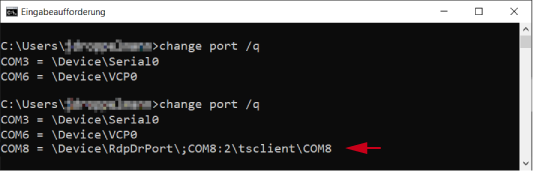
- The second command displays the output with SmartCD.MP/SmartCD.HF connected. A new port has been added.
→ In this case, COM port 8 is the forwarded SmartCD.MP/SmartCD.HF. - In the LSM, select the entry Network in the top toolbar .
- The Programming device ports for terminal server window will open.
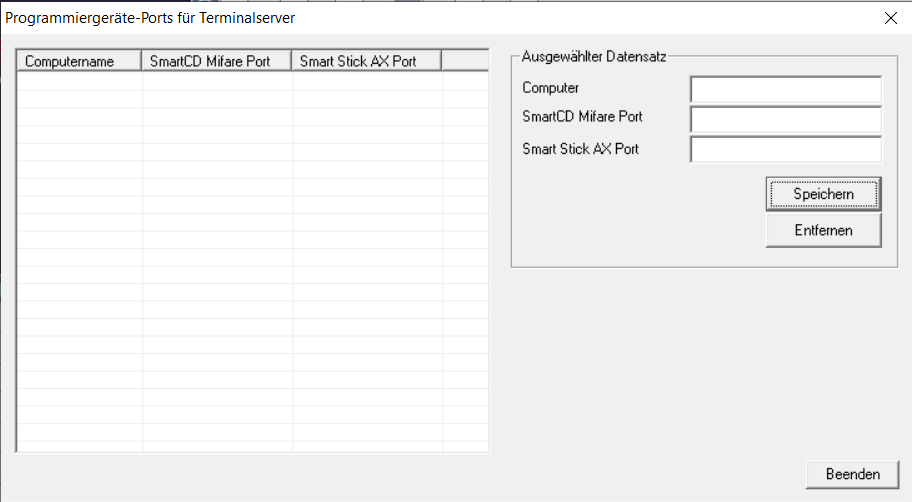
- Enter a hostname Computer in the input field.
- Enter the port determined from the SmartCD Mifare Port window into the Command prompt input field.
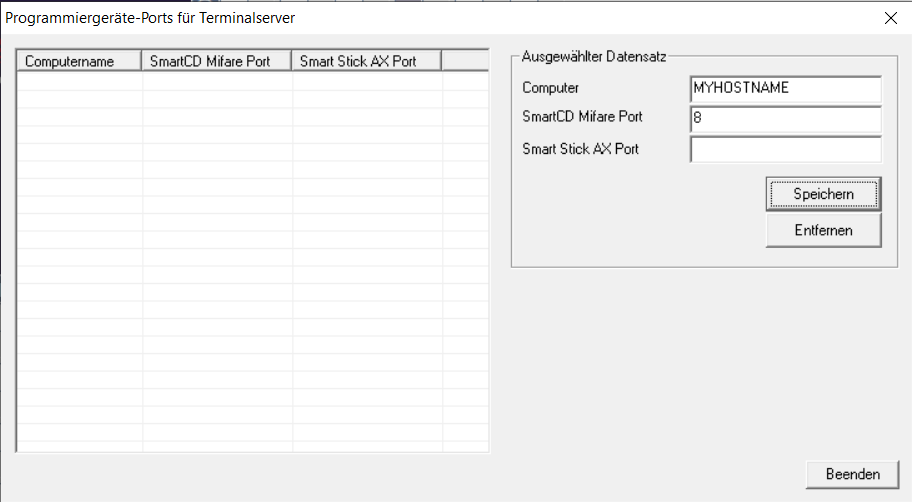
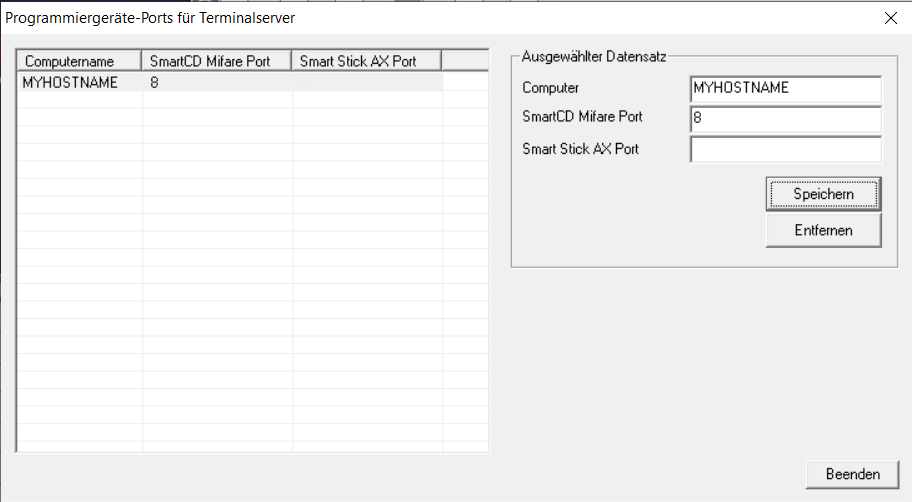
- Click the button Save.
- A line is created for hostname and port.
- If necessary, end the LSM session.
- Restart the remote desktop session.