Add instance - LSM 3.6 Business + Prof.
If you are working in several databases (multi-database, e.g. LSM Professional) and you want to work with AX2Go in several of these databases, you will need additional instances for additional databases. Each of these instances will then communicate with its own database. Each instance requires its own licence key.
NOTE

Default instance created automatically
An instance is automatically created for LSM.AX2Go when LSM 3.6 is installed (INSTANCE01). You do not first need to add an instance to start using LSM.AX2Go.
The following image shows where the information required for a new instance comes from and how it is used:
- LSM.AX2Go Server Management installed on the old and new server (see Server administration).
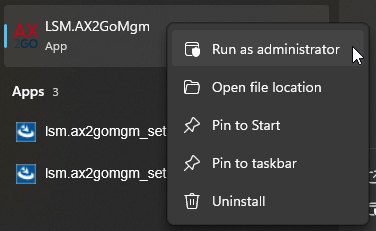
- Open LSM.AX2Go Server Management in the start menu with admin rights.
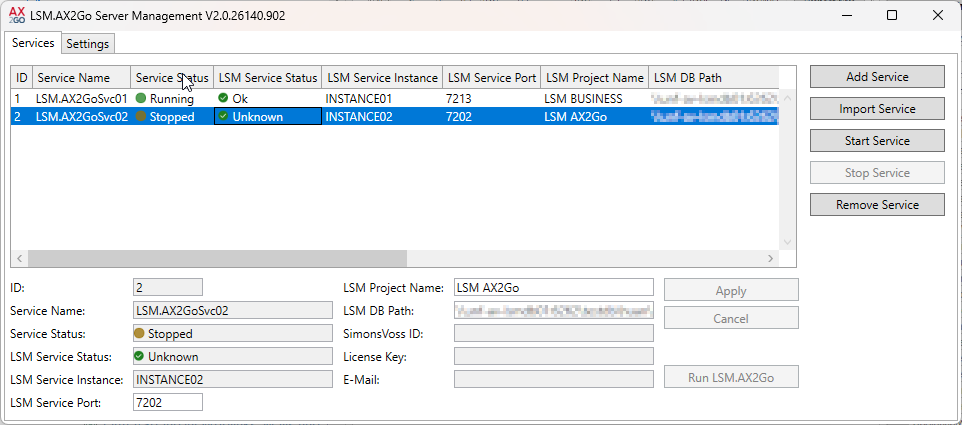
- LSM.AX2Go Server Management opens and displays the currently available instances.
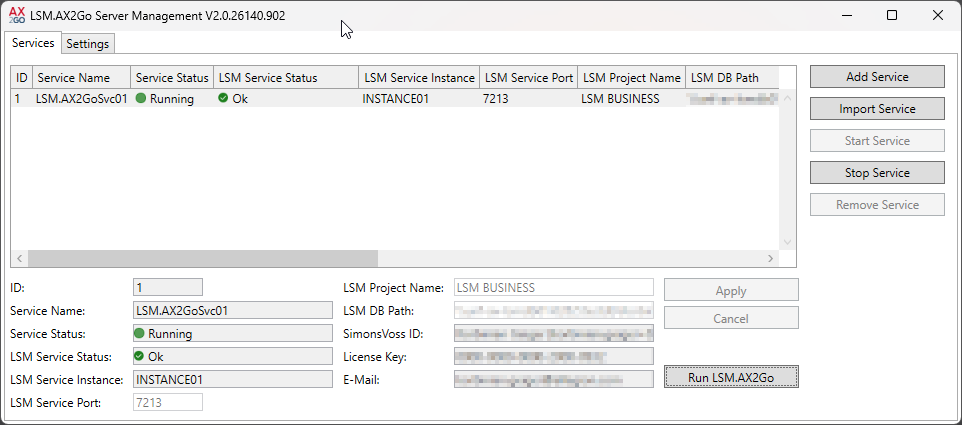
- Click the Add Service button.
- New instance is created.
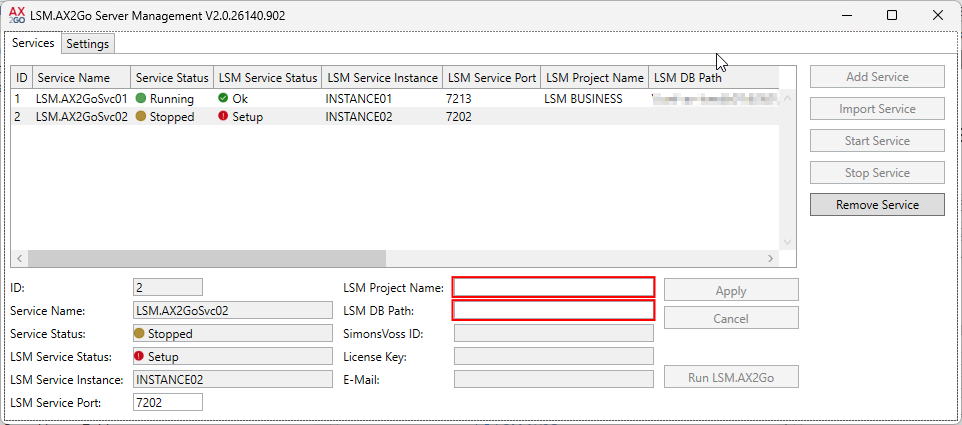
- Enter a project name in the LSM Project Name field.
The project name can be any name of your choosing. However, it is used to identify the associated LSM database, which is why SimonsVoss recommends using the same project name as in LSM. - Enter the path to the LSM database in the LSM DB Path field (lsmdb.add).
You can copy the path from your LSM’s set-up field, for example. NOTE
Requirements for path to lsmdb.add
The path to lsmdb.add must (as in LSM) be an UNC network path (e.g.
\\Server name\Share name\Path).The same database must not already be in use by another instance. Only one instance is possible per database.
- If necessary, change the automatically selected LSM service port in the LSM Service Port field.
NOTE
Opening the LSM service port
The LSM service port must be opened for the assigned service (incoming and outgoing connections).
Example: Service port
7213was set for the instanceINSTANCE01. This instance includes theLSM.AX2Go Service. Port7213must then be opened in the firewall for theLSM.AX2Go Serviceto allow incoming and outgoing connections.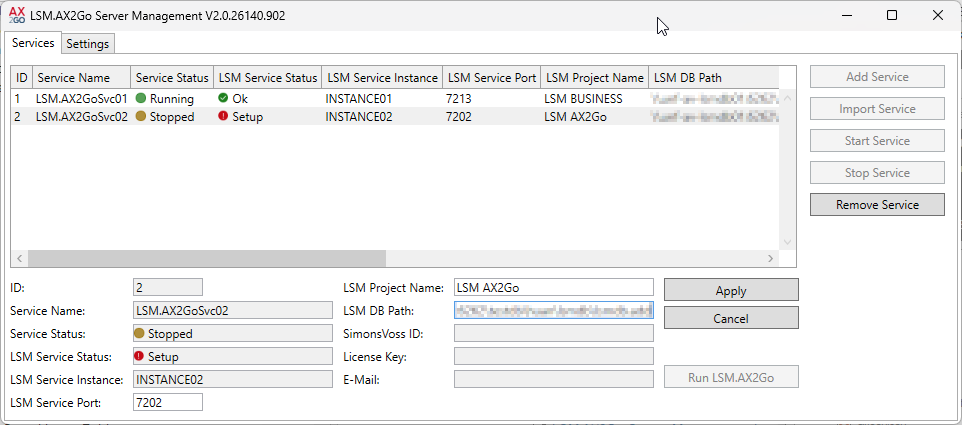
- The fields , and are automatically filled in later when LSM.AX2Go is registered (see Initial operation and registration).
- Click the button to create the instance.
- LSM Service status changes from to
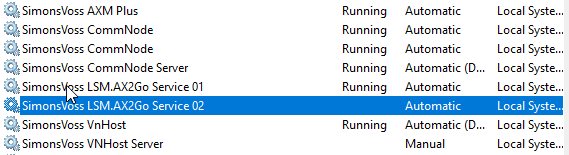
- Creating the Windows service.
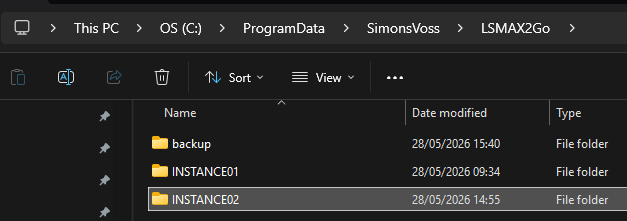
- A new instance folder is created in the LSM.AX2Go directory (relevant for backup: also see Extend backup for LSM.AX2Go).
- Click the Start Service button.
- Service is launched for the newly created instance.
- New instance is available and awaiting connection to the database.
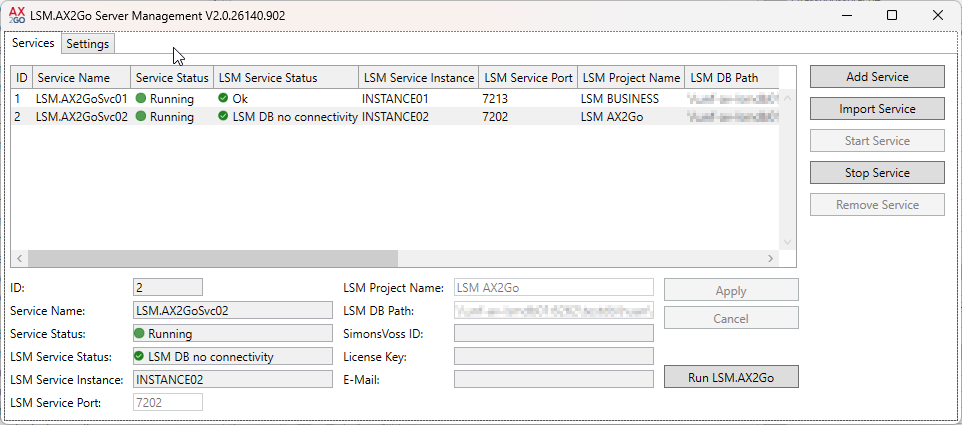
Continue with initial operation in the LSM.AX2Go client (see Initial operation and registration).