Setting up time switch-over - LSM 3.6 Business + Prof.
- Matrix screen open
- Create a time zone plan (if not available, see Define time zone plan (with public holidays and company holidays).
- Group 5 is reserved for the time switch-over.
- Use the arrow keys to switch between your existing time zone plans.

- Use Group 5 to configure when your locking device should be engaged (authorised) and disengaged (not authorised).
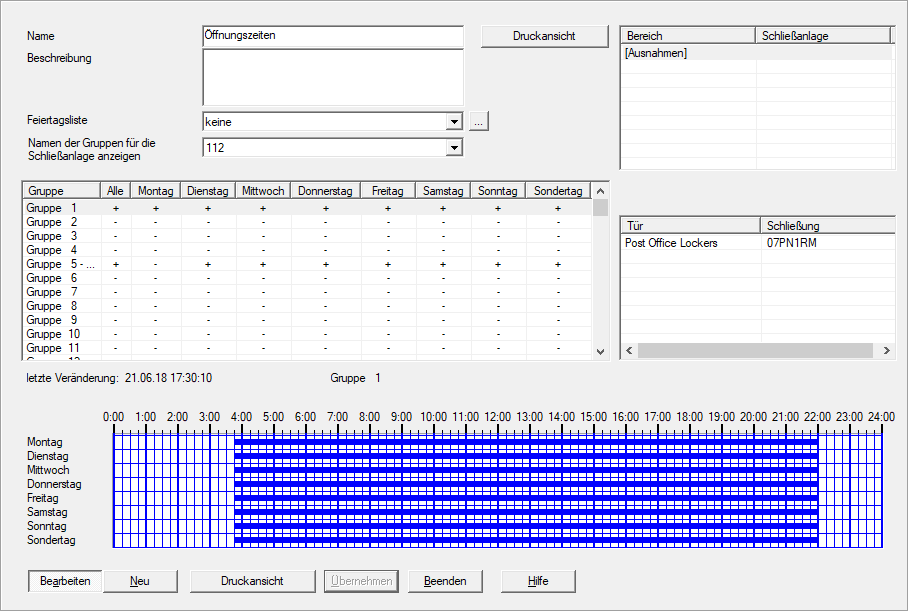
- Click on the Apply button.
- Matrix is visible again.
- Open the properties of your locking device using Edit - (alternative: Double click).
- Change to the Door tab.
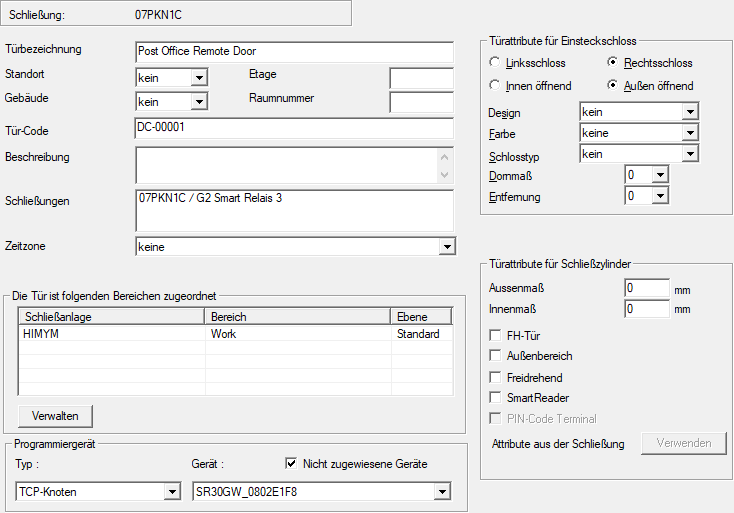
- Select the time zone plan for your locking device from the drop-down menu.

NOTE

Just one time zone plan per locking device
Each locking device can be assigned just one time zone plan. This time zone plan can then respond to 100+1 different time groups. The time groups are assigned to the identification media.
- Click on the Apply button.
- Change to the Configuration tab.
- Make sure that the checkbox
 Time switching is activated.
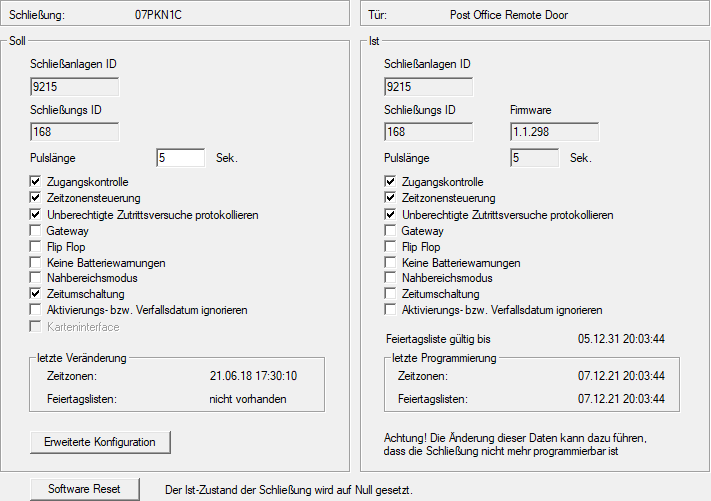
- Click the Extended configuration button.
- The Extended configuration window will open.
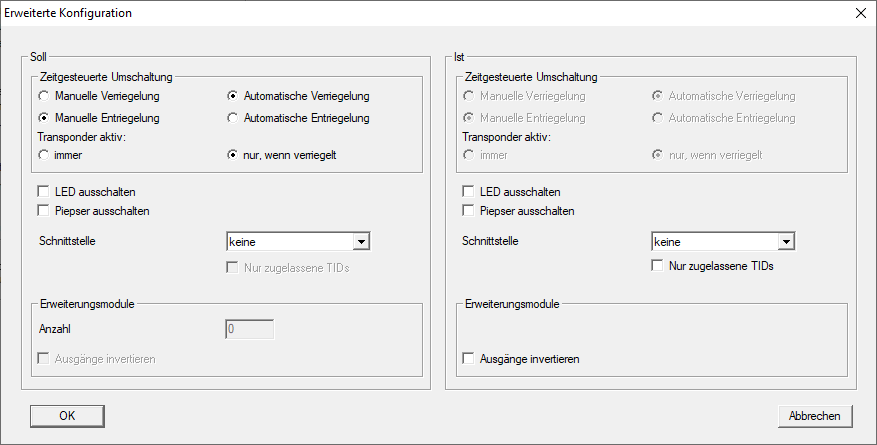
- Configure the interaction between time switch-over and identification media (see Time switchovers).
- Click on the OK button.
- Extended configuration window closes.
- Click on the OK button.
- Matrix is visible again.
- If necessary, show the ZB column to display the symbol for the time switch-over (see Additional columns).
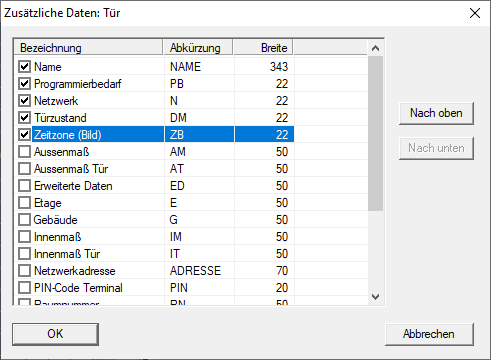
- Locking device is displayed with the time switch-over symbol.

- Program the locking device (see Programme locking device).
- Time switch-over is set up.
NOTE
Different times for G2 locks
The internal time unit of the G2 locks has a technical tolerance of up to ± 15 minutes per year.
- Regularly reprogram time-critical locking devices.