Creating a locking device - AXM Classic
Depending on the type of locking device, locking devices can be:
- Engaged to open with an identification medium. The user can then open the door with the locking device (cylinder, SmartHandle).
- An identification medium can be used to unlock the device, i.e. the dead bolt retracts without user intervention. The user can then open the door (SmartLocker).
- Activated with an identification medium. The switch contact can then open a door (SmartRelay).
See “Engaging”, “opening”, “locking”, etc. for more information on this topic.
In line with best practice requirements (see Best practice: setting up the locking system), SimonsVoss recommends that you first plan things out in preparation:
- Access levels (see Access levels for background information )
- Creating an area (see Areas for background information )
- Creating a schedule or Create time group (see Time groups and schedules for background information )
- Creating a time switchover (see Time switchovers for background information )
- Creating a location or Creating a building and assigning it to a location (see Buildings and locations for background information )
- Creating a hashtag (see Hashtags for background information )
NOTE

Hidden settings
As soon as you have created the locking device and clicked on the Fertigstellenbutton, AXM Classic knows your locking device type. It will then hide all non-relevant settings.
- AXM Classic open.
- Click on the button
 .
. - The window for creating a new locking device will open.
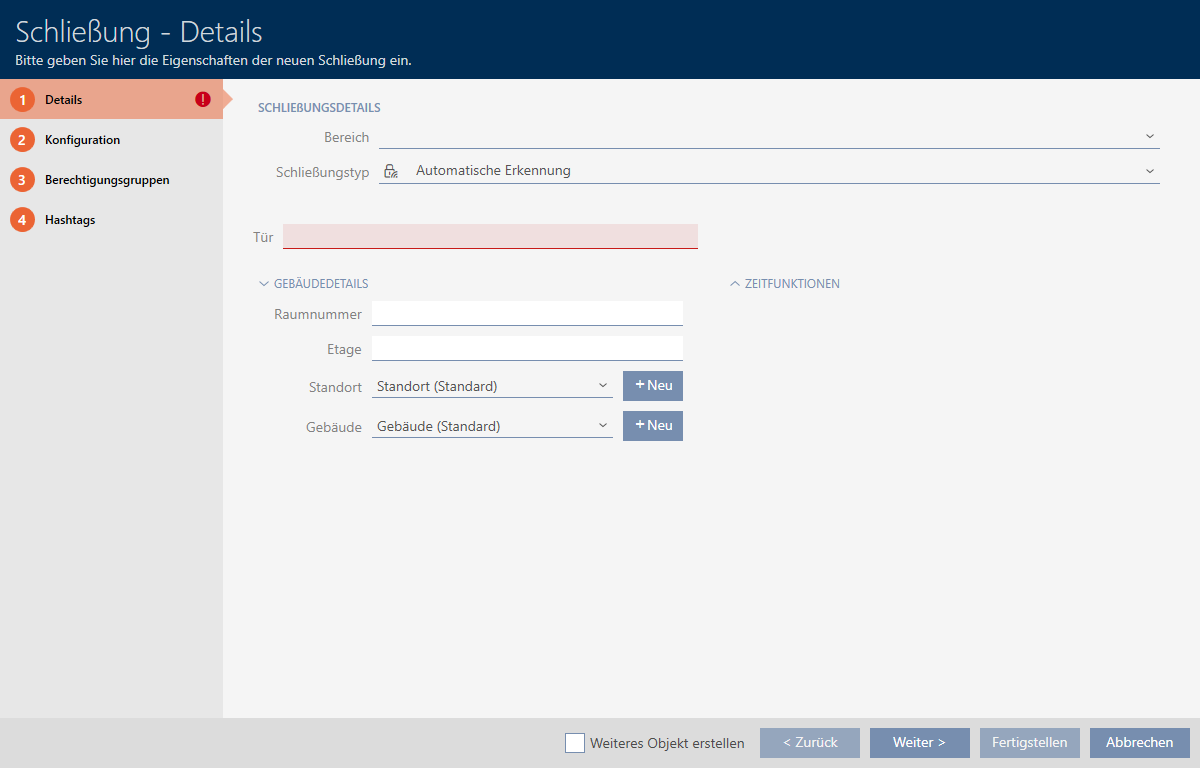
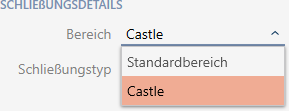
- Select the area to which your locking device belongs from the drop-down menu.
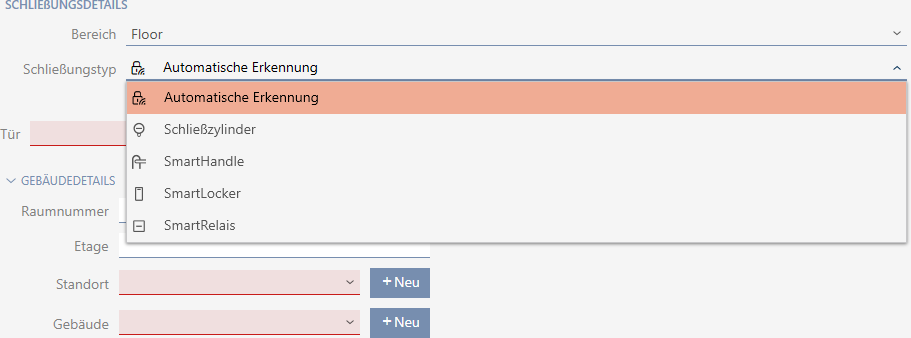
- Select which locking devices you wish to create from the drop-down menu.
NOTE
Recognising a locking device automatically
You may not know which entry to select from the drop-down list yet. AXM Classic also provides you with the entry.
AXM Classic does not save the detected locking device type until you actually program the locking device. The options in the tab are also extended or hidden to match the locking device type at this time.
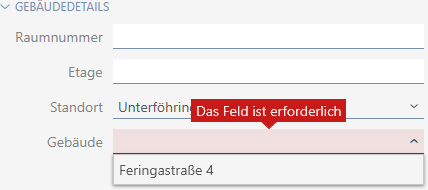
- Name your locking device in the field.
- If necessary, enter the number of the room where your locking device will be installed in the field.
- If necessary, enter the floor on which your locking device will be installed in the field.
- Select the location where your locking device will be installed from the drop-down menu.
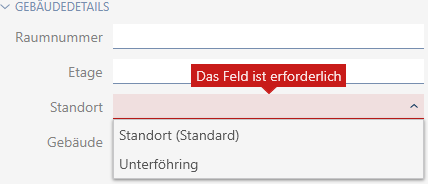
- Selection in the drop-down menu is limited to the buildings in the selected location.
- Select the building where your locking device is installed from the drop-down menu.
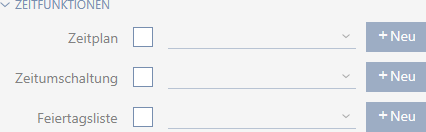
- If you wish to use time functions: Expand the menu and make the settings (see Limiting authorisations for locking devices to specific times (schedule) and Engaging and disengaging locking devices automatically with time switchover for details).
NOTE
Public holiday lists in locking device and locations
You can assign public holiday lists to both a locking device and the locking device’s location. In this case, the public holiday list is used in the locking device and the public holiday list in the location is ignored.
If a public holiday list is assigned to the location instead of the locking device, the public holiday list for the location is applied to the locking device. The suffix "(inherited)” in the locking device window indicates that this is the case.
- Click on the tab.

- Window switches to the tab.
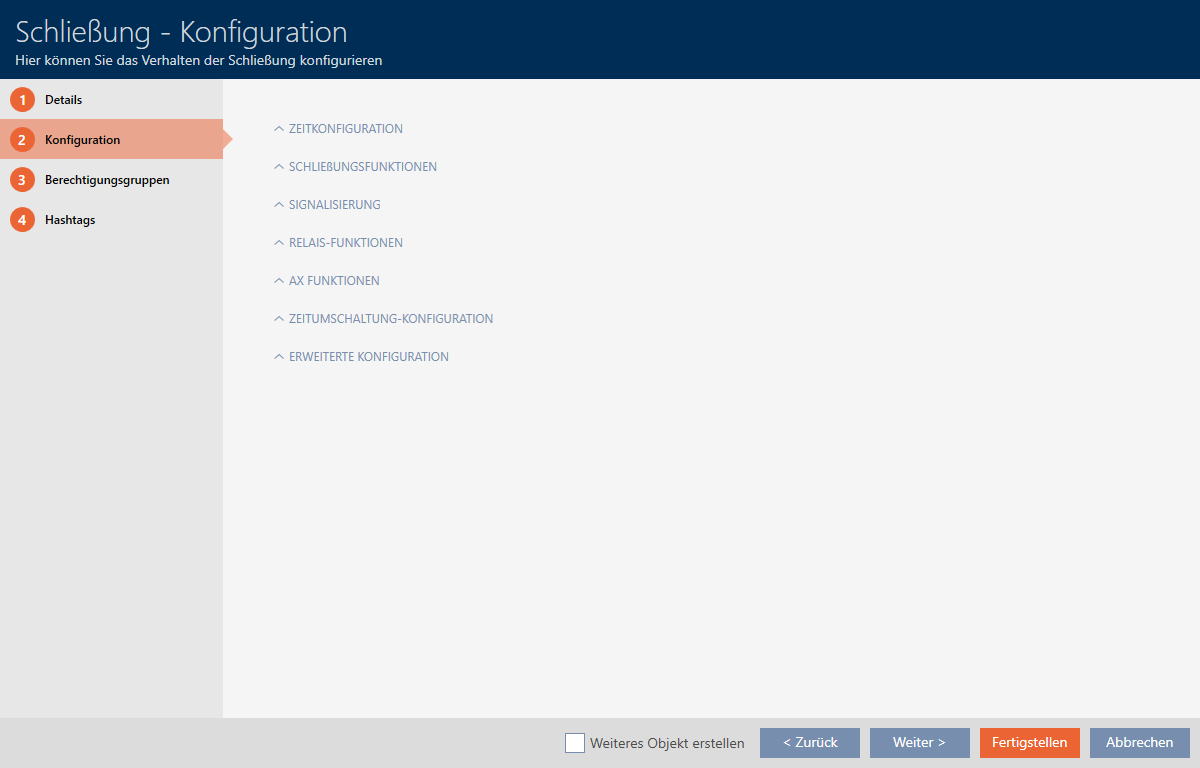
- If you want to log access attempts, expand the menu and configure the settings (see Have accesses logged by locking device (access list)).

- If you want to change the opening time or use the close range mode, expand the menu and configure the settings (see Leaving the locking device open for longer, less time or permanently and Limit locking device read range (close range mode)).

NOTE
Button control not adjustable
Some locking cylinders are equipped with a button on the inside thumb-turn (TS option). If your AXM Classic detects such a locking cylinder, the
 Button control checkbox is displayed. However, this cannot be adjusted, i.e. you cannot disable the buttons.
- If you want to change the battery warning signalling or programming acknowledgements, expand the menu and configure the settings (see Muting a locking device (for battery warnings and programming)).

- If you want to ignore the activation time window (see Activation date / expiry date), expand the menu and configure the settings (see Ignoring activation and expiry date of identification media).

- If you wish to activate/deactivate the card reader for the locking device: Expand the menu and make the settings (see Activating and deactivating card readers).

- If you want to use the internal and external antenna together in a SmartRelay, expand the menu and configure the settings (see Using internal and external antenna simultaneously).

- If you want to engage and disengage your locking device automatically, expand the menu and configure the settings (see Engaging and disengaging locking devices automatically with time switchover).
The setting defined here applies only to this one locking device, not to the entire locking system. 
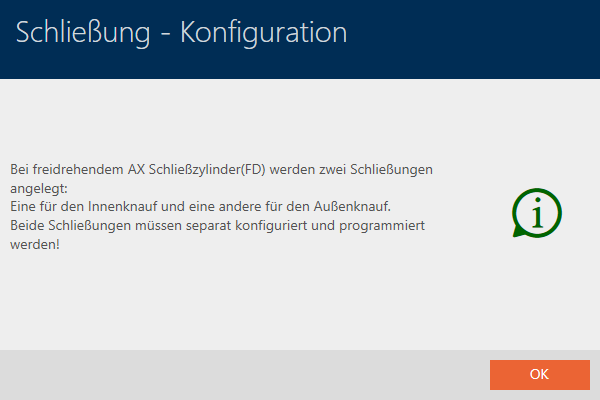
- If you want to use a freely rotating Digital Cylinder AX, expand the menu and select the Both sides free spinning checkbox.

NOTE
Both sides free spinning can only be selected for unprogrammed Digital Cylinder AX
Digital Cylinder AX which have already been configured cannot be reconfigured as freely rotating Digital Cylinder AX at a later stage.
- Duplicate the Digital Cylinder AX to get an unprogrammed copy with the same settings.
- Select the checkbox in the Both sides free spinning section.
- Reset the previous Digital Cylinder AX and synchronise the freely rotating copy.
- Then delete the previous Digital Cylinder AX.
- AXM Classic creates a second Digital Cylinder AX and automatically selects the Close range mode checkbox for both. Both locking devices are independent of each other and must be synchronised separately.
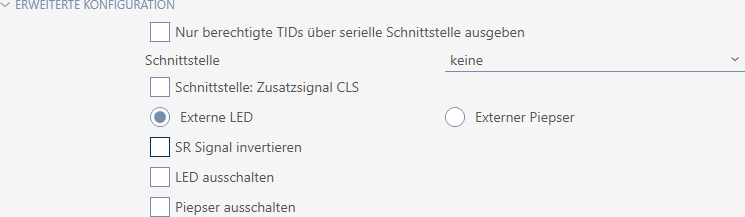
- If you want to change the signalling on a SmartRelay or use the serial interface, expand the menu and configure the settings (see Changing the SmartRelay settings).
- Click on the tab.

- Window switches to the tab.
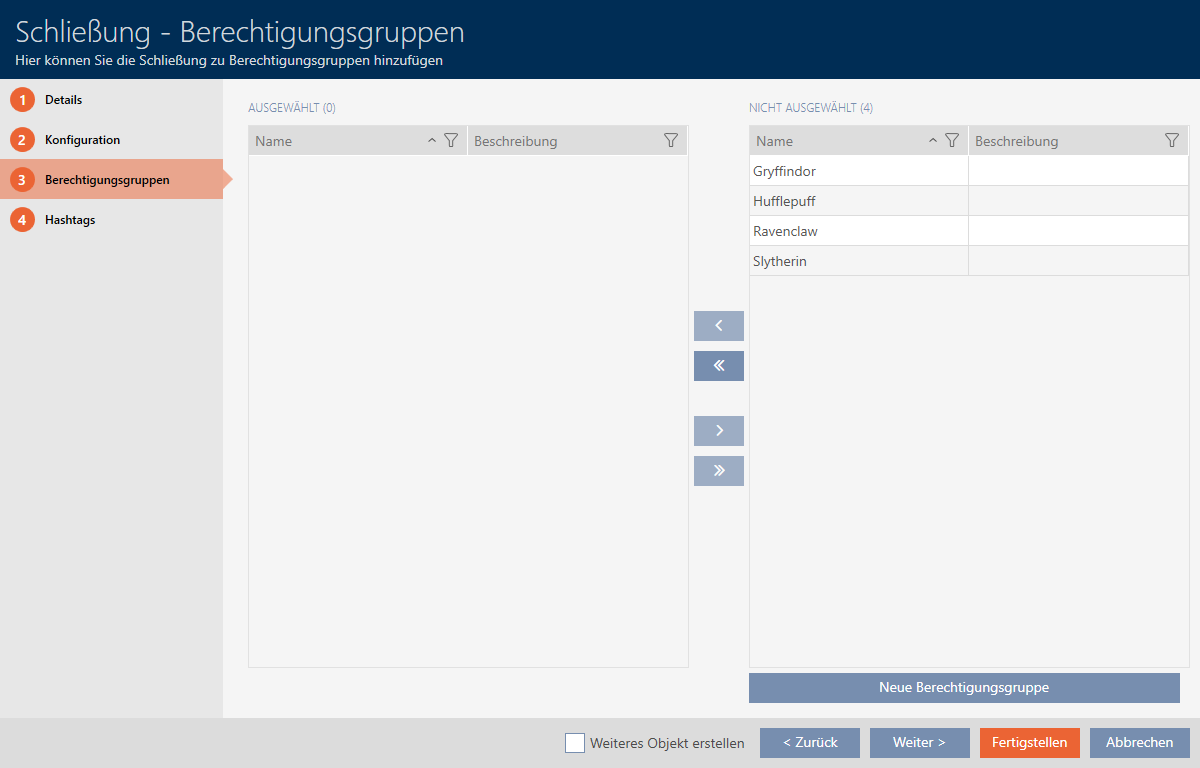
- Use
 to sort/filter the displayed entries if required (see Sorting and filtering).
 - Select all access levels to which you wish to assign your locking device (Ctrl+click for individual groups or Shift+click for multiple groups).
NOTE
Double-clicking as an alternative to arrow keys
Double-clicking an entry in the list will also move this entry to the other column.
- Use
 to move the selected access levels only or
  to move all displayed access levels.
 - Your locking device is added to the access levels in the left-hand column.

- Click on the tab.

- Window switches to the tab.
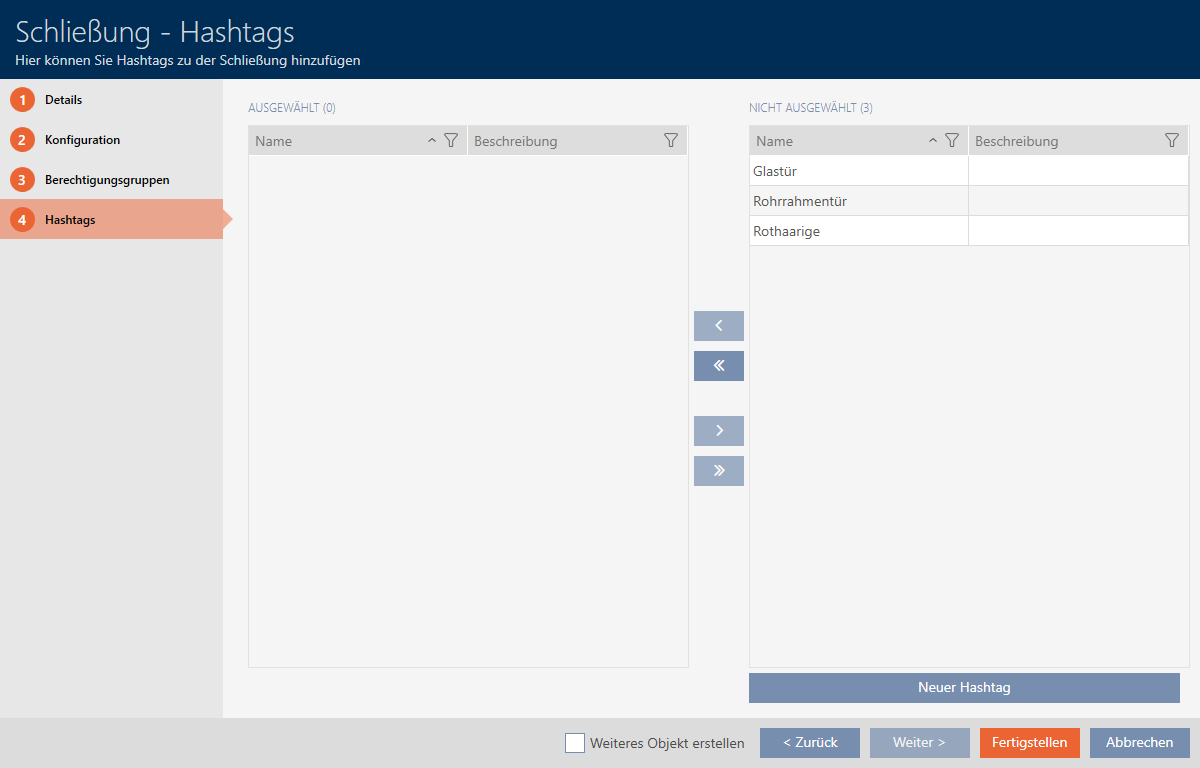
- Use to sort/filter the displayed entries if required (see Sorting and filtering).
- Select all hashtags that you wish to assign to your locking device (Ctrl+click for individual hashtags or Shift+click for multiple hashtags).
NOTE
Double-clicking as an alternative to arrow keys
Double-clicking an entry in the list will also move this entry to the other column.
- Use to move only the selected hashtags or to move all the hashtags displayed.
- The hashtags in the left-hand column are added to your locking device.
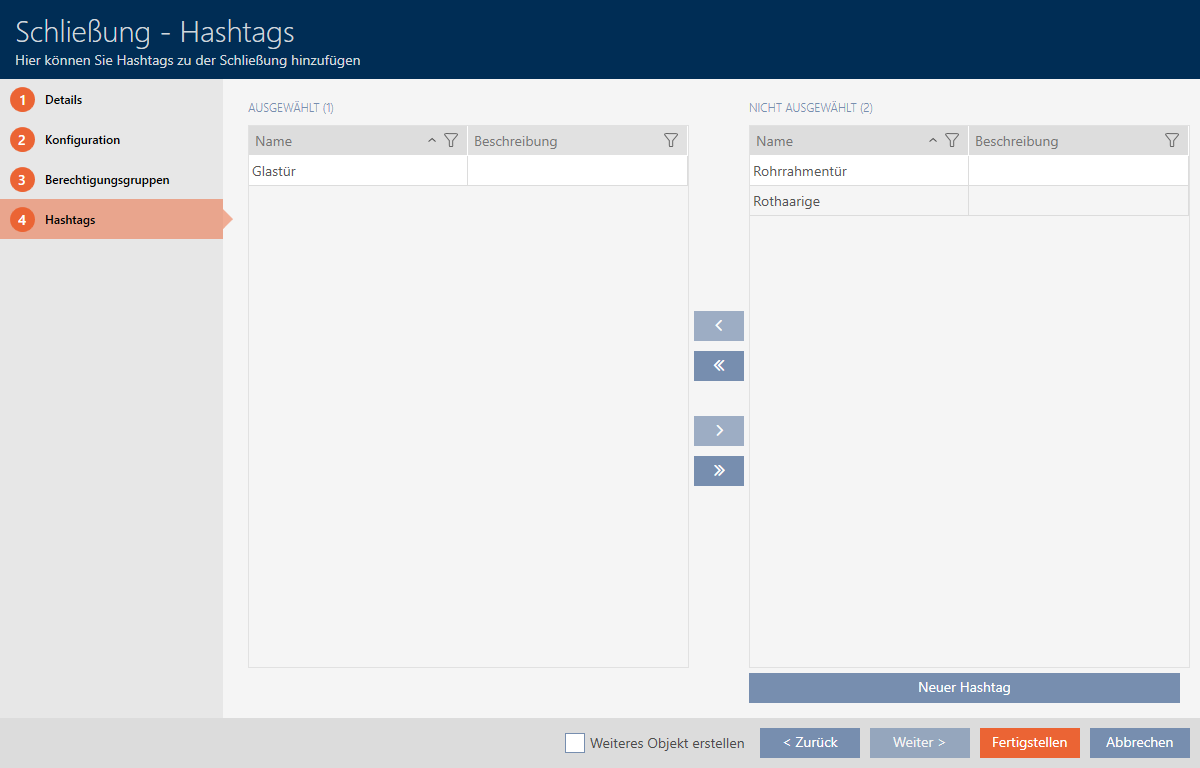
- Select the Create additional objects checkbox to leave the window with the same settings open for the next locking device to be created.
- Click the button to create the locking device.
- The window for creating a new locking device closes.
- Newly created locking device is listed or displayed in the matrix.