Assign multiple locking devices to another area (in the area window) - AXM Classic
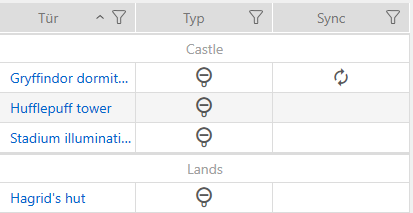
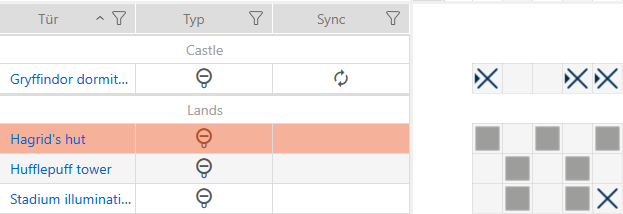
Locking device in the “old” area | Locking device in the “new” area |
|---|---|
|
|
- AXM Classic open.
- At least one area created (see Creating an area).
- Click on the orange AXM icon
 .
. - AXM bar opens.
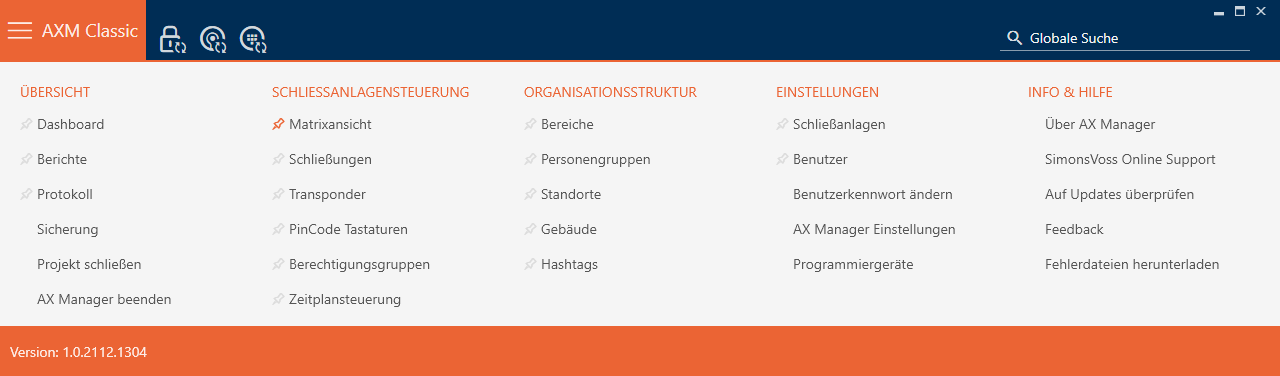
- Select the entry in the group.
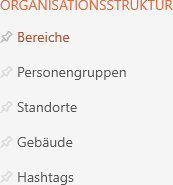
- The AXM bar will close.
- The tab will open.
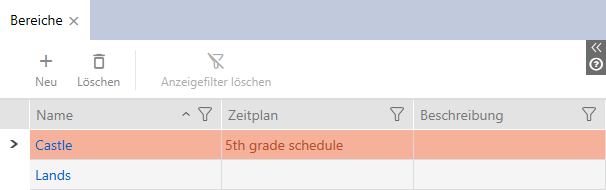
- Click on the area to which you wish to move the locking devices.
- The window will open.
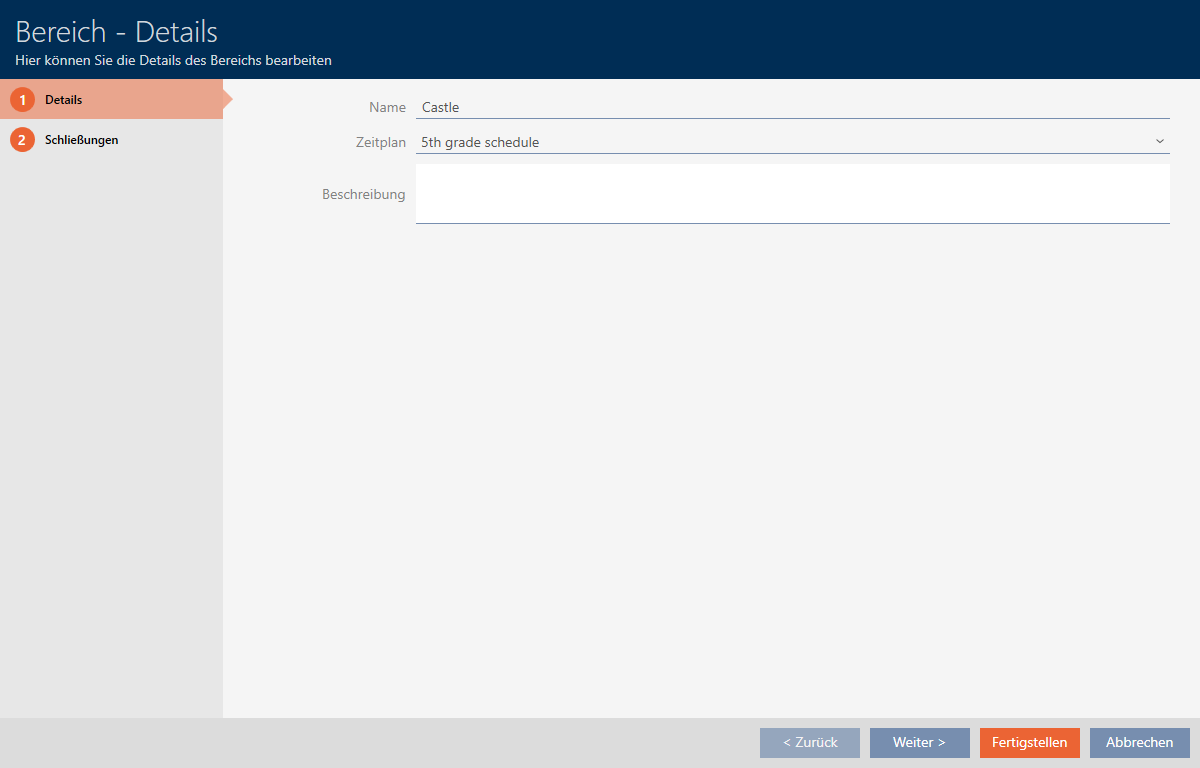
- Click on the tab.

- Window switches to the tab.
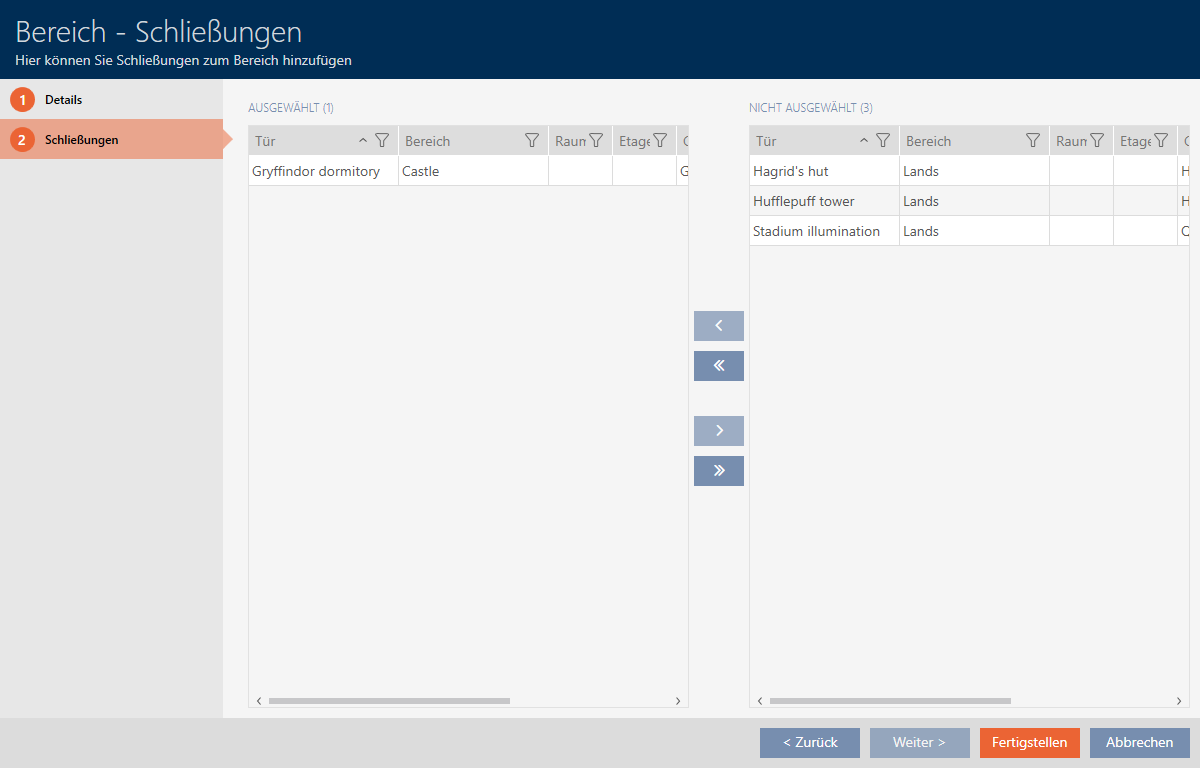
- Use
 to sort/filter the displayed entries if required (see Sorting and filtering).
 - Select all locking devices that you wish to add (Ctrl + mouse click for individual devices or Shift + mouse click for multiple devices).
- Use
 to move only the selected locking devices or
  to move all locking devices.
 NOTE

Double-clicking as an alternative to arrow keys
Double-clicking an entry in the list will also move this entry to the other column.
- The highlighted locking device in the left-hand column is added to the area.
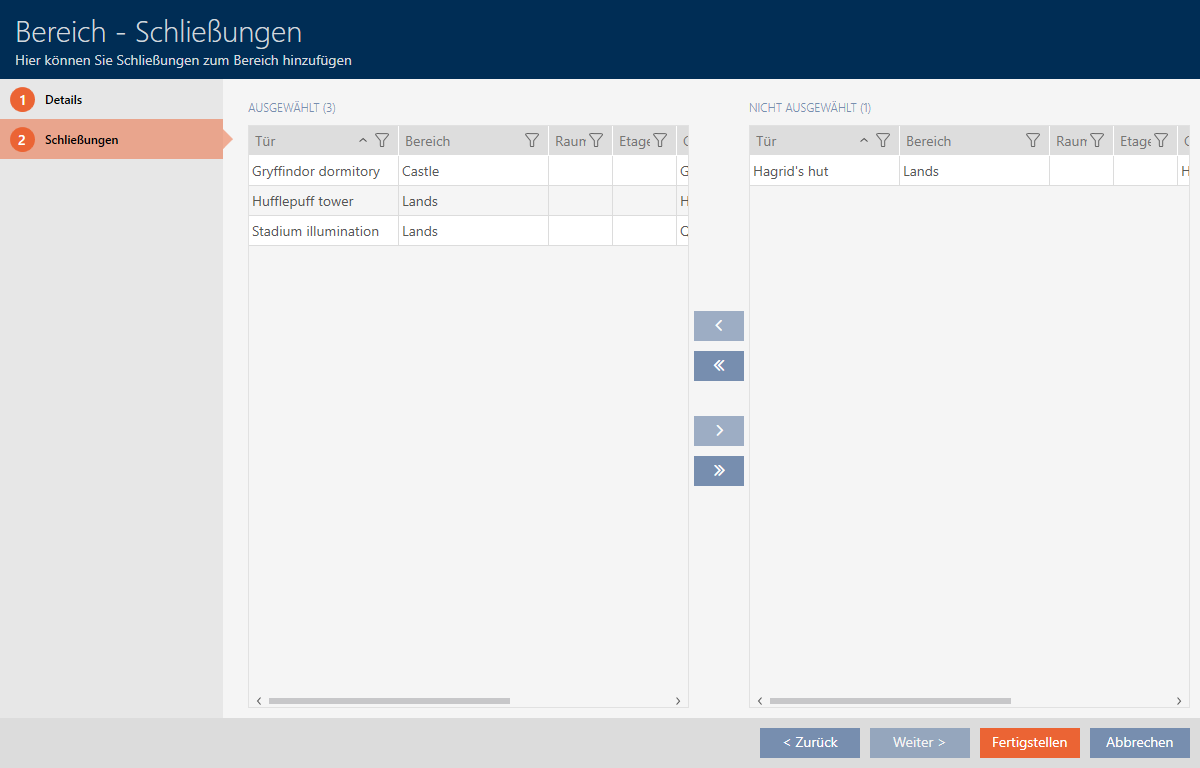
- Click on the button.
- window closes.
- Locking devices have been moved to the new area.
- Matrix displays structure with new areas.