Synchronising the locking device (including reading access list) - AXM Classic
Synchronisation is bidirectional:
- Reading of data stored in the locking device (e.g. battery level)
- Writing of new data onto the locking device (e.g. authorisations)
Access lists can be imported separately (  button). Access lists can also be easily read during synchronisation as an option (see Reading access list/physical access list during synchronisation).
The imported data can then be displayed (see Display locking device equipment and status or Displaying and exporting a locking device’s access list, for example).
- AXM Classic open.
- Locking device list or matrix view open.
- Suitable programming device connected.
- Click on the locking device you wish to synchronise.
- The locking device window will open.
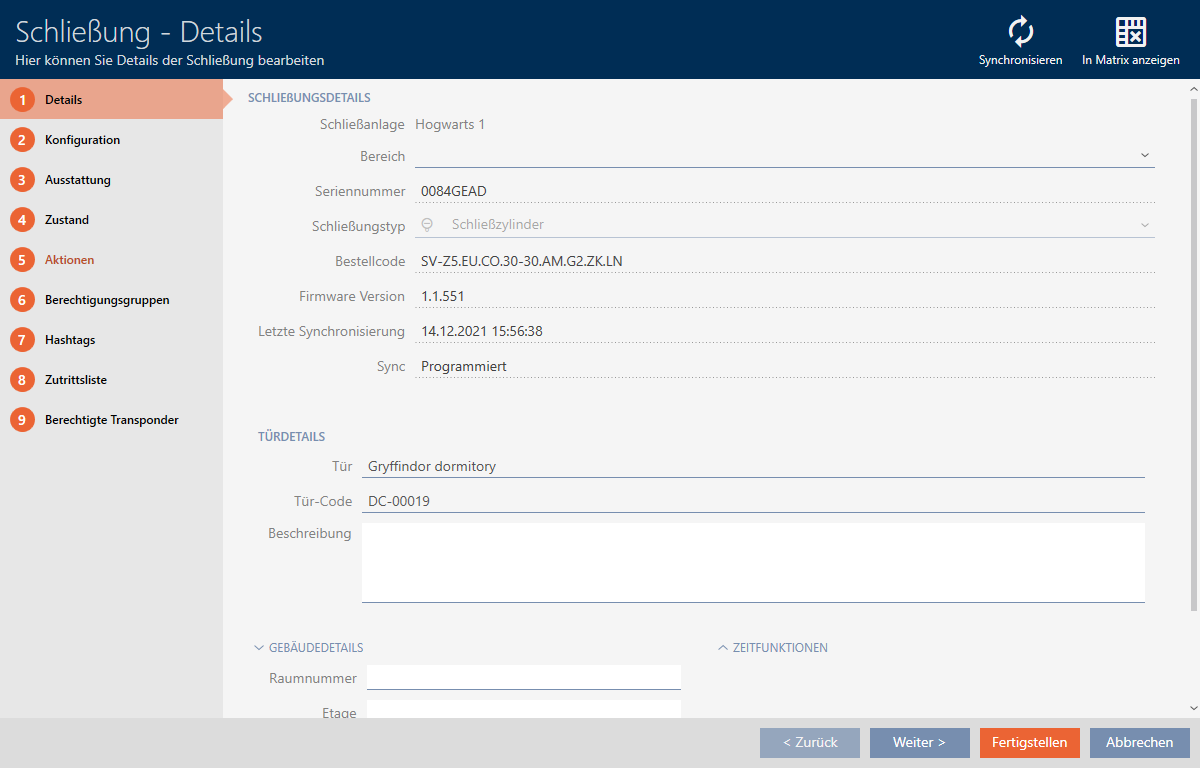
- Click on the button
 .
. - Synchronise window will open.
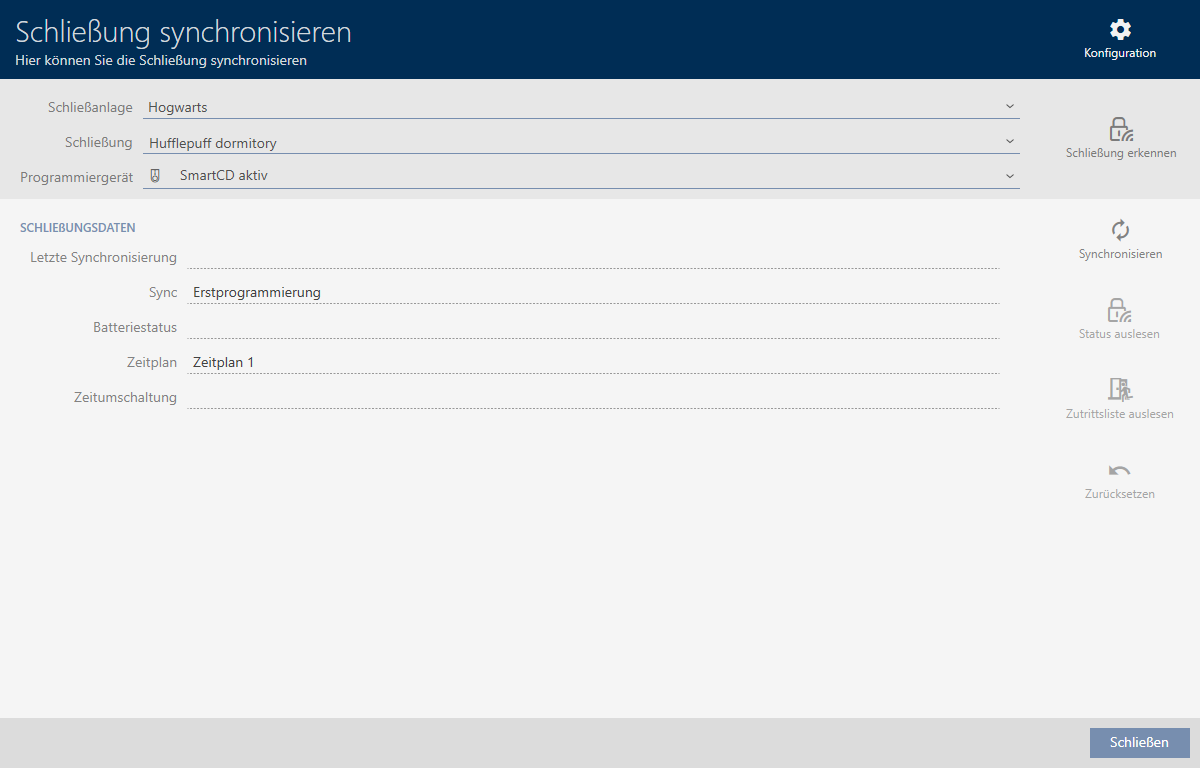
- Select the programming device which you wish to use to synchronise from the drop-down menu.
NOTE

AX components: SmartCD.MP or SmartStick AX for initial synchronisation
A great deal of data is transferred during initial synchronisation of AX components. The carrier frequency and, consequently, the transmission speed is significantly higher with the SmartCD.MP or SmartStick AX.
- It is especially important to use a SmartCD.MP or a SmartStick AX for initial synchronisation of AX components.
- Click on the button
.
- Locking device is being synchronised.
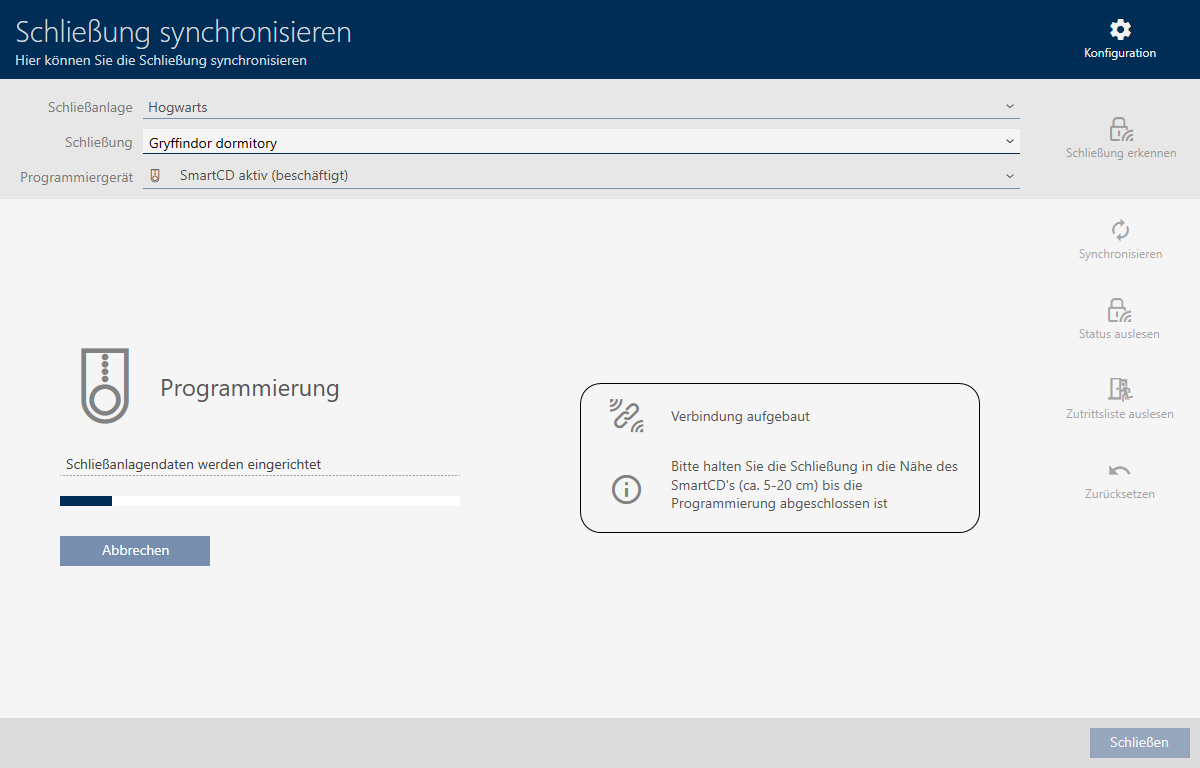
- Locking device is synchronised.
NOTE
First transponder activation rejected after initial programming of AX products
If a transponder is the first identification medium to be activated after initial programming, the transponder can be rejected once and synchronised with the locking device in the background. Transponders will then function as normal.