Adding areas and person groups to access levels - AXM Classic
This section explains how to add multiple locking devices to access levels quickly using areas. The process for person groups/identification media is similar.
Ideally, you will have already created your access levels before creating the locking devices (see Best practice: setting up the locking system and Creating access levels). This allows you to set access levels directly in locking device and identification medium properties when you create locking devices and identification media:

You can use areas to quickly add several locking devices to access levels:
- AXM Classic open.
- Access levels created (see Creating access levels).
- At least one area created (see Creating an area).
- At least one locking device has been assigned to the area (see Moving locking devices to areas).
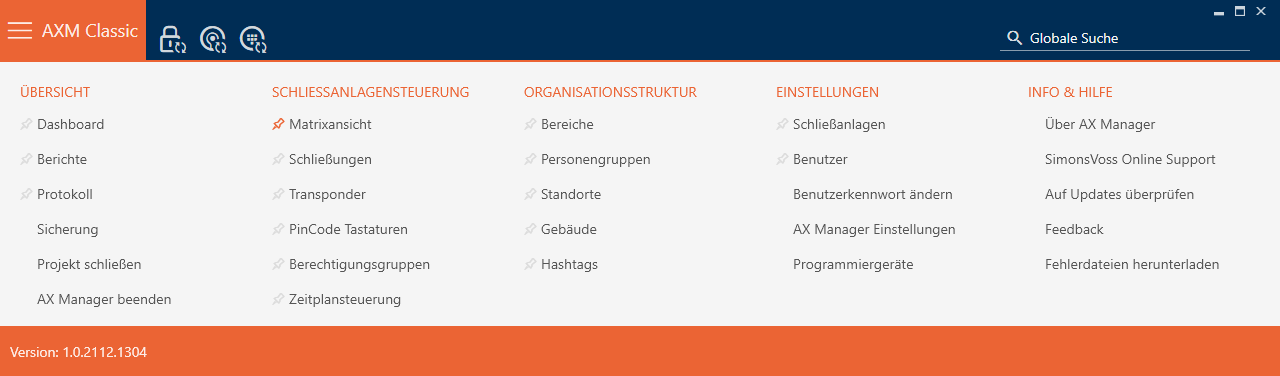
- Click the orange AXM button
 .
. - AXM bar opens.
- Select the entry in the group.
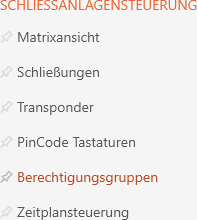
- The AXM bar will close.
- The tab will open.
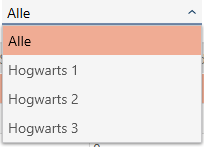
- Select another locking system in the drop-down menu or select the drop-down entry to display the access levels in all locking systems.
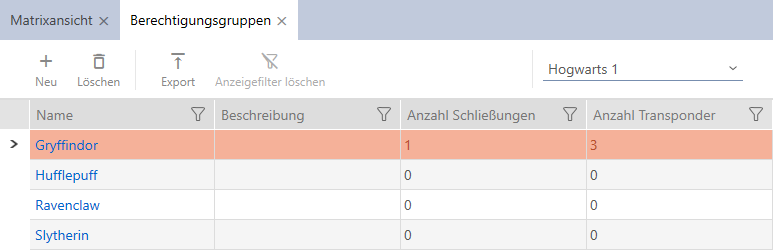
- Click on the access level to which you wish to add locking devices and identification media.
- The access level window will open.
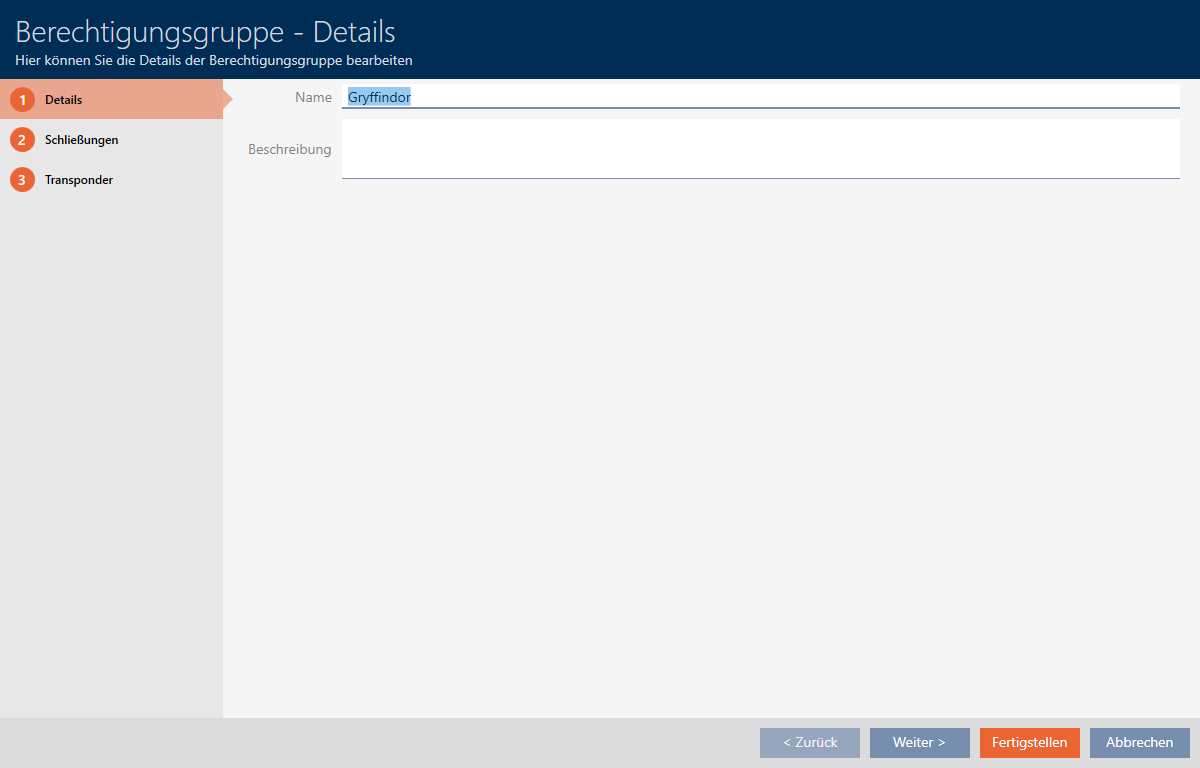
- Click on the tab.

- Window switches to the tab.
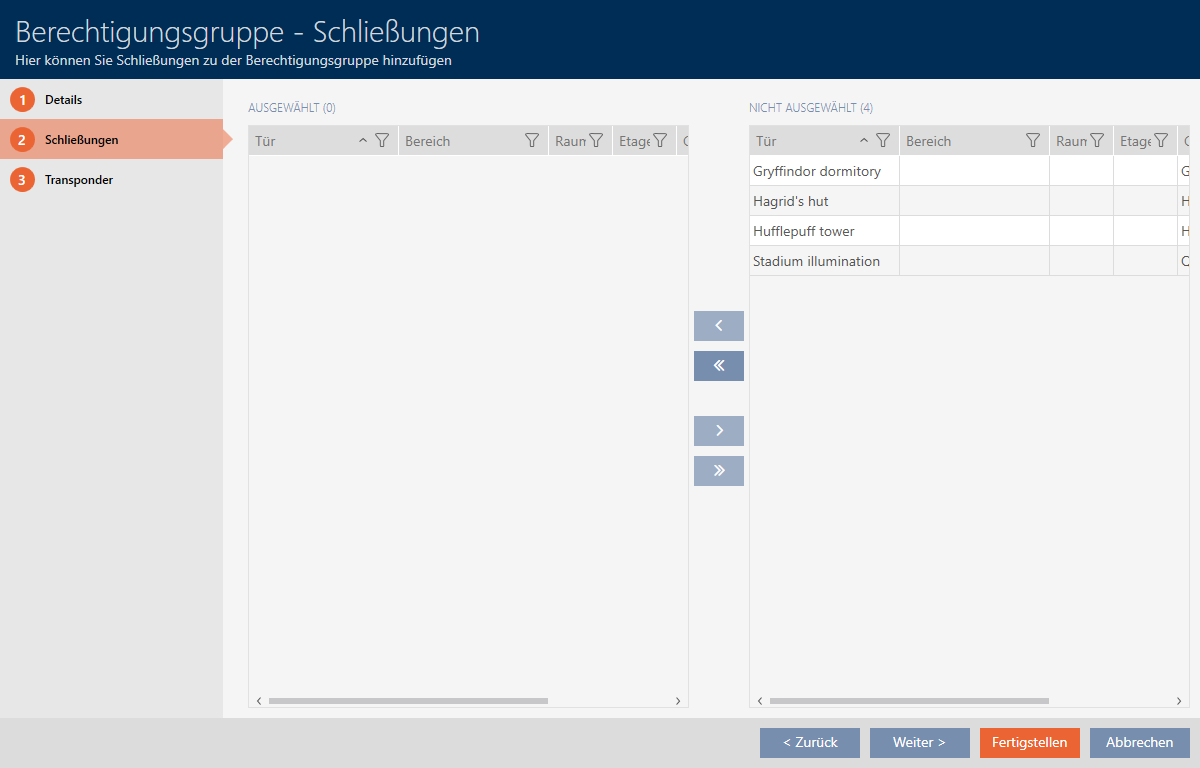
- Use
 to sort/filter the displayed entries if required (see Sorting and filtering).
 NOTE

Areas as a filter criterion
Areas can be used as filter criterion, thus simplifying selection of your locking devices.
- Click the filter icon in the column.
- Select one or more areas.
- Select all locking devices that you wish to add to the access level (Ctrl+click for individual devices or Shift+click for multiple devices).
NOTE
Double-clicking as an alternative to arrow keys
Double-clicking an entry in the list will also move this entry to the other column.
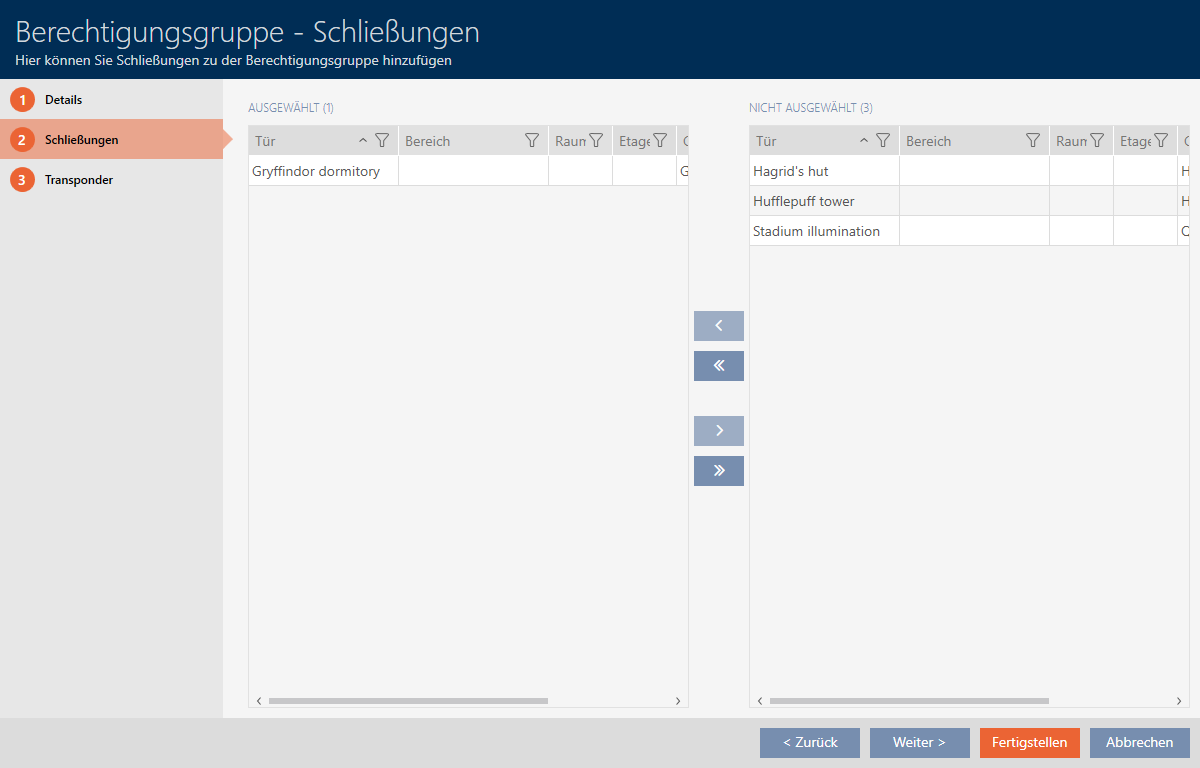
- Use
 to move only the selected locking devices or
  to move all locking devices.
 - The selected locking device in the left-hand column is added to the access level.
- Click on the button.
- The access level window closes.
- All identification media in this access level are authorised for all locking devices in this access level.
- Matrix view is visible again.
- Click on the
 button.
- Matrix displays authorisations from your access levels (identified by a small triangle next to the cross).