Displaying the report for identification media issue - AXM Classic

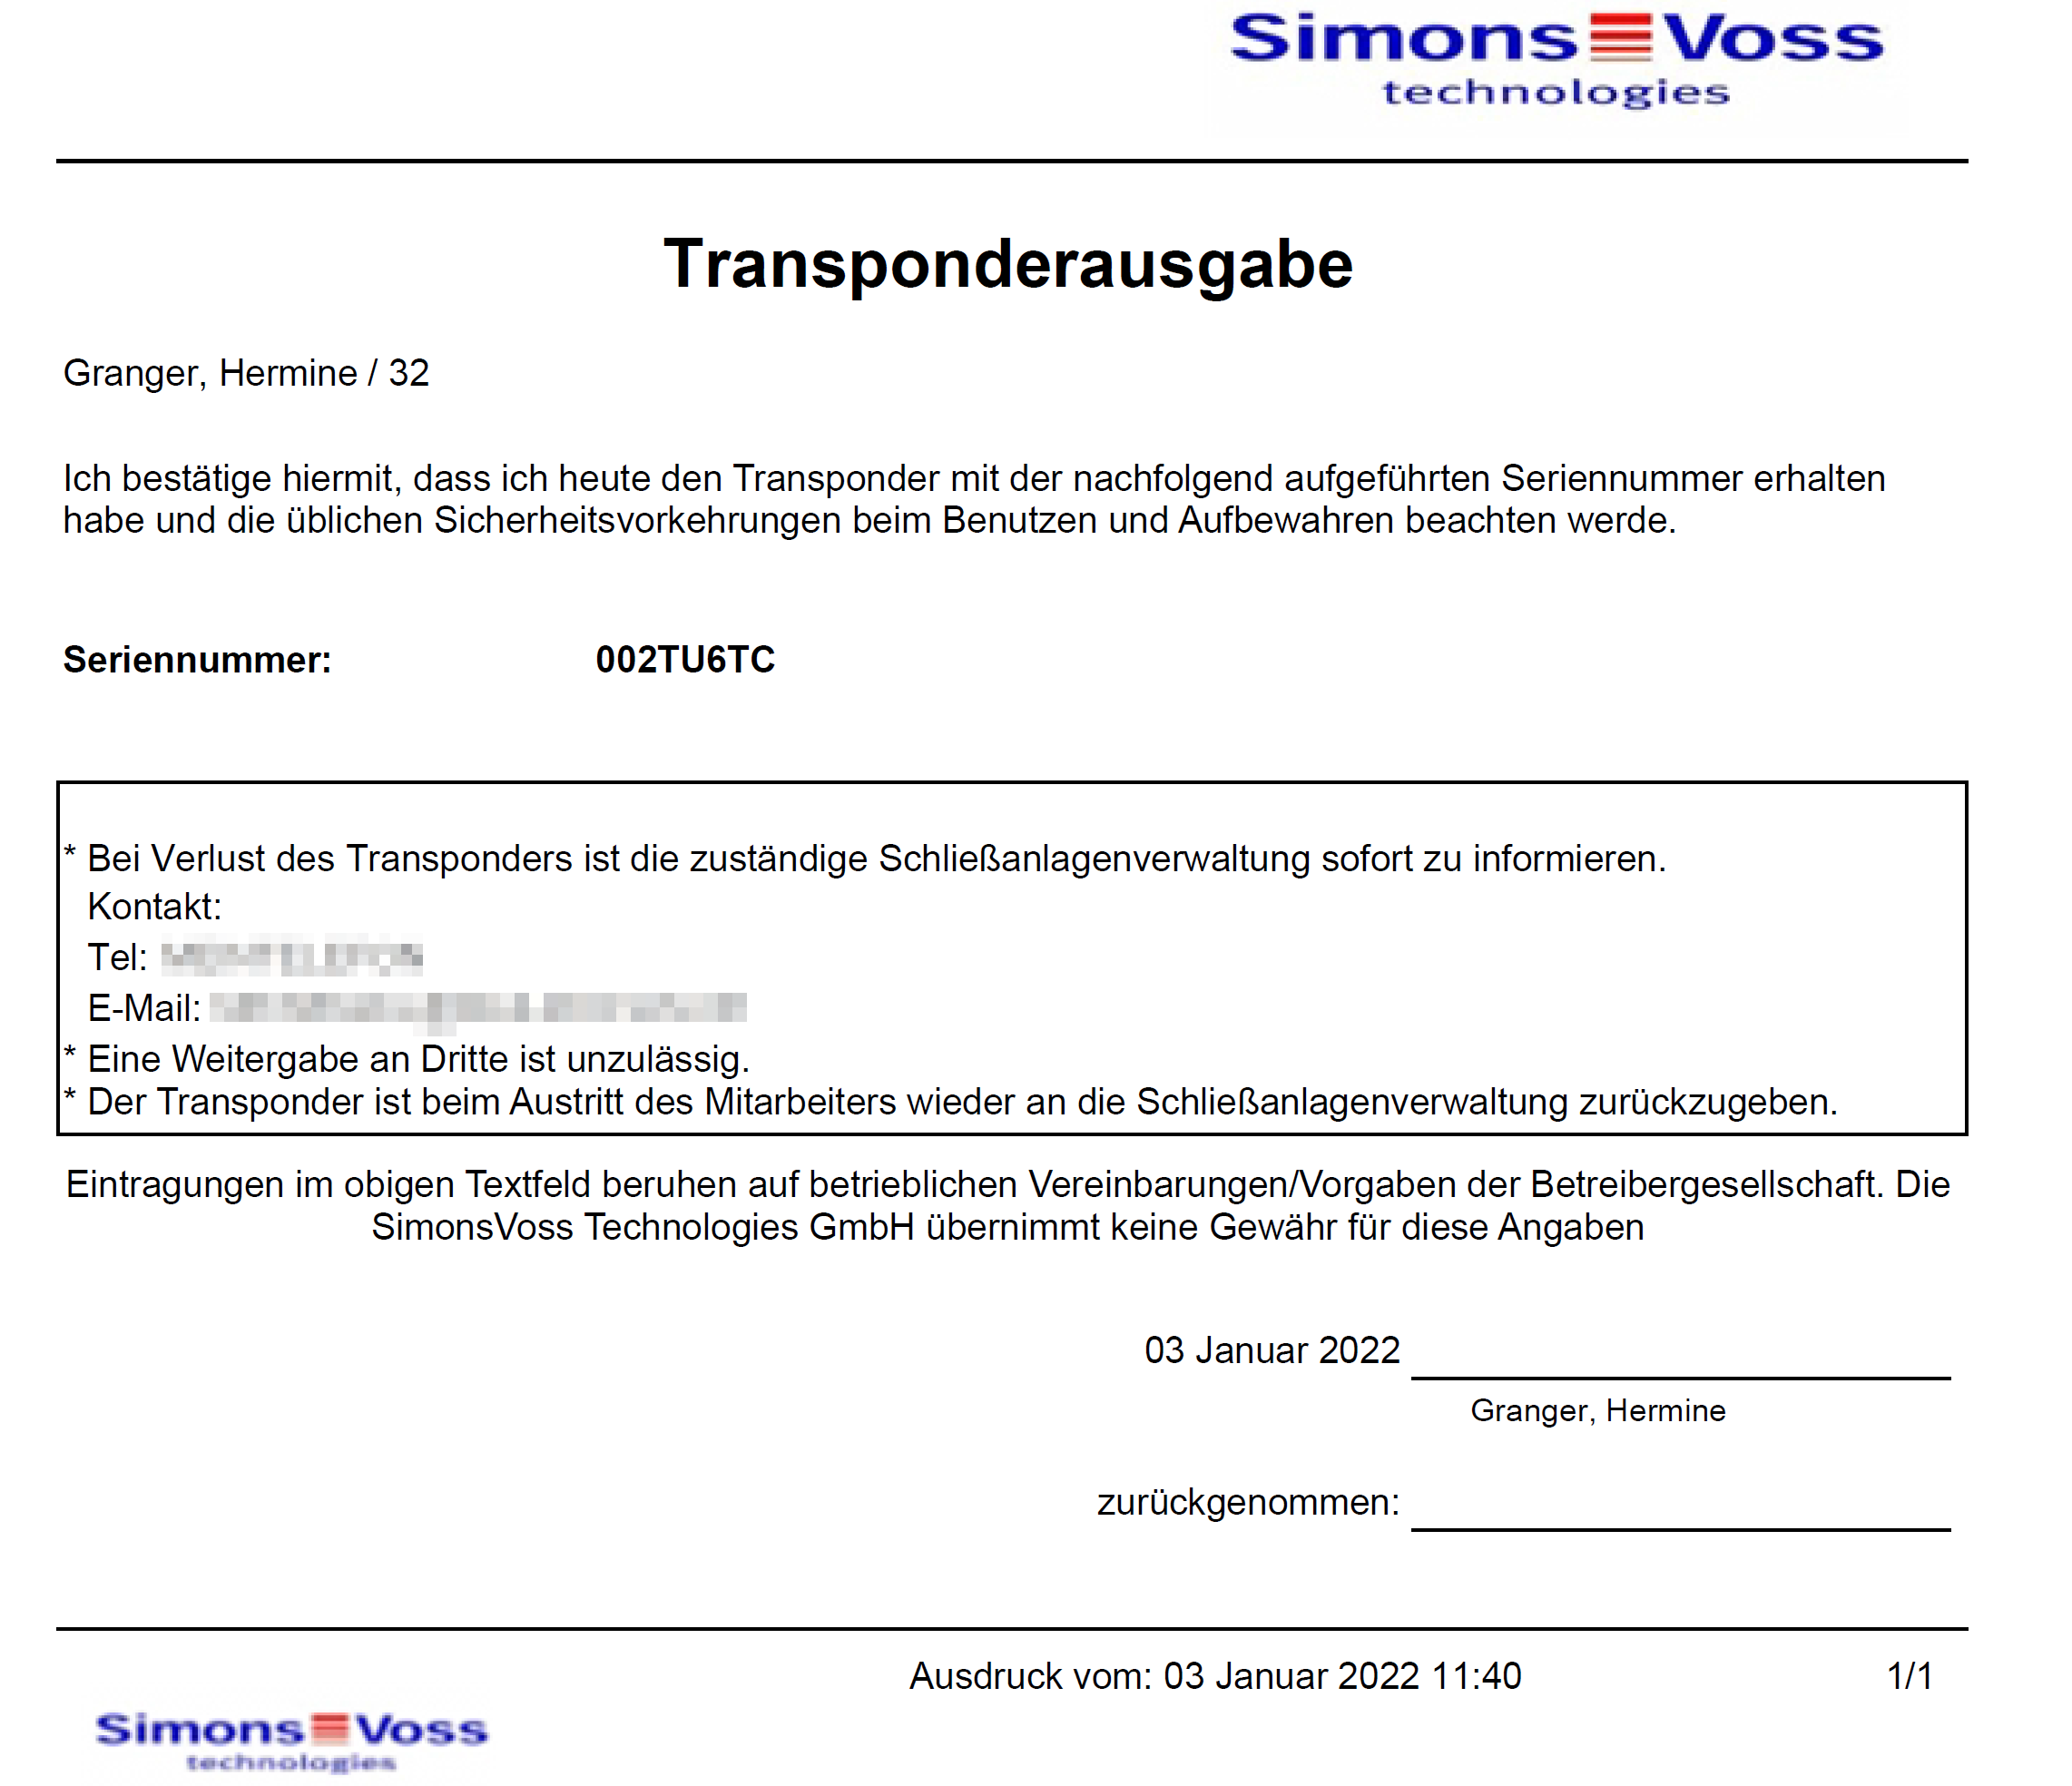
You can use this report to prove that someone has received a specific identification medium and instruction from you.
You can thus only export this report specifically for one selected identification medium at a time.
You as a locking system operator can thus record the TID and protect yourself. Signature fields are provided on the report for this purpose.
The report contains the following data:
- Name of the person who received the identification medium
- The issued identification medium’s serial number
- The locking system administrator’s telephone number (source: AX Manager settings; see Personalising reports and exports)
- The locking system administrator’s email address (source: AX Manager settings, see Personalising reports and exports)
- The locking system administrator’s address
- Date when the report was created
- Optional: scheduled return date
- Optional: authorisations (including areas)
- AXM Classic open.
- Click on the orange AXM icon
 .
. - AXM bar opens.
- Select the entry in the group.
- The AXM bar will close.
- The tab will open.
- Make changes if necessary in the drop-down menu which contains the desired identification medium in the top right-hand corner of the locking system.
- Use
 to sort/filter the displayed entries if required (see Sorting and filtering).
 - Select the identification medium you wish to display.
- The highlighted row is shown in orange.

- Click on the button
 .
. - The window will open.
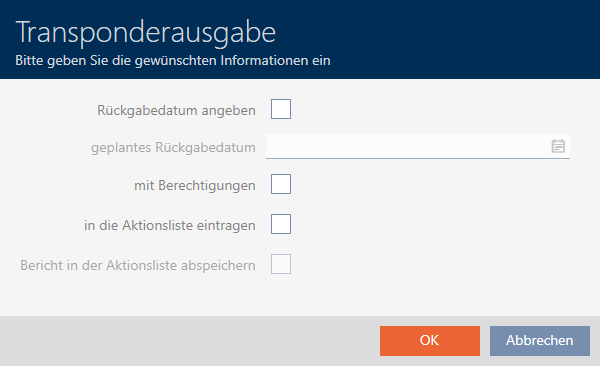
- If you want to include a possibly predetermined return date, select the
 Specify return date checkbox and select the return date by clicking on the
  calendar.
 - If you also want to include any existing authorisations, select the With authorisations checkbox.
- If you also want to enter the issuing of the identification medium in its action list, select the Enter in the Actions list checkbox and use the Save report in the Actions list checkbox to also save the corresponding medium in the action list if necessary (also see Planning and tracking identification medium management tasks for the action list).
- Click on the button.
- window closes.
- The Explorer window will open.
- Save the PDF file to a directory of your choice.
- Issue report for the selected identification medium is exported as a PDF file (DIN A4).
You have the option to personalise reports (see Personalising reports and exports).
You can also enter the issue date directly in the action list for the identification medium concerned (see Note card/transponder issue date).