Creating a common locking level - AXM Classic
- AXM Classic open.
- Click the orange AXM button
 .
. - AXM bar opens.
- Select the entry in the group.
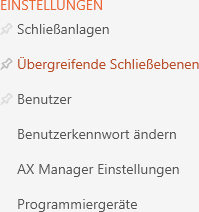
- The tab will open.

- Click on the button
 .
. - The window will open.
- Enter the name of your common locking level in the field.
- Select the colour of your common locking level (
 Green, Blue or Red).
 - Enter a description if required.
- Click the button.
- Window switches to the tab.
- Enter the password for your common locking level in the field.
- Re-enter the password in the field.
- A coloured bar shows you how secure your password is.

- Click the button.
- Window switches to the tab.
- Use
 to sort/filter the displayed entries if required (see Sorting and filtering).
 - Select the required locking systems in the right-hand column (Ctrl+click for single systems or Shift+click for multiple systems).
- Use
 to move only the selected locking systems or
  to move all displayed locking systems.
 - The identification medium will be available later in the assigned locking systems.
- Click the button.
- Explorer window for saving the password as a PDF will open.
- Save the PDF with the password in a location of your choice and keep the password in a safe place.
- Password is now saved as PDF.

- window closes.
- Common locking level has been created and is listed in the tab.
You can now use this common locking level to create transponders that will appear in all assigned locking systems (see Creating transponders for common locking level).