Creating special identification media - AXM Classic
You can assign just one function to a specific identification medium, either Battery replacement or Lock Activation (see Special identification media and their functions). This identification medium can then no longer be used for other purposes in this project.
- AXM Classic open.
- Click on the orange AXM icon
 .
. - AXM bar opens.
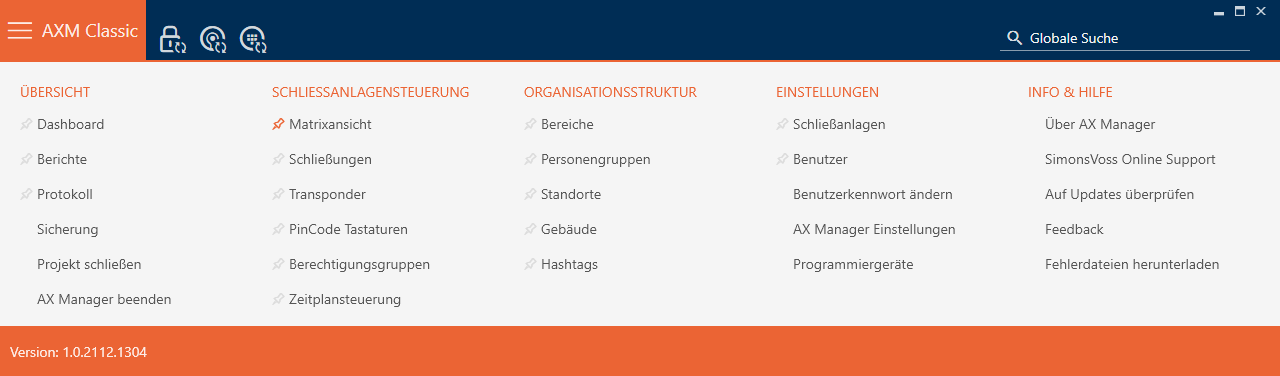
- Select the entry in the group.
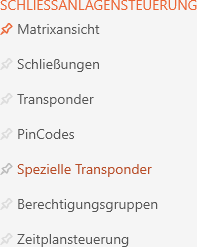
- The tab will open.
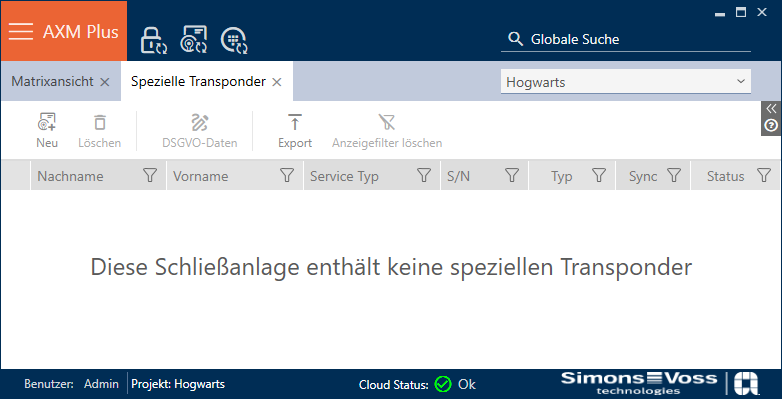
- Click on the button
 .
. - The window will open.
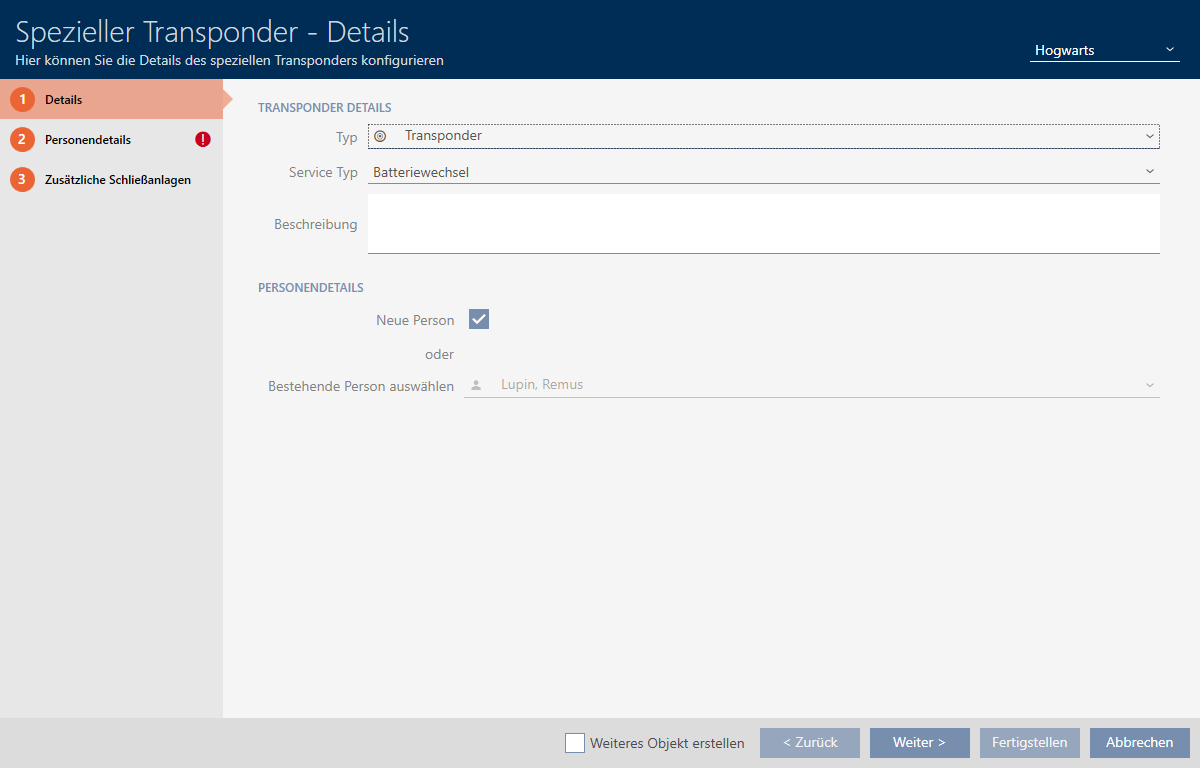
- Select the type of identification medium you want to make a special identification medium from the drop-down menu.
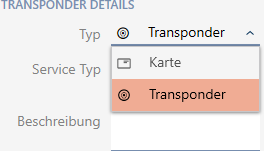
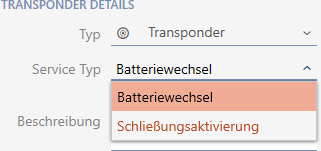
- Then use the drop-down menu to select which function this identification medium should have ( or ).
- Enter a description if required.
- Activate the
 New person check box.
 - AXM Classic will automatically create a new person for the new identification medium. Deactivate this check box to select an existing person (e.g. for a second identification medium or a replacement identification medium).
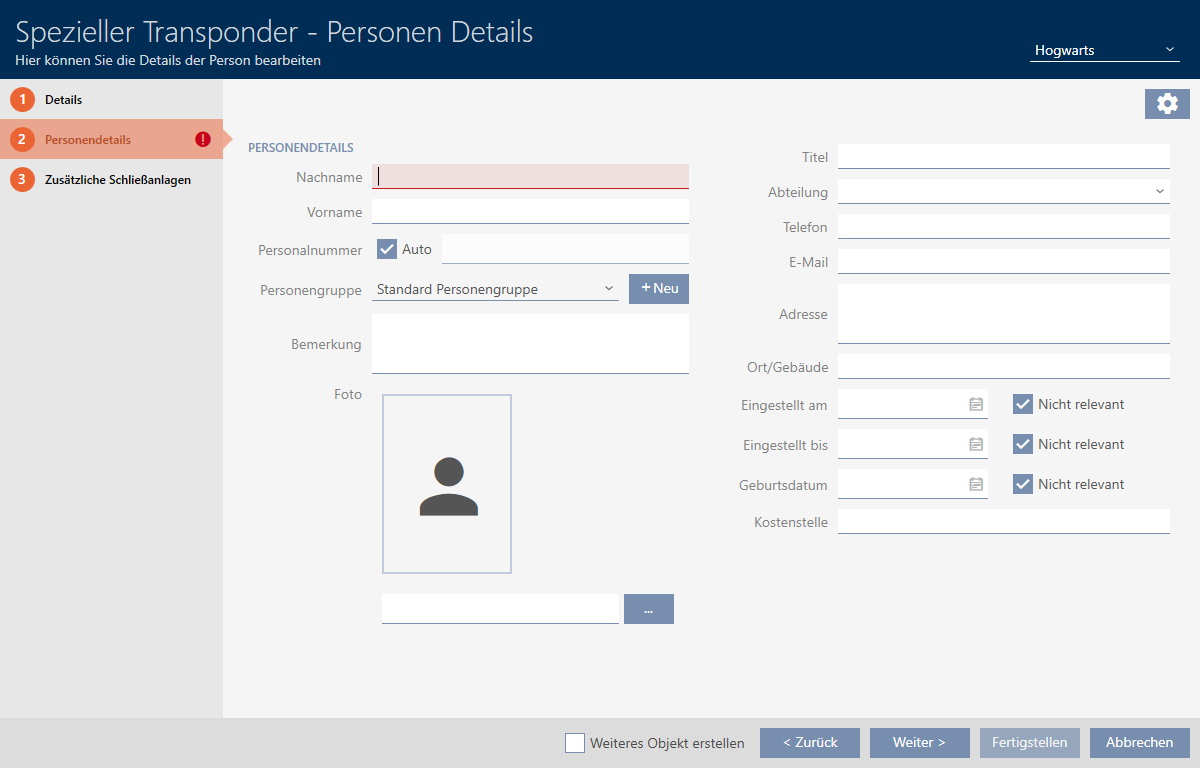
- The tab is shown.
- Click on the tab.

- Enter the surname and first name of the person who will receive the identification medium in the and fields.
- The personnel number is generated automatically.
NOTE

Personnel number formula or manual entry
The AXM Classic generates personnel numbers based on the following formula: PN-1, PN-2, PN-X. The abbreviation PN can be changed if required (see Changing automatic numbering).
Alternatively, you can enter personnel numbers manually:
- Activate the
 Auto check box.
 - The field is activated.
- Enter the personnel number in the field.
- Activate the
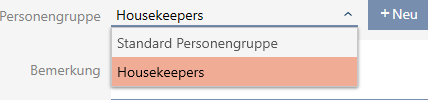
- If you wish to assign this person to a person group: Select the person group to which this person belongs from the drop-down menu.
- Give further details about the person if required.
- You can then simply select the information you enter in the field from a list for other persons.
- If you want to edit the , or fields: Deactivate the relevant Not relevant check box.
- Use the button to switch to the next tab or complete the entries with the button.
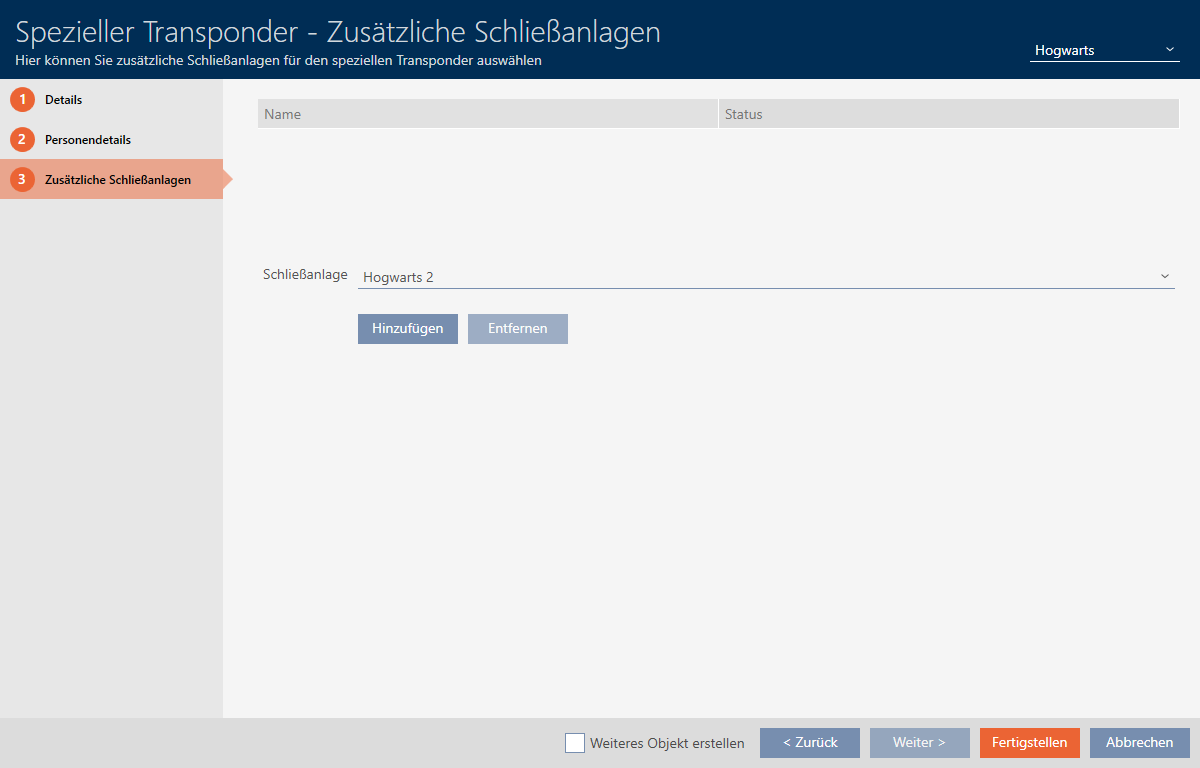
- If you want to use this special identification medium in other locking systems, use the button to add other locking systems.
NOTE
Limitations for Transponder - Additional locking systems
Depending on the type of identification medium, different volumes of memory space are available for additional locking devices (e.g.: G2 transponders can store four G2 locking systems). The locking system also needs to support the identification medium (e.g.: transponders cannot be used in card-only locking systems).
- Make sure that there is sufficient memory space on your identification medium.
- Make sure that the required locking system supports your identification medium. Upgrade the locking system if necessary (see Enable cards or transponders).
- Ensure that the locking system memory spaces do not overlap in the case of cards.
- Click on the button.
- window closes.
- Newly created identification medium with special function is now listed.

Identification media with special functions are not displayed in the matrix.