Redundancies in RingCast - WaveNet
Redundancy through transmission media
If you use second-generation Ethernet router nodes (=RN2), the router nodes first use the Ethernet connection and then the wireless connection as backup.
If the WaveNet Manager detects when calculating the RingCast that several RouterNodes reach each other wirelessly at the same time (in the example "Initiator", 1, 2, 3, 4, 5 or 4a, 4b and 4c), it assigns exactly one target partner to each RouterNode within this "radio cloud".
Router node | 1. Transmission medium in RingCast | 2. Transmission medium |
|---|---|---|
RN2.ER.IO (Ethernet and radio) | Ethernet | Radio (868 MHz) |
RN.CR.IO (RS-485 and Radio) | Radio (868 MHz) | |
RN.R.IO (Radio) | Radio (868 MHz) |
NOTE

Transmission range
The range of the radio connection is up to 30 m (depending on the building structure).
If the Ethernet RouterNode does not reach its target partner via the Ethernet connection after five seconds with a RingCast, it attempts to reach the target partner via the wireless connection. Since the RouterNode is physically unable to address its target partners in a wireless connection, all RouterNodes within range receive the data packet. Subsequently, all RouterNodes that have received the data packet check whether the condition Actual target partner is fulfilled. If the condition is not fulfilled, the router nodes that are not target partners of the sending RouterNode discard the packet again.
If the RouterNode does not reach its target partner via the wireless connection, the RingCast is interrupted at this point.
Redundancy through branching
Regardless of the transmission medium, it is possible for the WaveNet Manager to establish multiple connections between two RouterNodes when calculating the RingCast. If one of these connections fails or is disturbed, then the RingCast can partially continue to run over the intact connections. The data packet with the same input counter reading as the input counter reading stored in the initiator arrives at the initiator again and the RingCast is recognised as completed.
Redundancy of the power supply
NOTE
Interruption of the RingCast due to power failure
Power in buildings may fail. If RouterNodes are not supplied with power, you cannot forward your data packets and the RingCast is interrupted.
- Use an uninterruptible power supply (UPS) to protect the RouterNodes from a power failure.
Redundancy through events in LSM
NOTE
Event management only in LSM Business
This chapter describes how to use the Event Manager. The Event Manager is only available in LSM Business/Professional.
Various influences can (temporarily) interfere with radio transmission (see Radio network and Signal quality). If interference occurs during a broadcast, not all LockNodes and therefore not all locking devices may be reached.
You can add an additional transmission using the LSM. Since you can also forward input events to the LSM when a connection to the LSM is established (see RouterNode: Digital output), you can also react to them in the LSM (Network - ). In the window I/O configuration activate the checkbox ![]() Yes.
Yes.

This additional broadcast requires the following:
- Initiator and central output router are the same device
- Only Ethernet RouterNodes are involved in RingCast
If you use a central output router and forward its input acknowledgement to LSM, you can also cancel the additional transmission (in LSM, cancel the timer as a response). To do this, connect the output of the input acknowledgement (e.g. 1) to a free input (e.g. 2).
The event in LSM is processed in three parts.
- WaveNet input starts a timer event.
- Timer event starts after event expires and starts reaction.
- Reaction sends the RingCast command to all specified locking devices.
Repeating the broadcast
- LSM open.
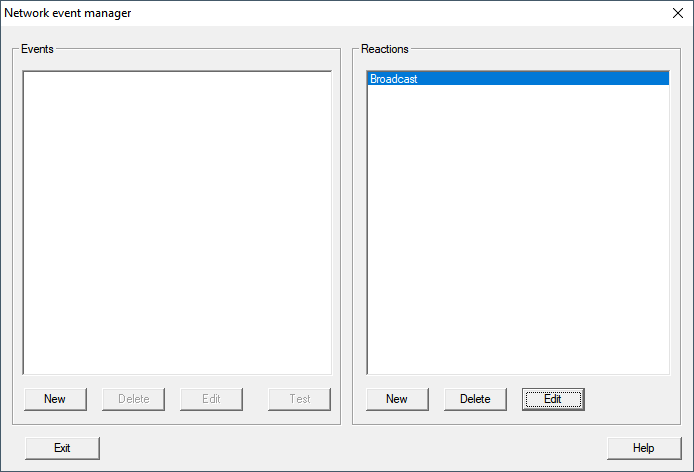
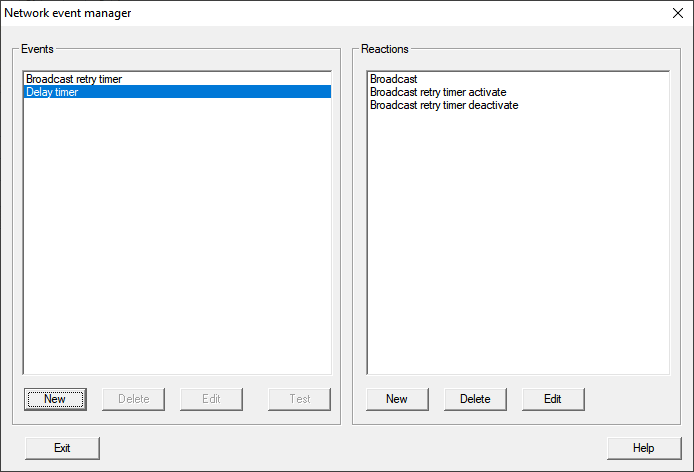
- Via Network select the entry .
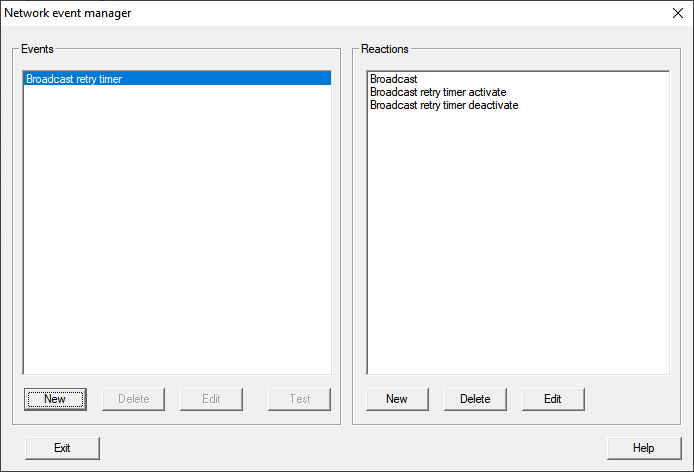
- The window Network event manager opens.
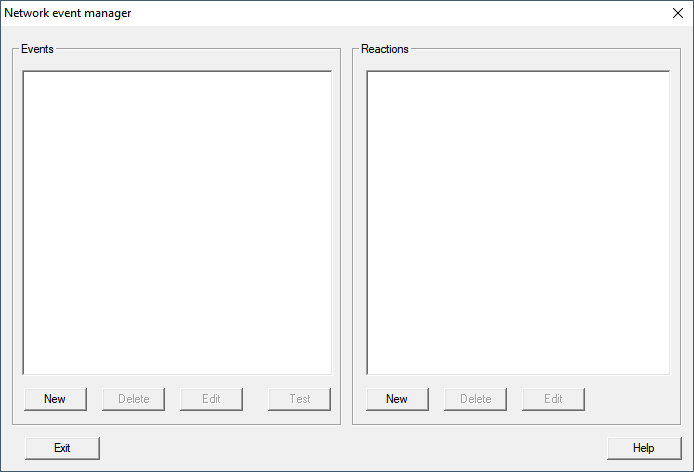
- In the area Reactions click the button New.
- The window New reaction opens.
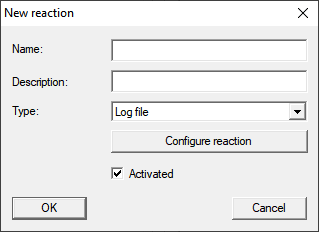
- Enter a name and a description.
- In the dropdown menu select the entry Network task.
- Click on the button Configure reaction.
- The window Task opens.
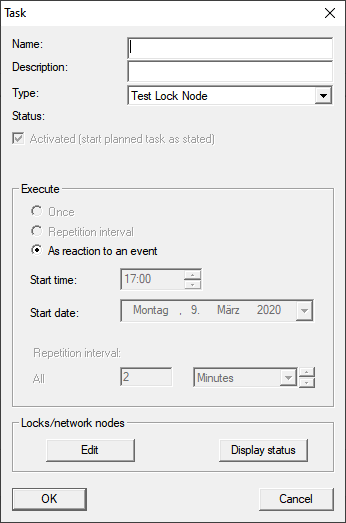
- Enter a name and a description.
- In the dropdown menu select the command that your RingCast transmits.
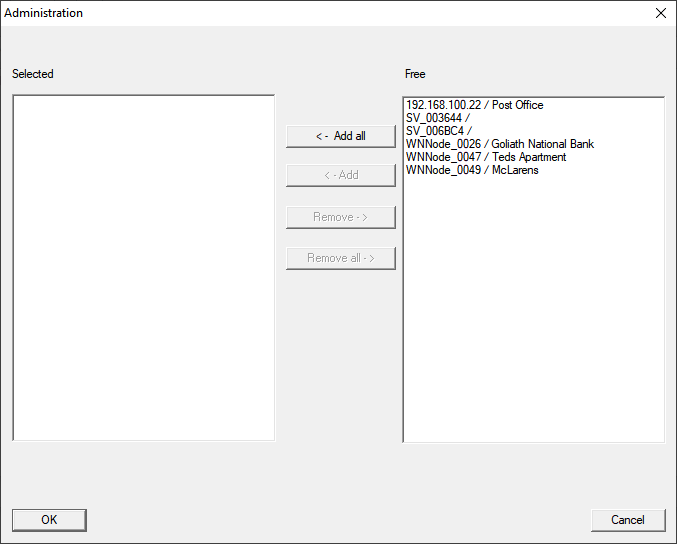
- In the area Locks/network nodes click the button Edit.
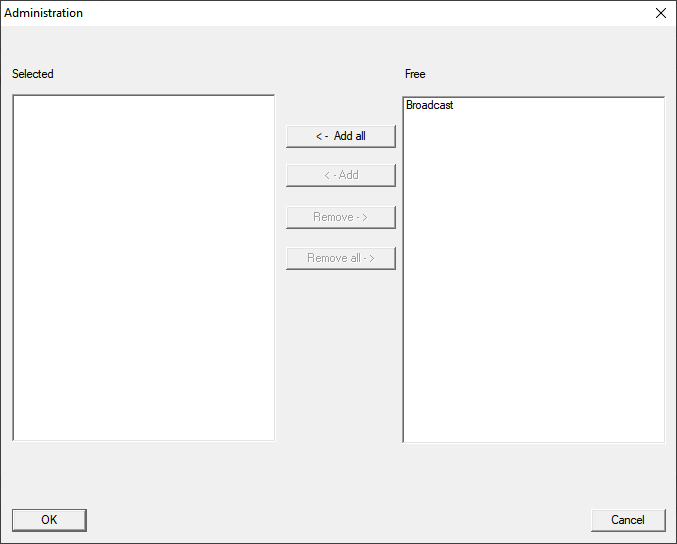
- The window Administration opens.
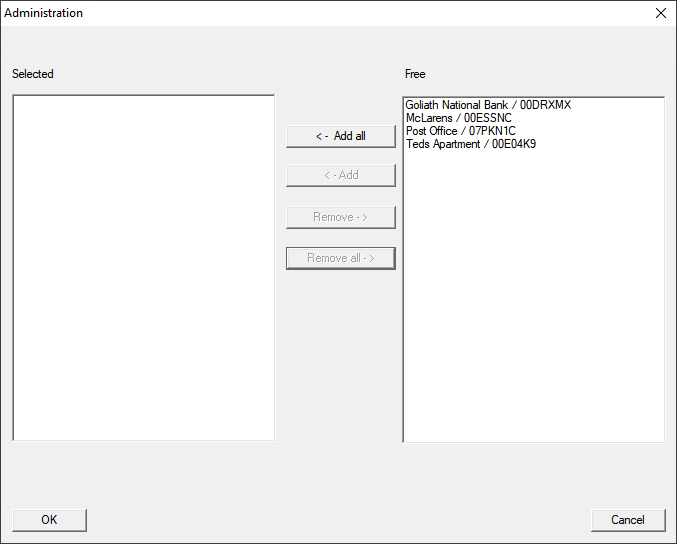
- Mark all locking devices that are controlled by the RingCast.
- Click on the button ← Add.
- Click on the OK button.
- The Administration window closes.
- Click on the OK button.
- The window Task closes.
- Click on the OK button.
- The New reaction window closes.
- The reaction is listed in the area Reactions.
Wait for timer
- In the area Events click the button New.
- The window New Event opens.
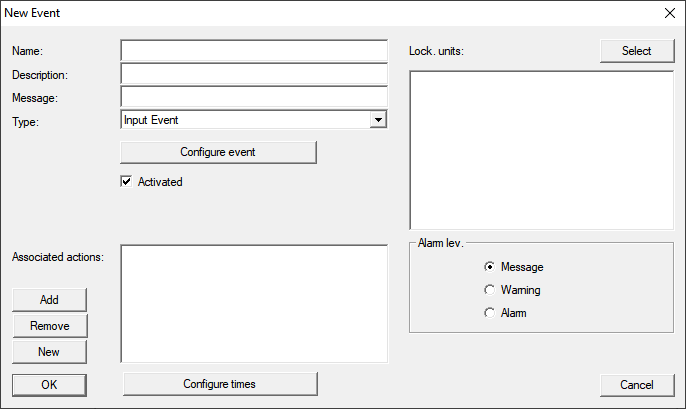
- Enter a name and a description.
- In the dropdown menu select the entry Time interval.
- Click on the button Configure event.
- The window Time interval event opens.
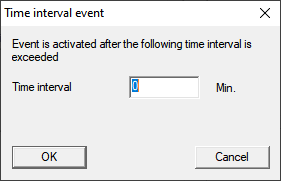
- Specify the time delay between RingCast start and LSM backup start.
NOTE
RingCast malfunction due to parallel transmission
If LSM executes the reaction immediately, then the affected router nodes are already sending while the RingCast is not yet complete. This can interrupt the RingCast.
- Set a delay that is one minute longer than the maximum transmission time of the RingCast (see Maximum transmission time in RingCast).
- Click on the OK button.
- The window Time interval event closes.
- Click on the button Add.
- The window Administration opens.
- Mark the response which you have just created and which is to be triggered when the timer event expires without being interrupted.
- Click the button ← Add.
- Click on the OK button.
- The Administration window closes.
- Action is displayed in the list of actions associated with the event.
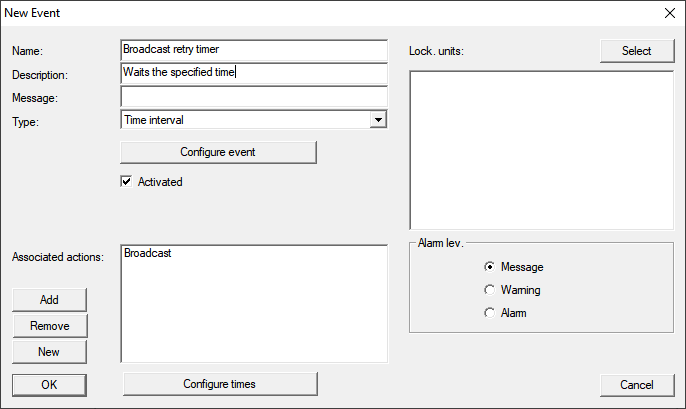
- Click on the OK button.
- The New Event window closes.
- Reactions receives two additional entries with the endings "Deactivate" and "Activate".
Starting the timer
- In the area Events click the button New.
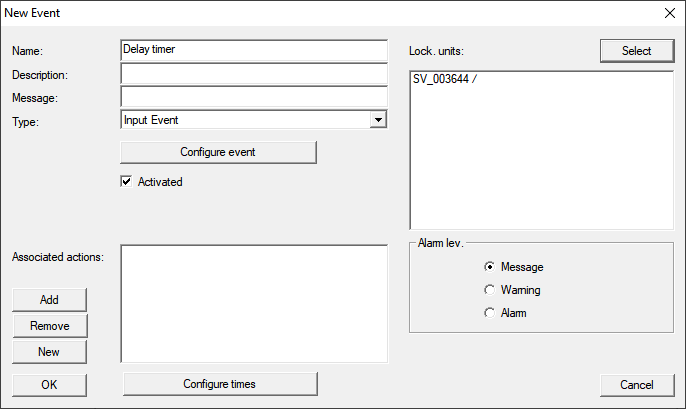
- The window New Event opens.
- Enter a name and a description.
- In the dropdown menu select the entry Input Event.
- Click on the button Configure event.
- The window Input Event opens.
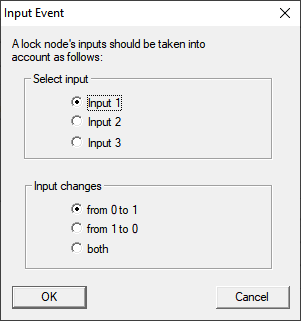
- In the area Select input select the input that troggers your RingCast.
- In the area Input changes select when your RingCast starts.
 from 0 to 1: RingCast starts when the signal is present.from 1 to 0: RingCast starts when the signal is no longer present.both: RingCast starts when the signal is present and when it is no longer present.
 - Click on the OK button.
- The Input Event window closes.
- Click on the button Select.
- The window Administration opens.
- Mark the router that is the initiator in your RingCast (the RouterNode that gets the input first).
- Click on the button ← Add.
- The Administration window closes.
- RouterNode is displayed in the list of locking devices associated with the event.
- Click on the button Add.
- The window Administration opens.
- From the responses you created earlier, mark the one with the ending "activate".
- Click the button ← Add.
- Click on the OK button.
- The Administration window closes.
- Action is displayed in the list of actions associated with the event.
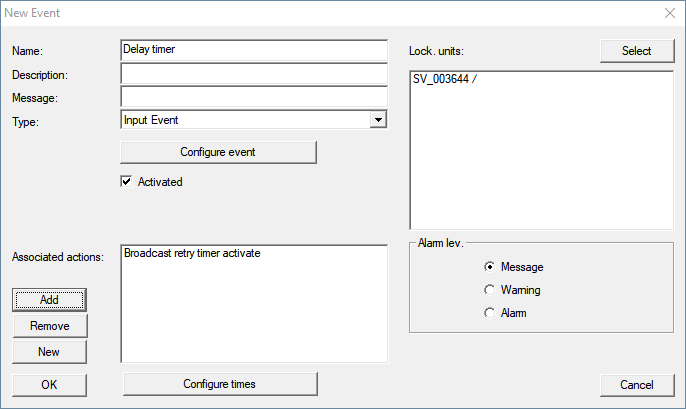
- Click on the OK button.
- The New Event window closes.
- LSM backup is set up.
Cancel timer event
- On the central output router, at least one digital output is set to Input receipt short or Input receipt static eingestellt (see RouterNode: Digital output).
- At the central output router, connect a free input input to a digital output with input acknowledgement (see Central output router).
- Via Network select the entry .
- The window Network event manager opens.
- In the area Events click the button New.
- The window New Event opens.
- Enter a name for the event, e.g. "Backup abort".
- In the dropdown menu select the entry Input Event.
- Click on the button Configure event.
- The window Input Event opens.
- In the Select input area, select the input to which the central output router's acknowledgement is to be created.
- In the area Input changes select the optionfrom 1 to 0.
- Click on the OK button.
- The window Input Event closes.
- Click on the button Add.
- The window Administration opens.
- From the responses created earlier, select the one with the ending "activate".
- Click the button ← Add.
- Response is
- Click on the OK button.
- window Administration closes.
- Action is displayed in the list of actions associated with the event.
- Click on the OK button.
- The Network event manager window closes.
- LSM backup is set up.
Transfer the changes to the communication node assigned to your router node (see LSM import).
For more information on setting up an event and a reaction, refer to the LSM manual.