LockNodes - WaveNet
You can identify a communication problem (failed connection attempt) by a red W in the LSM (see Monitoring the devices in the network). If the communication problem persists even after repeated connection attempts, this can have a number of causes:
- Radio shadow through open door
- Routing problem between CommNode server and RouterNode
- Communication problem between CommNode server and RouterNode, e.g. due to blocked port 2101
- (Partial) network failure, e.g. due to defective switches
- Temporarily suspended IP allocation, e.g. due to maintenance work in the network
- Low batteries
You can easily check the battery condition yourself.
Signalling
The signalling of the battery status depends on the LockNode used (see Signalling the operating status).
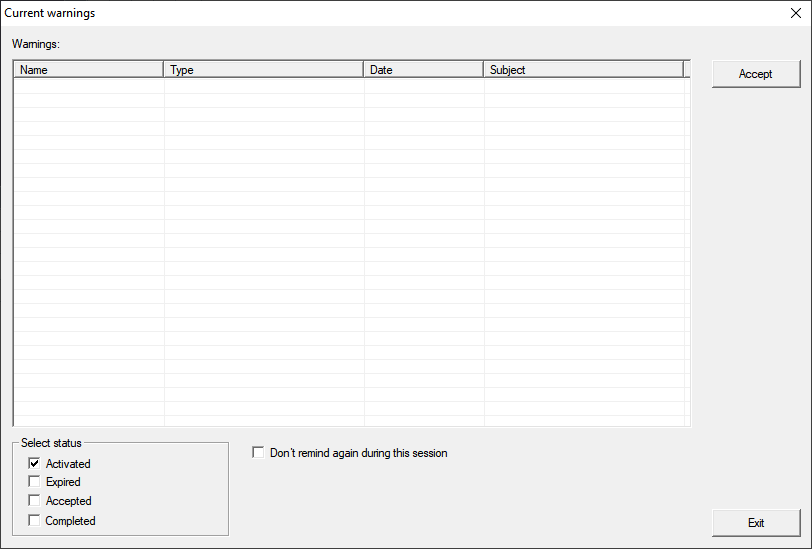
Warning monitor (LSM)
The LSM includes a warning monitor (Reports, entry . You will see battery warnings for all locking devices used in the locking system. To use this function effectively, you need a task that regularly tests the battery status of your networked LockNodes.
Setting up a task in LSM
- Via Network select the entry .
- The window Task manager opens.
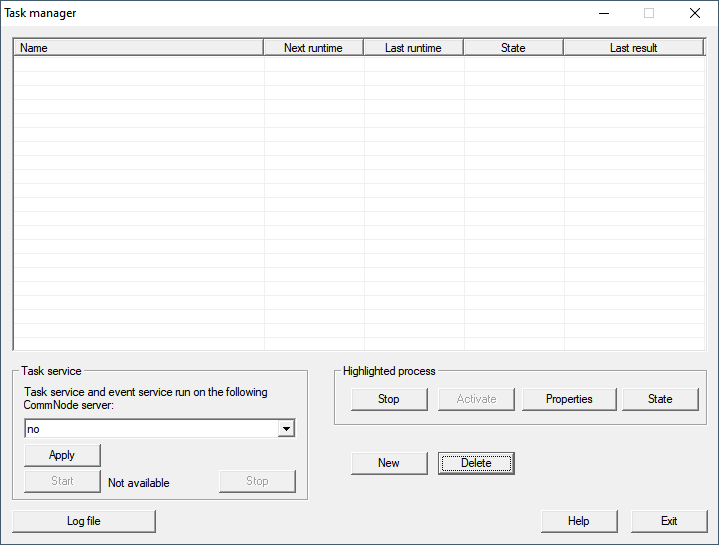
- Click on the button New.
- The window Task opens.
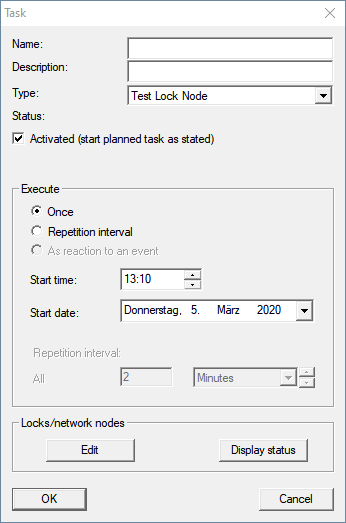
- Enter a name for the task, e.g. "Test battery condition".
- If necessary, enter a description.
- In the dropdown menu select the entry Test Lock Node.
- Specify the repetition interval (e.g. weekly=168 hours).
- In the area Locks/network nodes click the button Edit.
- The window Administration opens.
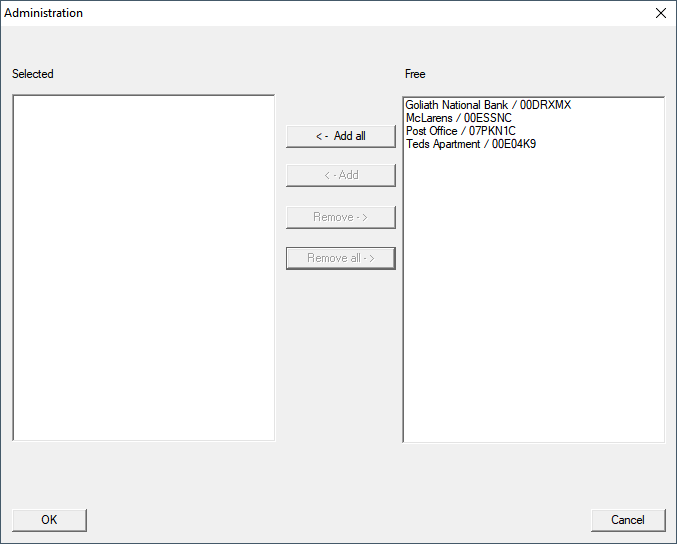
- Select all locks whose battery status you want to monitor (usually all locks that are battery operated and networked).
- Click the button ← Add.
- The selected locks are now in the left-hand column.
- Click on the OK button.
- The window Administration closes.
- Click on the OK button.
- The Task window closes.
- In the area Task service in the dropdown menu , select the CommNode you want to use for testing the LockNodes.
- Click the button Apply.
- Click on the Exit button.
- Reminder window opens.
- Click on the OK button.
- Reminder window closes.
- The window Task manager closes.
- Task set up in LSM.
Transfer to communication nodes
- Via Network select the entry .
- Make sure that the communication node you just used is selected.
- Click the button Config files.
- Windows folder search opens.
- Make sure that your CommNode directory (CommNodeSvr_X_X) is selected.
- Click on the OK button.
- Windows folder search closes.
- The window LockSysMgr opens.
- Click on the button No.
- The LockSysMgr window closes.
- The window LockSysMgr opens.
- Click on the OK button.
- The LockSysMgr window closes.
- Click on the button Transmit.
- Data is transmitted to the communication node.
- The window Programming opens.
- Click on the OK button.
- The Programming window closes.
- Task is transferred to the communication node.
Display battery warnings
However, you must add the locking devices to be monitored yourself. You can check and set the display of battery warnings:
- LSM open.
- Via Reports select the entry .
- The window Manage warnings opens.
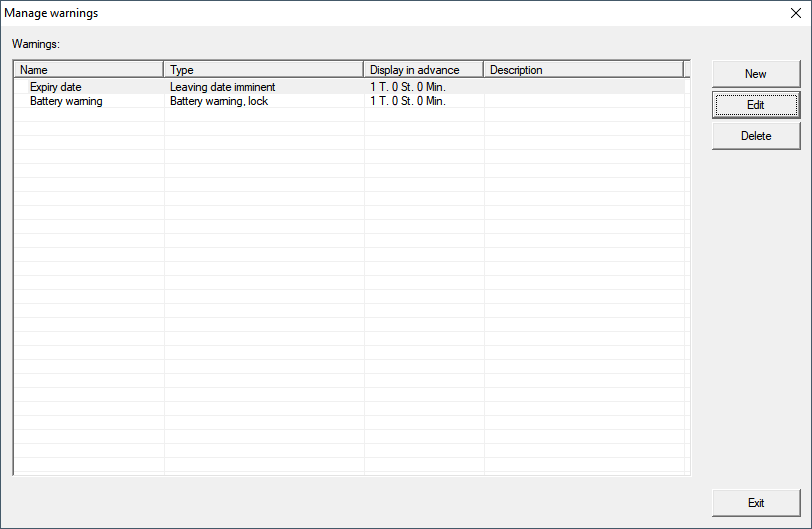
- Mark the battery warning entry.
- Click on the button Edit.
- The window Warning attributes opens.
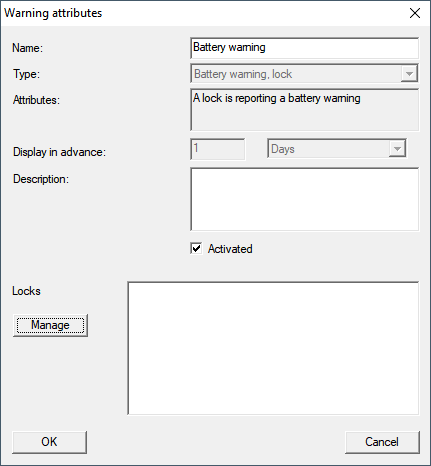
- Make sure that the checkbox
 Activated is activated.
 - Click on the button Manage.
- The window Administration opens.
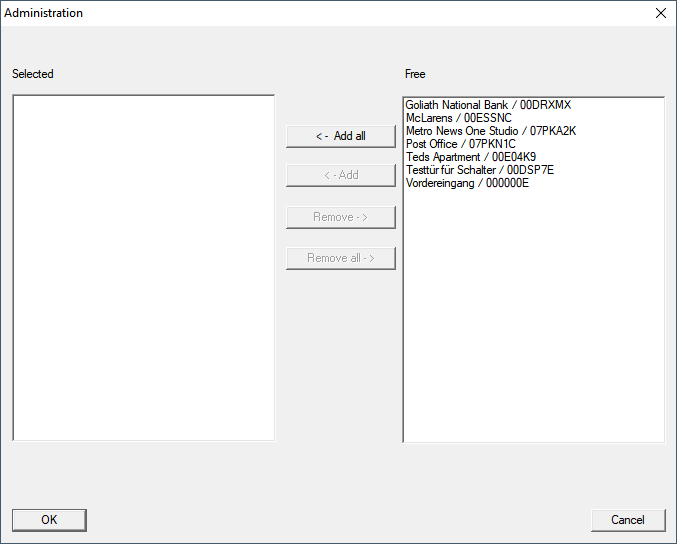
- Click on the button ← Add all.
- All locking devices are added.
- Click on the OK button.
- The Administration window closes.
- Click on the OK button.
- The Warning attributes window closes.