LSM import - WaveNet
You must import the created WaveNet topology into the LSM so that you can use the WaveNet topology there.
- WaveNet Manager opened via LSM (see Best Practice: From the LSM software)
- Free communication node available in the LSM (or local connection for operation without communication node).
- WaveNet topology created and saved (see Add RouterNode to WaveNet and Adding Lock Nodes to WaveNet).
- Click on the Exit button.
- The window WaveNetManager opens.
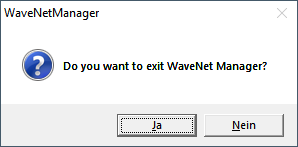
- Click on the Yes button.
- The WaveNetManager window closes.
- The window Import WaveNet topology opens. You see a list of the devices to be imported.
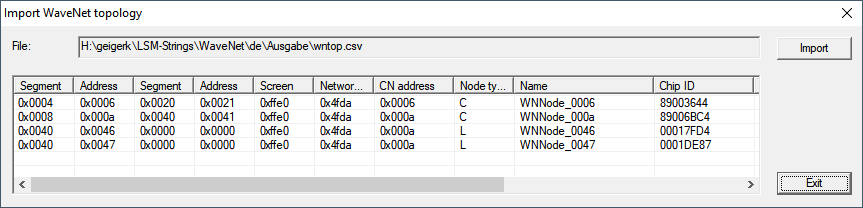
- Click on the button Import.
- The window Assignment opens.
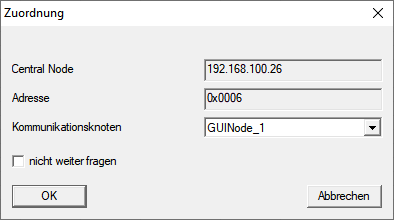
- In the drop-down menu select the communication node in the LSM that you want to use for the RouterNode (for creation, see Finding and adding devices or LSM manual).
- Click on the OK button.
- The Assignment window closes.
- The window Result opens.
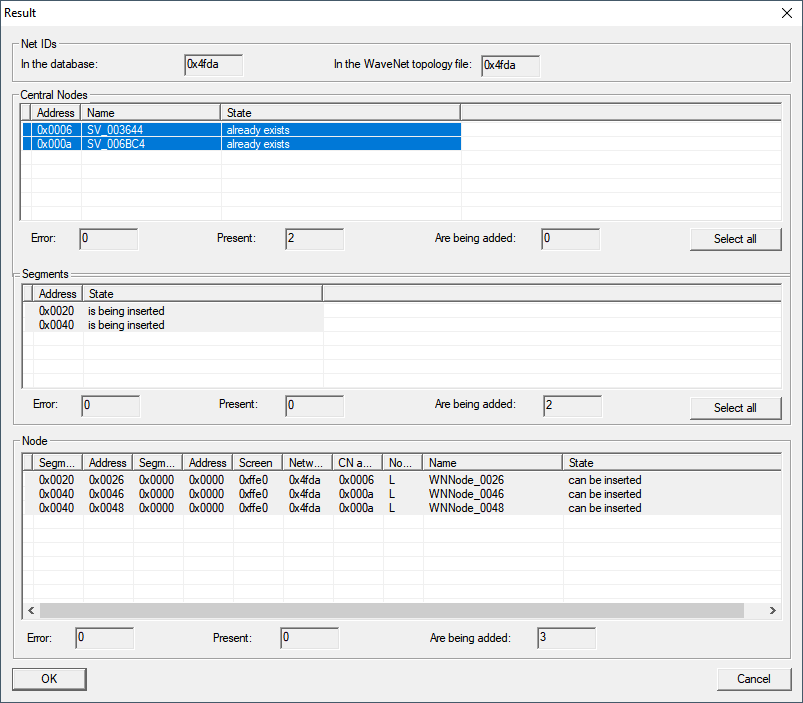
- Click on the OK button.
- The Result window closes.
- The window LockSysMgr opens.
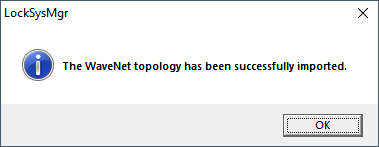
- Click on the OK button.
- The LockSysMgr window closes.
- WaveNet Manager closes.
- WaveNet topology is imported and RouterNode is listed in the list of ports for the communication node.
Transfer to communication nodes
- LSM open.
- Via Network select the entry .
- Use the buttons
 or
or  to select the communication node you just used.
 - Click the button Config files.
- The window Search Folder opens.
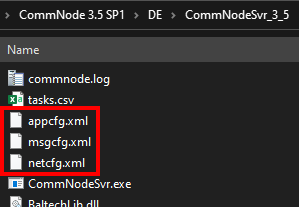
- Ensure that the installation directory of the CommNode server is selected.
- Click on the button OK.
- The Search Folder window closes.
- Click on the button No to avoid saving to a node-specific folder.
- XML configuration files are saved.
- Click on the button Transmit.
- The window LockSysMgr opens.
- Click on the OK button.
- The LockSysMgr window closes.
- Data is transferred to the communication node.