Migrate project (transfer) - AXM Plus
Images: Q:\Produktmarketing\40 Technische Redaktion\20 Bilddatenbank\Software\AXM\Plus\AXM Plus with Netzwerk\Migration
Information from test spec.: Prerequisite: SimonsVoss ID connected to the cloud. Set the option to check cloud status
Registration must be performed via the SV-ID. Thus, it is possible to create a connection to the cloud (see description). Otherwise, the cloud will not know when it is allowed to “continue”.
Information from the procedure: Registration via the SV-ID is more straightforward. After recovery, CommNode and VNHost must be paired again on the new computer
In cloud applications (e.g. AX2Go), the cloud must be at the same level as the project in your AXM Plus. In some cases, you may wish to transfer your AXM Plus data using a backup, for example:
- Migrating to a new computer
- Transfer to another person after configuration
During a normal backup, the project would be paused, and the cloud would continue to run, resulting in error . In this case, use the  . It differs from the normal
  :
:
- As long as cloud services are active, there will be a pause until the project has been restored on the target computer, registered and connected to the SV-ID.
- After saving the backup file, the project is removed from the project overview and may not be edited until it has been restored.
Create migration file
- AXM registered and connected with SV-ID (see Registration with licence).
- At least one project has been created that is to be migrated (see First steps after a new installation).
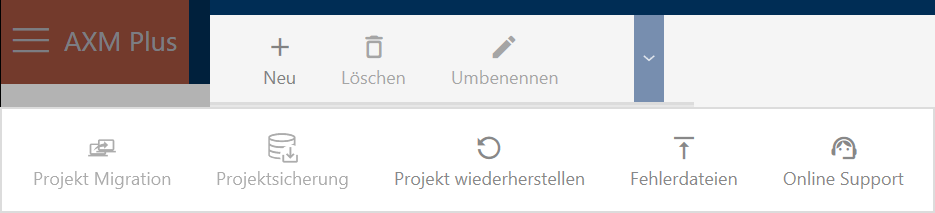
- Close currently open projects, as necessary, (expand the AXM toolbar and select the entry in the group ).

- The window for logging on to a project is visible.
- Select the project to be migrated and expand the project options.
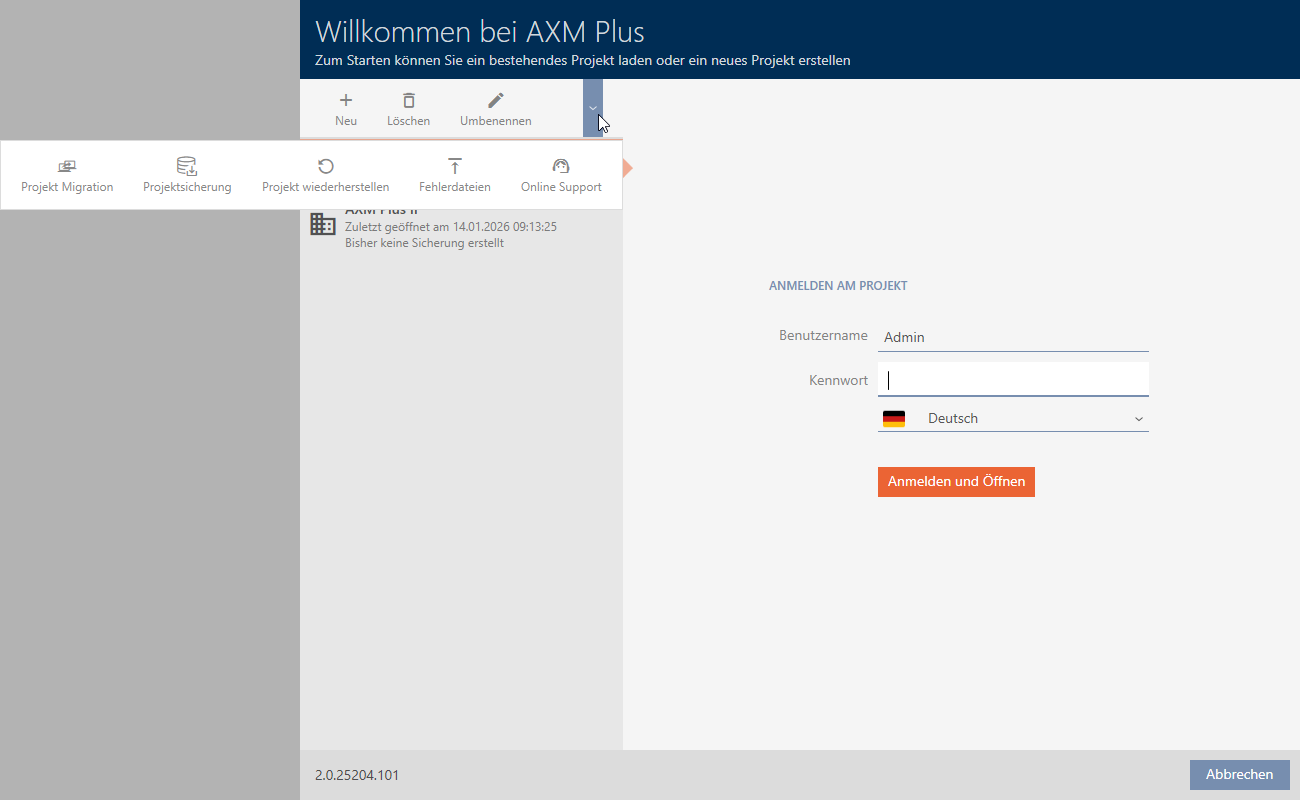
- Click on the button.
- The information window for the migration process opens.
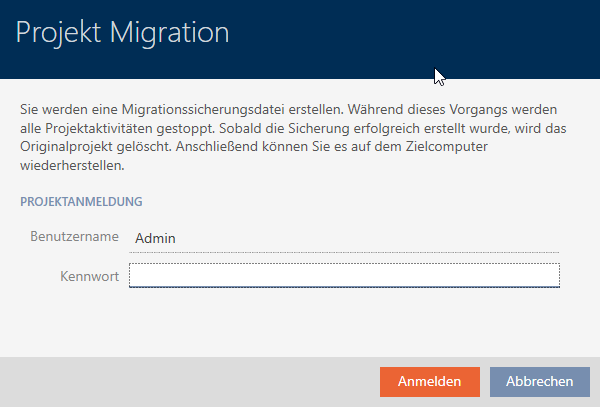
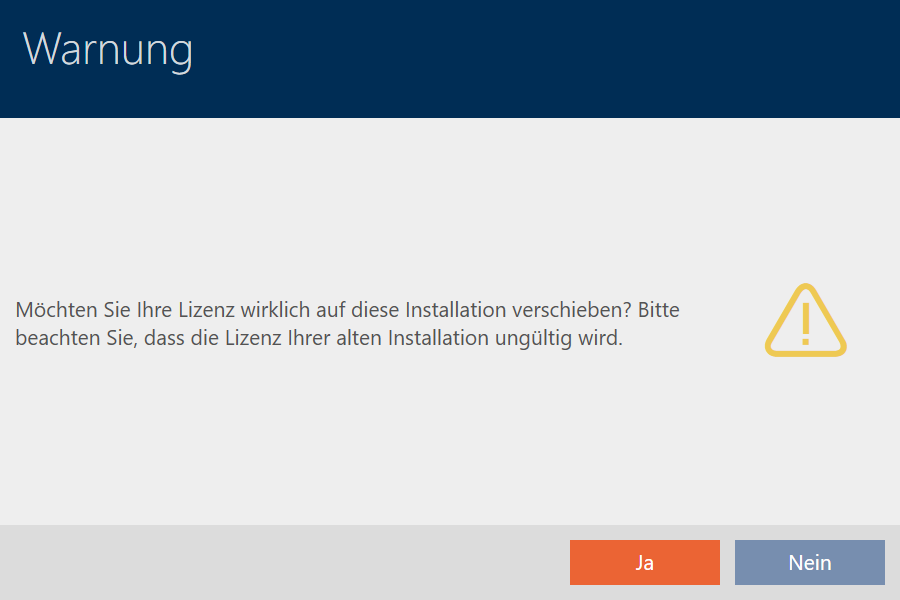
- Enter the login details you would normally use to log in to this project in fields and .
- Click the button .
- Project migration is being prepared.
- Window is displayed.
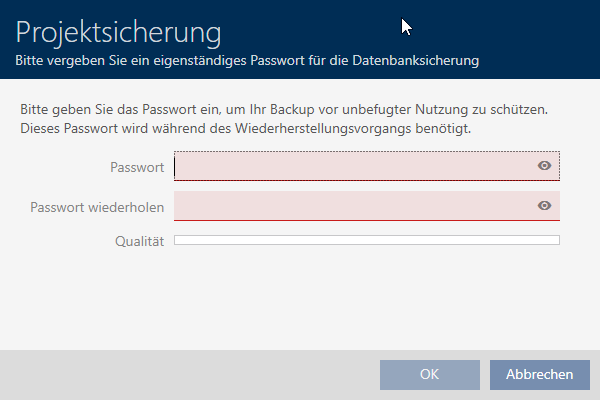
- Enter a password in the fields and to protect the project backup.
- Click on the button.
- Window closes.
- Windows Explorer opens.
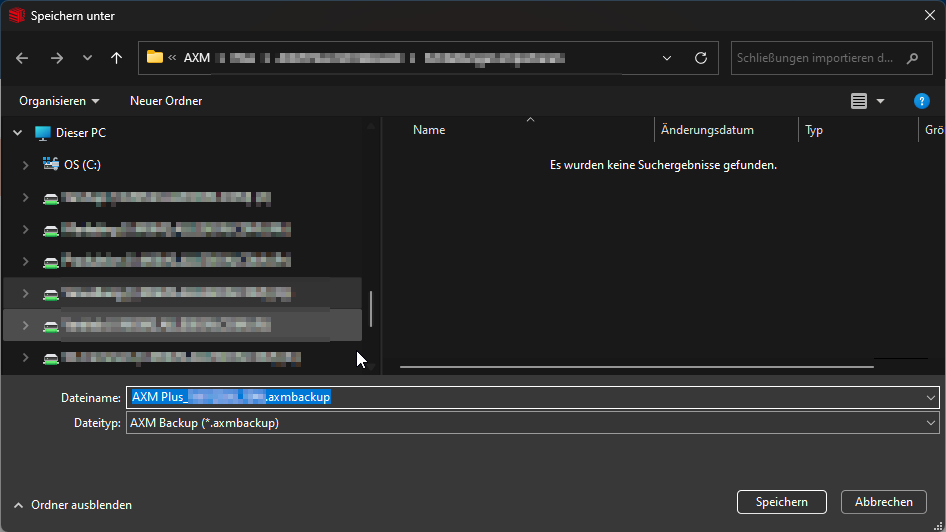
- Save the migration file (*.axmbackup) to a suitable location.
- Migration file is being saved.
- Migration file saved successfully.

- Click on the button.
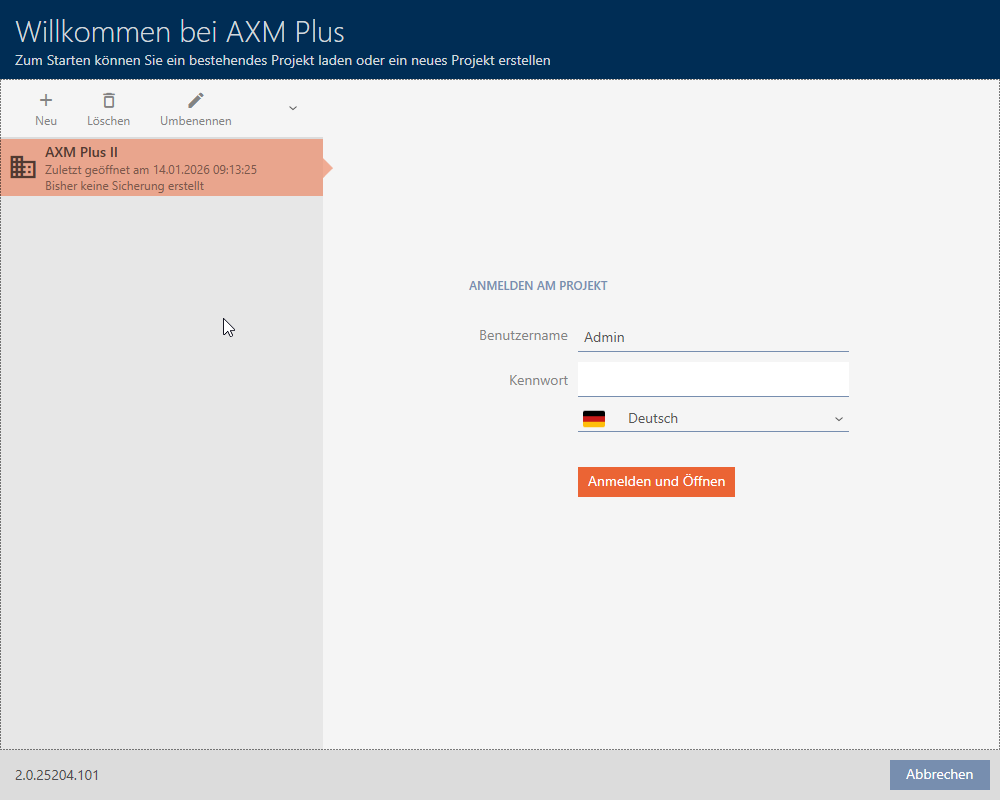
- AXM Plus returns to the project login.
- The project to be migrated is no longer displayed.
Import migration file and restore project
The transfer to the target computer consists of several parts:
- AXM Plus install and register.
- Import migration file.
- Re-link services (e.g. CommNode) (see CommNode set up and Configure of VNHost).
- Migration file created.
- AXM Plus is installed (see Installation).
- Open the AXM Plus.
- Register the AXM Plus with the same SV-ID (details see Registration).

- Click on the button.
- Expand Project Options.
- Click on the
 button on the login mask.
 - The Explorer window will open.
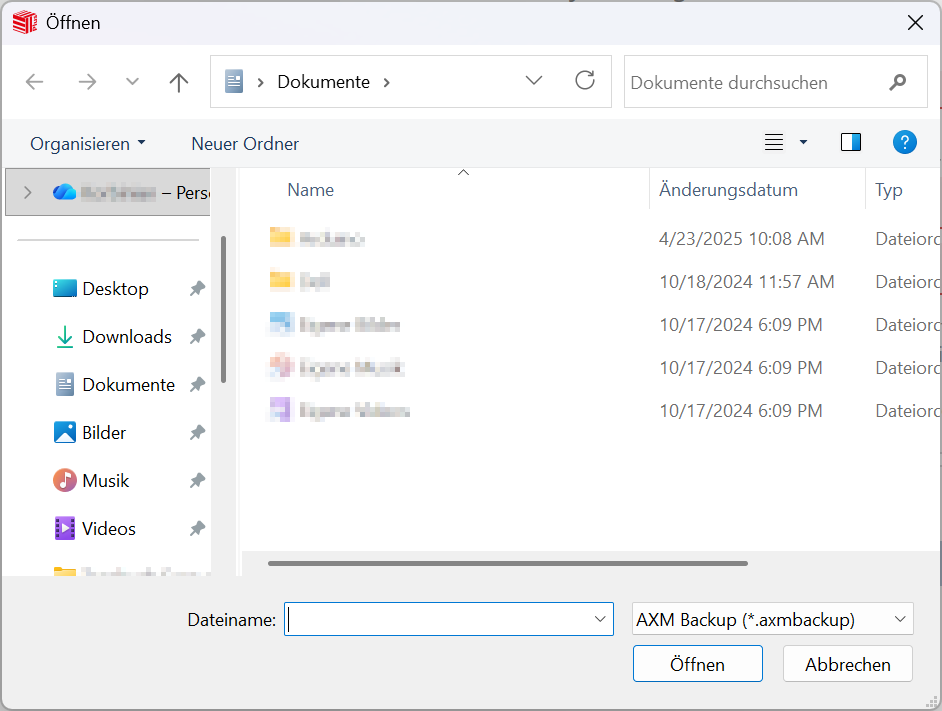
- Select the previously created migration file (*.axmbackup).

- The window will open.
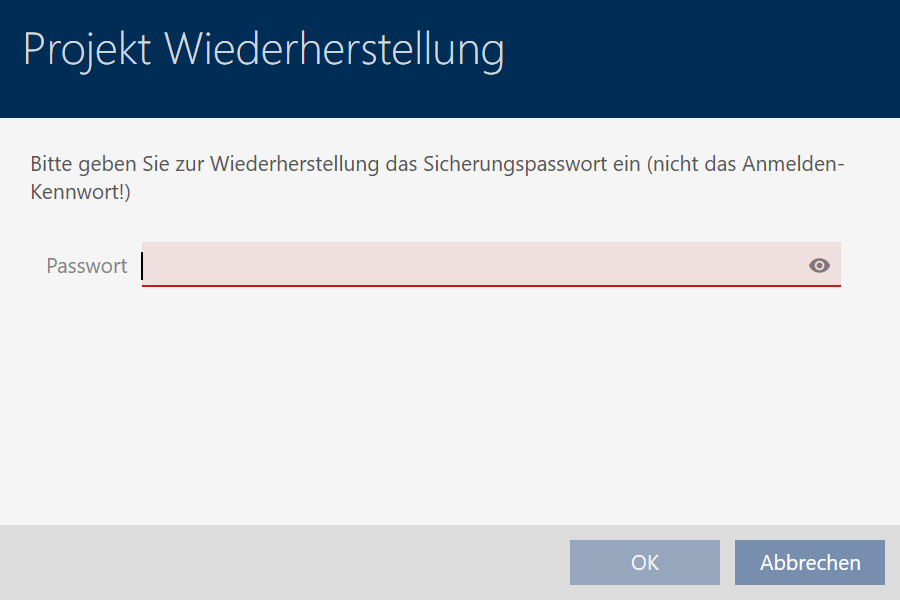
- Enter the password you entered while creating the backup in field .
- Click on the button.
- The window will open.
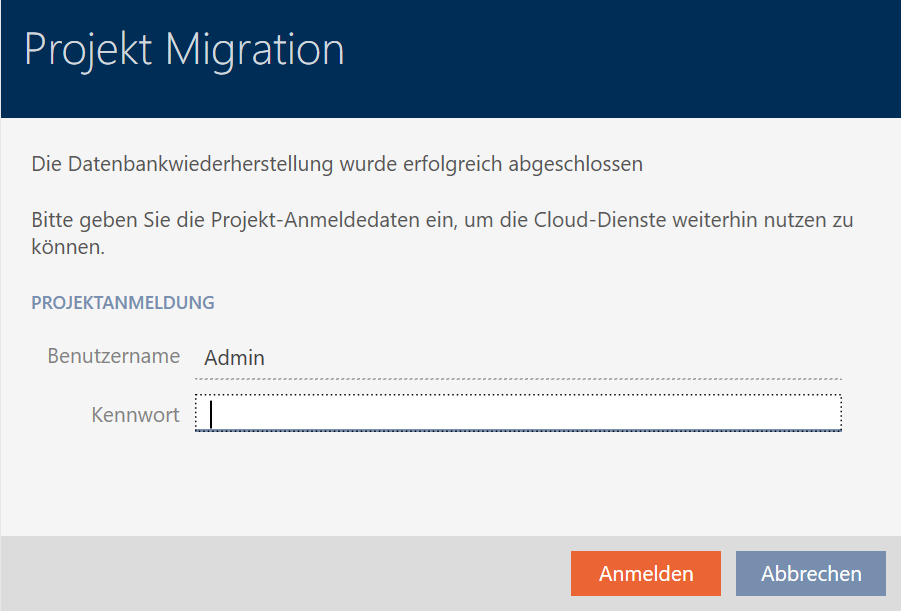
- Enter the login details in the fields and that you used to sign in to this project before the migration.
- Click the button .
- The window will open.
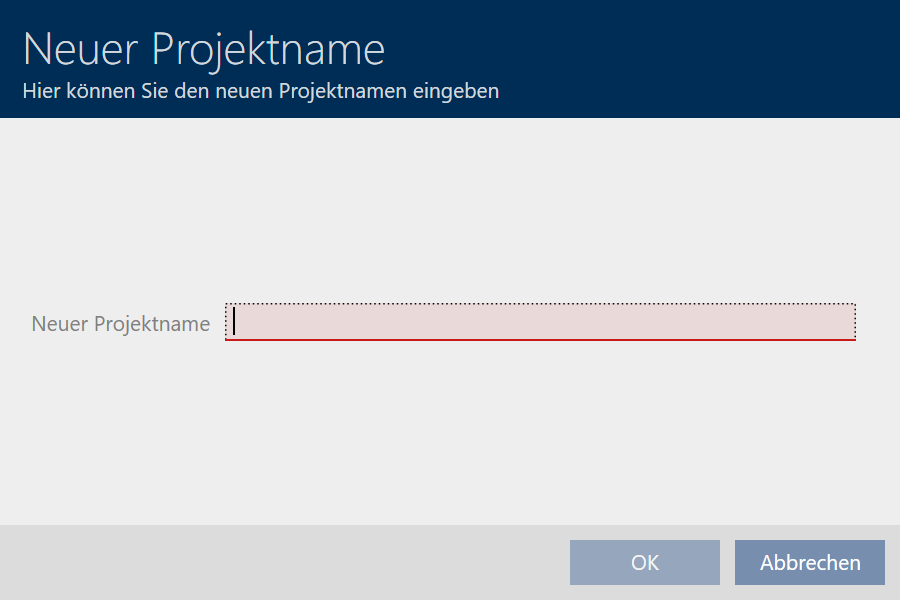
- Enter the name you want to use to display the migrated project in field .
The name does not have to be identical to the pre-migration name. - Click on the button.
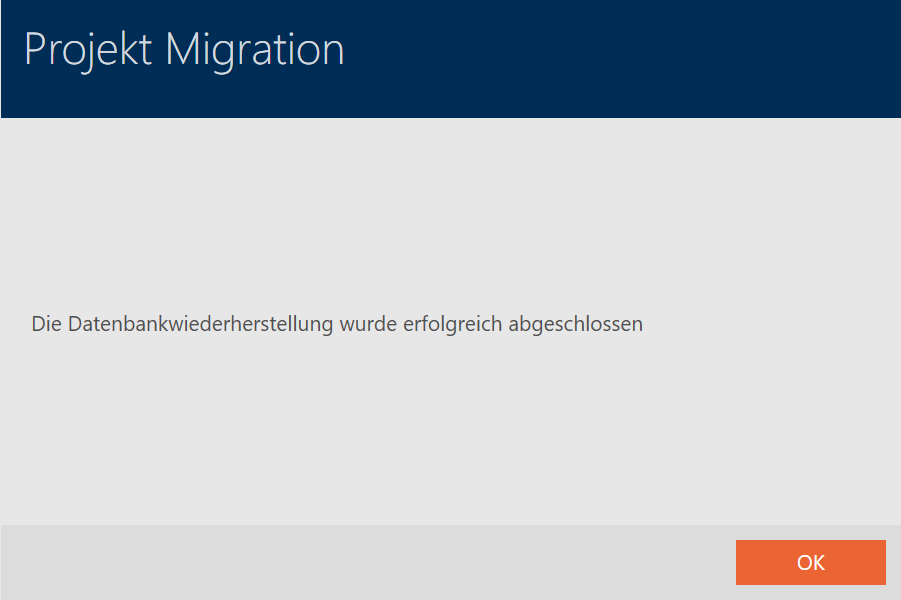
- Database backup completed successfully.
When your project uses networking, proceed with linking the necessary services (see CommNode set up and Configure of VNHost).