Specify WaveNet channel, address and password - AXM Plus
- AXM Plus is installed (see Installation).
- At least one project is available (see First steps after a new installation).
- ConfigNode is configured (see CommNode set up).
- Click on the orange AXM icon
 .
. - AXM bar opens.

- Click on the entry in the group.
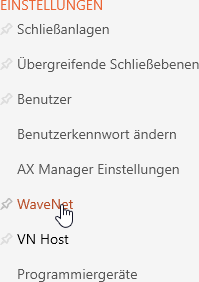
- The AXM bar will close.
- The tab will open.
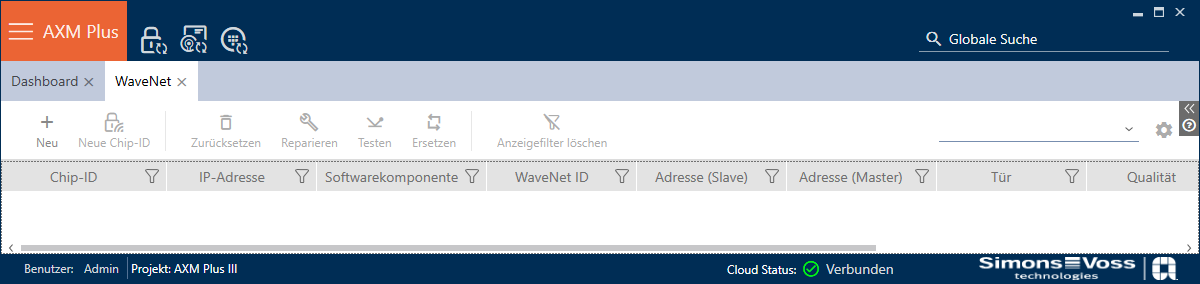
- Click on the
 button.
 - The window will open.
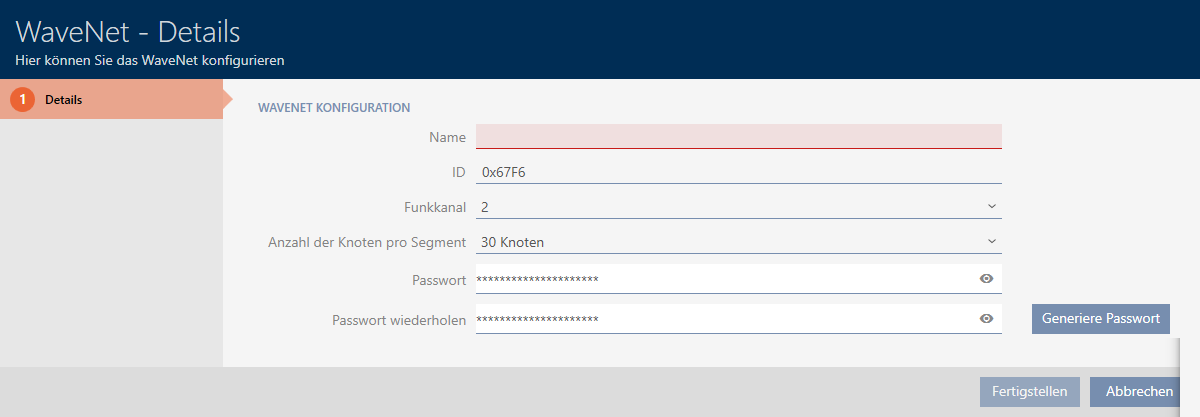
- Enter a name for your WaveNet in the field.
- The ID is automatically randomly generated. As necessary, you can also enter your own ID in the field .
The ID and password make your WaveNet unique and prevent accidental reprogramming. - Select the desired channel from the dropdown menu (details on channels and frequencies can be found in the WaveNet manual).
- Select the number of Lock Nodes from the drop-down menu that you want to use per RouterNode.
With 30 nodes per RouterNode, you can use a maximum of 1790 RouterNodes (equivalent to the 11_5-bit mask). With 254 nodes per RouterNode, you can use a maximum of 249 RouterNodes (equivalent to the 8_8-bit mask). For further details on addressing, see the WaveNet manual. - Enter a secure password in the and fields.
- Click on the button.
- Windows Explorer opens, allowing the WaveNet password to be saved as a PDF.
- Save the PDF with the WaveNet password in a suitable location.
- Window closes.
- WaveNet is installed.
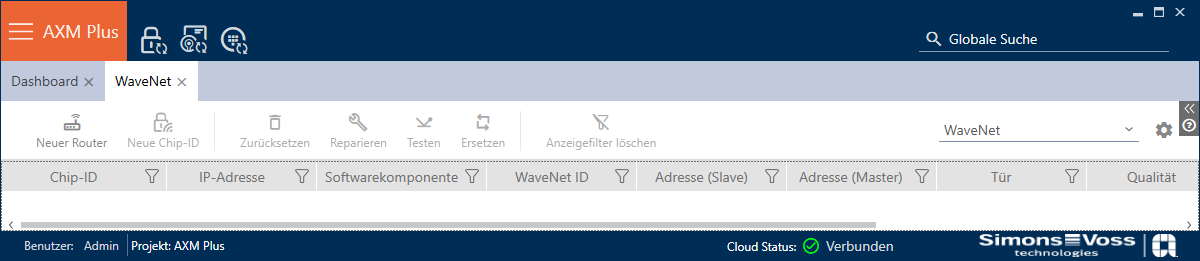
- The button is not displayed because you have just created the WaveNet.
- The button
 is displayed. Add individual RouterNodes (see Add RouterNodes).