Importing locking devices - AXM Plus
The import function allows the simultaneous creation of multiple locking devices/doors. To do this, you need an import file in CSV or XLSX format. The columns in this file are subsequently assigned to a field in the AXM Plus. A new locking device (and a new door) are created with each new line, and the fields are populated with the contents of their assigned columns.
Ideally, your import file is encoded in Unicode (UTF-8) format.
There is a similar function for identification media and persons: Import identification media
Example file
An example file could look like this:
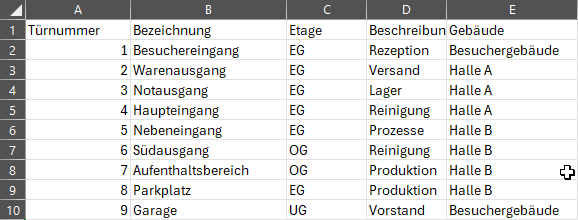
- Selection values (e.g. ), which appear in the import file, have already been created (see e.g. Creating a building and assigning it to a location).
- Click the orange AXM button
 .
. - AXM bar opens.

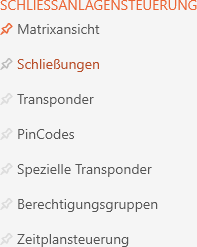
- Select the entry in the group.
- The AXM bar will close.
- The tab will open.

- Click on the
 button.
 - The window will open.
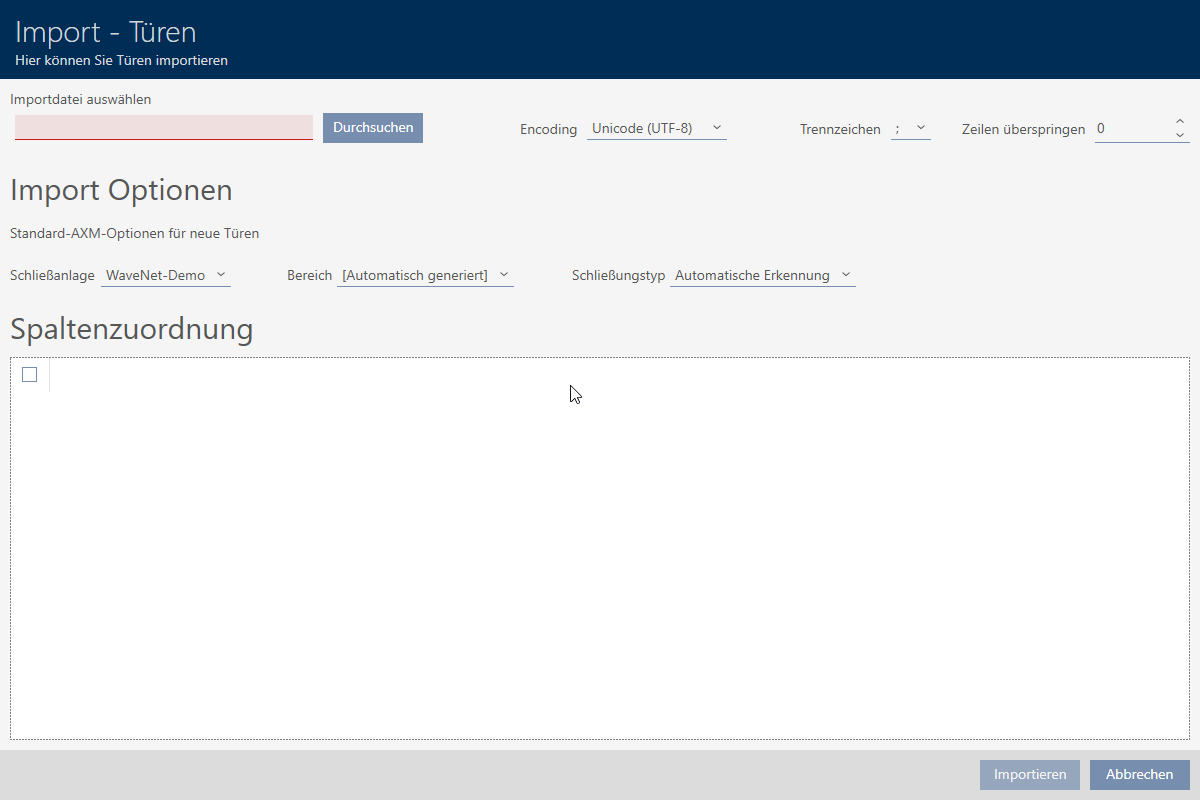
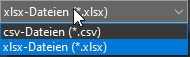
- Click the button and navigate to your import file. You may need to set the file type to see your import file.
- Area is loading.
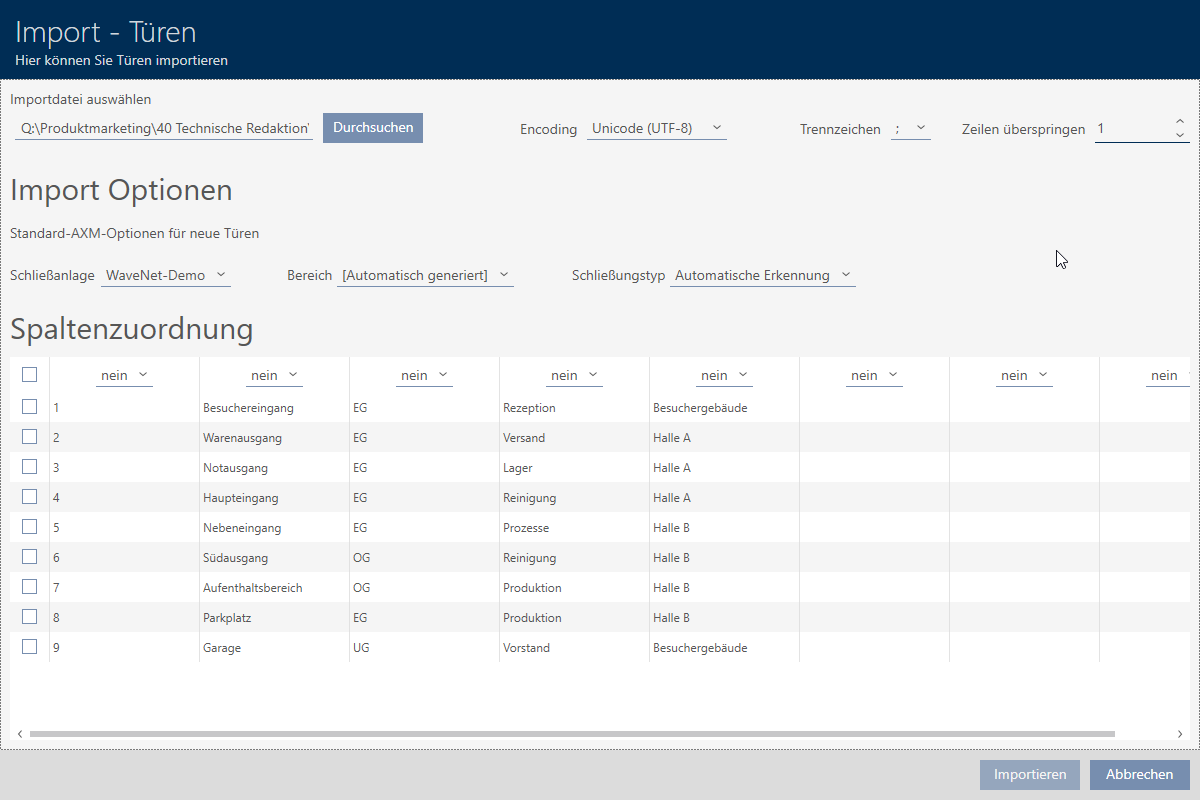
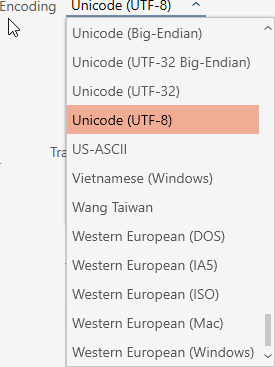
- Select the encoding for your import file from the dropdown menu; (recommendation: import the file in Unicode (UTF-8) format).
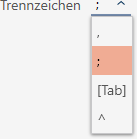
- Select the delimiter for your import file from the dropdown menu (in the example: ;).
- In field , give the number of import file lines that should be skipped (for example, column headings, in the example: 1).

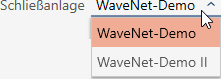
- Open the dropdown menu and select the target locking system .
- Use this drop-down menu to select the field in the locking devices details into which you want to import the entry in this column.
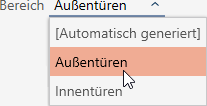
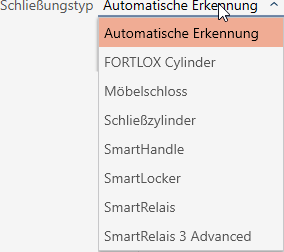
- Use the drop-down menu to select the type of locking device for the imported locking devices.
- Each column has a drop-down menu above it. Use this drop-down menu to select the field in the locking device details into which you want to import the entry in this column. If you select the entry , the column will be ignored and not imported.
The entries and must be selected as these fields are mandatory (*) fields. 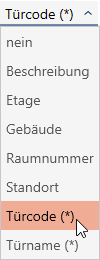
NOTE

Values to be imported must be selected before importing
Fields such as or are selection values. Only existing values may be selected for import; new values cannot be created.
If a selection value is not available, the field is skipped during import.
- Create all required values before importing.
- Columns are assigned to the fields in the locking device details.
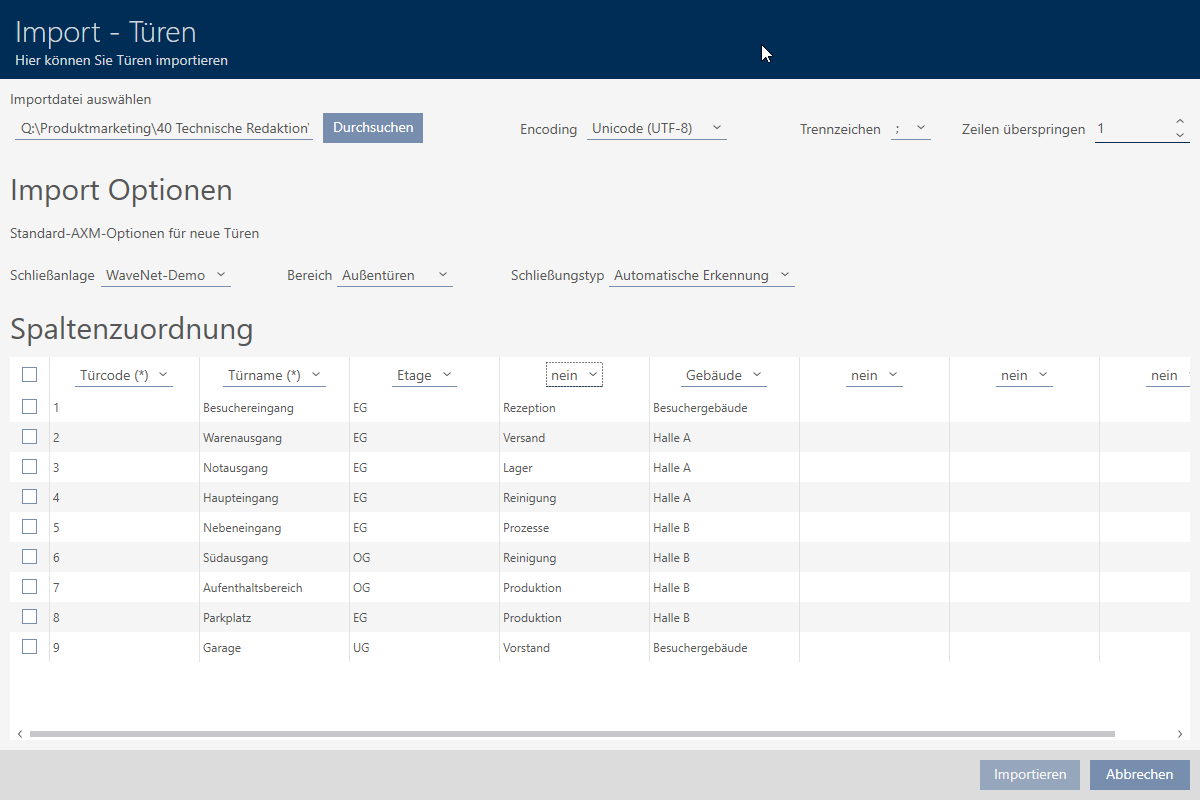
- Mark all the lines you want to import.

- Click the button.
- Import begins.
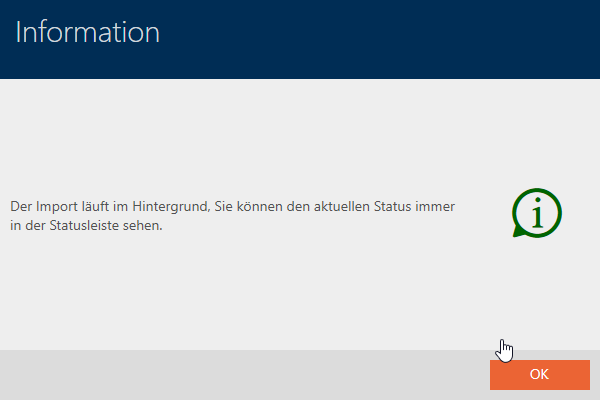
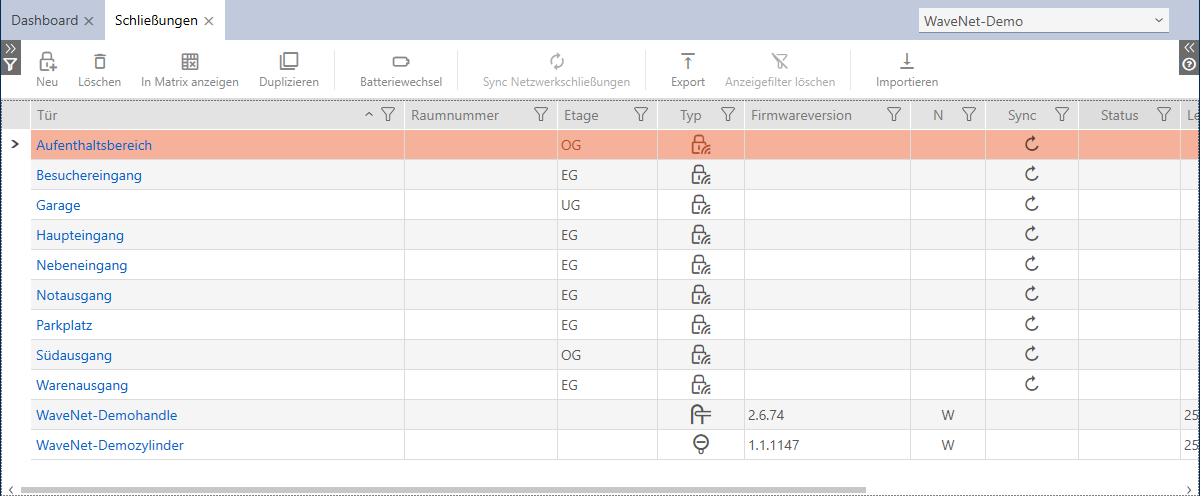
- Once the import is complete, the imported locking devices/doors can be seen in the list of locking devices: