Configure of VNHost - AXM Plus
The VNHost required for the virtual network is automatically installed together with your AXM Plus. It is responsible for the communication between the gateways and the database.
- AXM Plus is installed (see Installation).
- At least one project is available (see First steps after a new installation).
- Open Windows services VNHost.

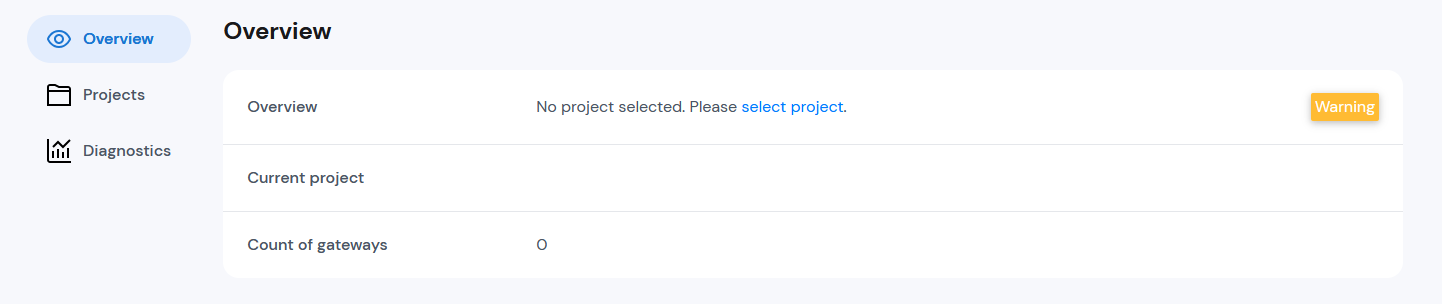
- The browser opens with the VNHost configuration page.

- Click the Connect button.
- If you have more than one project in your AXM Plus, switch to the tab and select the project with which you want to use the virtual network.

- Confirm the selection with the Apply button.
- VNHost is configured.

You may now add gateways that will be utilised in the virtual network. (see Add Gateways).