Add Lock Nodes - AXM Plus
- At least one RouterNode has been added to the WaveNet (see Add RouterNodes).
- RouterNode is connected to the same network and ready for operation.
- Integrated Lock Nodes (LN.I) must be installed in a locking device in order to be supplied with power.
- Tab opens.
- Mark the RouterNode with which you want to search for the LockNode.

- Click on the
 button.
 - The window will open.
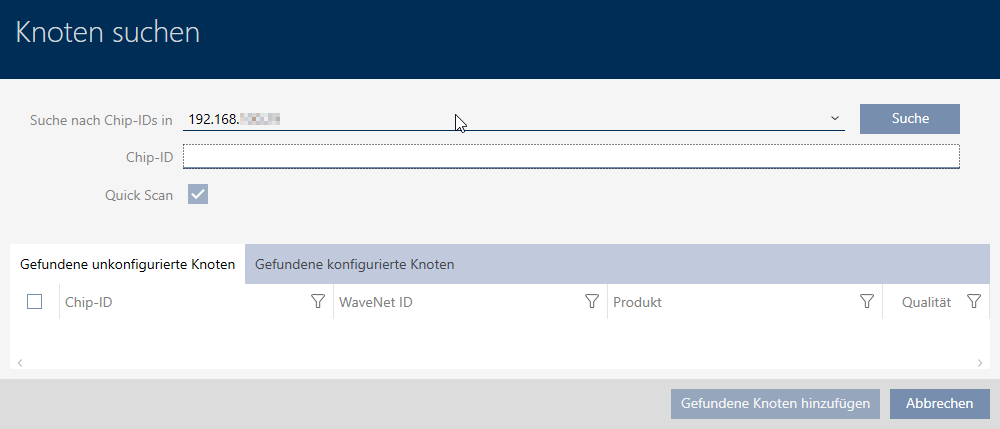
- Enter the chip ID of the Lock Nodes to be added in the field .
The chip ID can be found on the LockNode itself or on the stickers supplied with it. NOTE

Search without specifying chip ID
Searching for a chip ID without further conditions will find all the Lock Nodes that the RouterNode can access. Thus, multiple Lock Nodes can be added simultaneously.
- Click the button .
- Search for LockNode in progress.
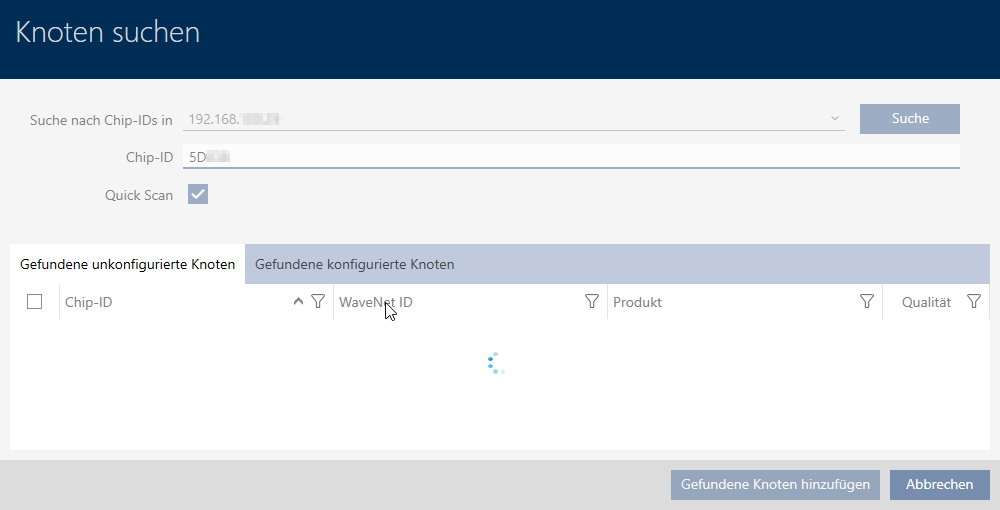
- Detected LockNode displayed.

- Mark the LockNode you want to add.

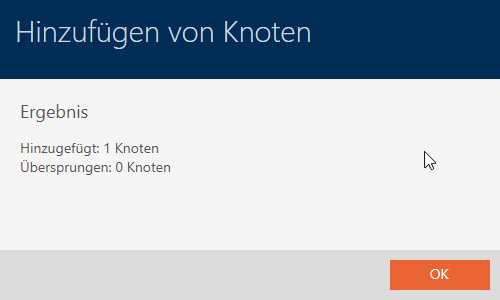
- Click the button.
- LockNode is added.

- Click on the button.
- Window closes.
- LockNode displayed in the list.

LockNode in unprogrammed locking device
The column does not contain entries for Lock Nodes whose locking devices have not yet been synchronised :

In this case, it is necessary to synchronise the locking device so that AXM can "recognise" and display it. (see Synchronising the locking device (including reading access list)).
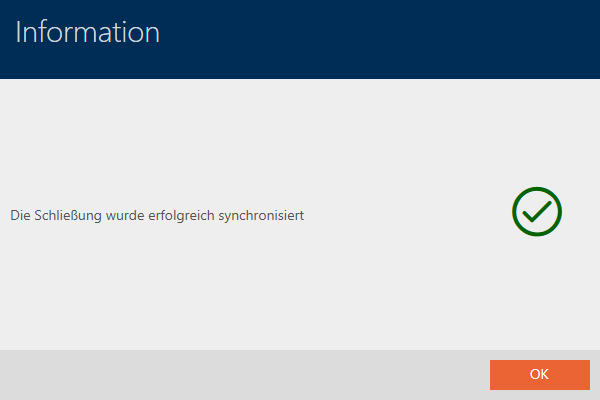
After synchronising, the locking device is displayed together with the LockNode:
