Procedure with SmartHandle WP-SC - SmartHandle 3062
The batteries are installed in the internal area in the case of SmartHandle active, SmartHandle WP or SmartHandle SC WP.
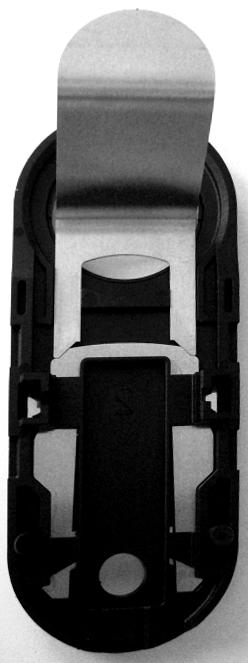
In January 2016, the battery holder was converted to a black plastic box with cover. The procedure is slightly different.
NOTE

Shorter battery life due to poor contact
Skin oil impairs contact between the battery and the battery holder.
- Do not touch the contacts on new batteries with your hands when replacing old ones.
- Use clean cotton gloves free of fat or grease.
Dispose of the batteries as per local and country-specific regulations.
Delivery up to January 2016
- Carefully insert the installation tool from below into the inlay of the inner cover.
- Slide the installation tool into the inlay to unlock the inlay.
- Carefully slide the inlay in the direction of the handle.
- Slide the inner cover in the direction of the handle.
- Carefully unlock the electronics.
- Fold the electronics horizontally to the side.
- Remove all batteries from the holder.
IMPORTANT
Mechanical damage due to battery replacement
Pressure on the circuit board can damage the electronics.
- Under no circumstances should you exert pressure on the circuit board!
- Push the new batteries with the positive poles next to each other quickly into the holder.
- Fold in the electronics again.
- Snap the electronics back into place.
- Using the installation tool, push the slider on the inside of the inlay back to the home position.
NOTE
Installation difficulties due to sliders
If you do not fully slide the slider to the home position, you will not be able to lock the inner cover.
- Push the slider completely to the home position!
- Reapply the inner cover until it is flush with the door.
- Reapply the inlay.
- The inlay snaps back into place noticeably.
- The batteries have been replaced.
Delivery from January 2016
- Carefully insert the installation tool from below into the inlay of the inner cover.
- Slide the installation tool into the inlay to unlock the inlay.
- Carefully slide the inlay in the direction of the handle.
- Slide the inner cover in the direction of the handle.
- Carefully push the latch of the battery holder cover outwards.
- Open the cover of the battery holder.
- Remove all batteries from the holder.
IMPORTANT
Mechanical damage due to battery replacement
Pressure on the circuit board can damage the electronics.
- Under no circumstances should you exert pressure on the circuit board!
- Quickly place the new batteries into the holder with the positive poles pointing upwards.
- Close the cover of the battery holder again.
- The latch snaps into place audibly.
- Using the installation tool, push the slider on the inside of the inlay back to the home position.
NOTE
Installation difficulties due to sliders
If you do not fully slide the slider to the home position, you will not be able to lock the inner cover.
- Push the slider completely to the home position!
- Reapply the inner cover until it is flush with the door.
- Reapply the inlay.
- The inlay snaps back into place noticeably.
- The batteries have been replaced.