Setting up a VN service - LSM 3.6 Basic Online
- Locking system configured (see Add new locking system, Add new transponder and Add new locking device).
 Virtual network (SREL2, limited functions) checkbox activated.
- All components programmed (see Programme transponder and Programme locking device).
- SmartRelay 2 G2 networked (see WaveNet manual).
- Use Network to select the input.
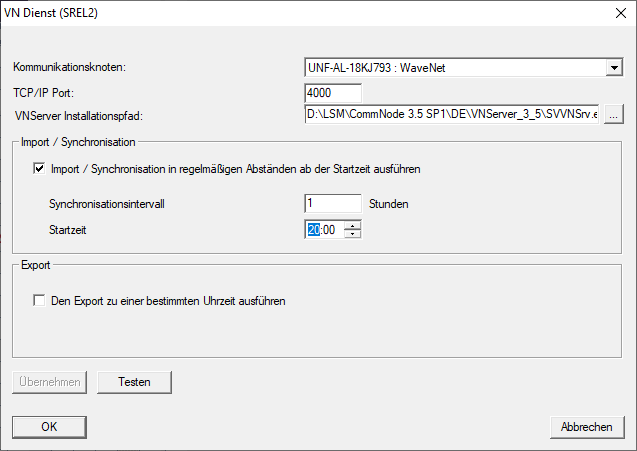
- The VN service (SREL2) window will open.
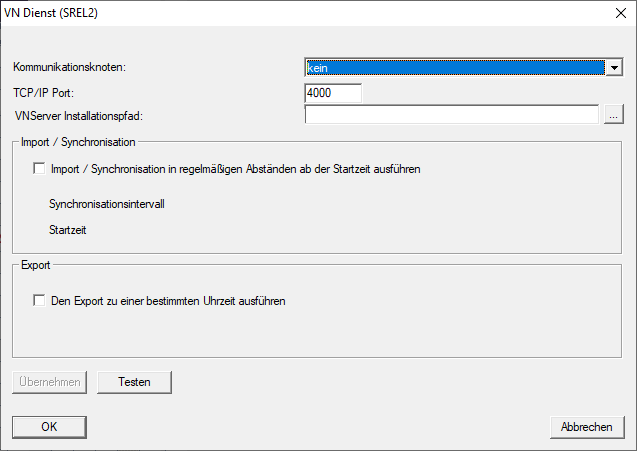
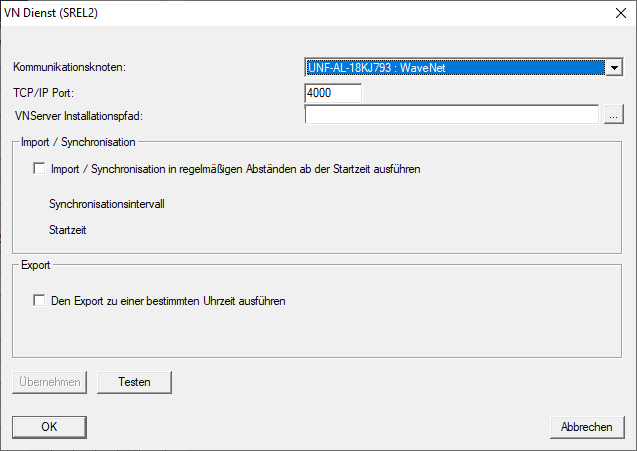
- Select from the drop-down menu the communication node to which WaveNet with RouterNode 2 and SmartRelay 2 G2 is connected.
- Ensure that the TCP/IP port is set to 4000.
- Click on the ... button to open Explorer.
- Select SVVNSvr.exe.
SVVNSvr.exe is installed together with the CommNode server. Default directory: (C:\Programs(x86)\SimonsVoss\VNServer_x_x) 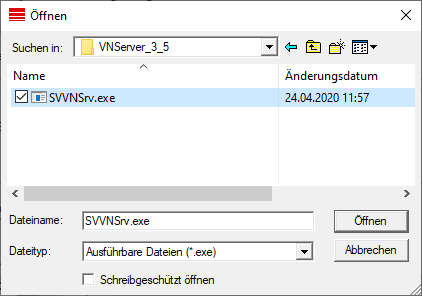
- Click on the Open button.
- Explorer window closes.
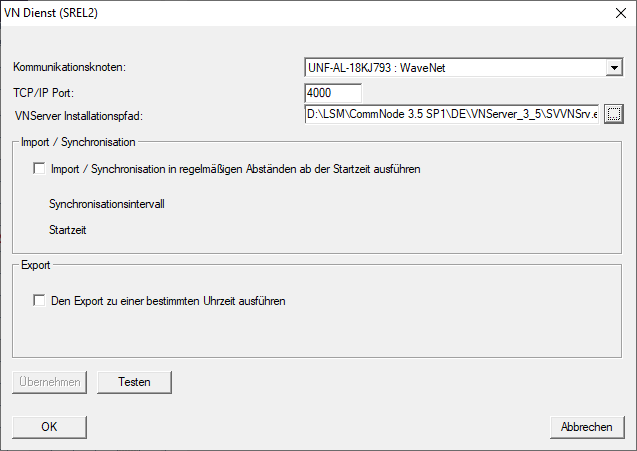
- Optional: Go to the Import/synchronisation section and configure when the data from SmartRelay 2 G2 should be automatically imported back into LSM.
- Optional: Go to the Export section and configure when the data should be automatically transferred from LSM to SmartRelay 2 G2.
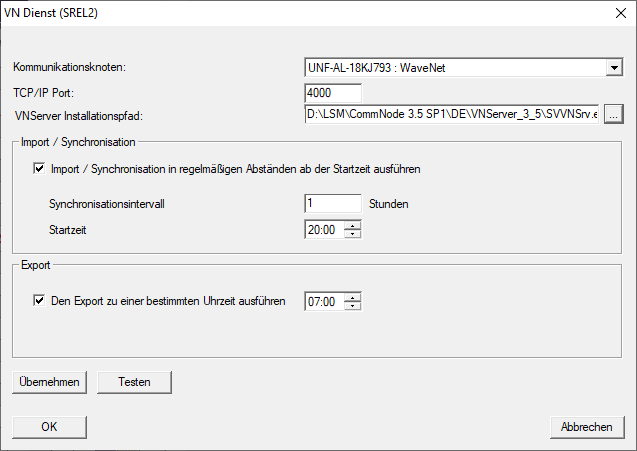
- Click on the OK button.
- The LockSysMgr window will open.
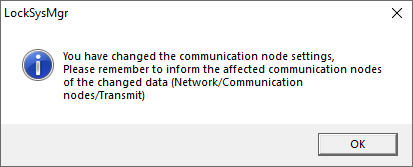
- Click on the OK button.
- LockSysMgr window closes.
- VN service (SREL2) window closes.
- Transfer the settings to the CommNode (see Transmitting the WaveNet configuration).