Add locking system - LSM 3.6 Basic Online
Set password on first login after registration
- LSM installed and registered (see Register LSM)
- Launch LSM.

- The LSM login screen opens.
- Click the button.
- The login window will open.
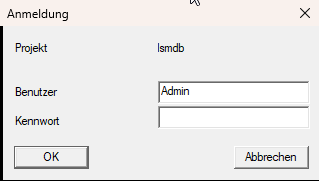
- Enter the login credentials (default data: user name:
Admin; password:system3060). NOTE

Password change
If you have not changed the password yet, you will be prompted to change the default password.
- Change the default password.
- Please also note Recommended approach to handling passwords.
Create locking system
- A set-up wizard opens up once you have issued a new password:
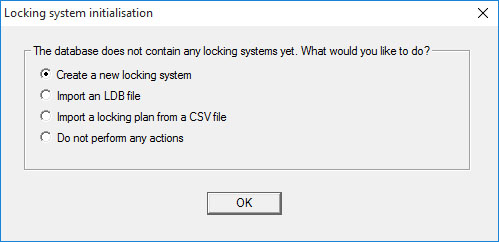
- Select
 Create a new locking system to create a new locking system.
 - Click on the OK button.
- LSM opens the screen for creating a locking system.
- Define the characteristics of the new locking system and issue secure passwords.
Changes may be made at any time as required; after initial programming of the components; however, very time-consuming due to the programming requirements this generates. 
- Click on the Apply button.
- New locking system has been created but is still hidden by the locking system screen.
- Click on the Exit button.
- Matrix screen is opened.
NOTE
The locking system password is programmed into all SimonsVoss components and managed with LSM software. You cannot make any changes to the programmed components without this locking system password, which is also indicated in the LSM software. Observe the section on Recommended approach to handling passwords to guarantee that the locking system is operated without any problems.
If the locking system password is changed, all programmed components must be reprogrammed.