Time switch-over function - Digital SmartHandle AX
The fifth group in the time zone plan is relevant for time change-over.
NOTE

These settings are only available in the .ZK version.
Assignment of a time zone plan
- LSM open.
- Add time zone plan (see LSM manual).
- Double-click on the SmartHandle AX entry in the matrix to open the settings.
- Change to the Door tab.
- Open the drop-down menu.
- Select your time zone.
- Click on the Apply button.
- Click on the Exit button.
- Time zone is selected.
Activating time zone control and time change-over
Whereas time zone control itself can only influence identification media authorisations, the time change-over also activates time-dependent switching of the relay in the controller. Both need to be enabled.
- LSM open.
- Time zone plan assigned.
- Double-click on the SmartHandle AX entry in the matrix to open the settings.
- Change to the Configuration/Data tab.
- Enable the
 Time zone management checkbox.
 - Enable the Time switching checkbox.
- Click on the Extended configuration button.
- The Extended configuration window will open.
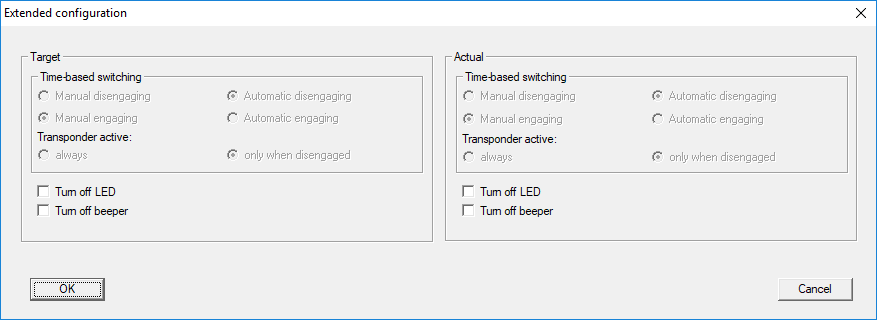
- Set the options for automatic and manual locking and unlocking in the Time-based switching section as you require (see Time-controlled changeover).
- Click on the OK button.
- Window closes.
- Click on the Apply button.
- Click on the Exit button.
- Time zone control and time change-over are activated.
Editing the time zone plan
See LSM manual to edit the time zone plan.