Replacing batteries (Scandinavian Oval) - SmartHandle AX Advanced
Starting in March 2026, SimonsVoss will be supplying all SmartHandle AX Advanced with a new battery compartment. It has improved contact and polarity that is easier to recognise.
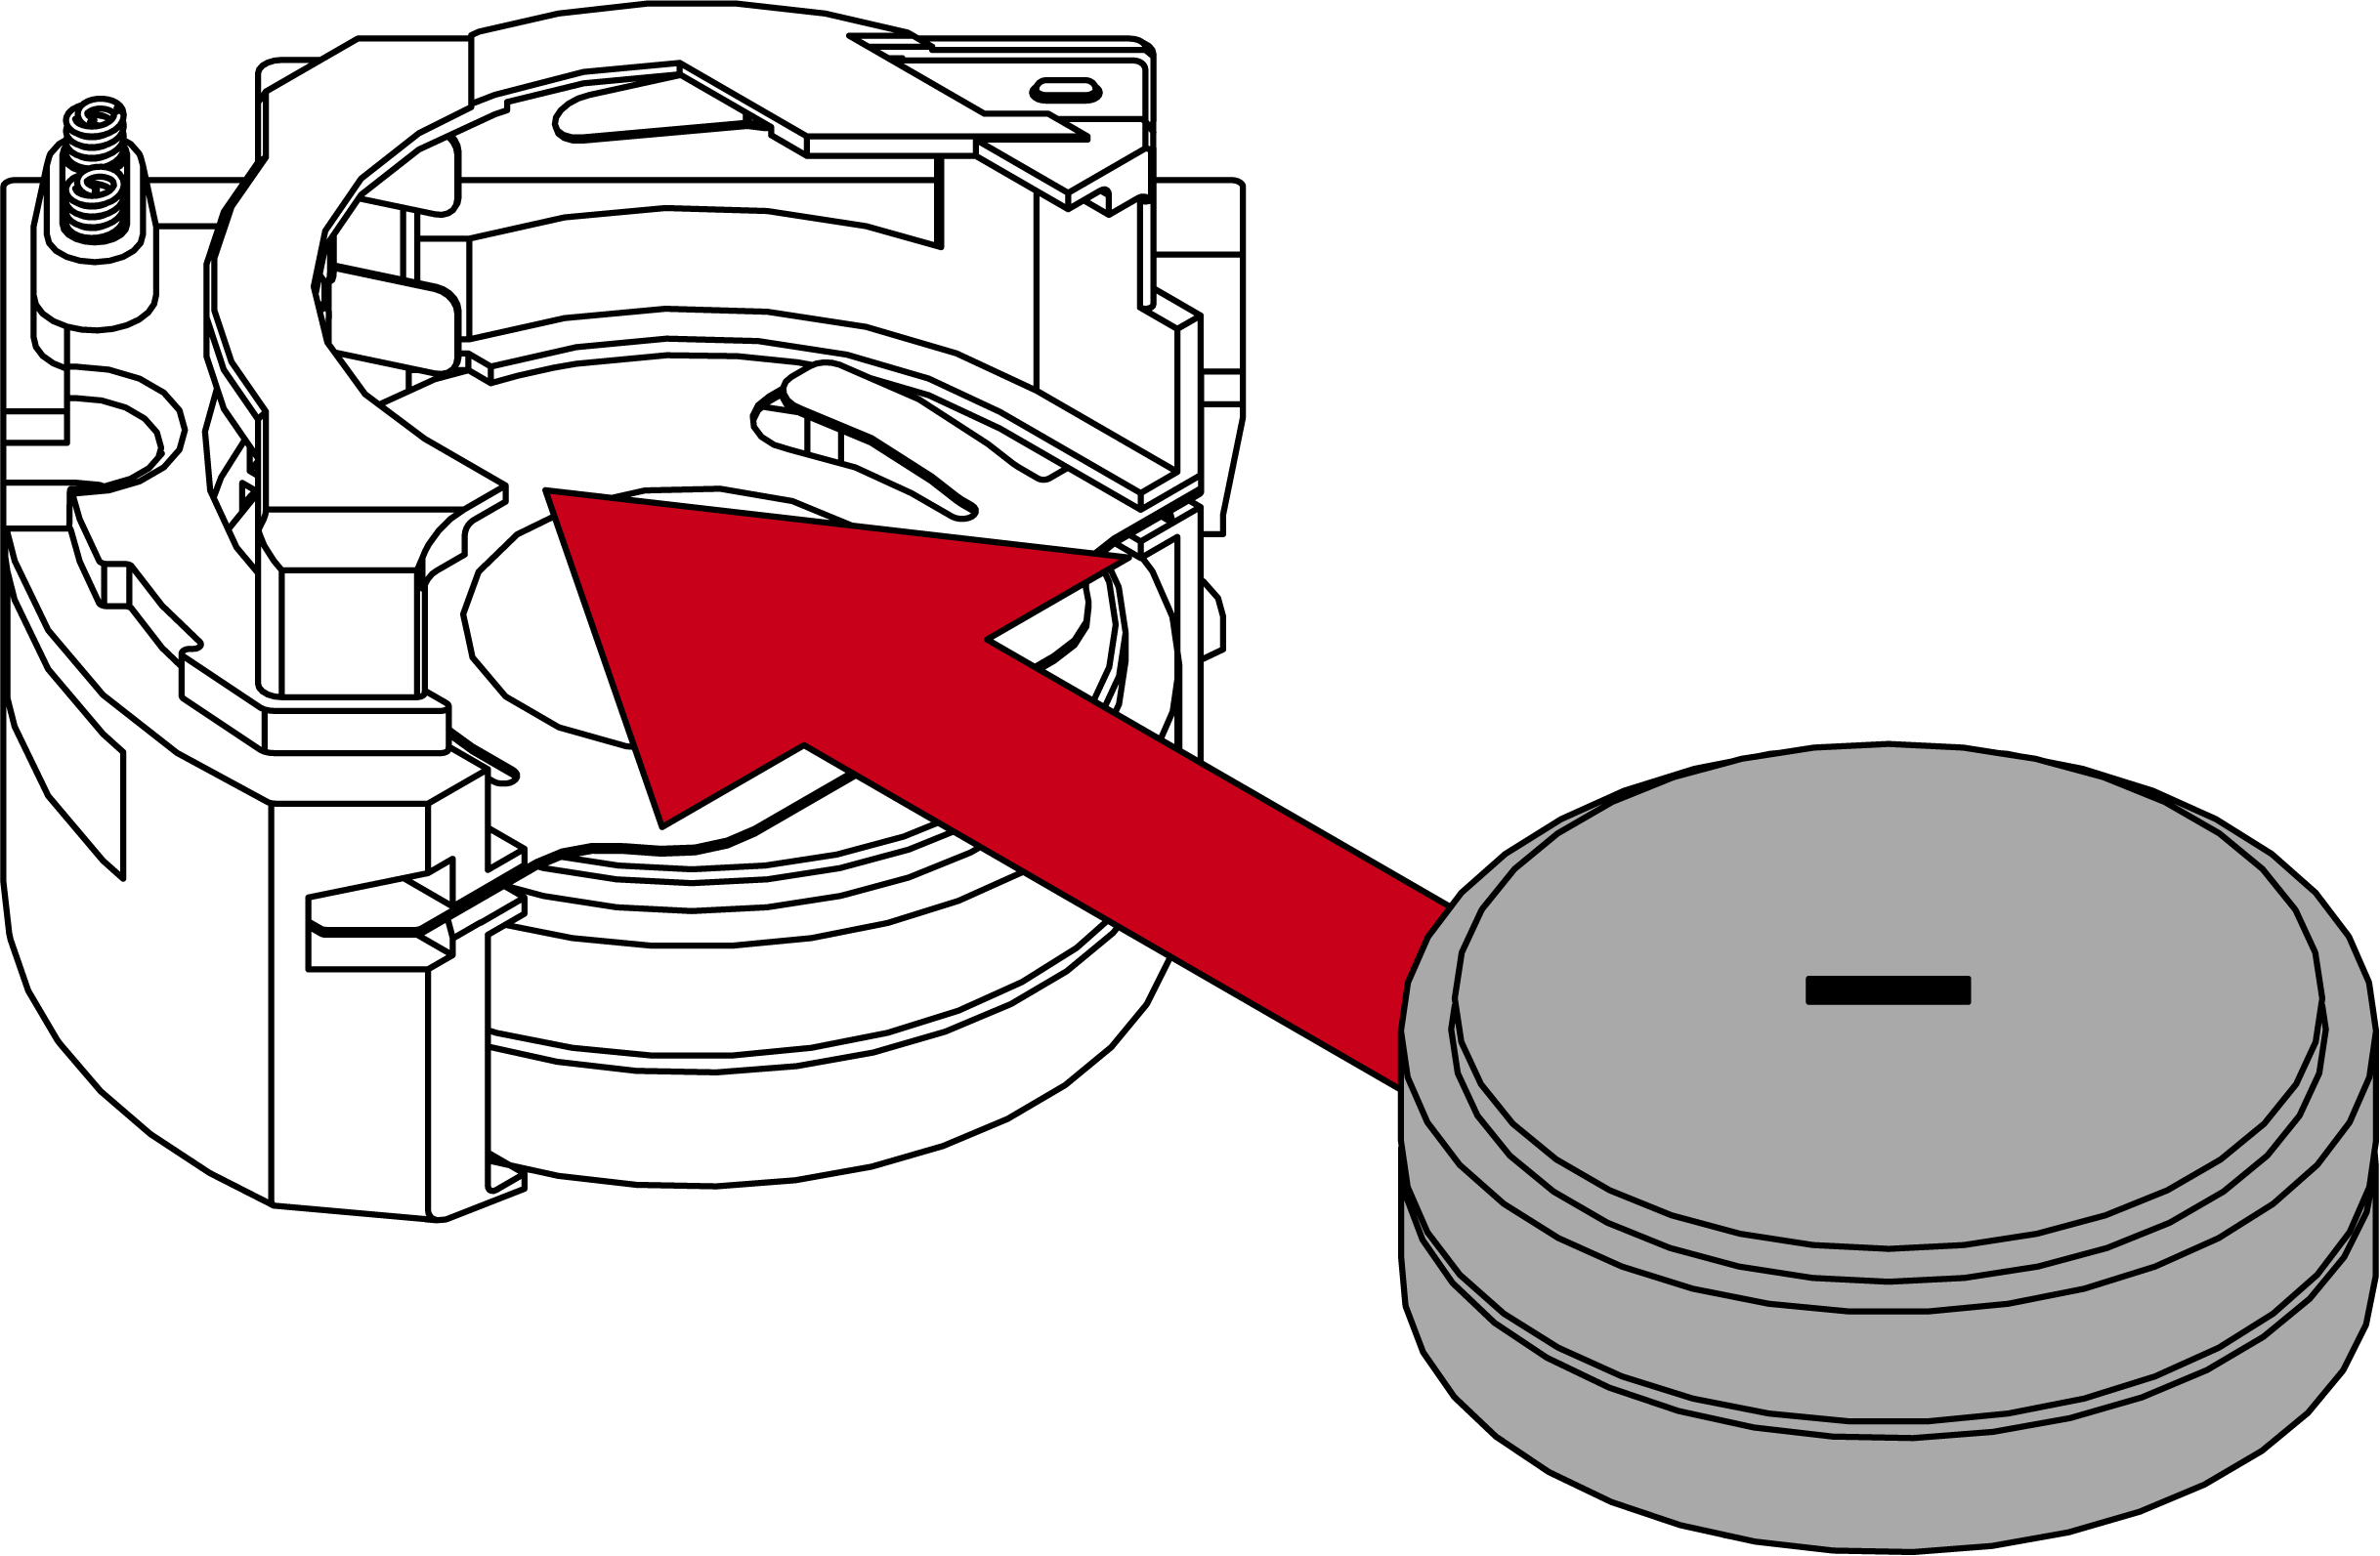
You can recognise the new battery compartment by the battery insertion on the side.
New battery compartment | Old battery compartment |
|---|---|
|
|

Battery replacement differs between the two battery compartments:
- Replacing batteries starting in 03/2026 (Scandinavian Oval)
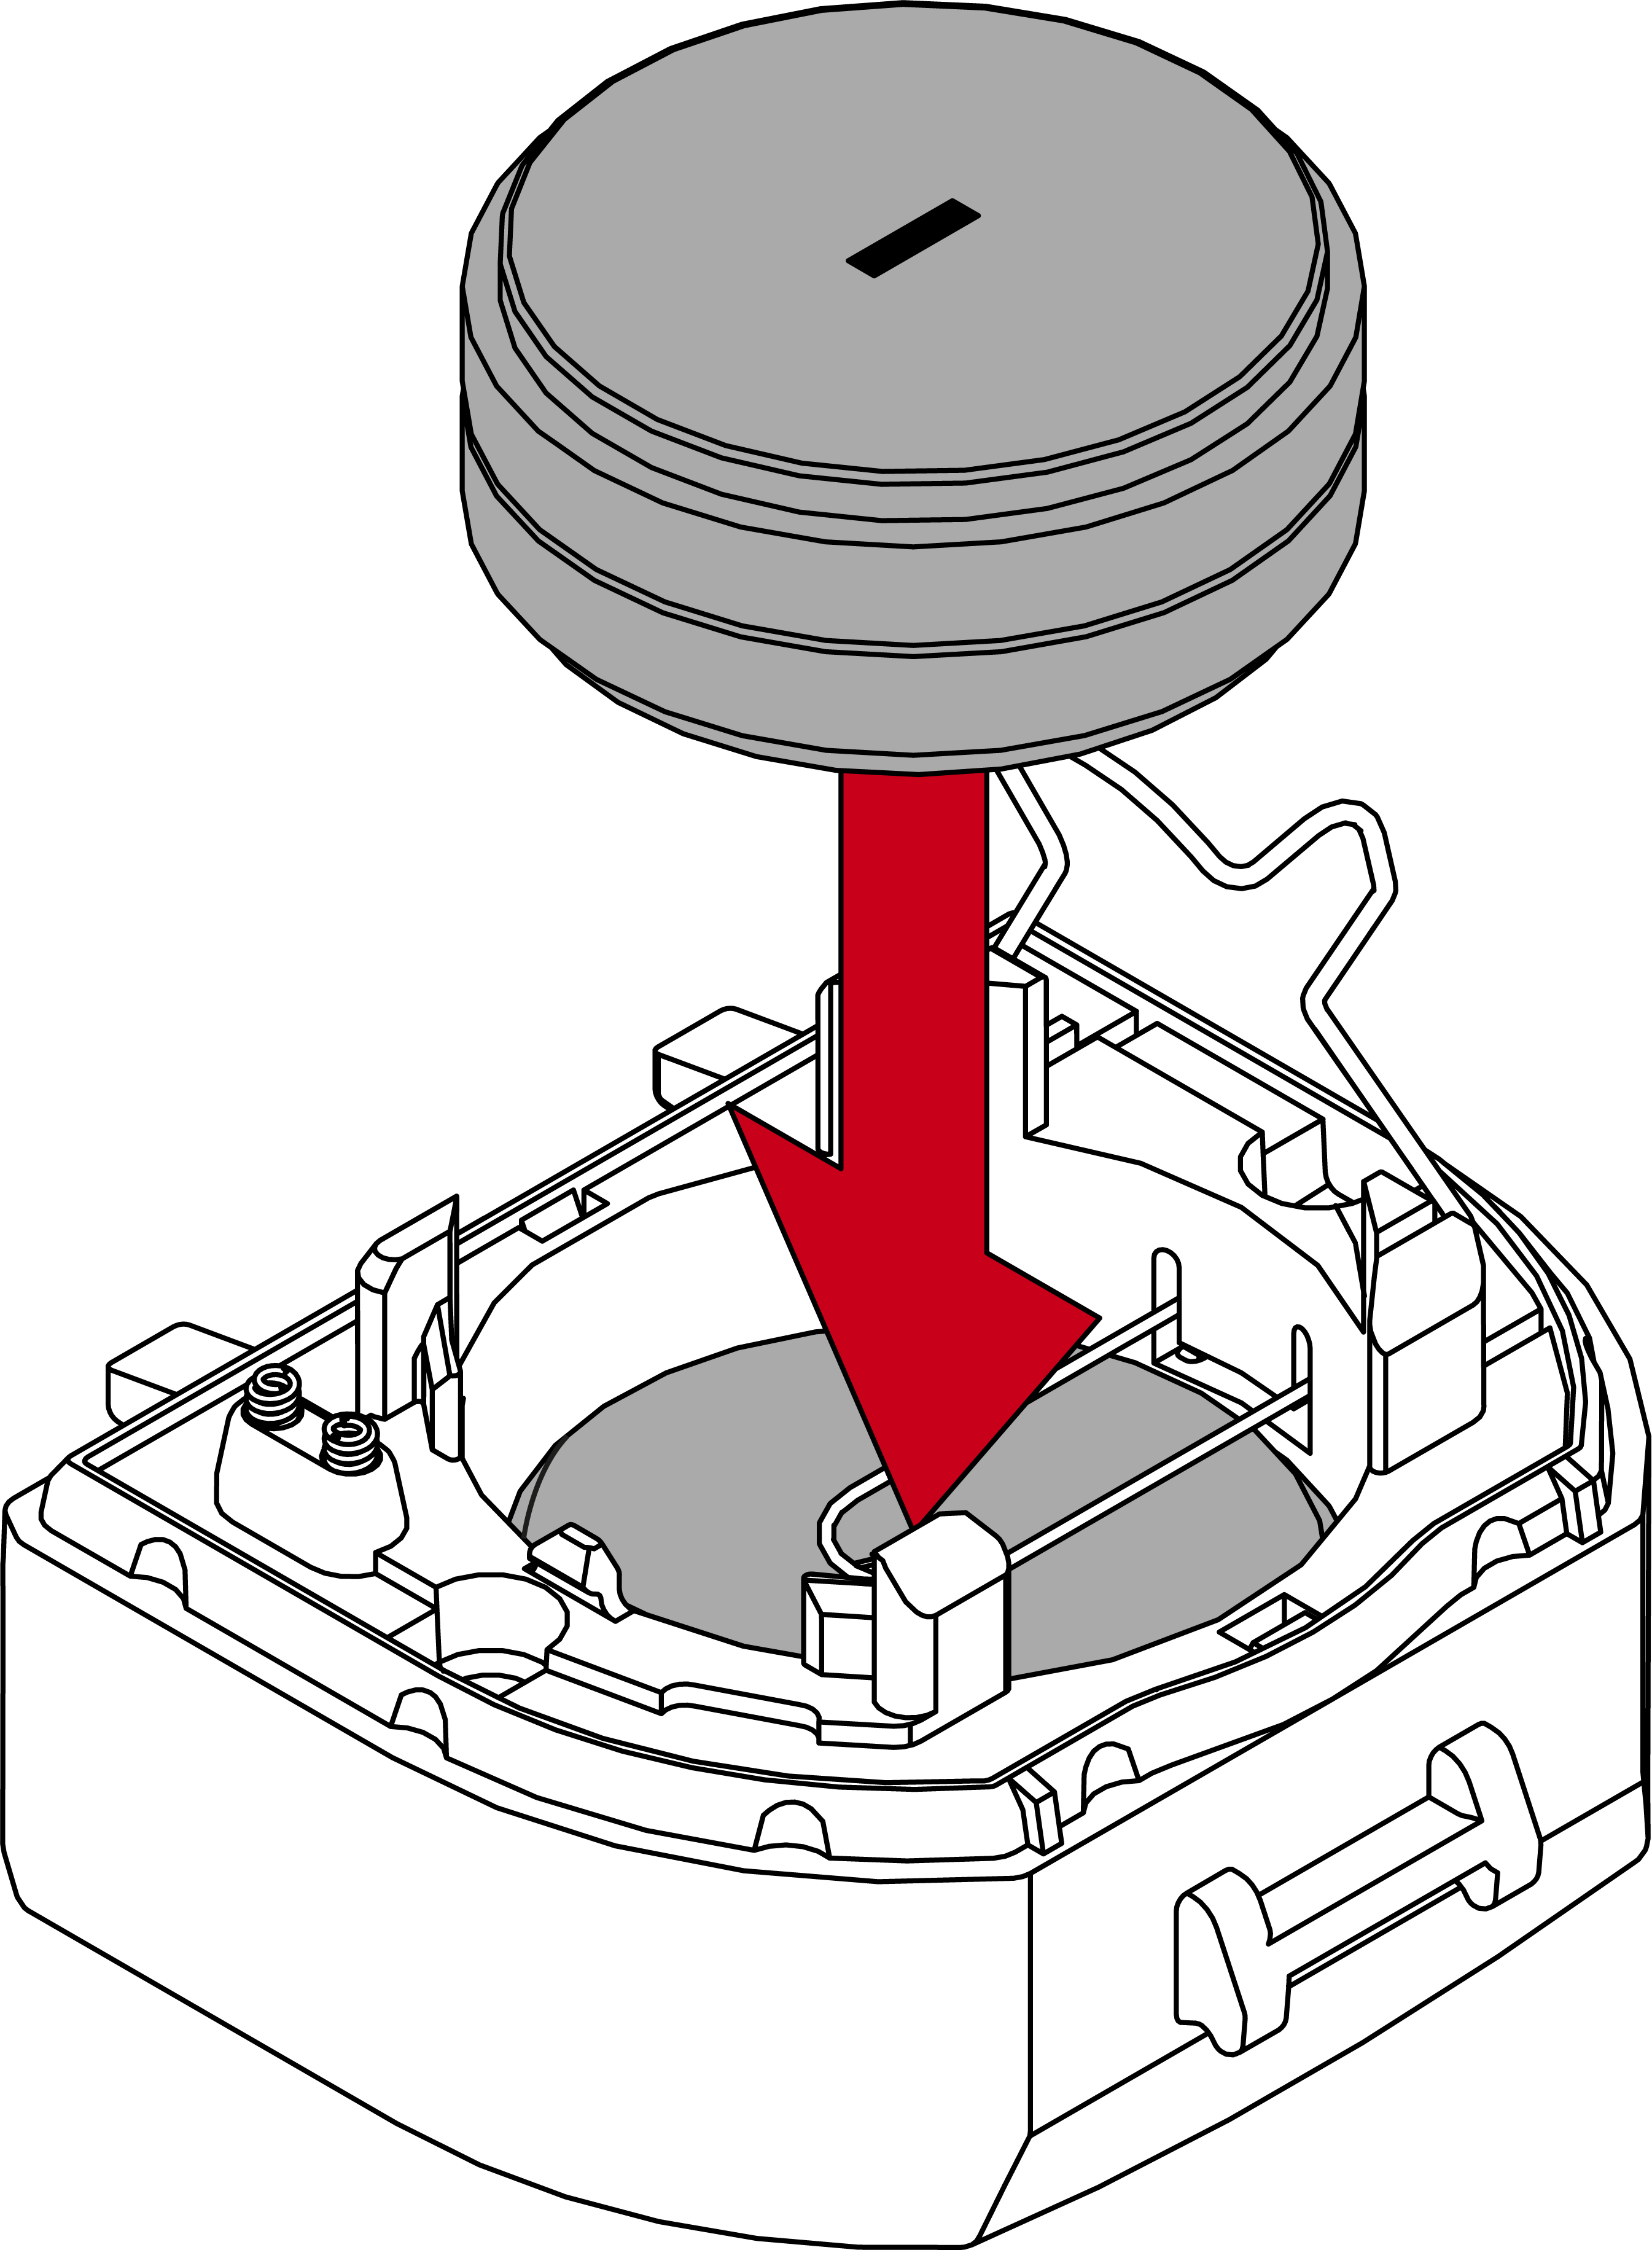
- Replacing batteries until 03/2026 (Scandinavian Oval)