Add an action - LSM 3.6 SP1 Basic
You can add more actions in the tab Control Device AX. You can access this tab:
- Via , the entry and the button Edit or
- Double-click on the locking device in the matrix to open the properties and then switch to the tab Control Device AX
The following actions are available:
Action | Meaning |
|---|---|
Opening | Operates the locking device like a regular identification medium. You can select the name to be displayed for this entry in the access list. |
Emergency release | Operates the locking device permanently. Ended by End of emergency release / emergency opening or a remote opening. Only in pairs with End of emergency release / emergency opening. Uses special transponder ID: 1. |
End of emergency release / emergency opening | Ends the Emergency release. Only in pairs with Emergency release Uses special transponder ID: 0. |
Deactivation | Deactivates the locking device (= all identification media are rejected). Terminated by:
Remote opening is also possible when the locking device is deactivated. Uses special transponder ID: 3. |
Activation | Activates the locking device (=normal state). Uses special transponder ID: 5. |
 Activate lock
The example shows the path via the locking device properties.
- Matrix screen open
- Control Device AX connected to the power supply.
- SmartStick AX connected.
- Double-click on the locking device to open its properties.

- The locking device properties open.
- Change to the tab Control Device AX.
- A tab with an action is displayed.
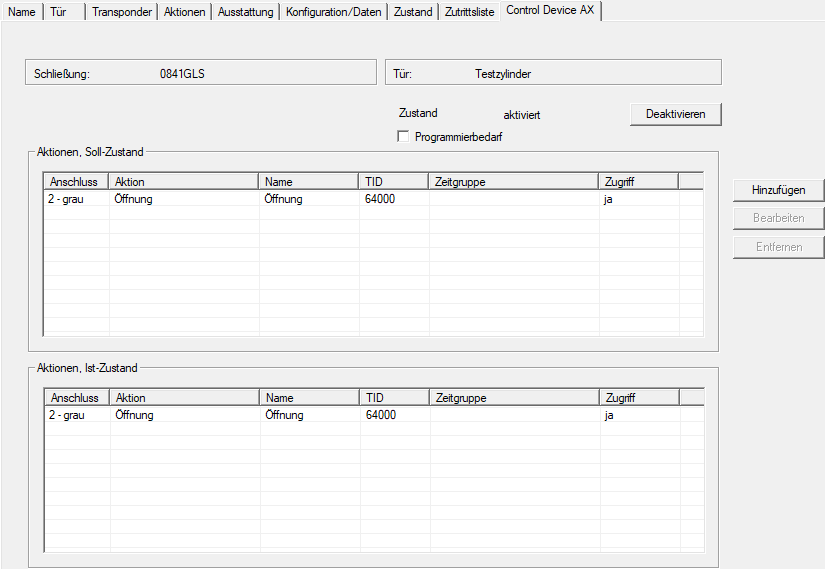
- Click the Add button.
- The Action window will open.
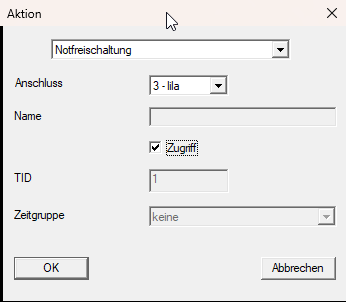
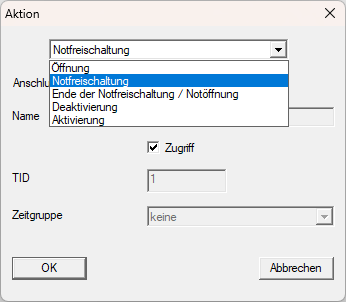
- Select the action you want to add from the drop-down menu.
CAUTION

Action pairs are created automatically
The actions Emergency release/End of emergency release / emergency opening and/Deactivation Activation are only available in pairs.
If you select one of the paired actions, the other is created automatically.
- Select from the drop-down menu which of the four function inputs should trigger Control Device AX the action.
Pre-assigned function inputs are not displayed. 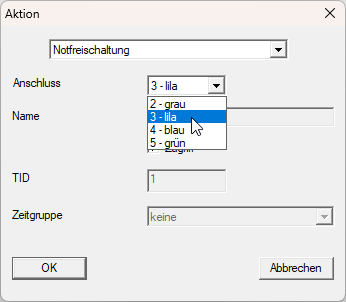
- If you use the action Opening you can also enter a name. Whenever this action is used to open the door, the name entered here is logged in the access list for the locking device (see also Access administration). Control Device AX.
- Make sure that the checkbox
 Access is activated so that the action is also executed (see also Pause action).
 - The field TID shows which transponder ID is used for this action.
(Actions Emergency release, End of emergency release / emergency opening, Deactivation and Activation use special transponder IDs from a reserved area.) - Click on the OK button.
- Window Action closes.
- The new action (and, where applicable, the automatically generated paired action) is displayed.
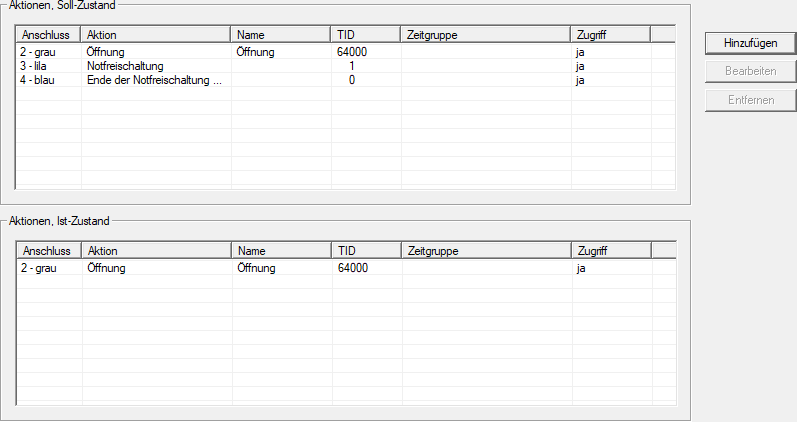
- Changes to the actions require some programming of the Control Device AX.
- Use to select the input.
- The Management of Control Devices AX window will open.
- You will see the new programming requirement.
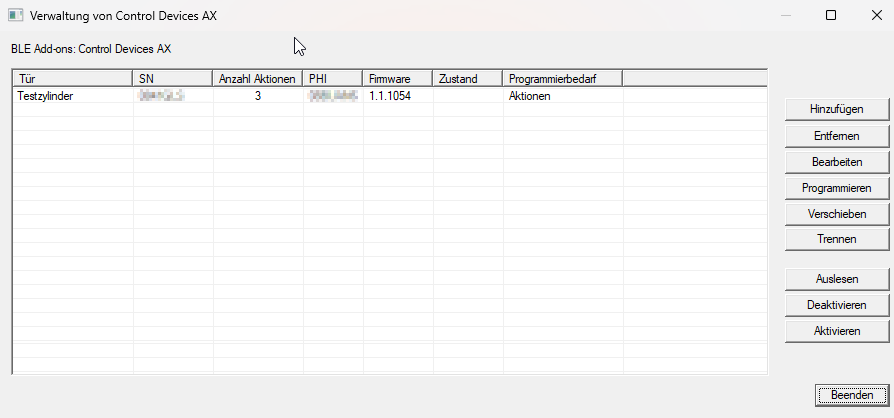
- Click on the Programming button.
- The window closes and the programming process begins.
- Follow the instructions.
- Actions are added to Control Device AX.