FD (Freely-rotating cylinder) / HZ (Half cylinder) - Digital Cylinder AX (Z5)
NOTE

Half cylinder: Installation without cover
If you do not install a cover between the cylinder and the thumb-turn, then you can insert the half cylinder directly. In this case, you do not have to disassemble the thumb-turn.
- Special tool available.
- 1.5 mm hexagonal wrench available.
- Align the thumb turn horizontally.
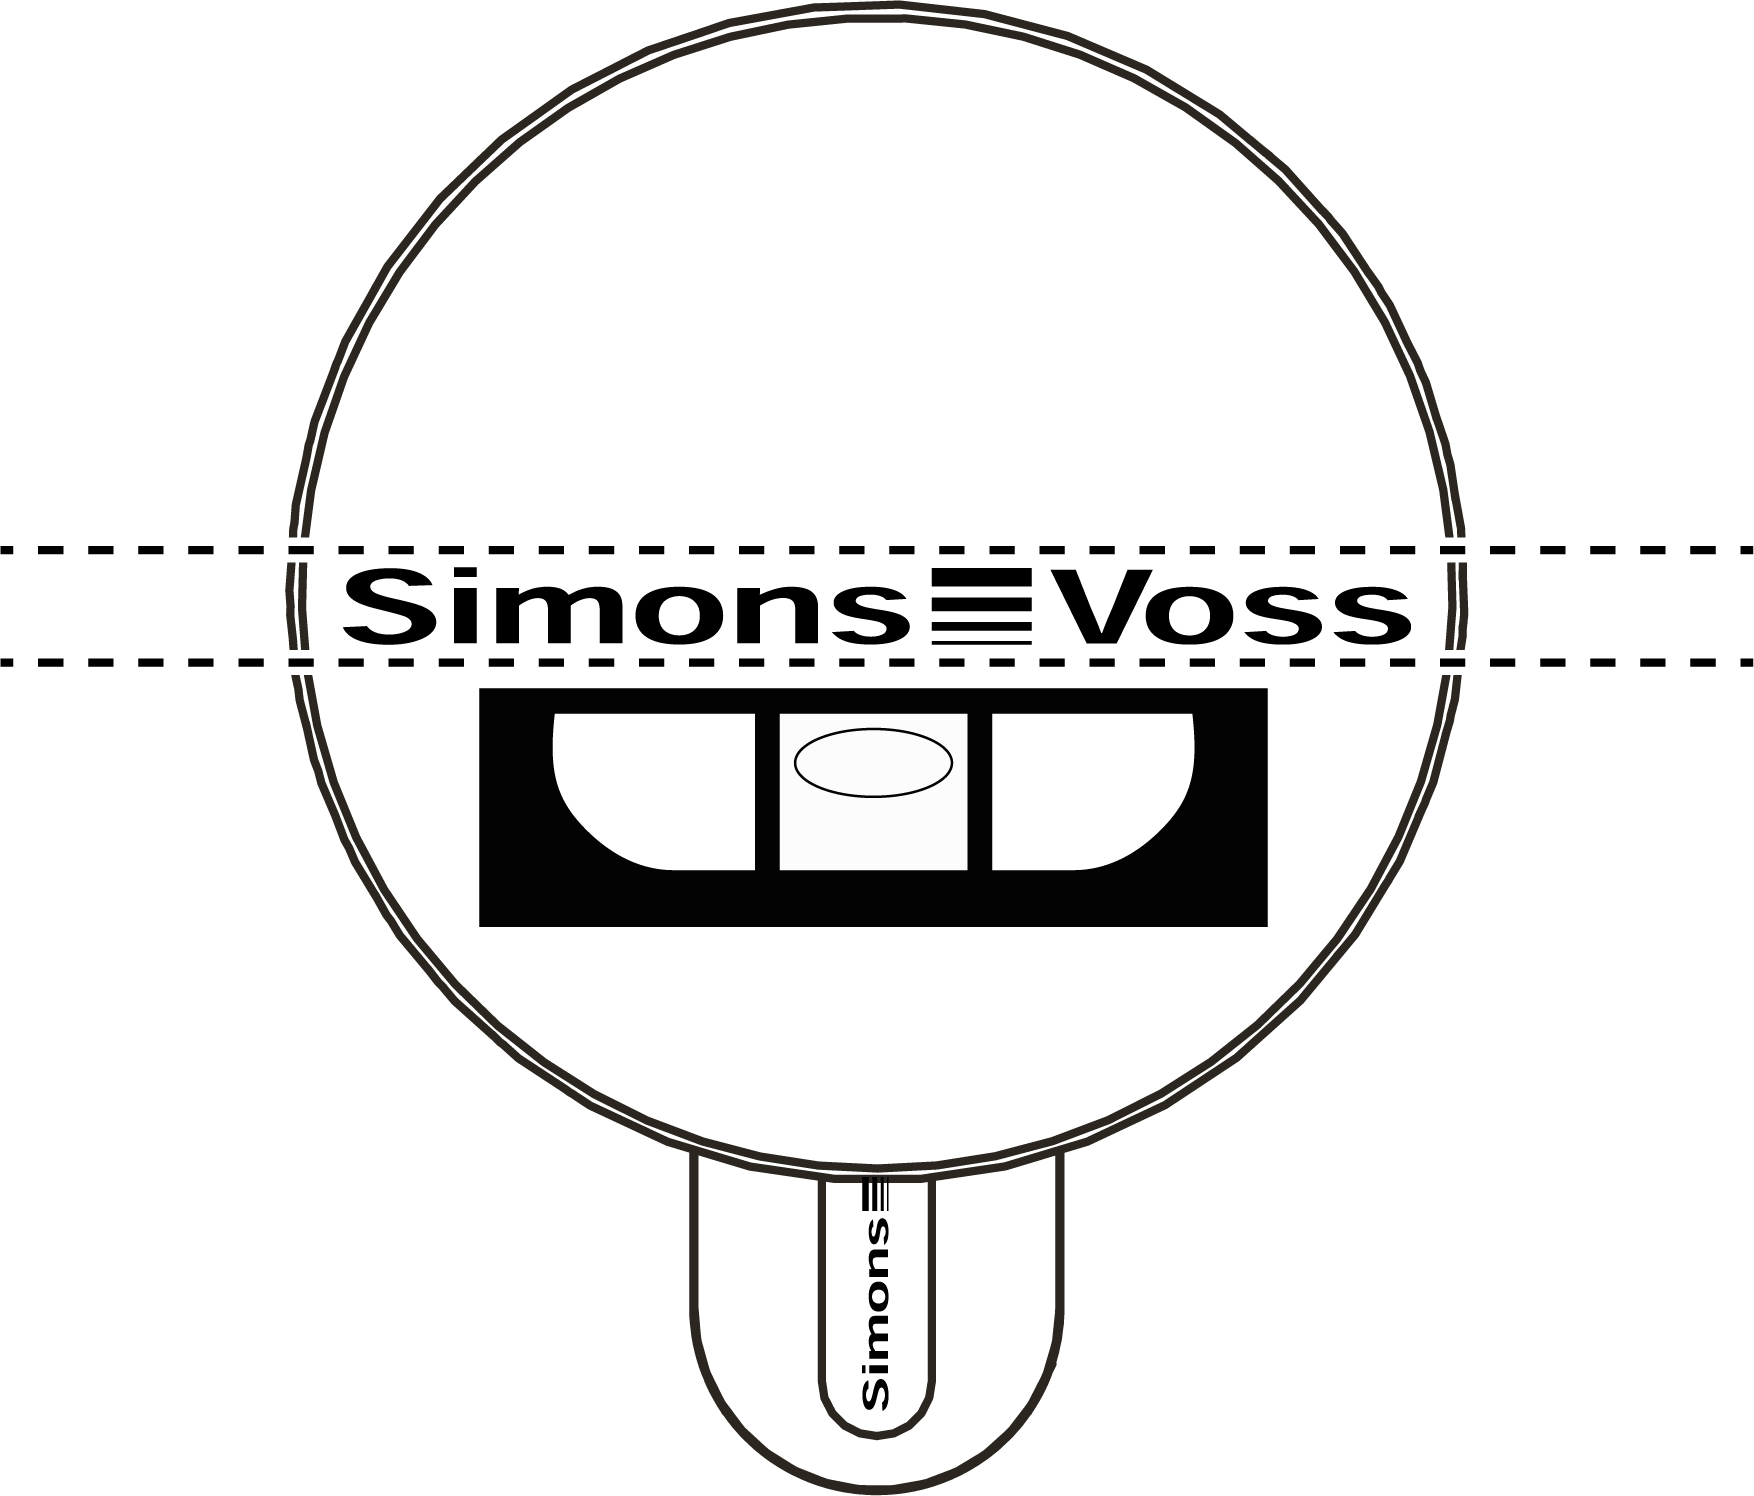
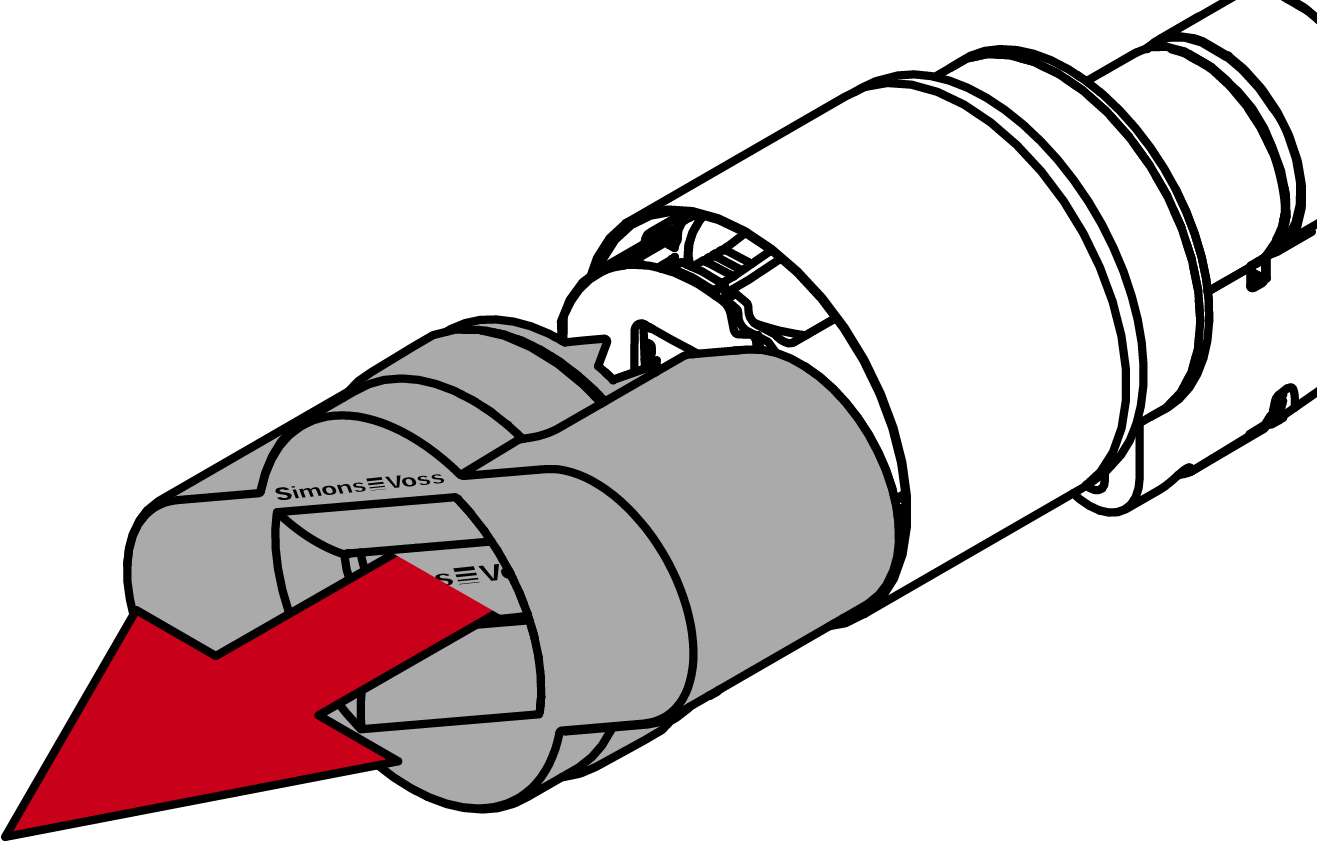
- Attach the special tool.
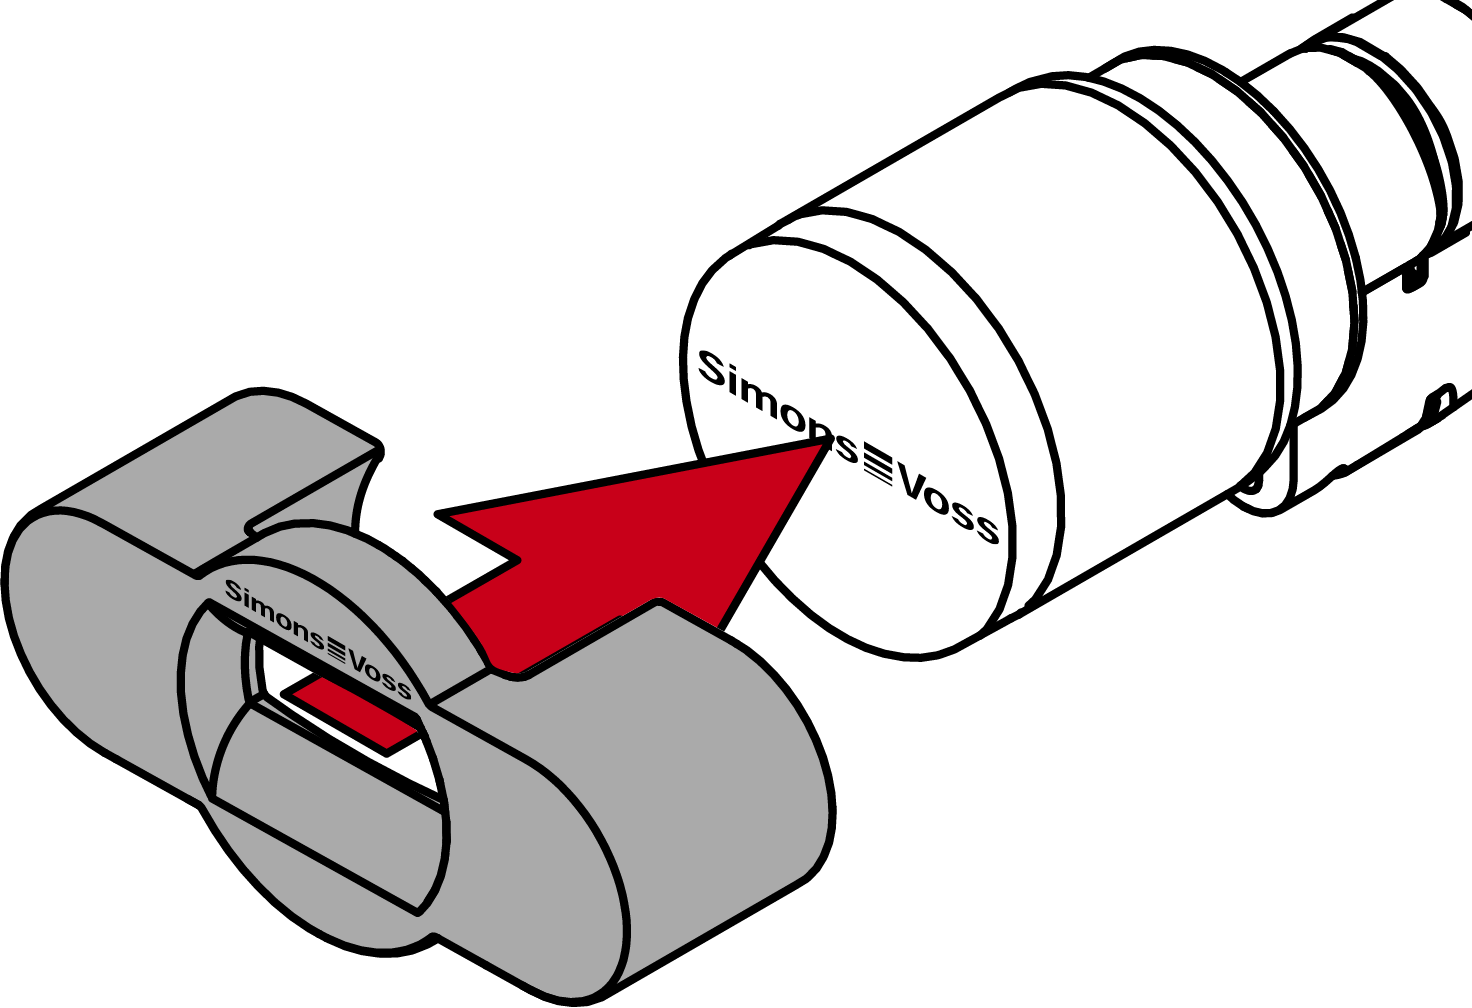
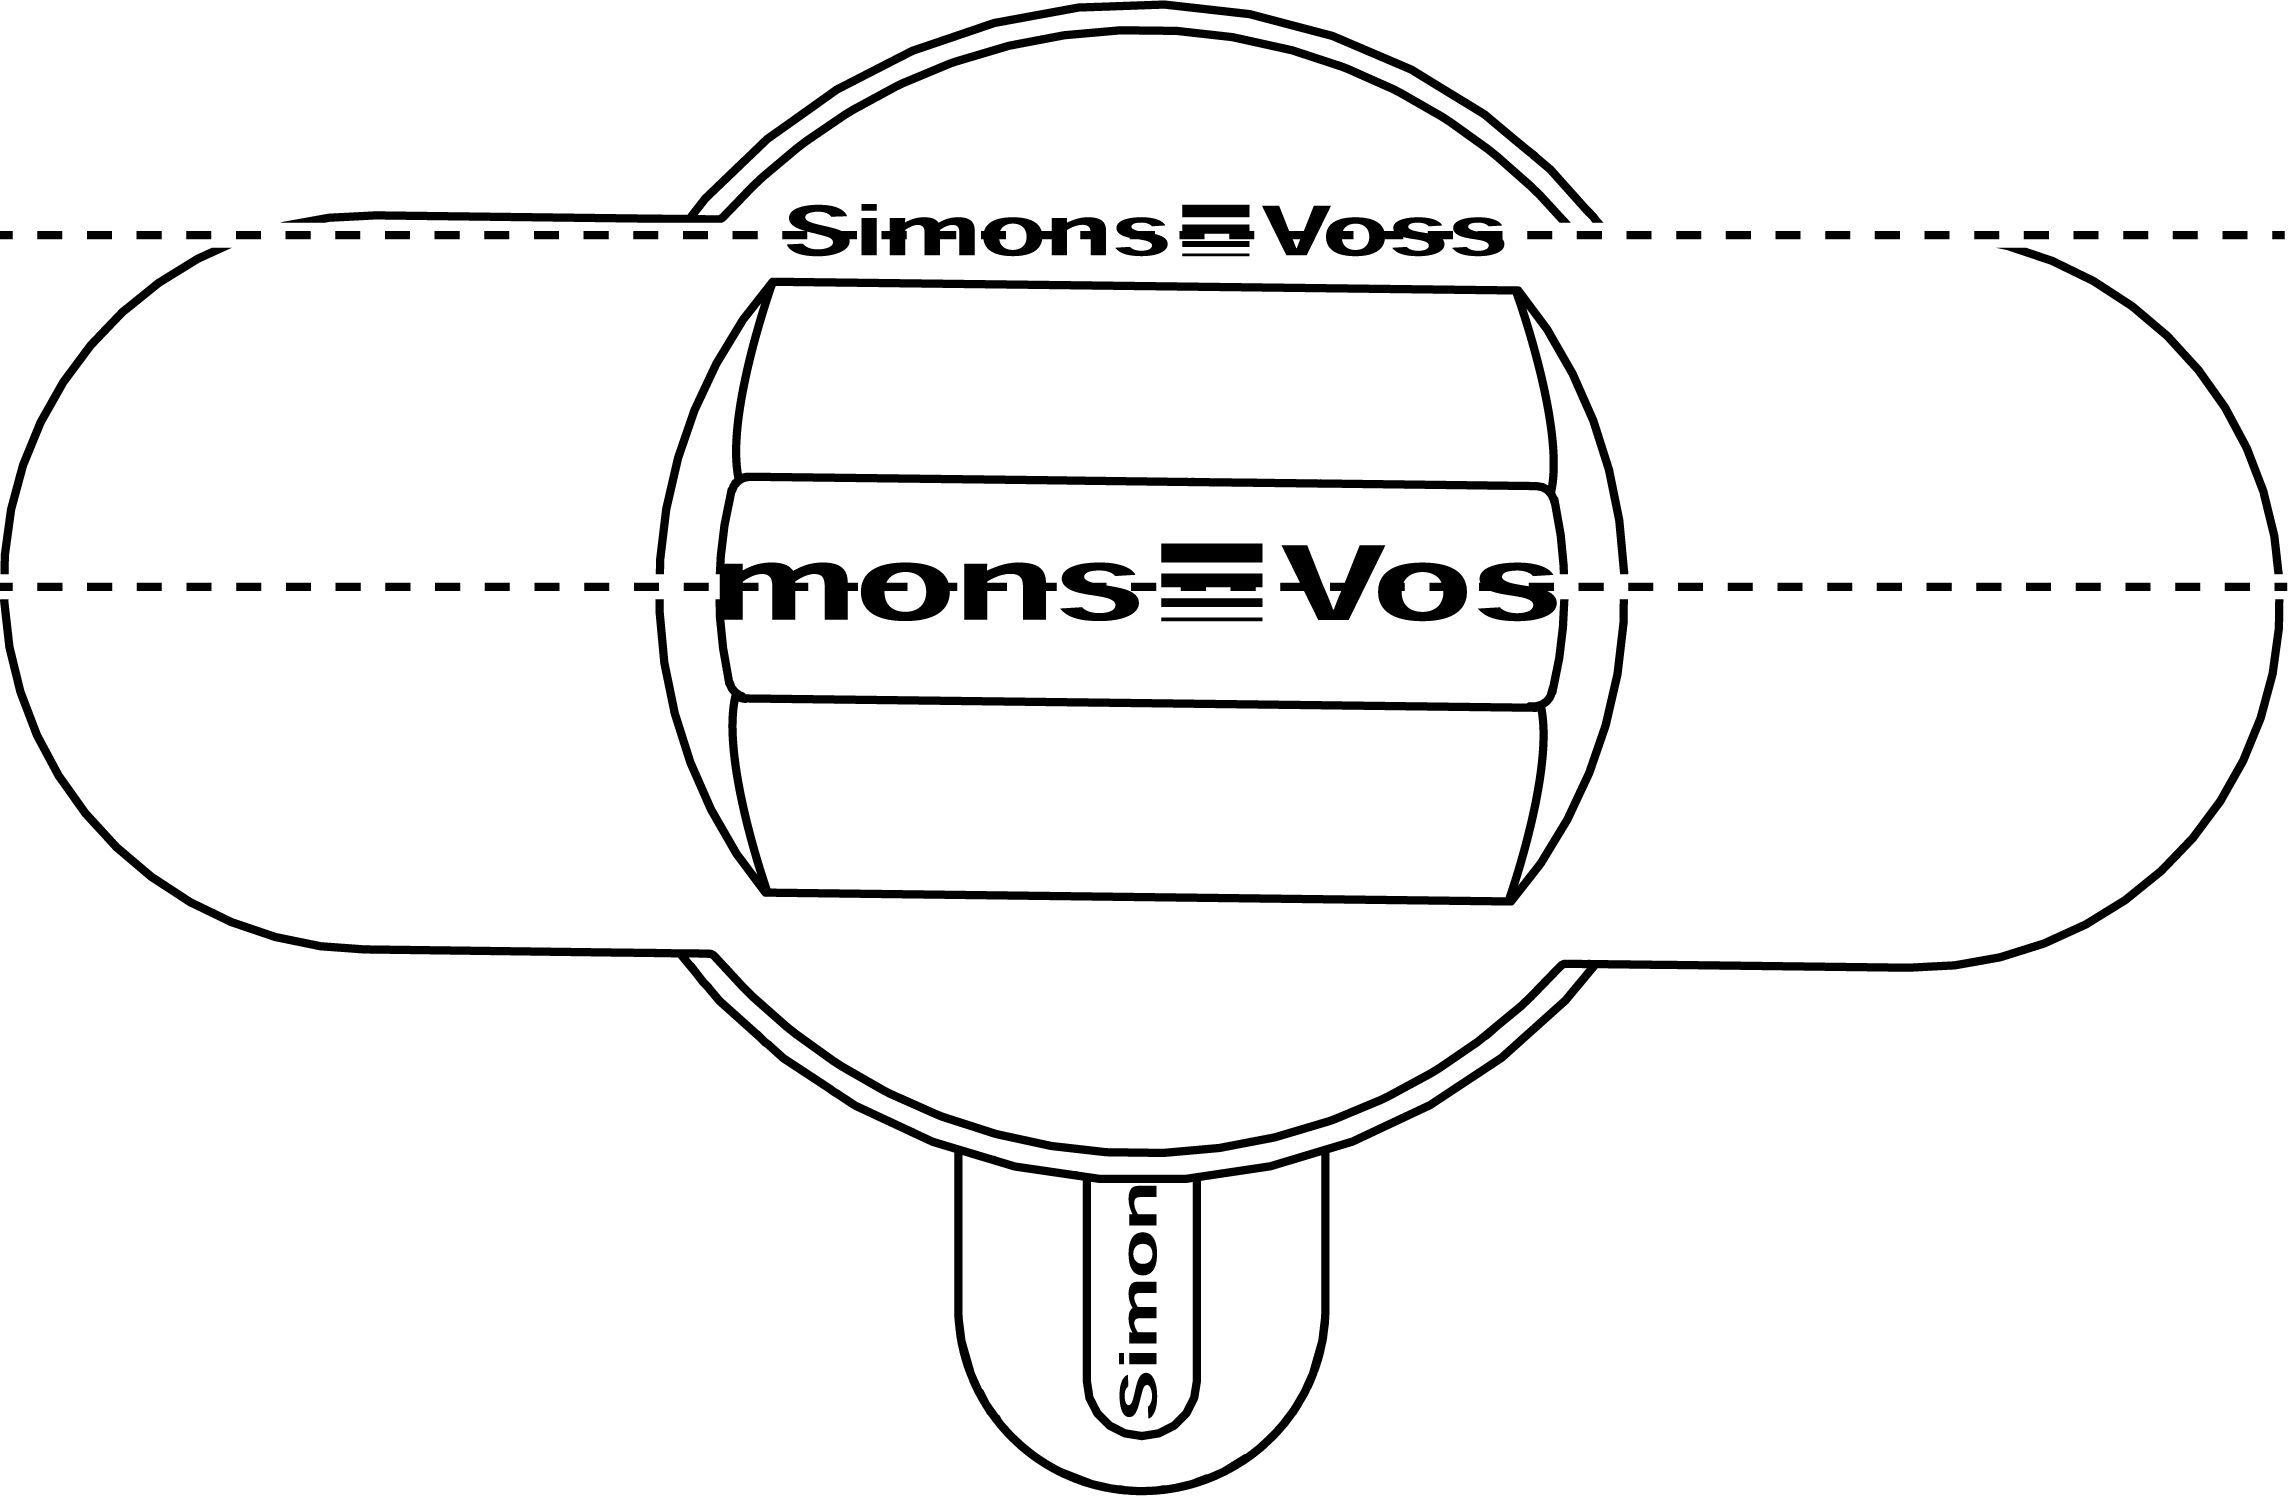
- Align the special tool so that the logo is parallel to the recess.
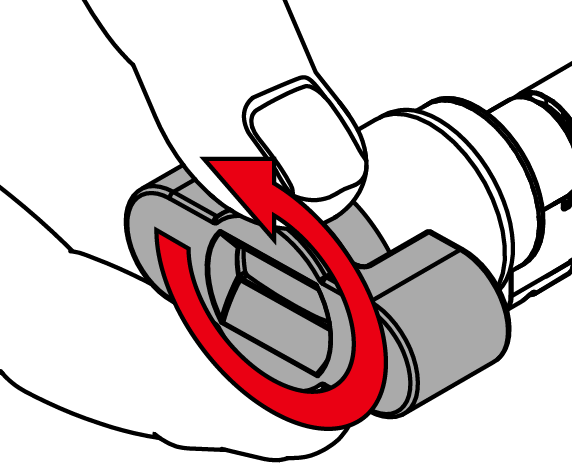
- Hold the special tool and thumb turn cap firmly at the same time and turn them together 1-2° clockwise first and then counter-clockwise.
NOTE
Slipping when turning
The surface of the thumb turn cap can be slippery and the cap can be difficult to turn (especially with WP versions, recognizable by the blue cylinder neck ring or the lasered marking on the inner side of the cylinder profile).
- Wear non-slip gloves.
- Remove the tool and cover.
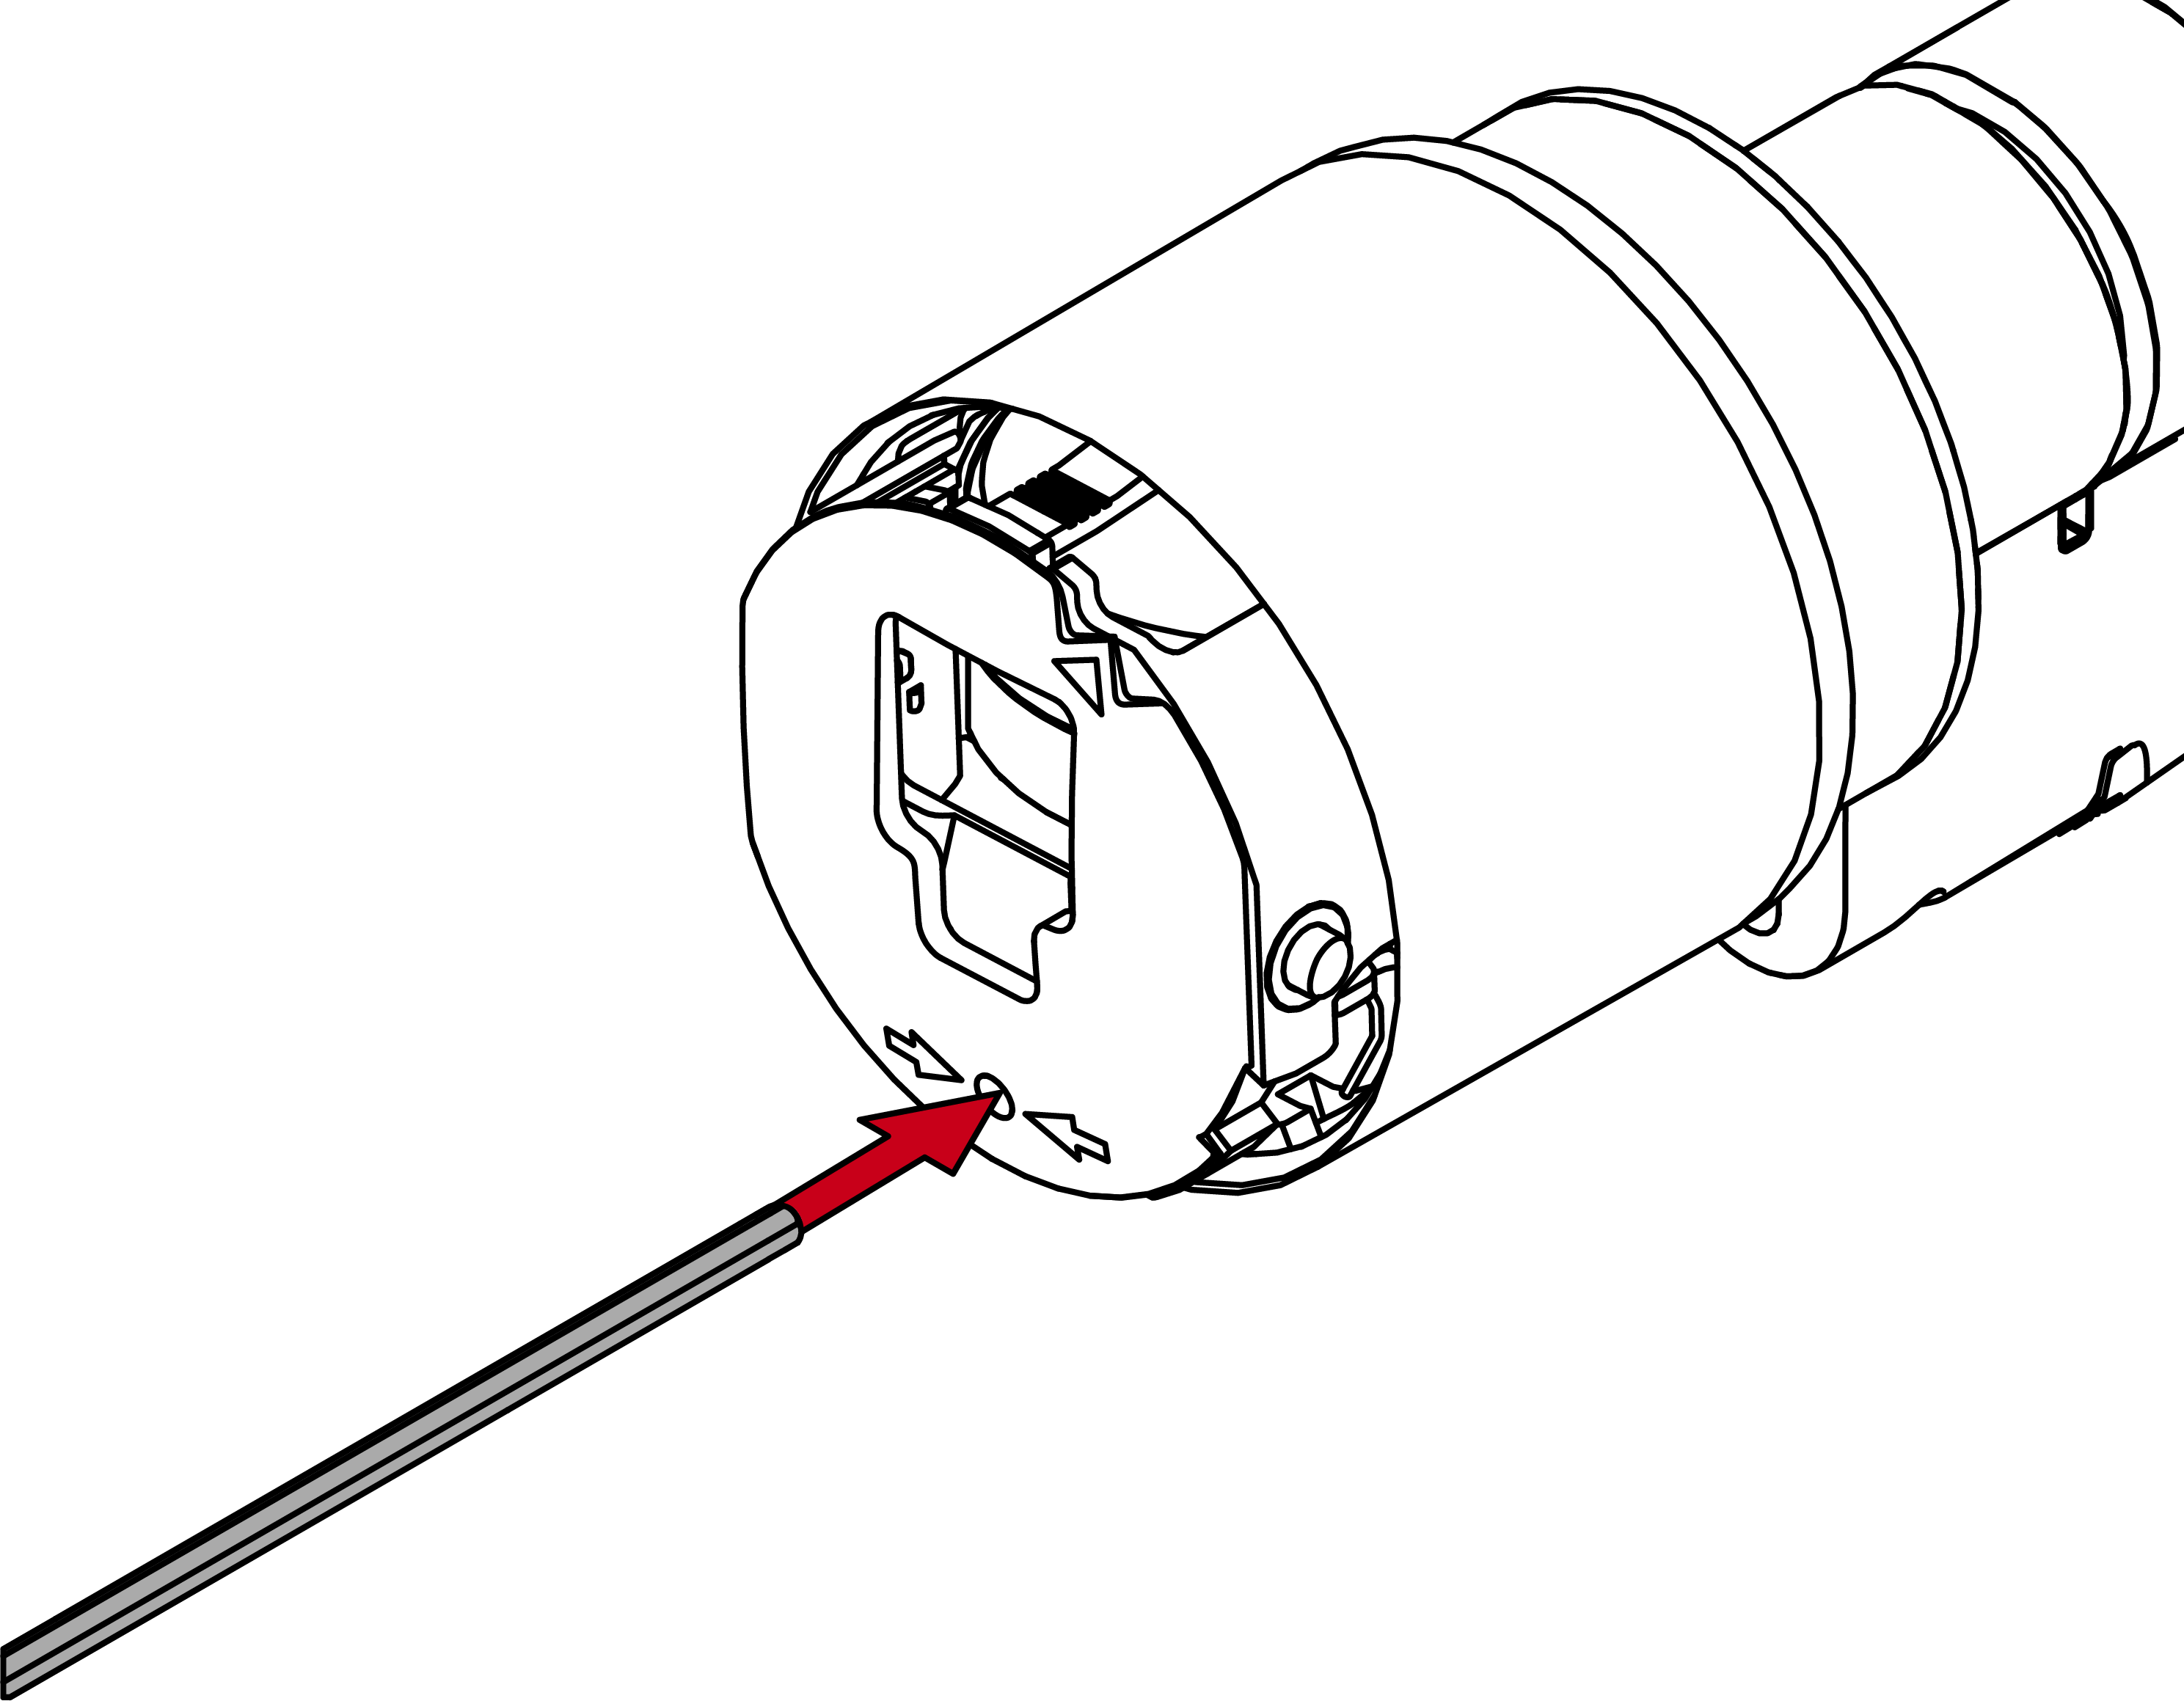
- Insert the hexagonal wrench into the hole provided until it stops.
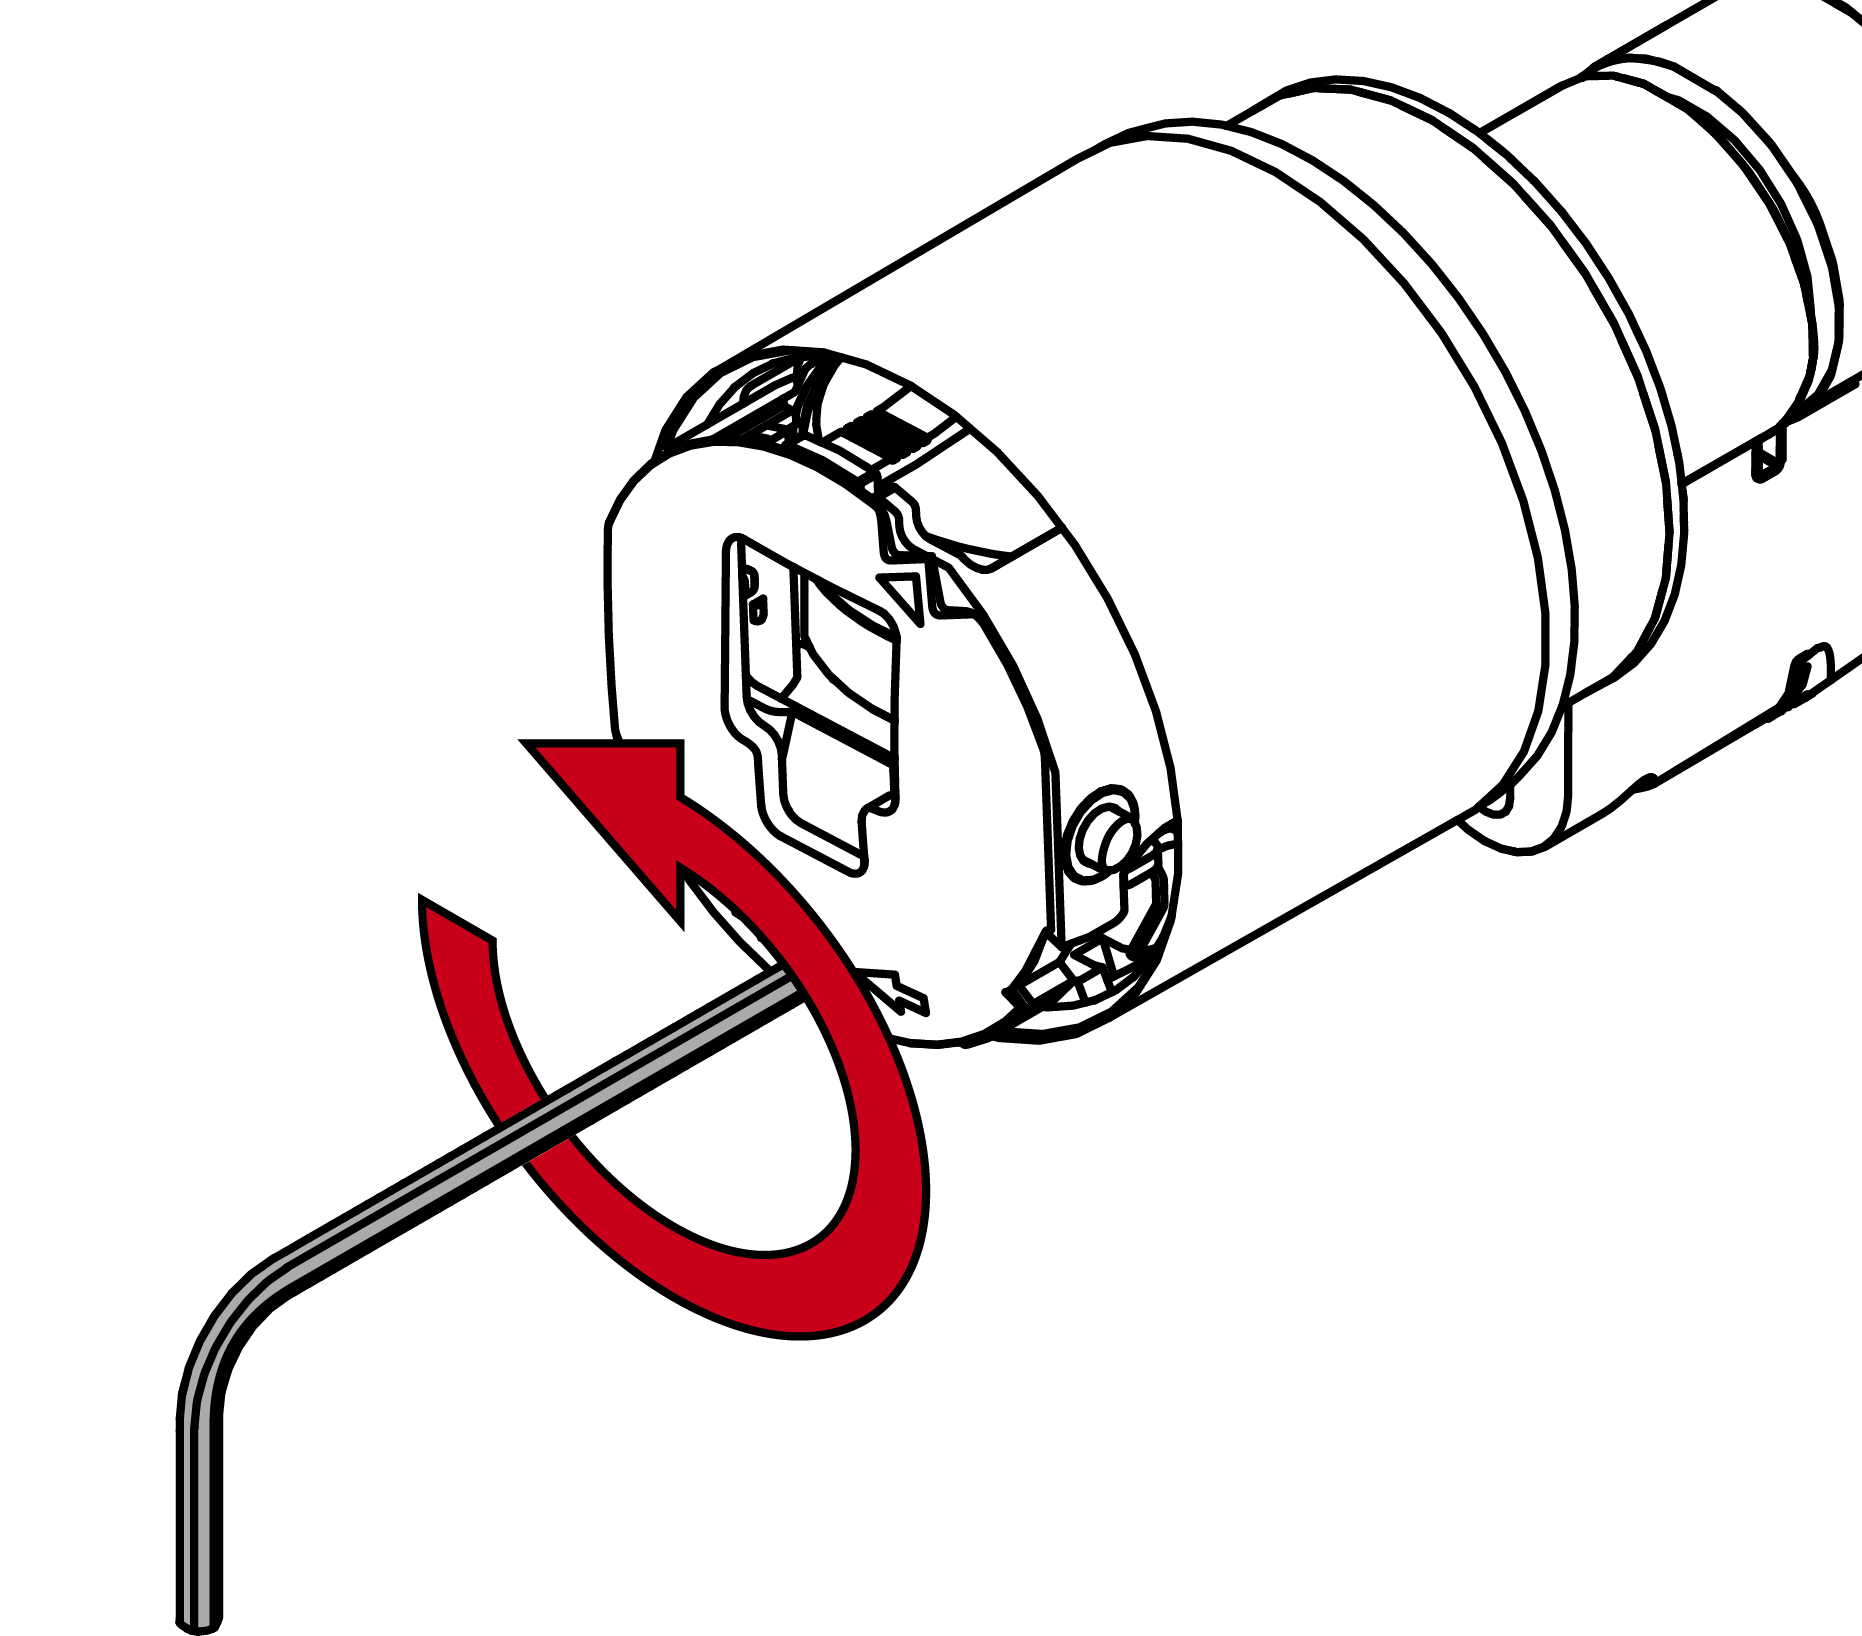
- Turn the hex wrench 270 degrees counterclockwise.
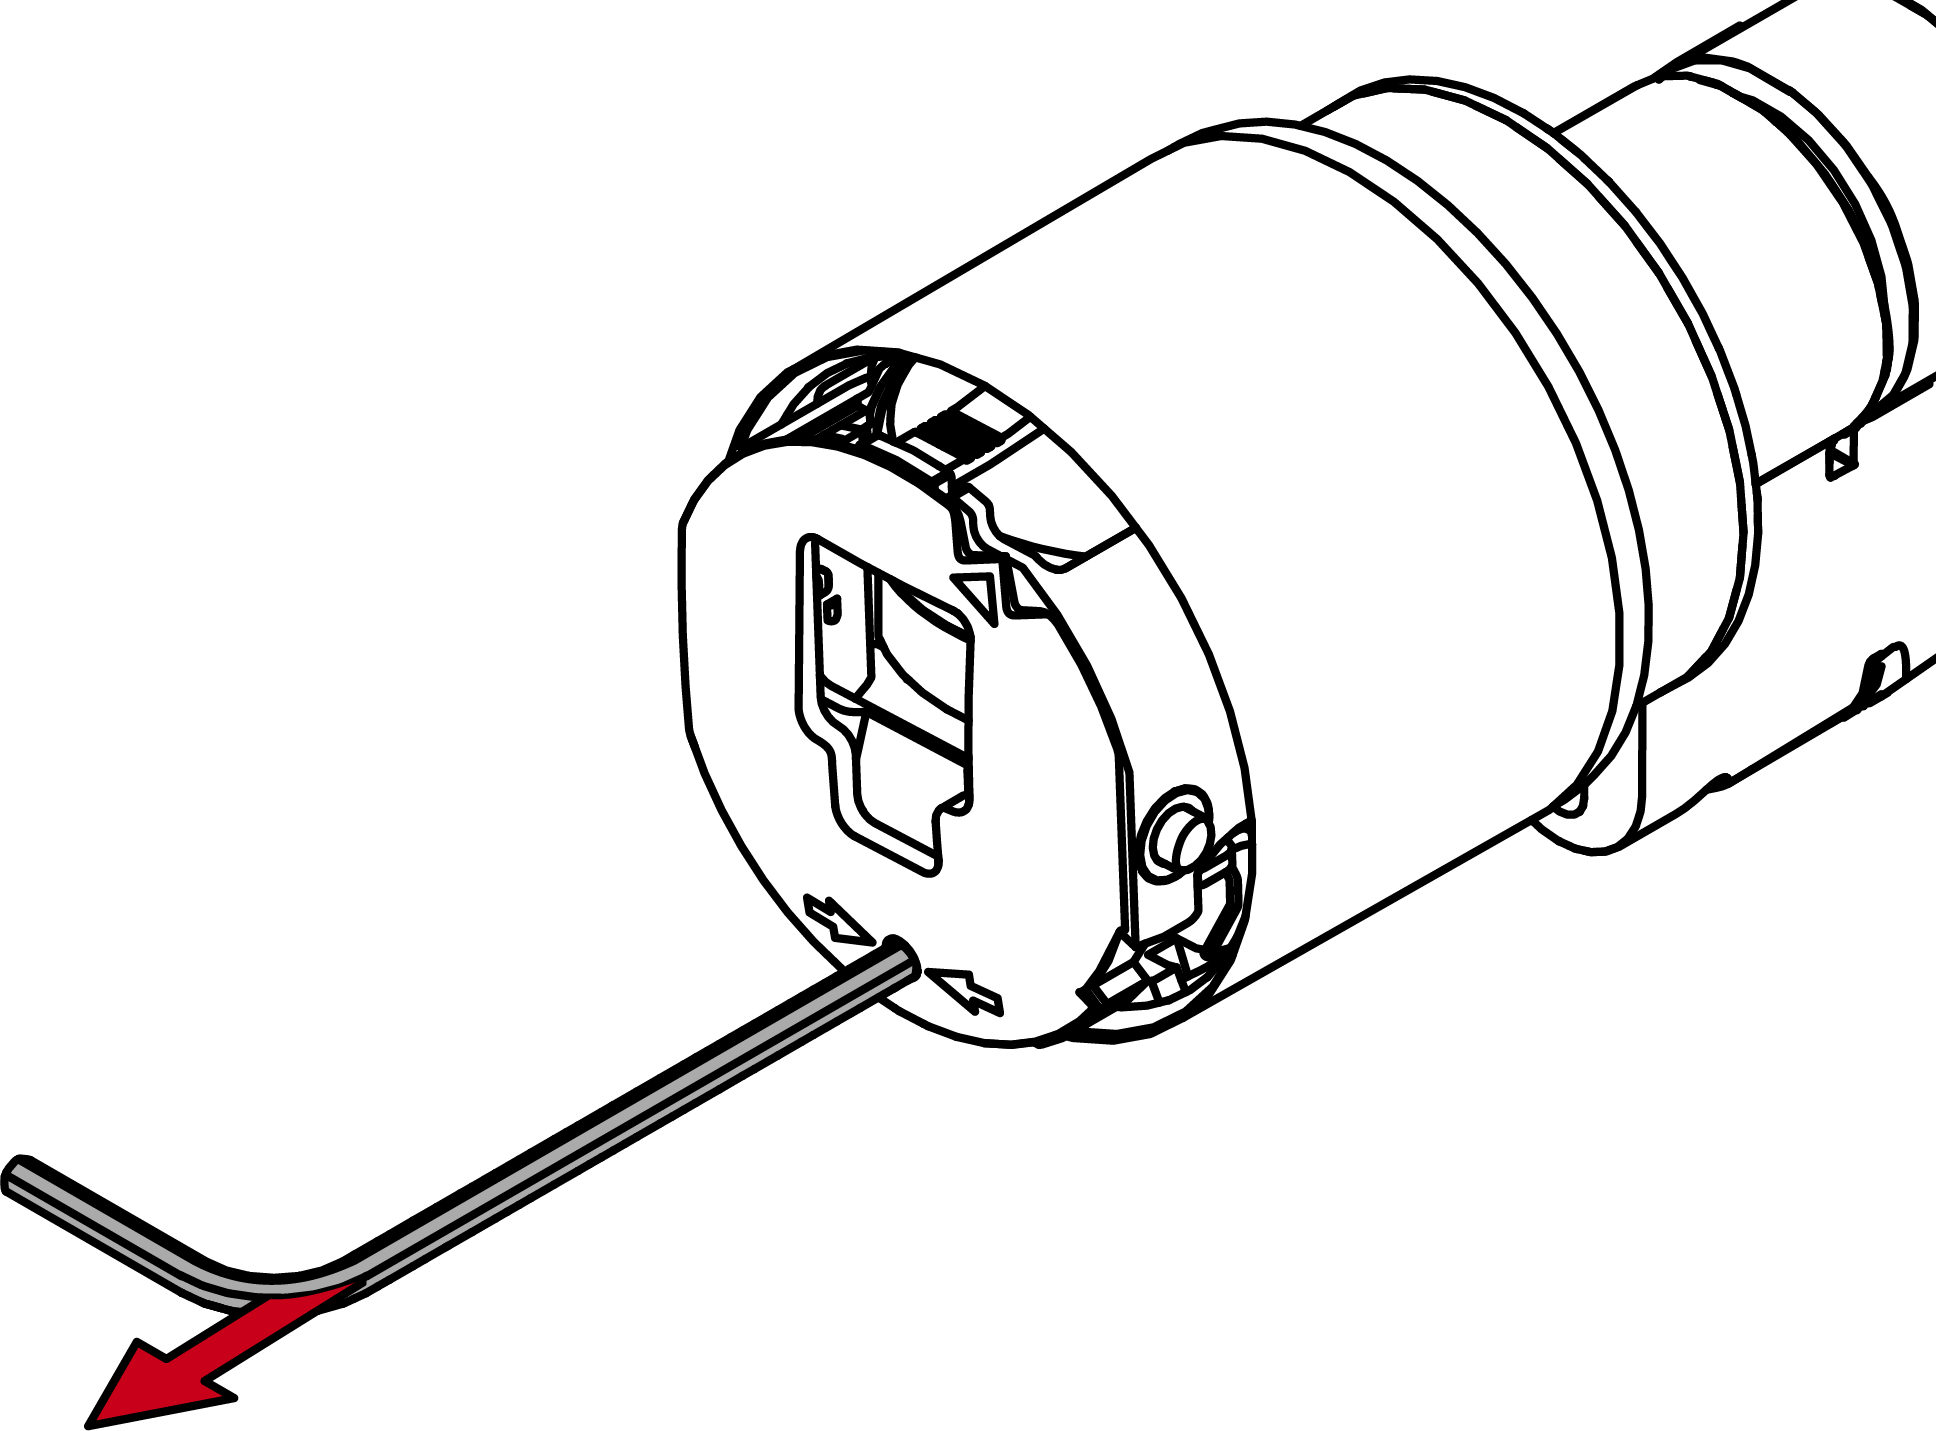
- Pull out the hexagon wrench again.
- Pull off the thumb turn.
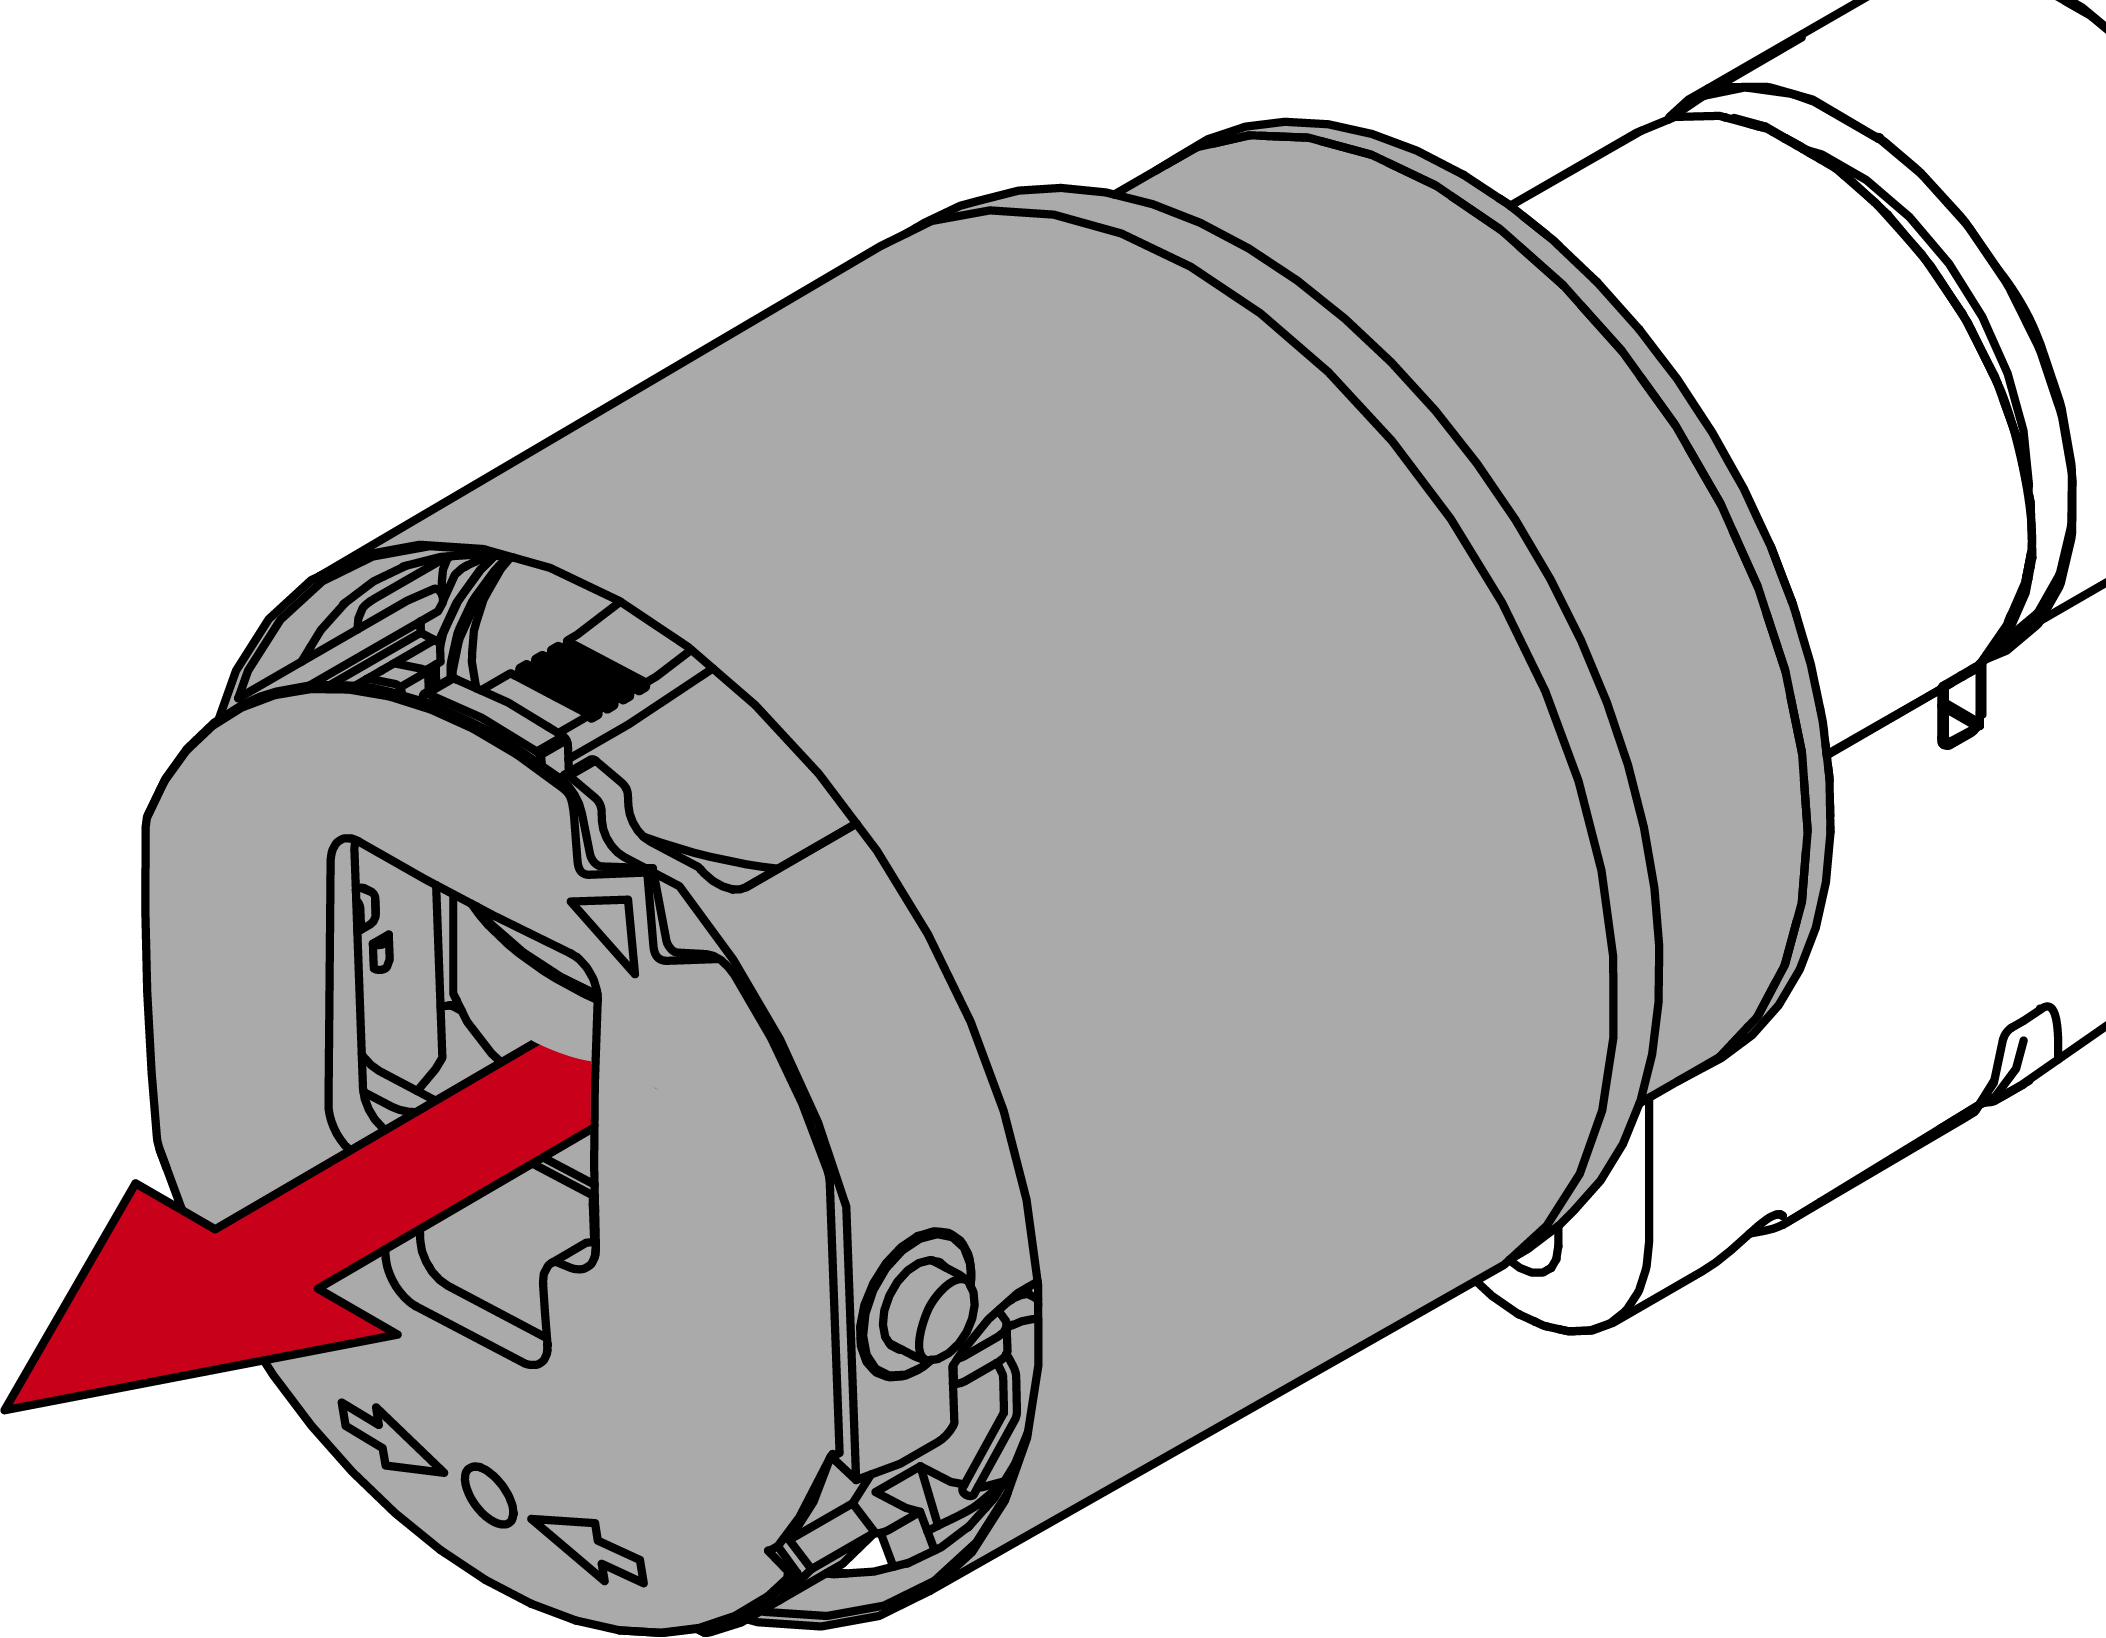
- Electronic thumb-turn is disassembled.
- Insert the Digital Cylinder AX into the mortise lock with the side without a thumb-turn facing the lock.
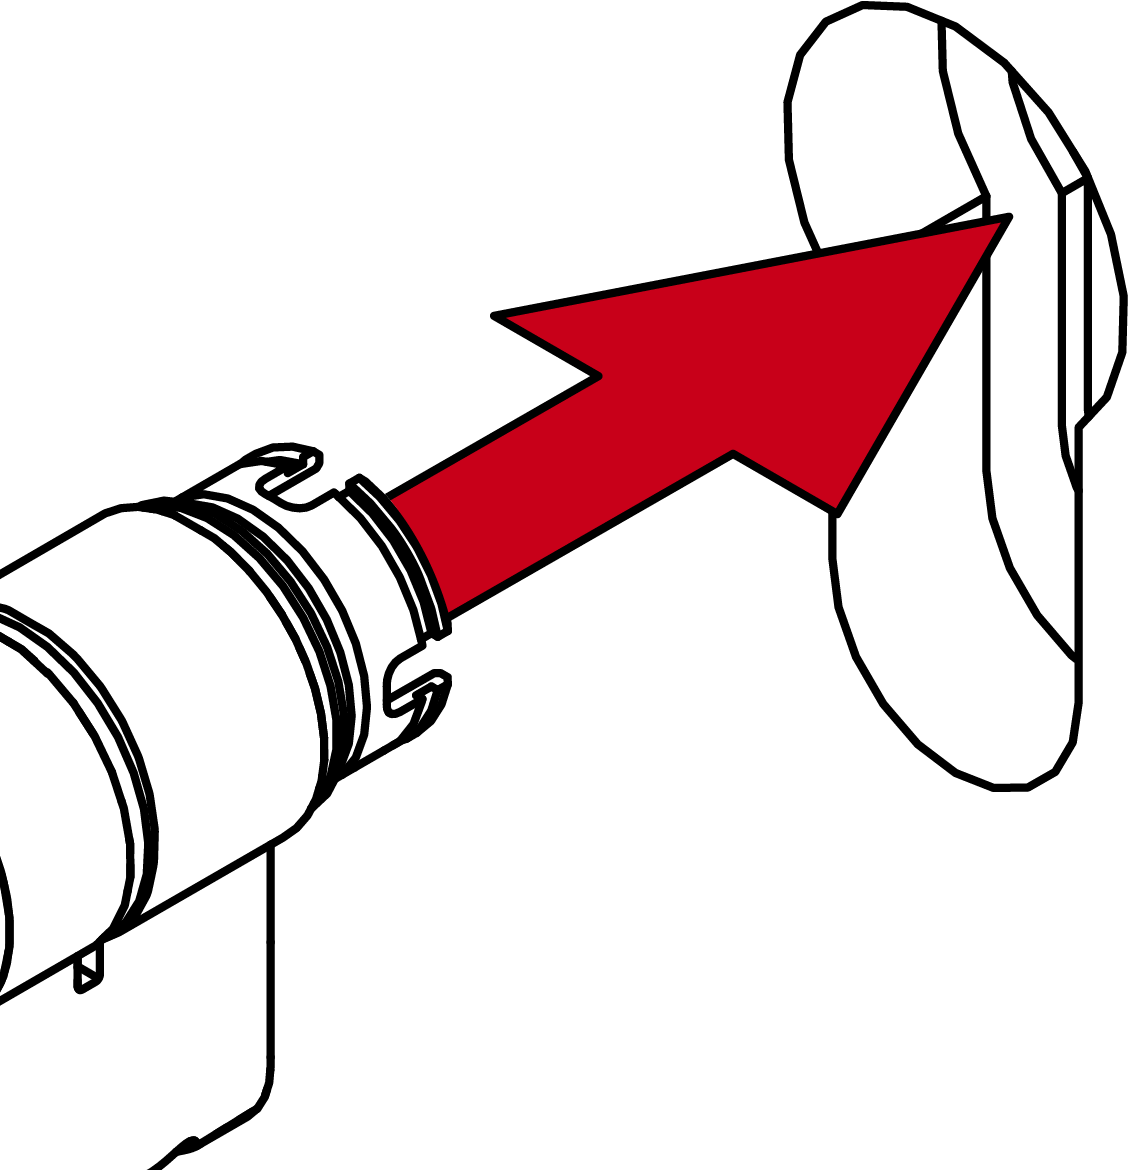
- You have positioned the Digital Cylinder AX in the lock.
- Screw the Digital Cylinder AX tight with the face plate screw.
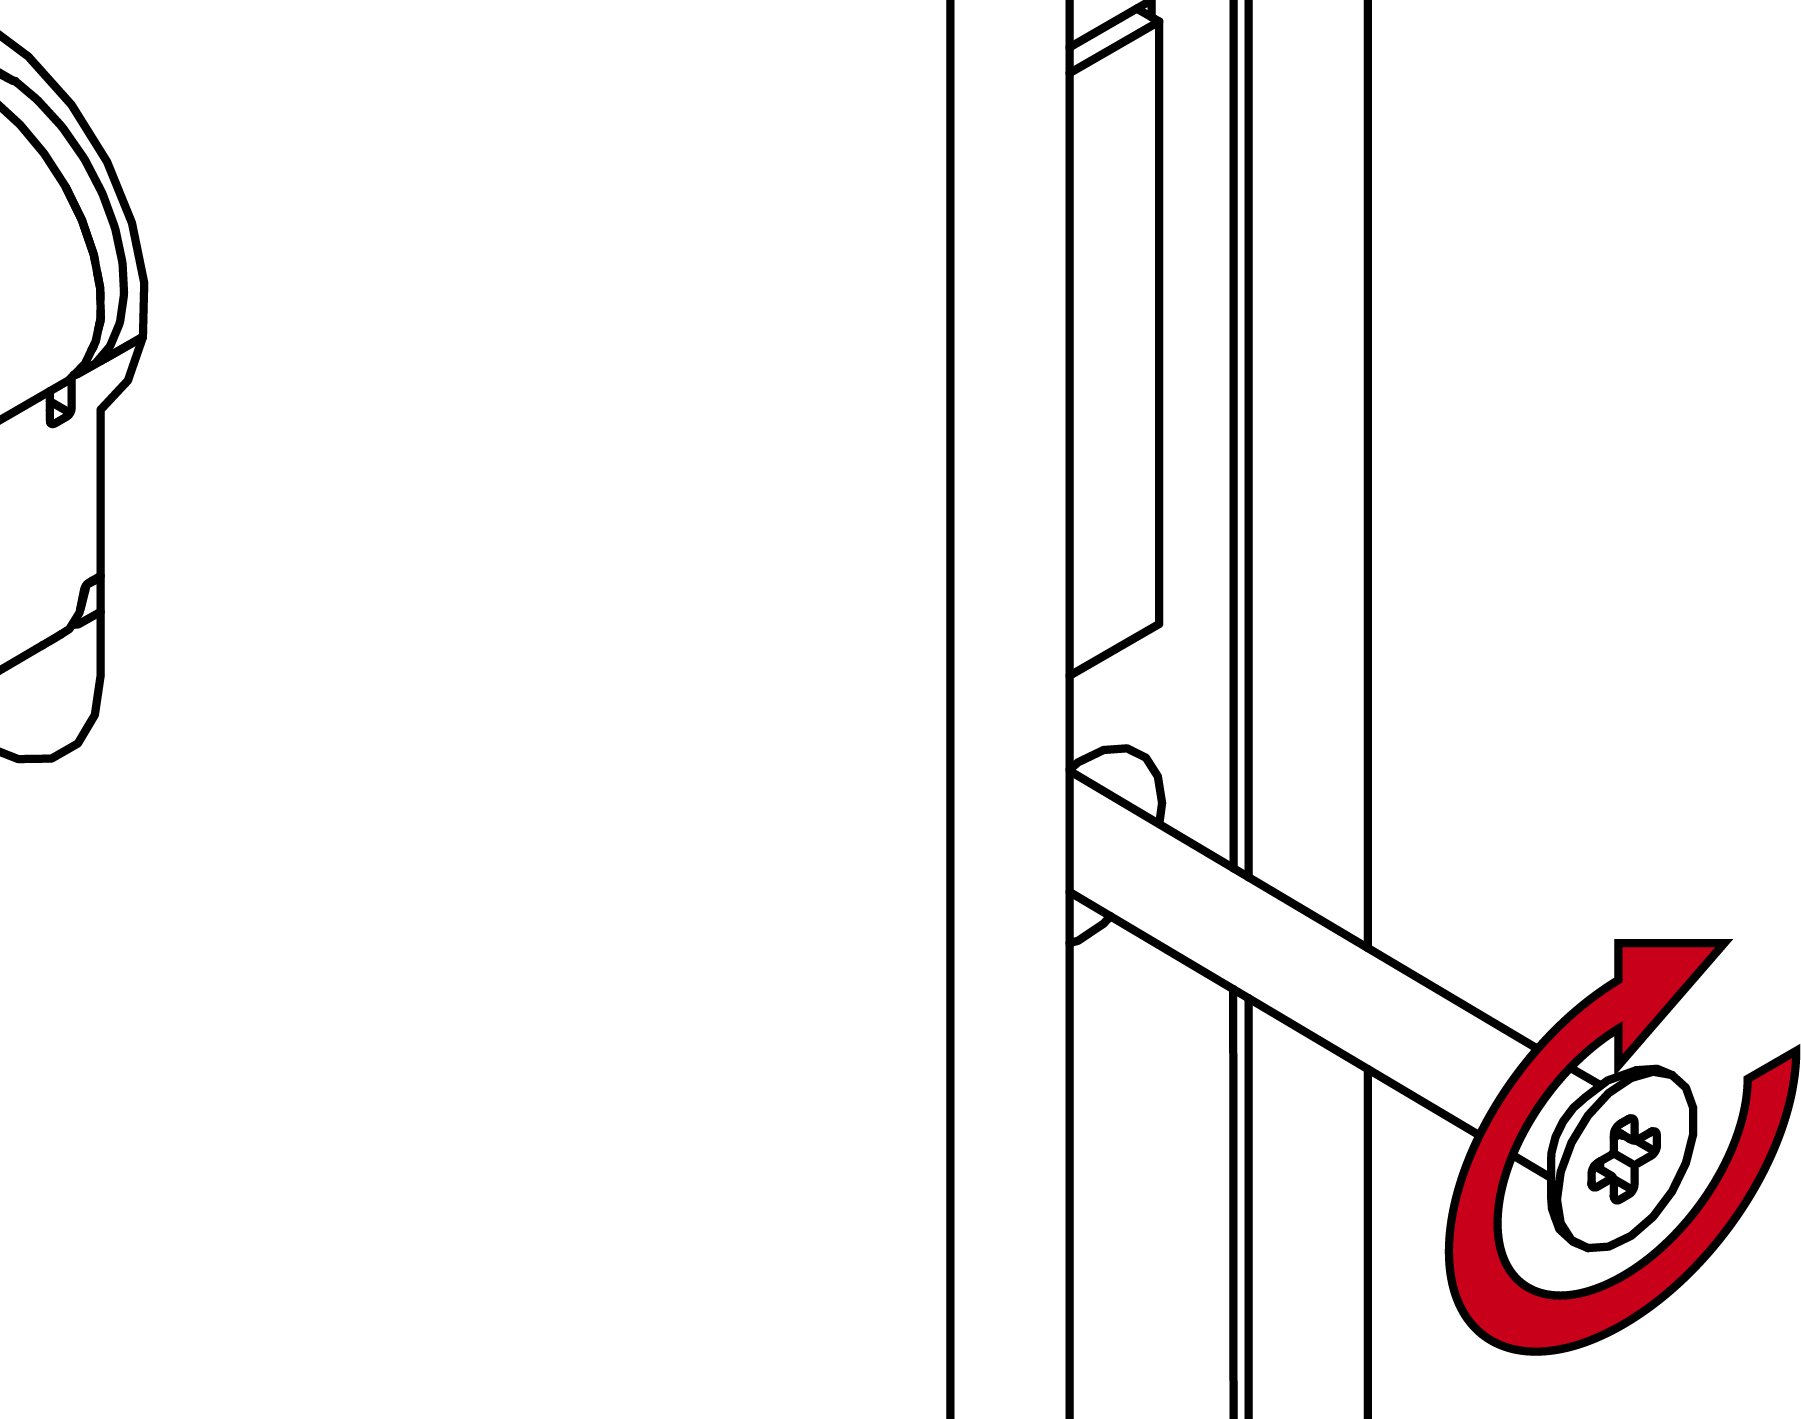
- Digital Cylinder AX is fixed in the lock.
- Align the thumb-turn mount horizontally.
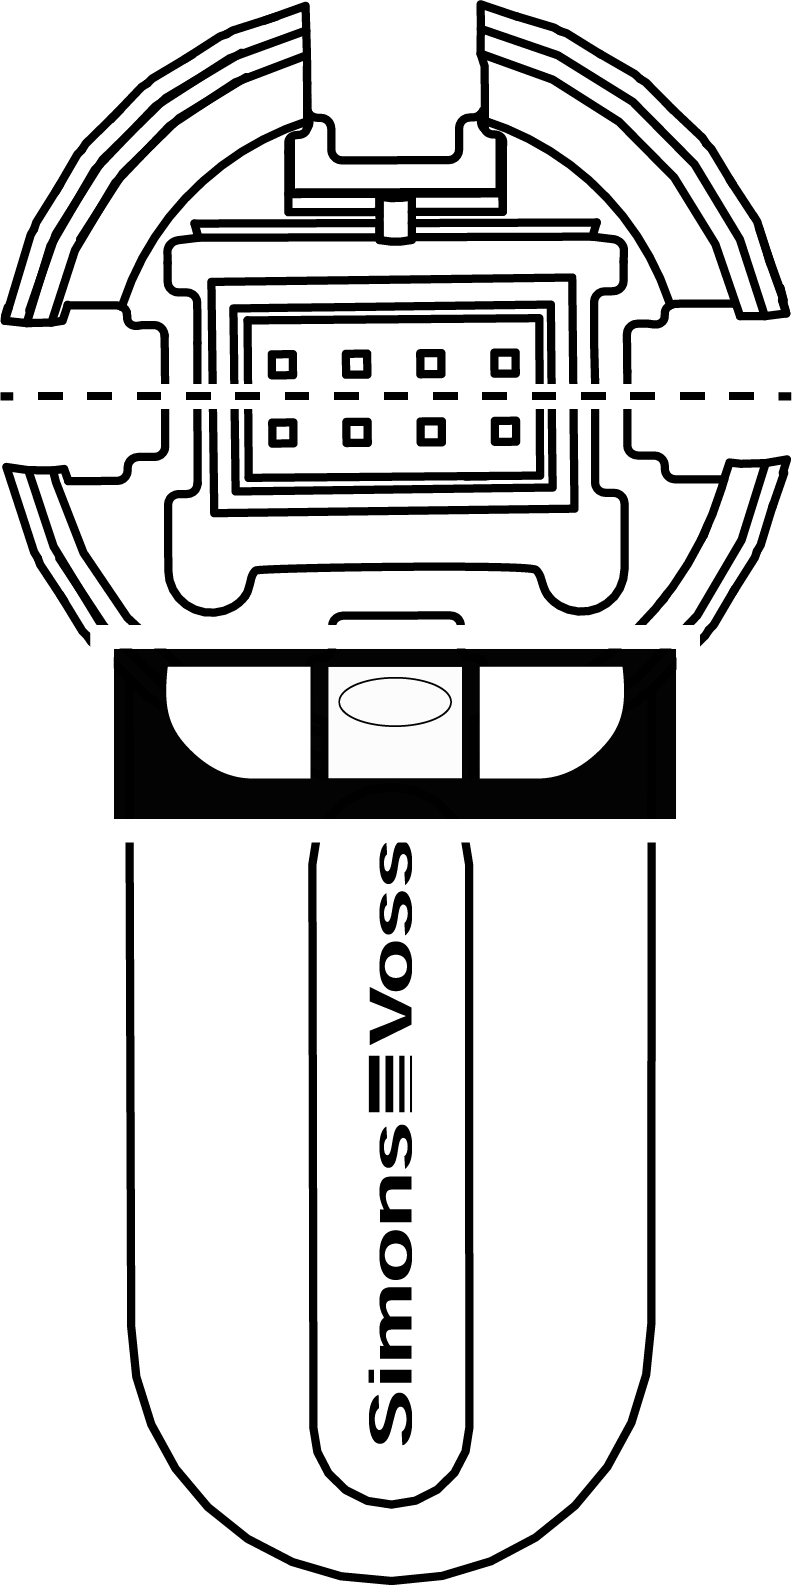
- Attach the thumb turn.
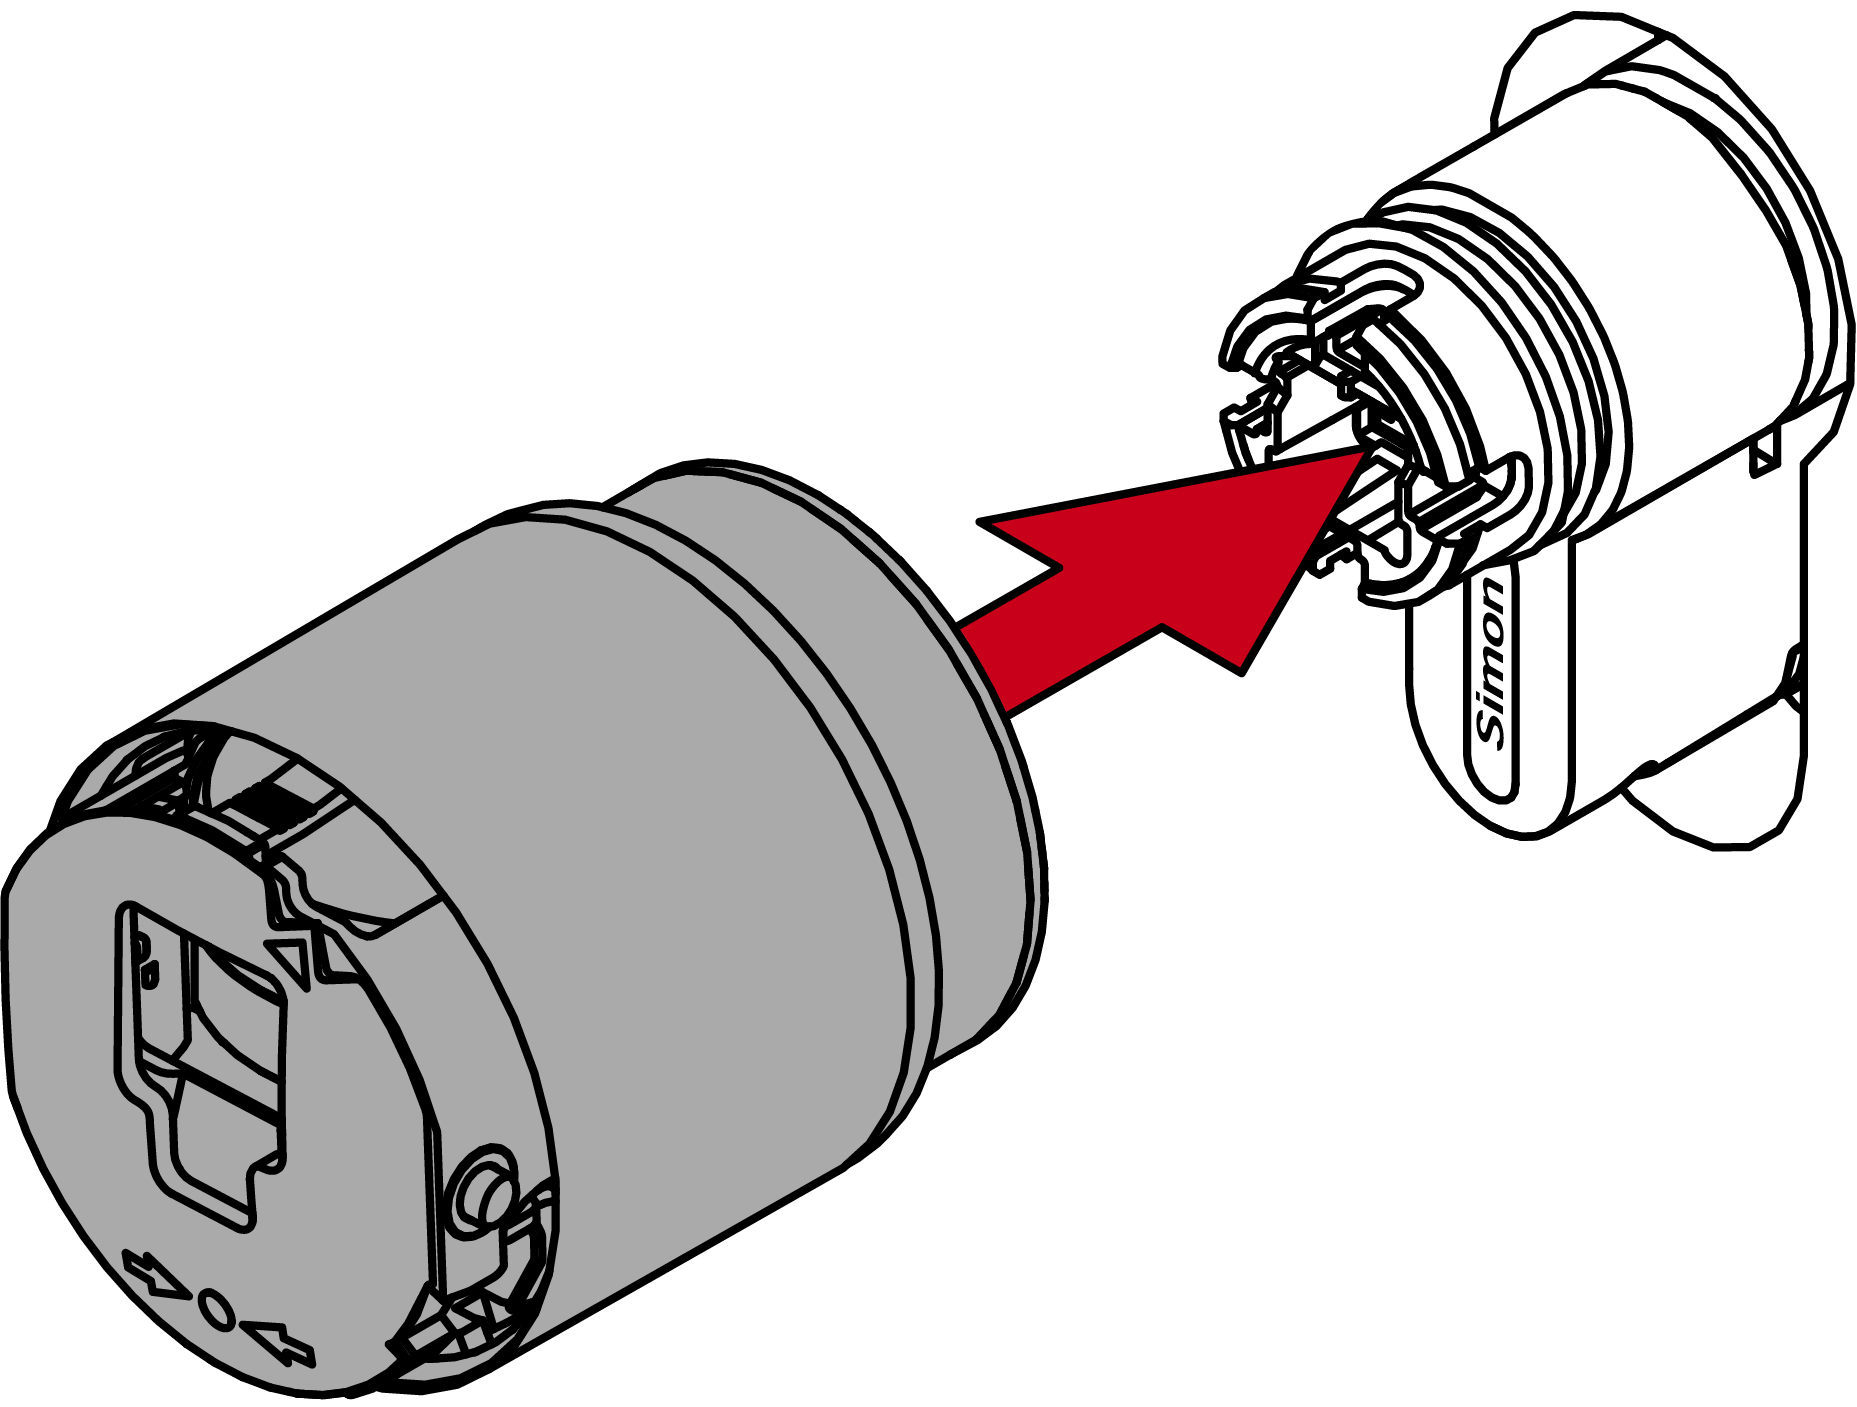
NOTE
Use the supplied hexagonal wrench.
The special tool is supplied with a hexagonal wrench.
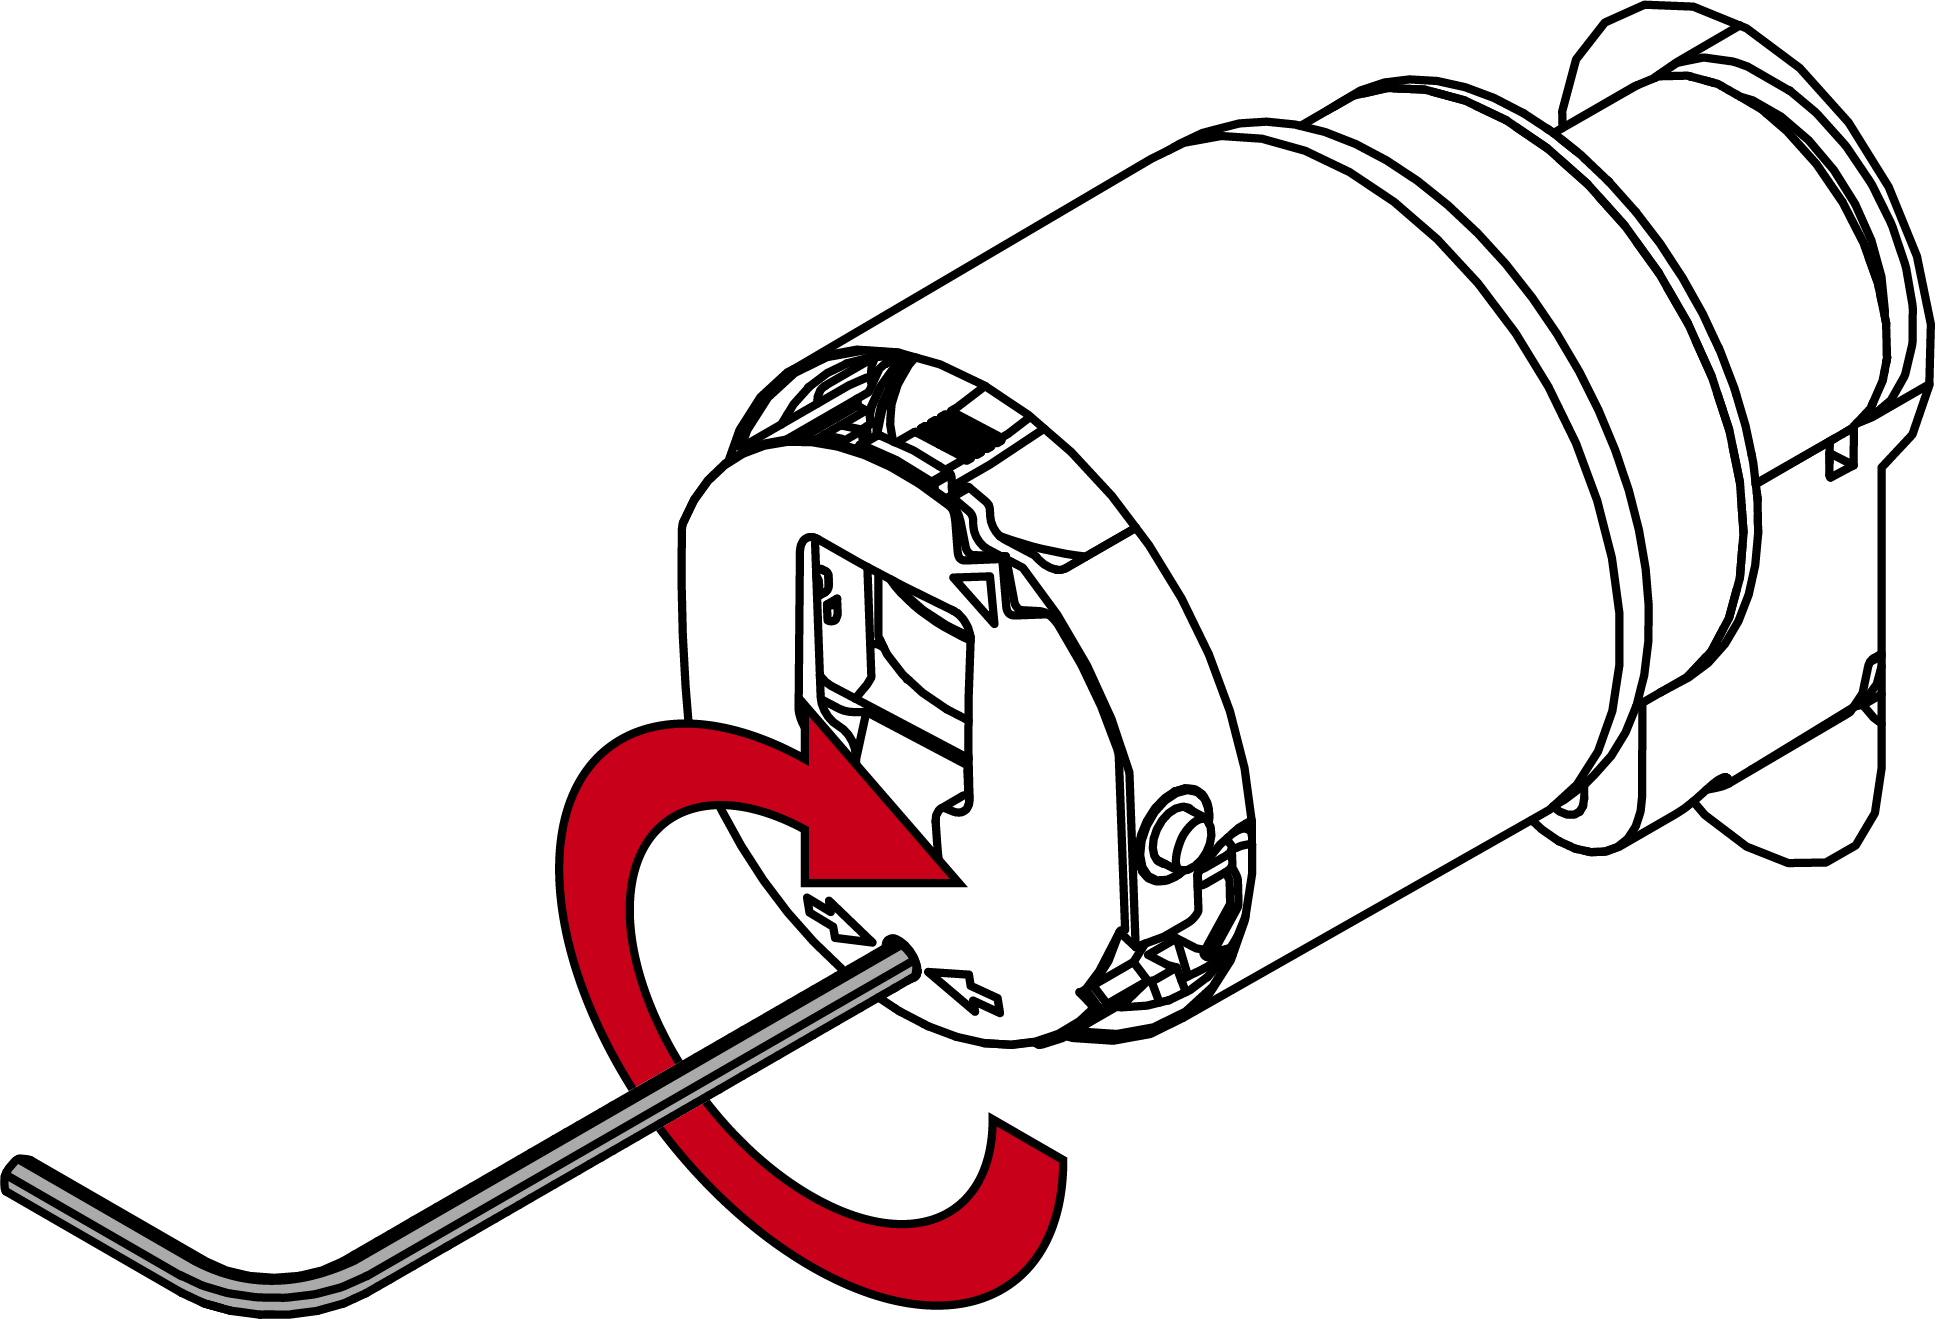
- Use this hexagonal wrench to mount and dismount the electronic thumb turn.
- Insert the hexagonal wrench into the hole provided until it stops.
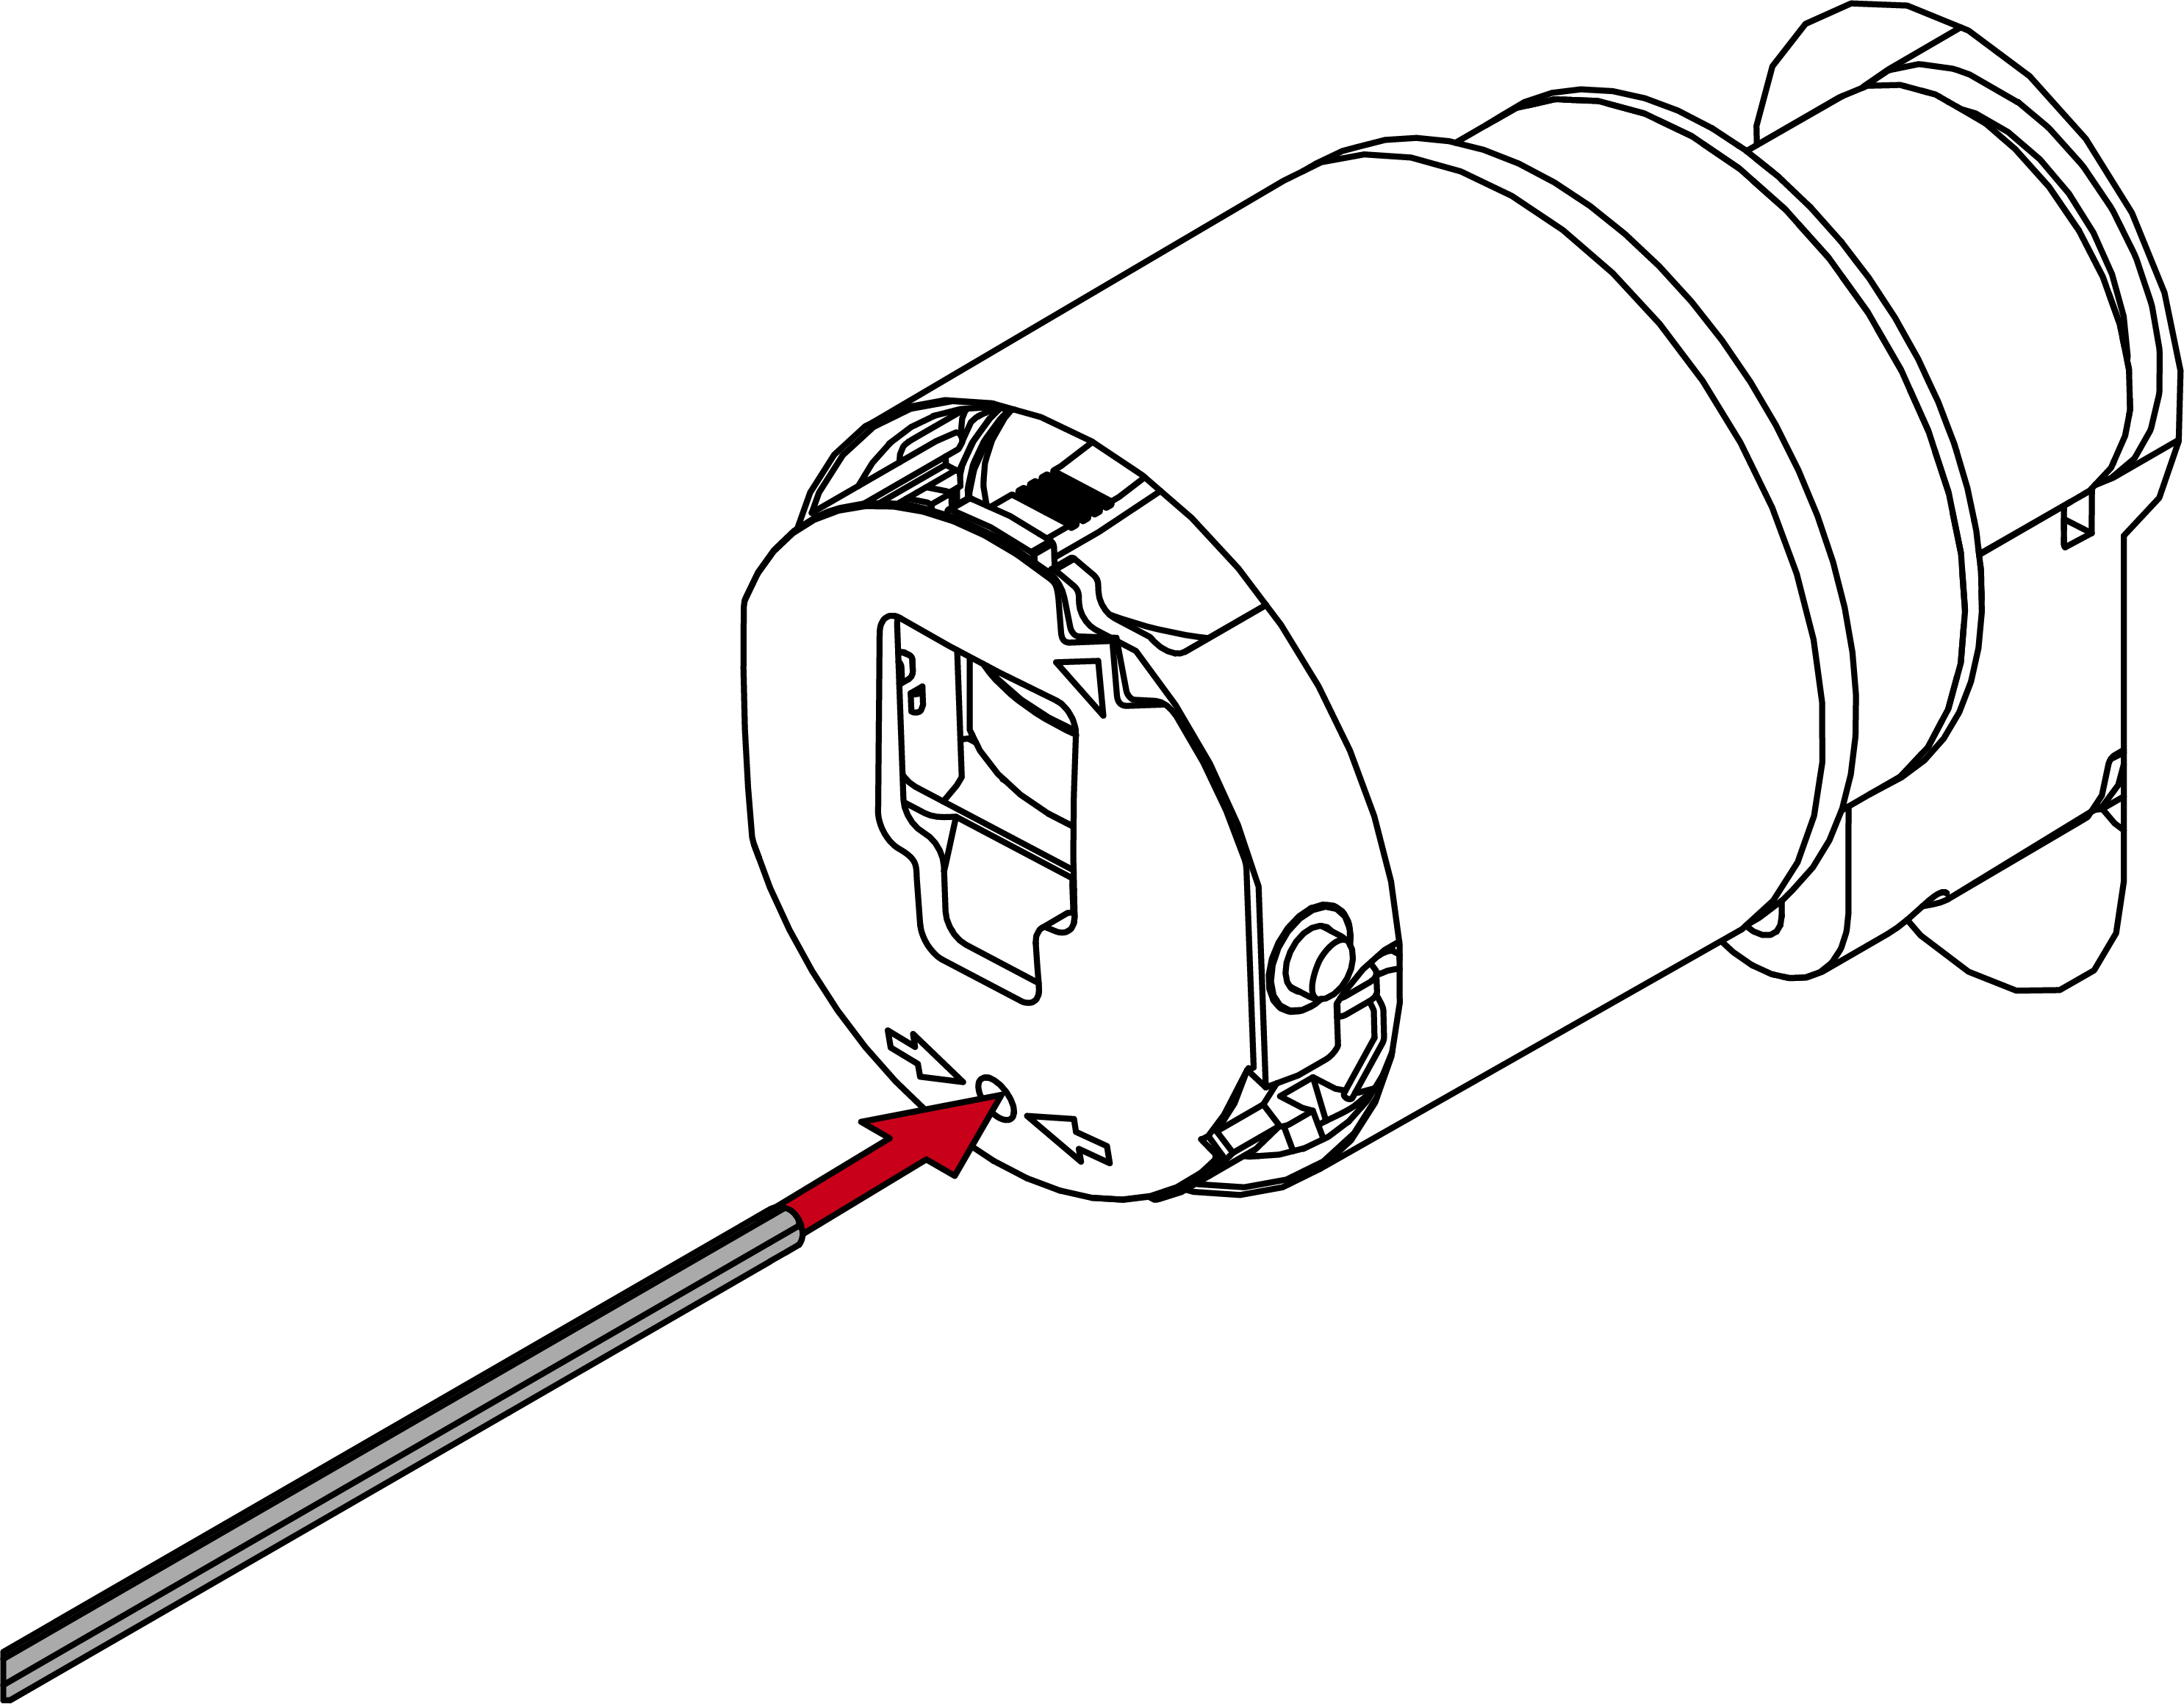
- Turn the hex key 270 degrees clockwise.
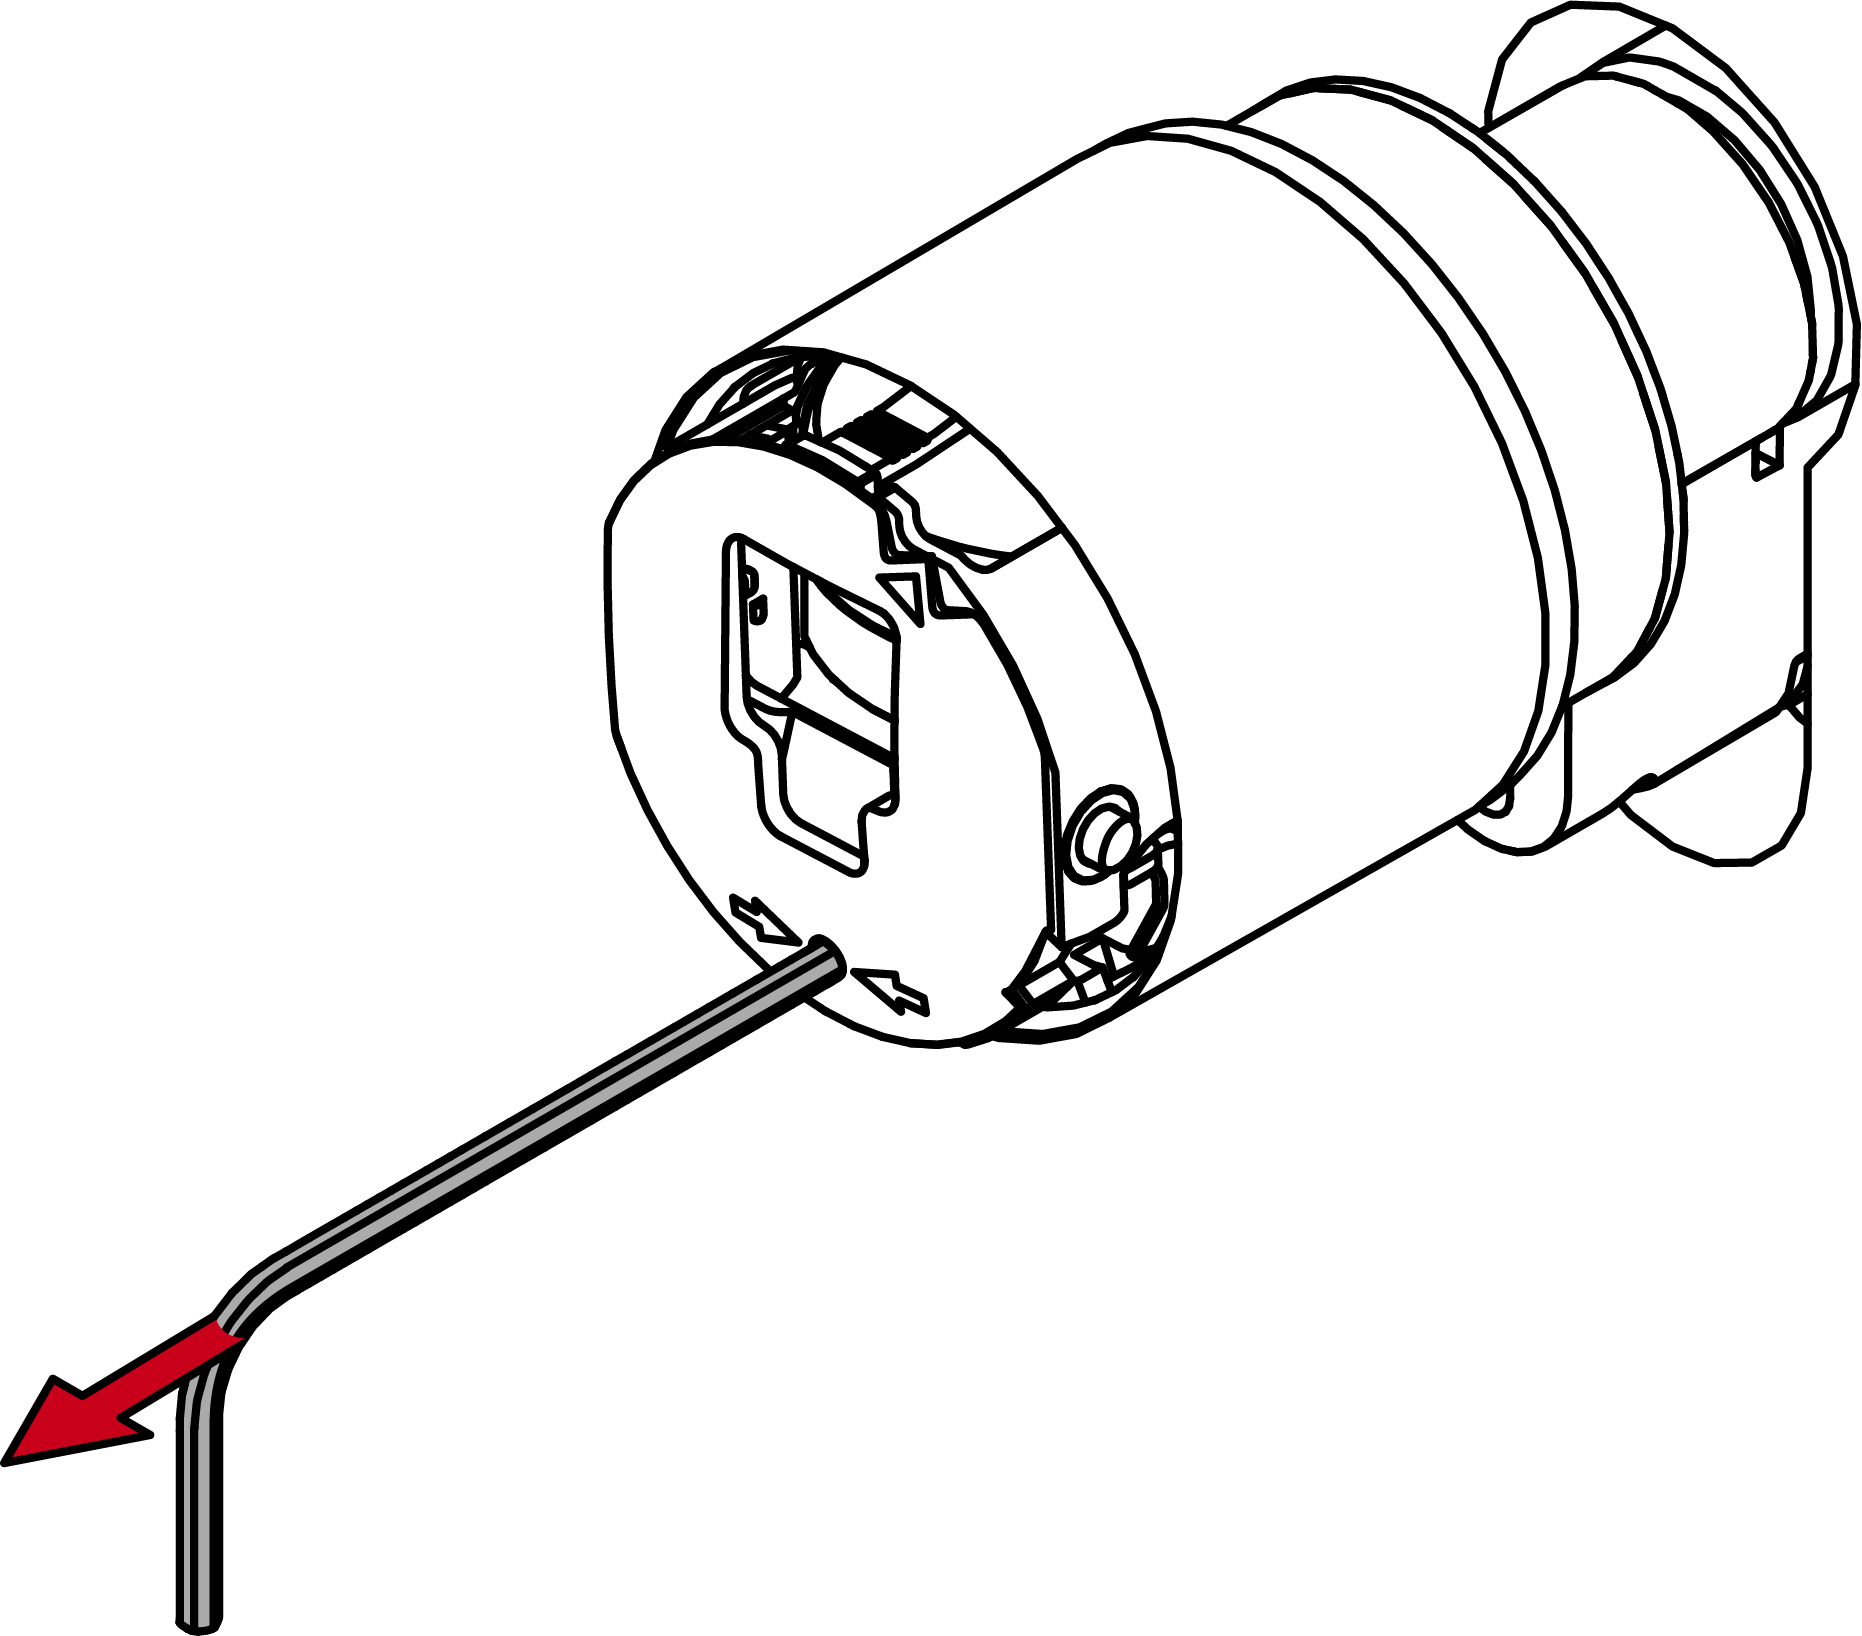
- Pull out the hexagon wrench again.
- Put on the cover.
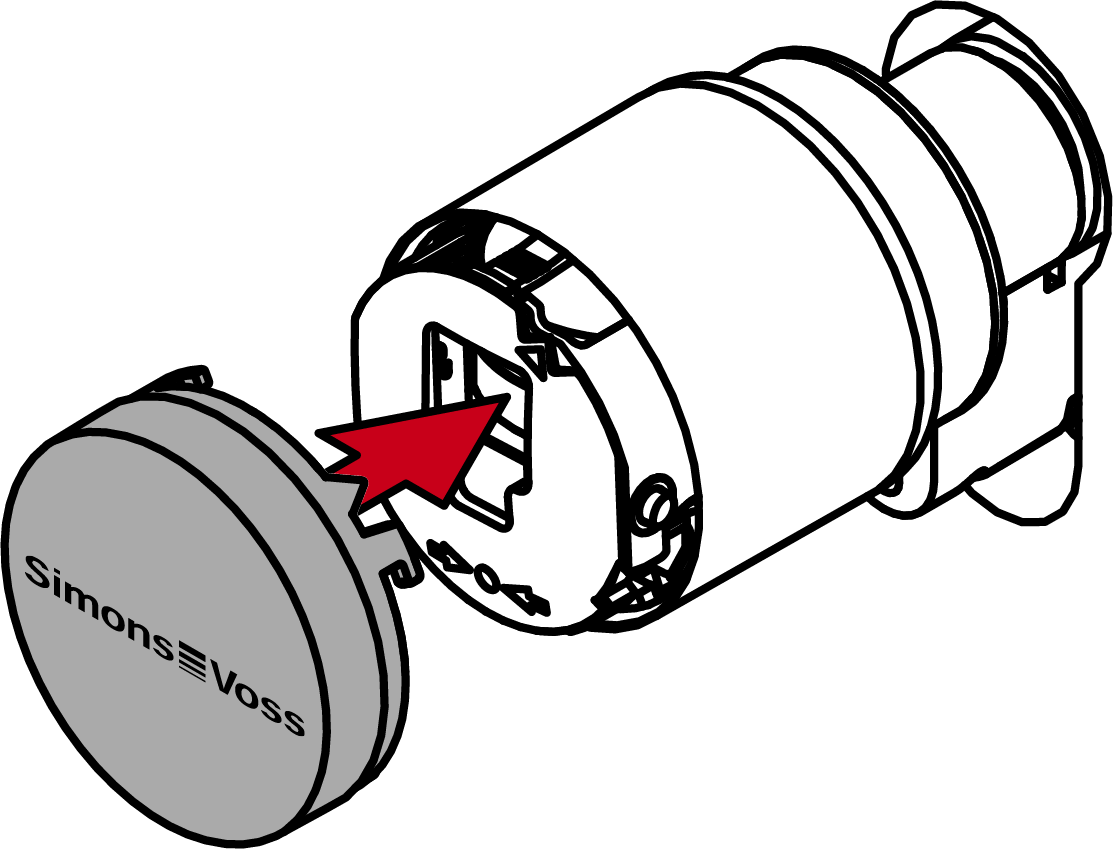
- Turn the cover clockwise.
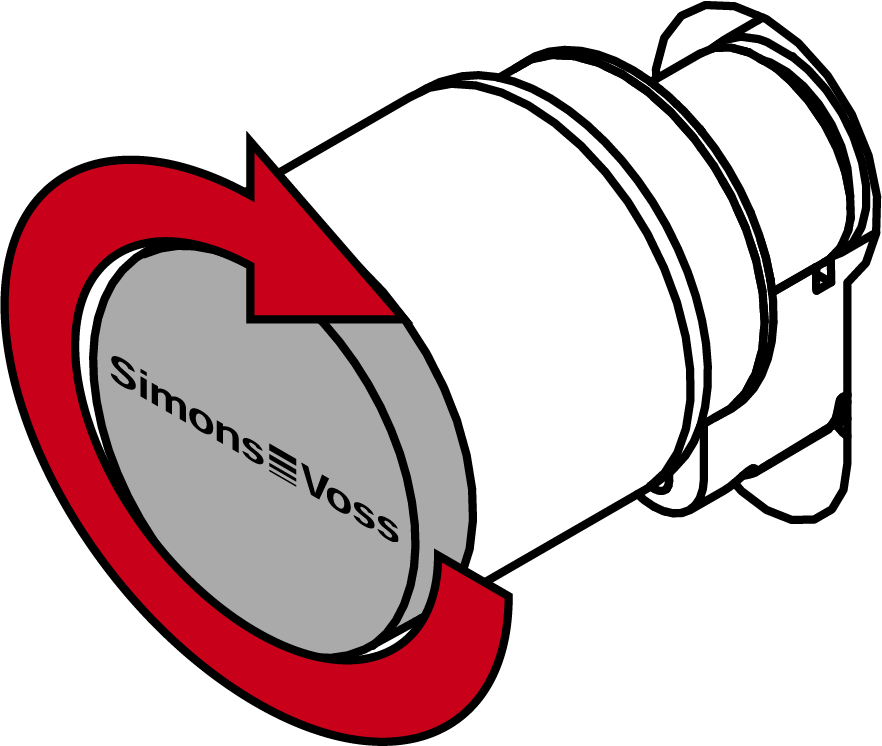
- The cover snaps into place with one click.
- Digital Cylinder AX is mounted.