Standard installation/initial installation - Digital Cylinder AX (Z5)
This is the easiest way to install the Digital Cylinder AX. You do not need any special tools for the initial assembly. Remove the red plastic assembly lock before initial assembly.
NOTE

Tool-free initial assembly
The mechanical thumb-turn is only clipped on when delivered. A thumb-turn lock (red plastic part) prevents the thumb-turn from engaging. You can install the mechanical thumb-turn of the AX locking cylinder without tools, but you cannot disassemble it without special tools. When the AX locking cylinder is installed for the first time, it is therefore not necessary to disassemble the mechanical thumb-turn. Instead, start by inserting the AX locking cylinder.
- Special tool available.
- PH2 screwdriver at hand.
- Align the thumb turn horizontally.
- Attach the special tool.
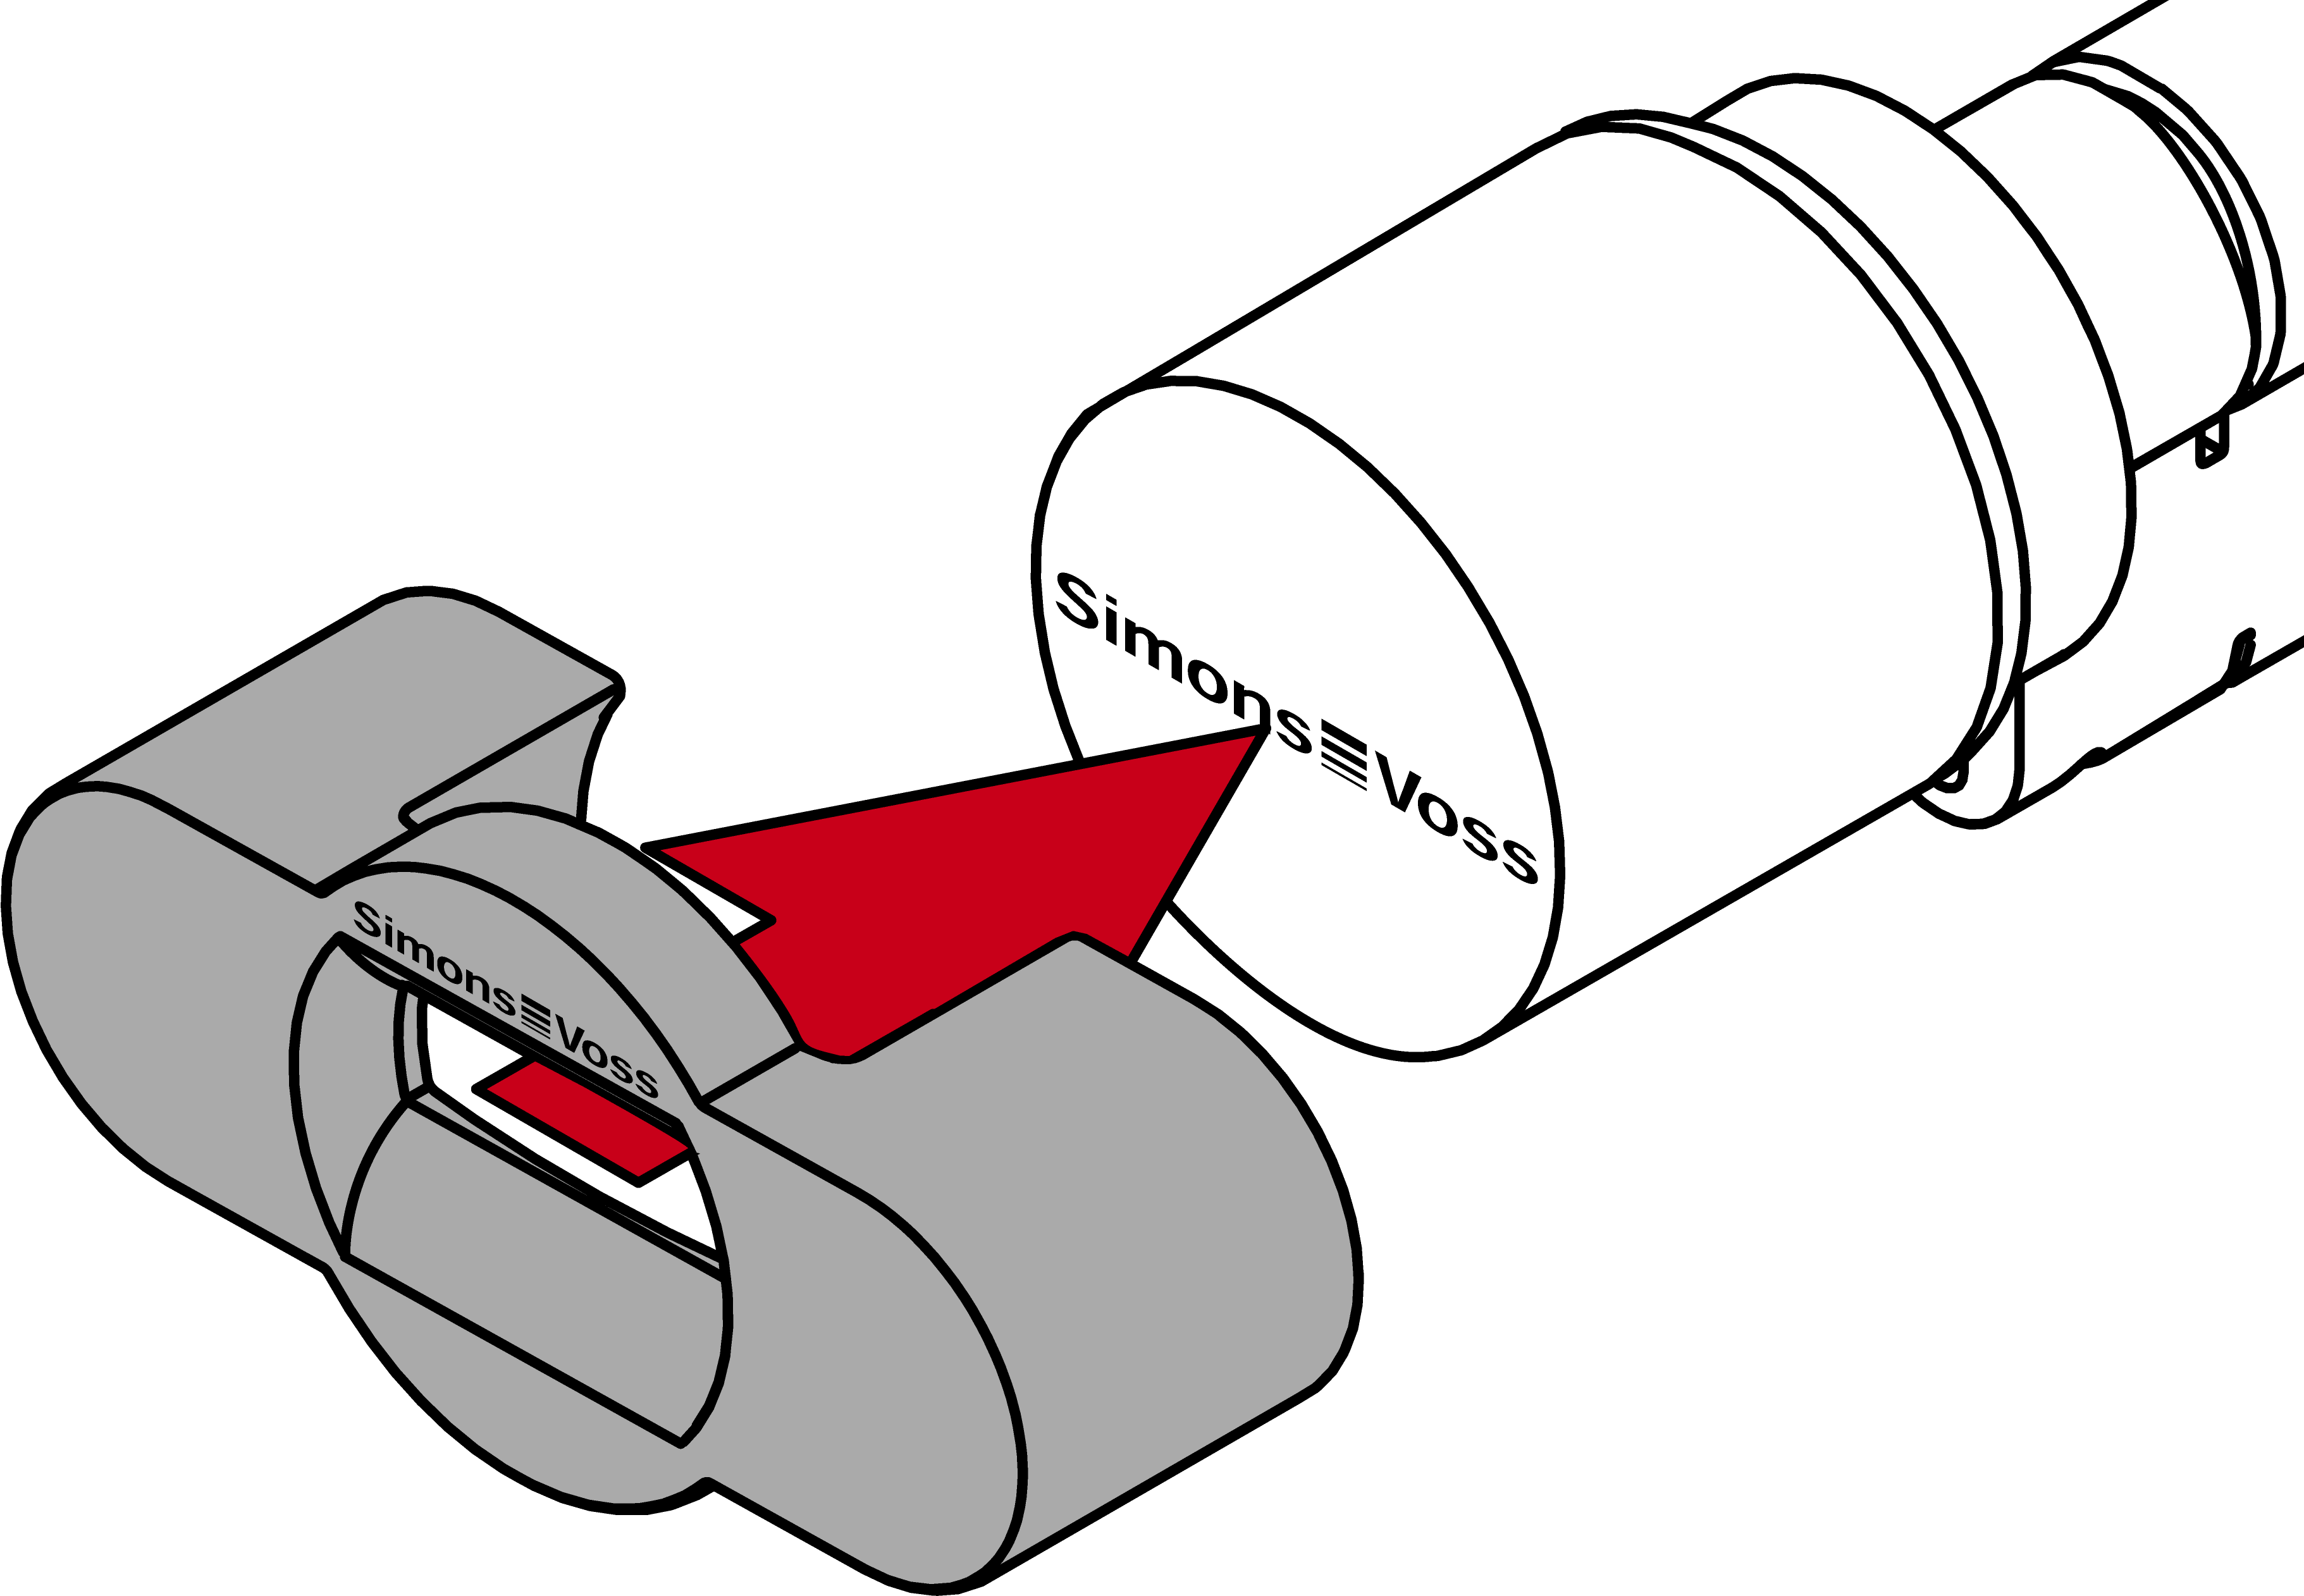
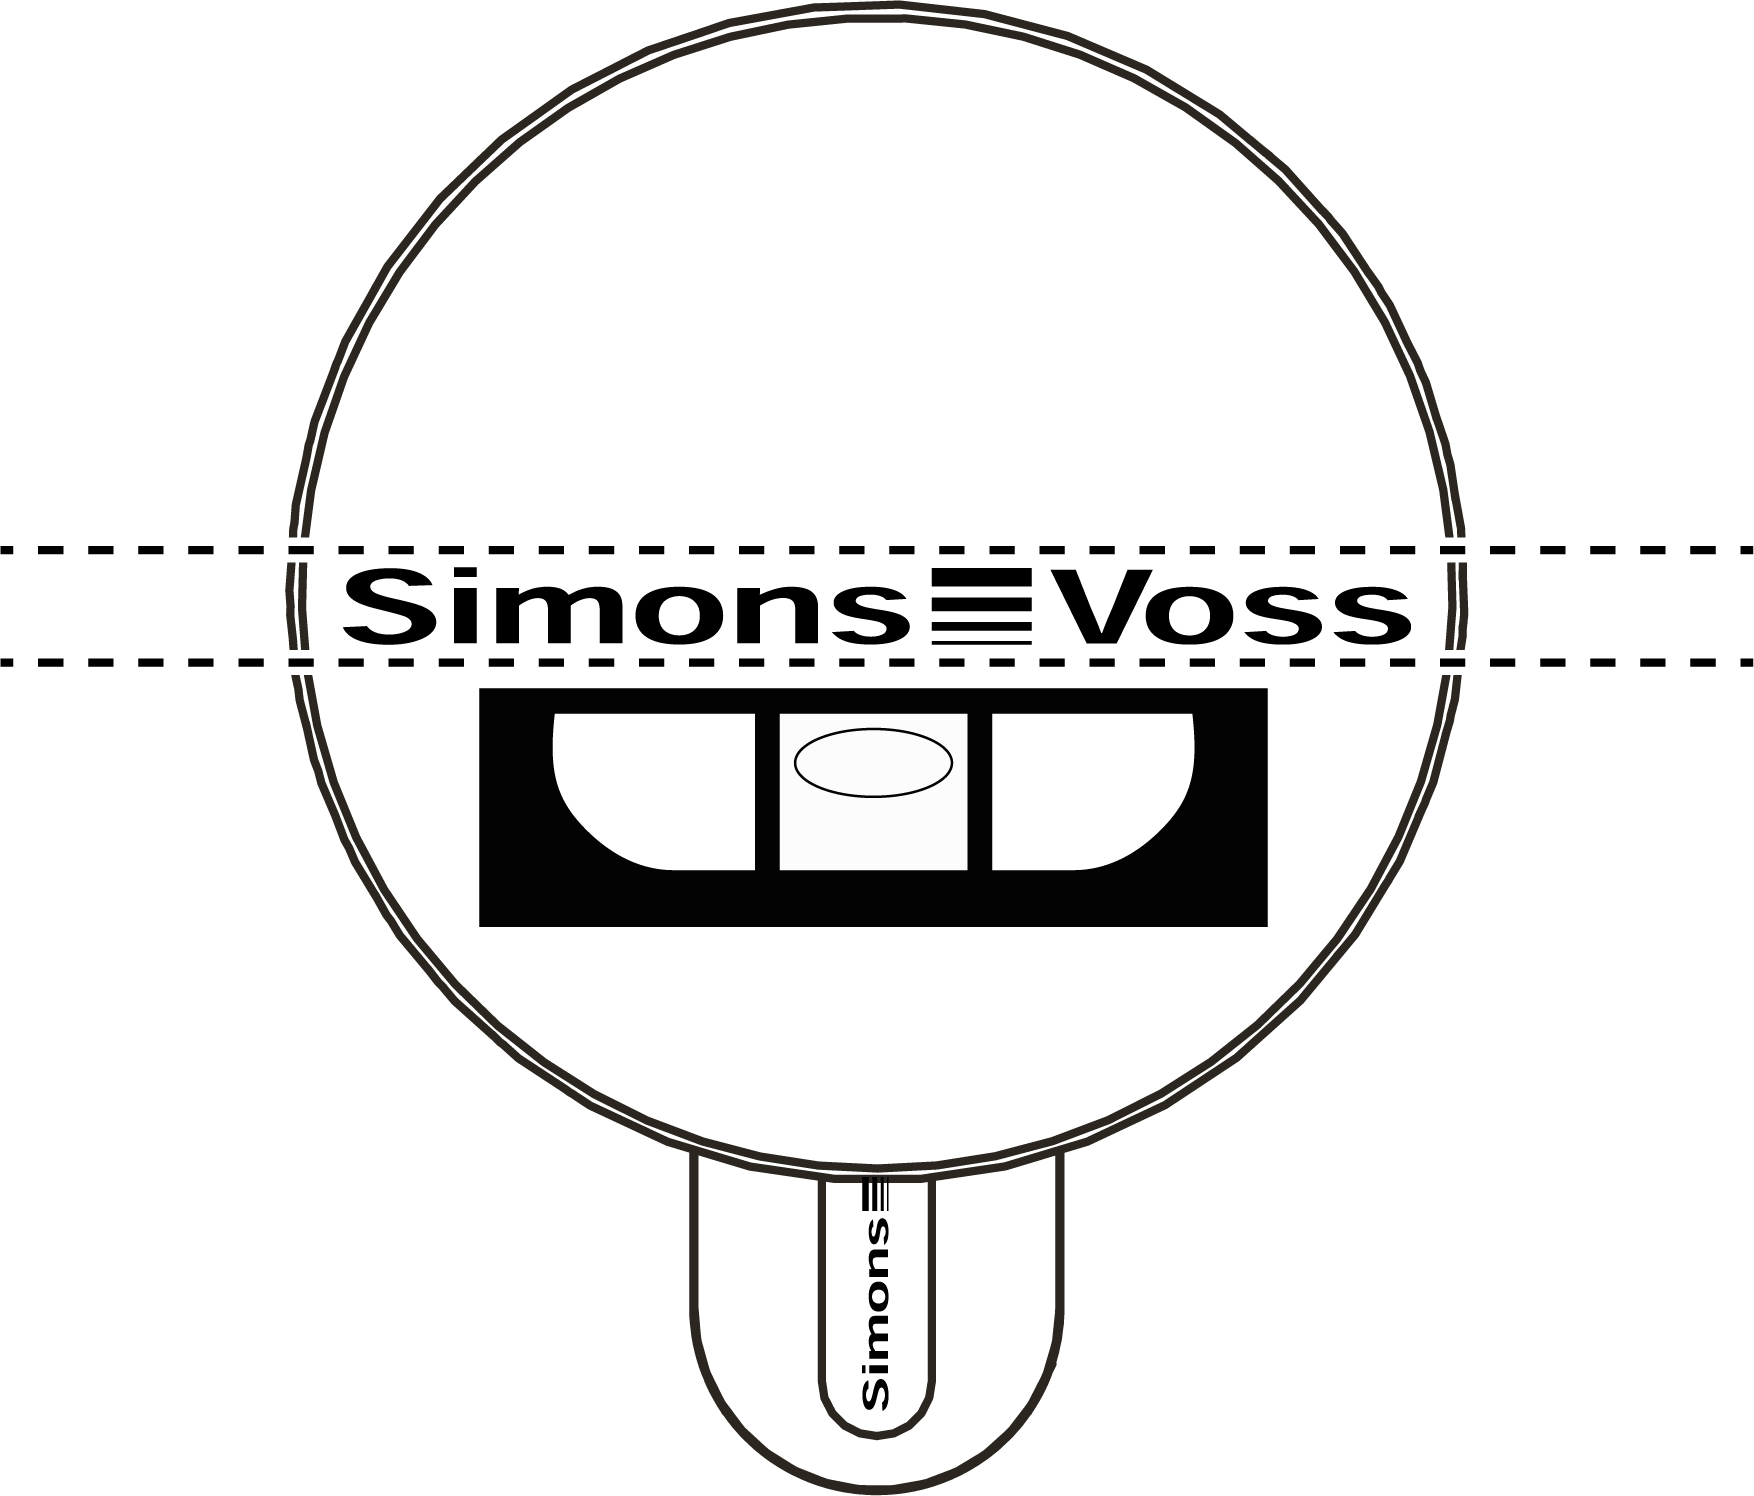
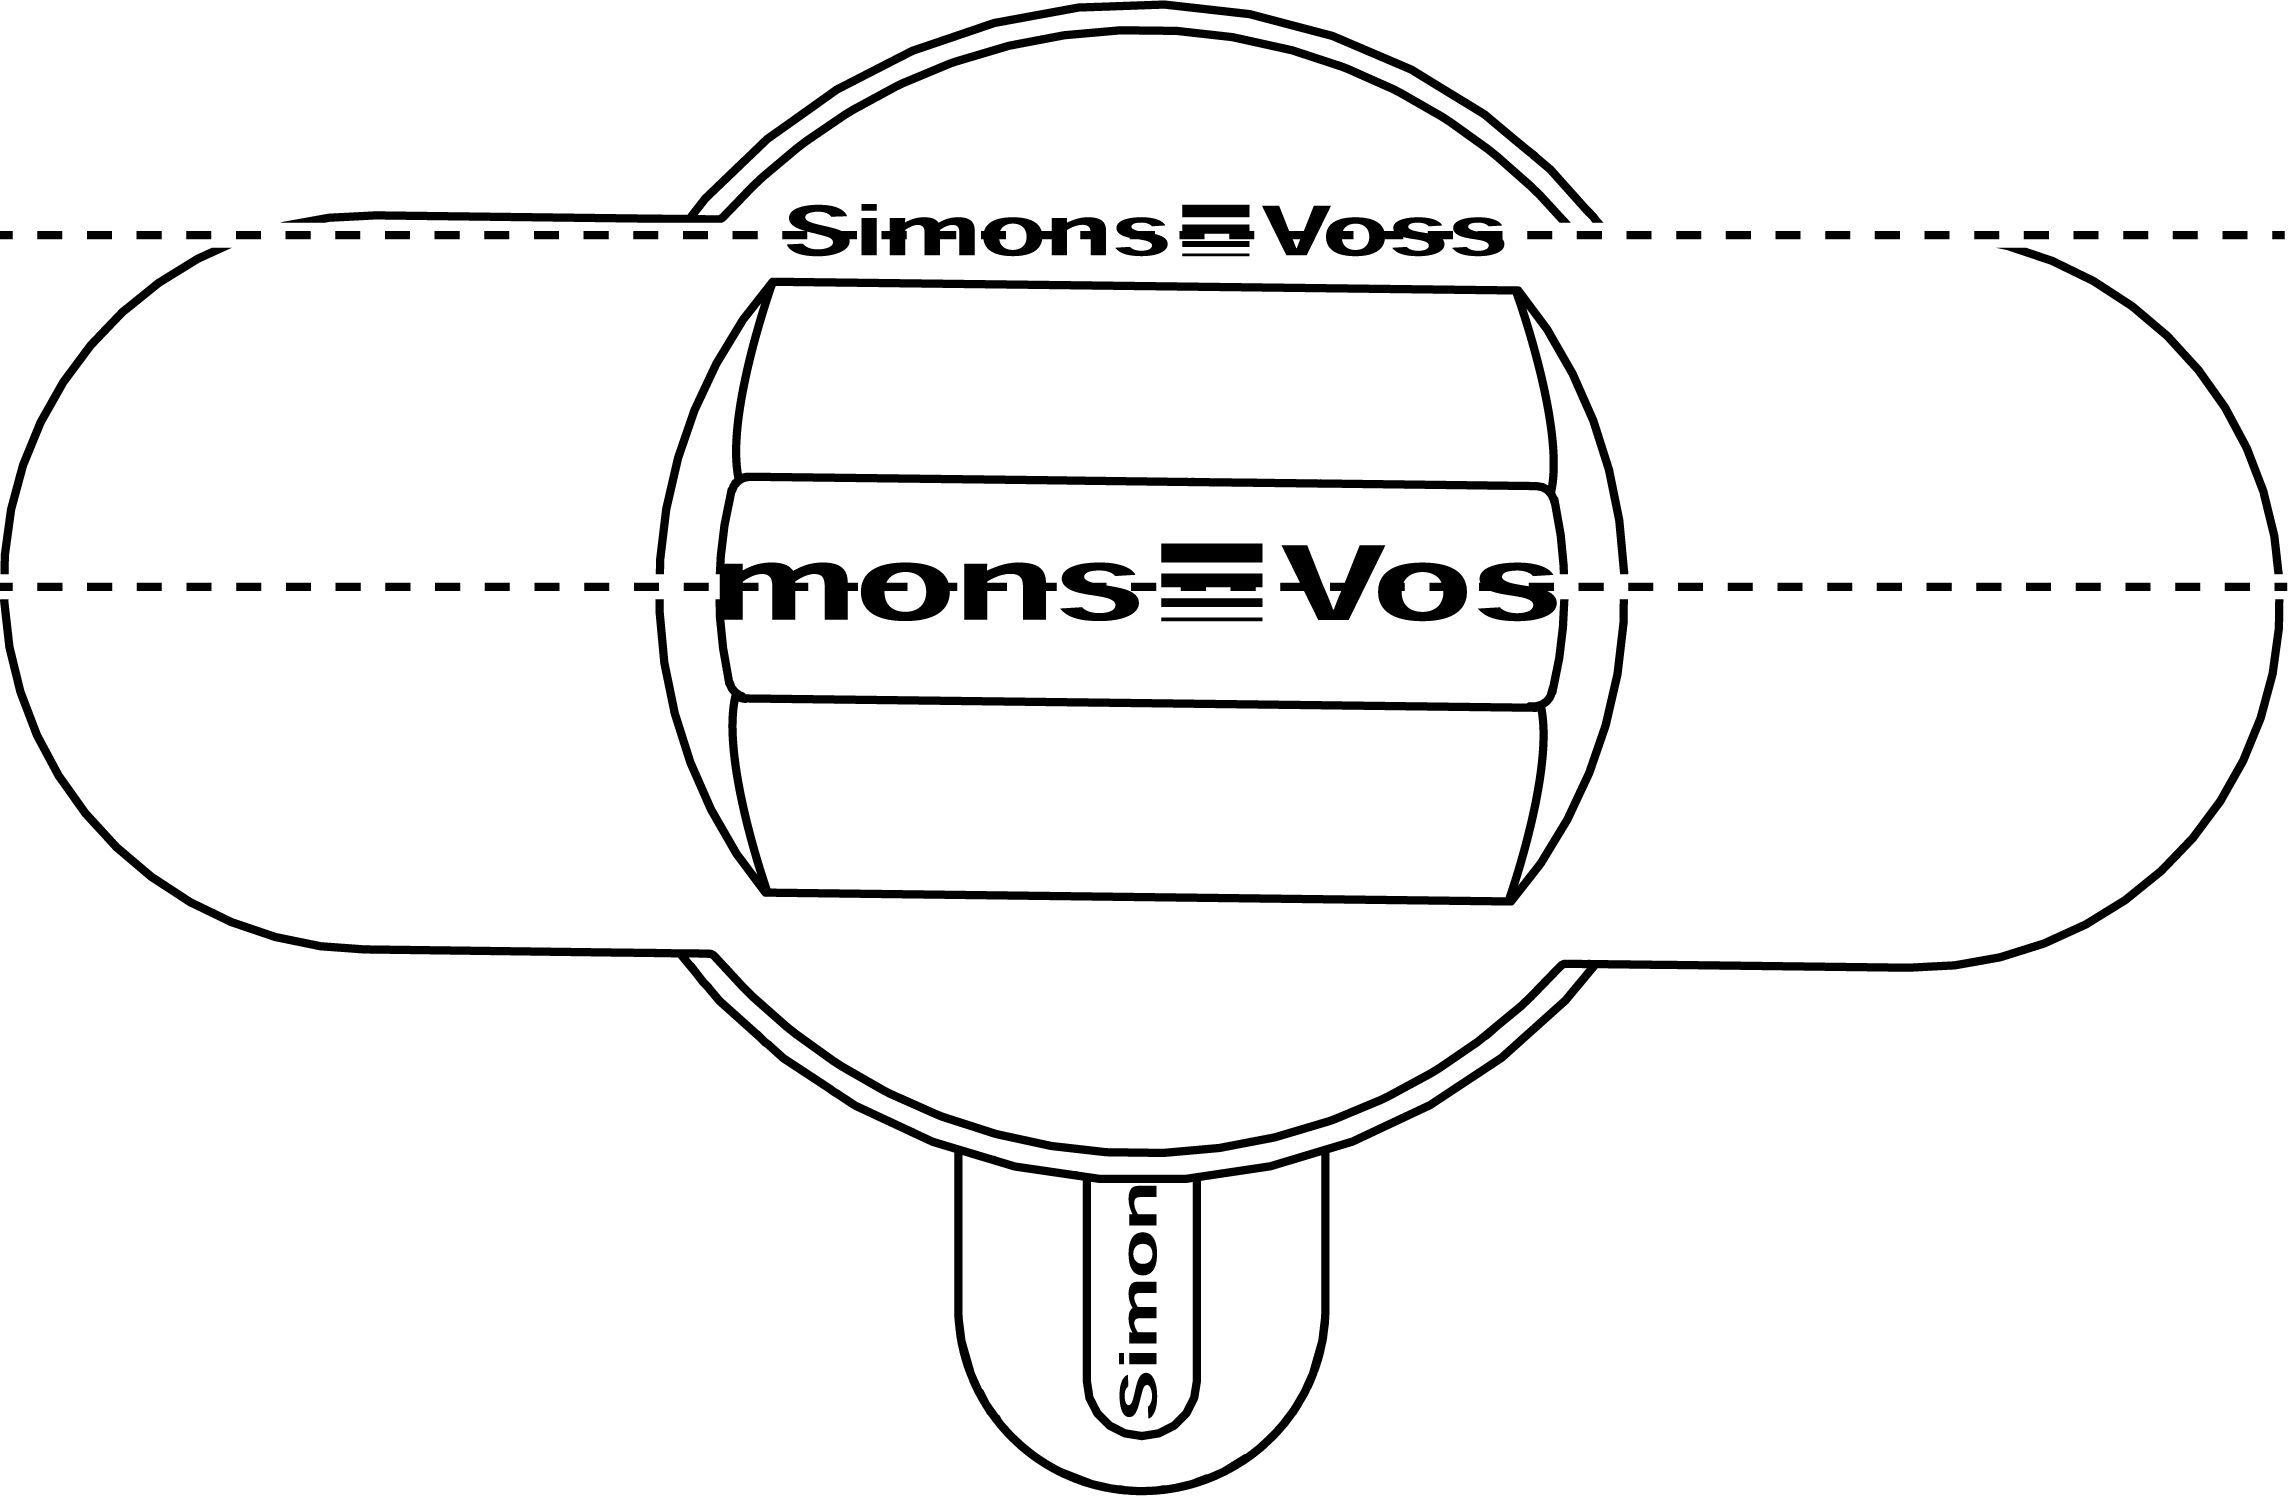
- Align the special tool so that the logo is parallel to the recess.
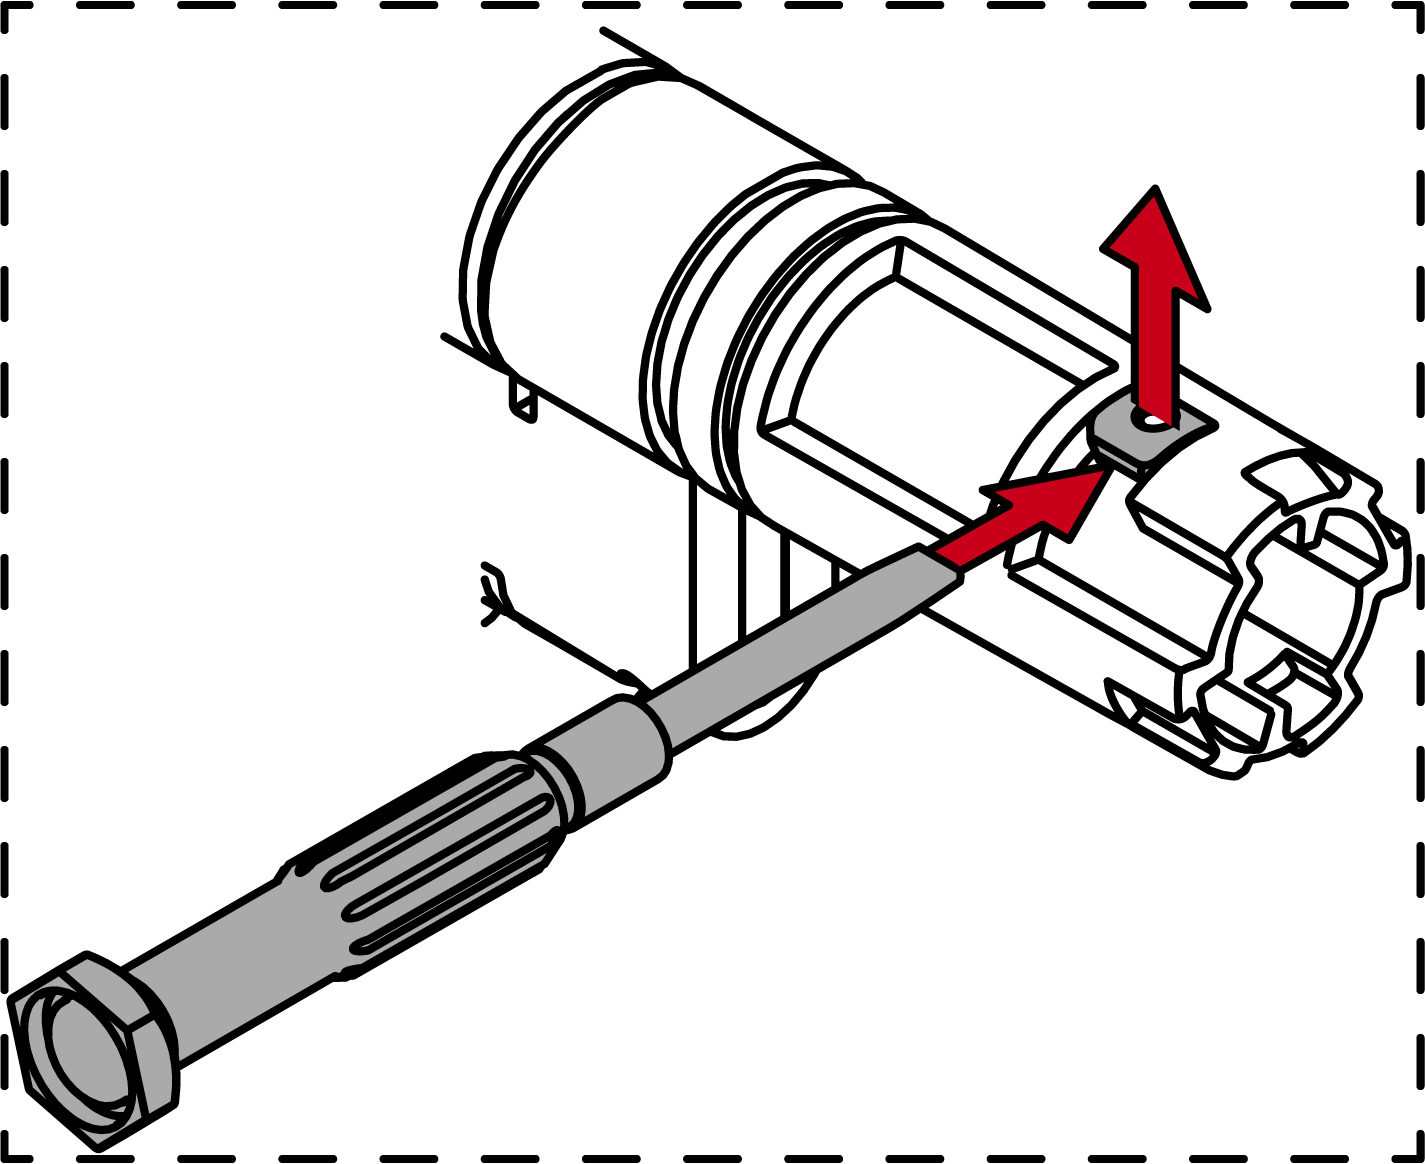
- At the same time turn the special tool and the thumb-turn counterclockwise.

- Remove the special tool and the thumb-turn at the same time.
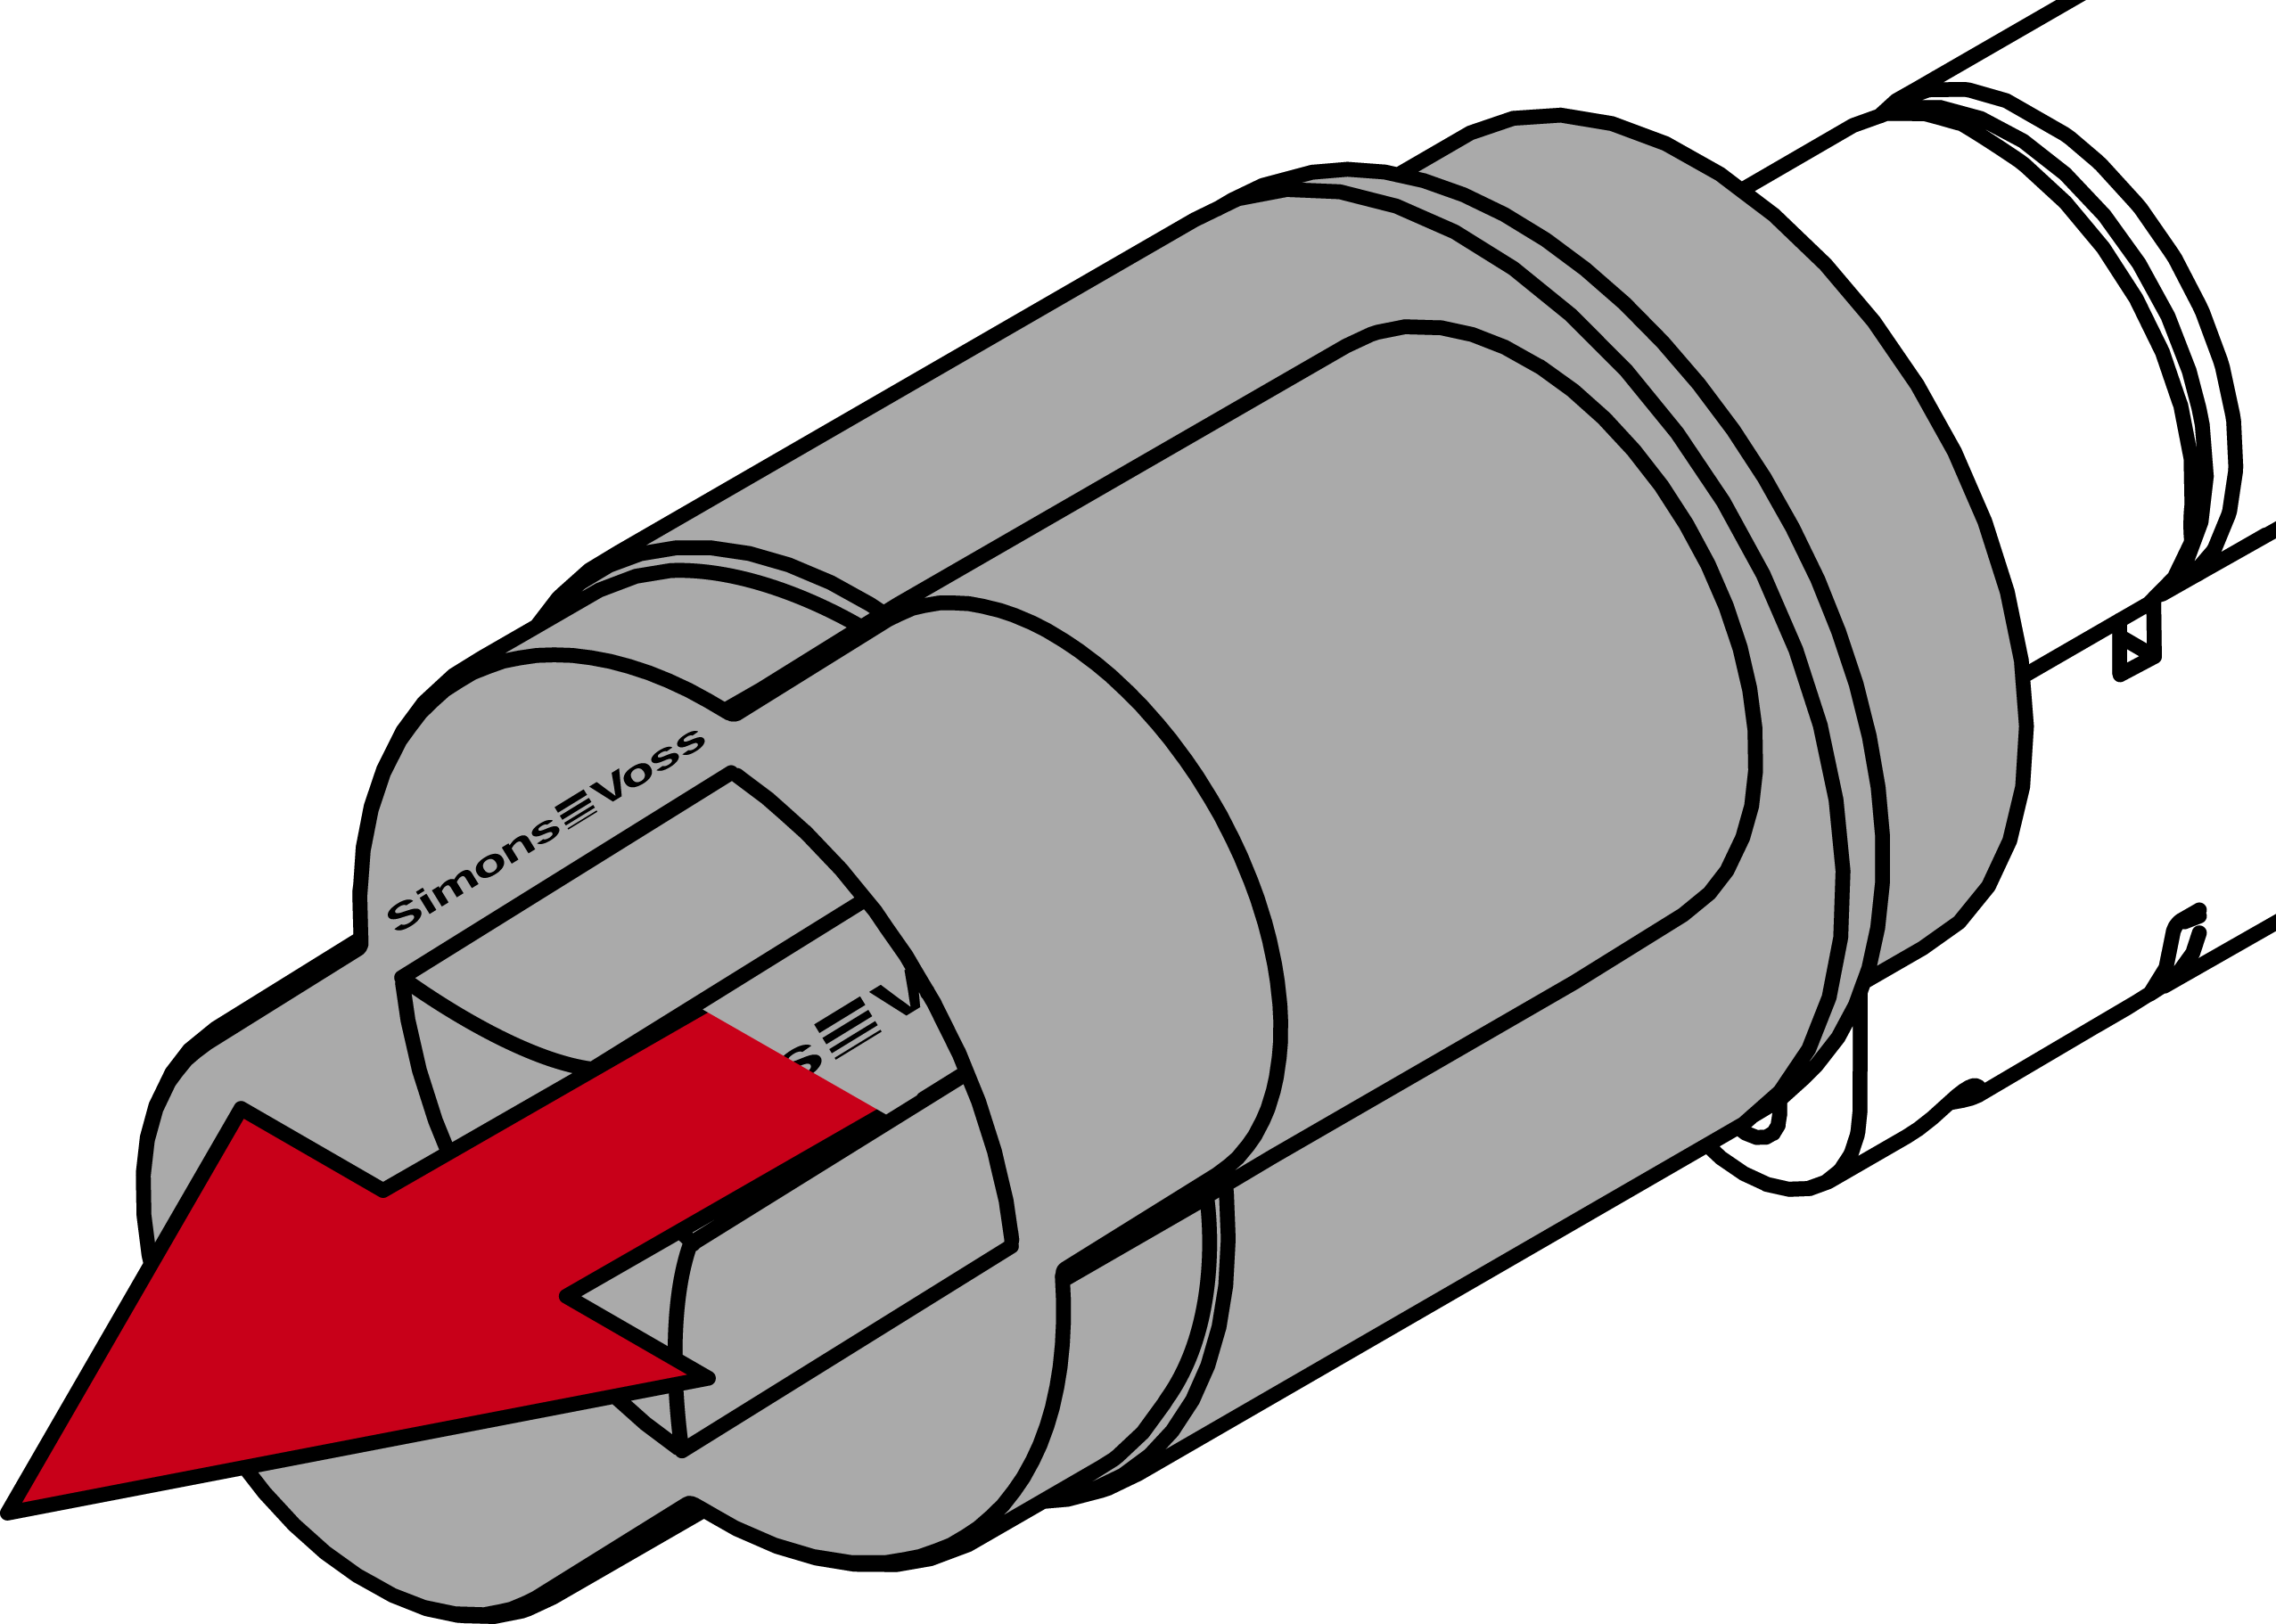
- The mechanical thumb-turn is disassembled.
- Insert the Digital Cylinder AX into the mortise lock with the side without a thumb-turn facing the lock.
- Digital Cylinder AX is positioned in the mortise lock.
- Screw the Digital Cylinder AX tight with the face plate screw.

- Digital Cylinder AX is fixed in the mortise lock.
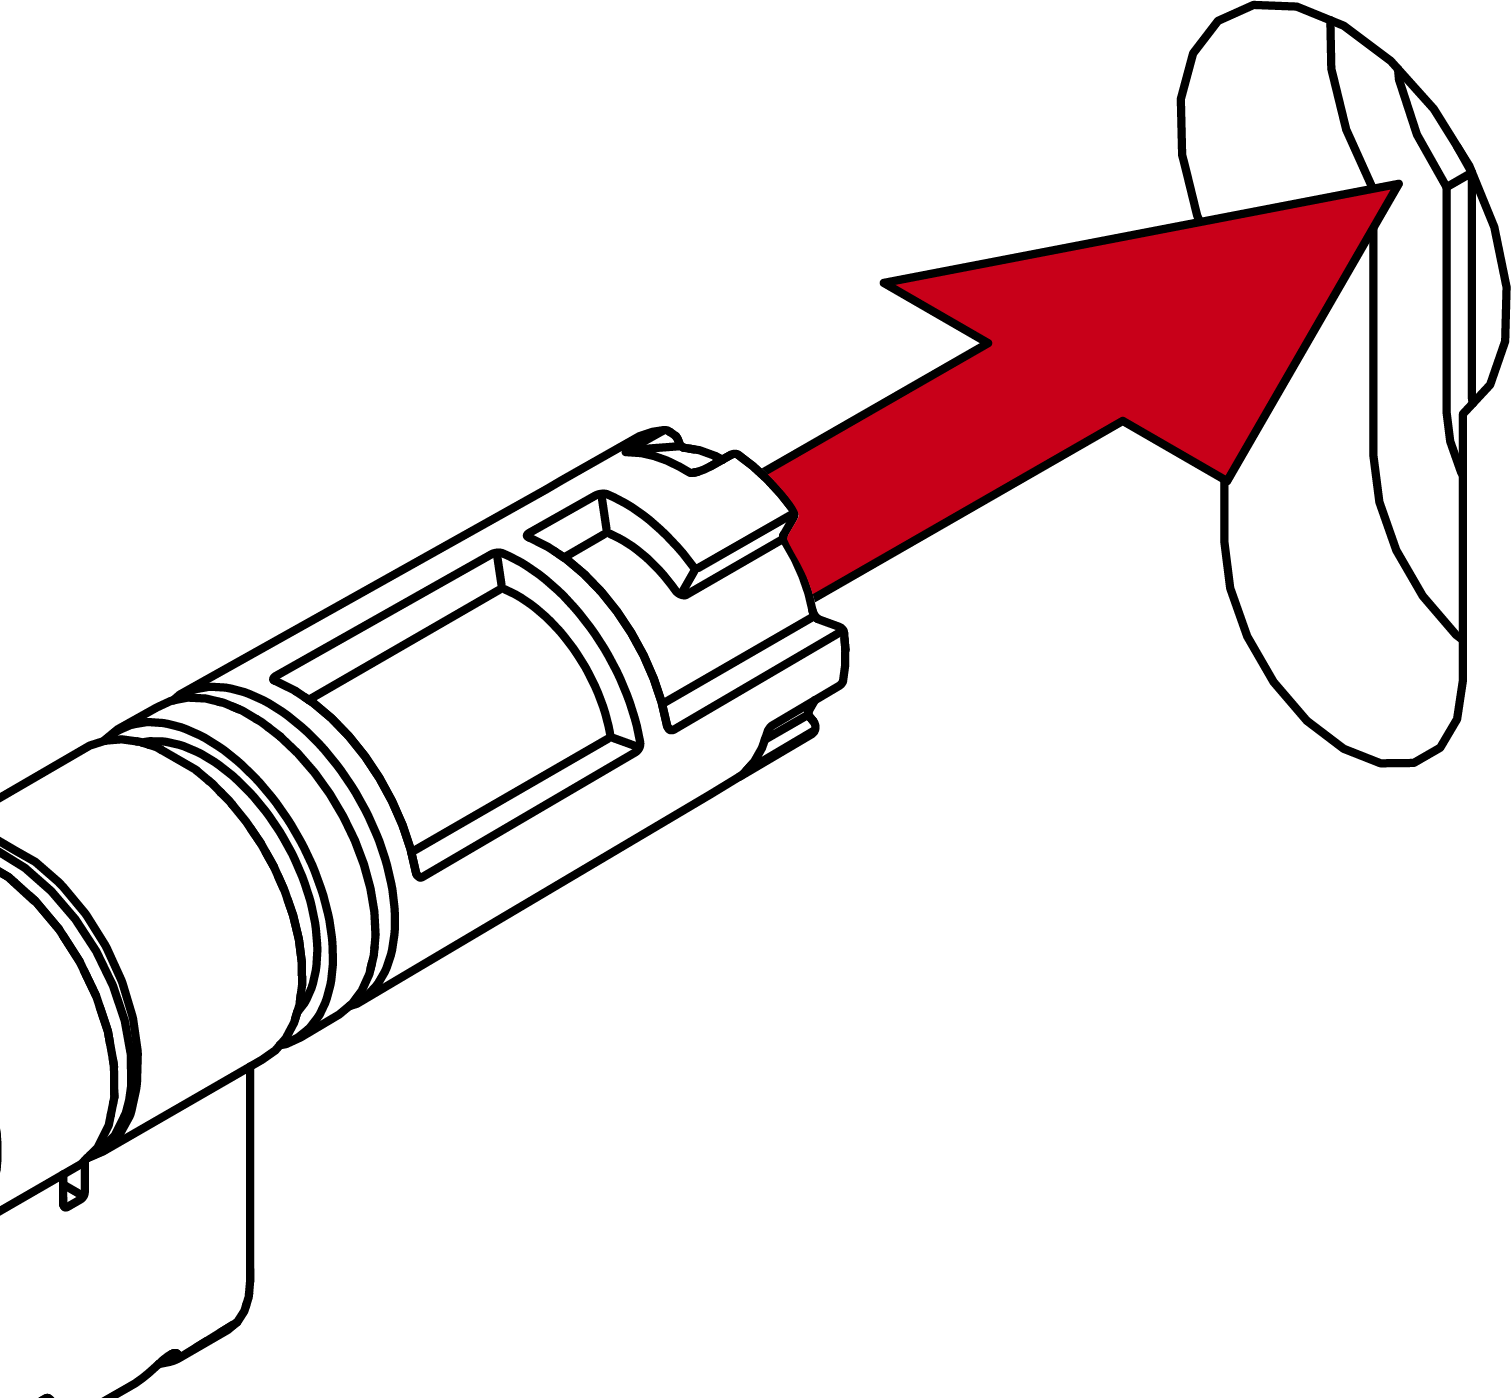
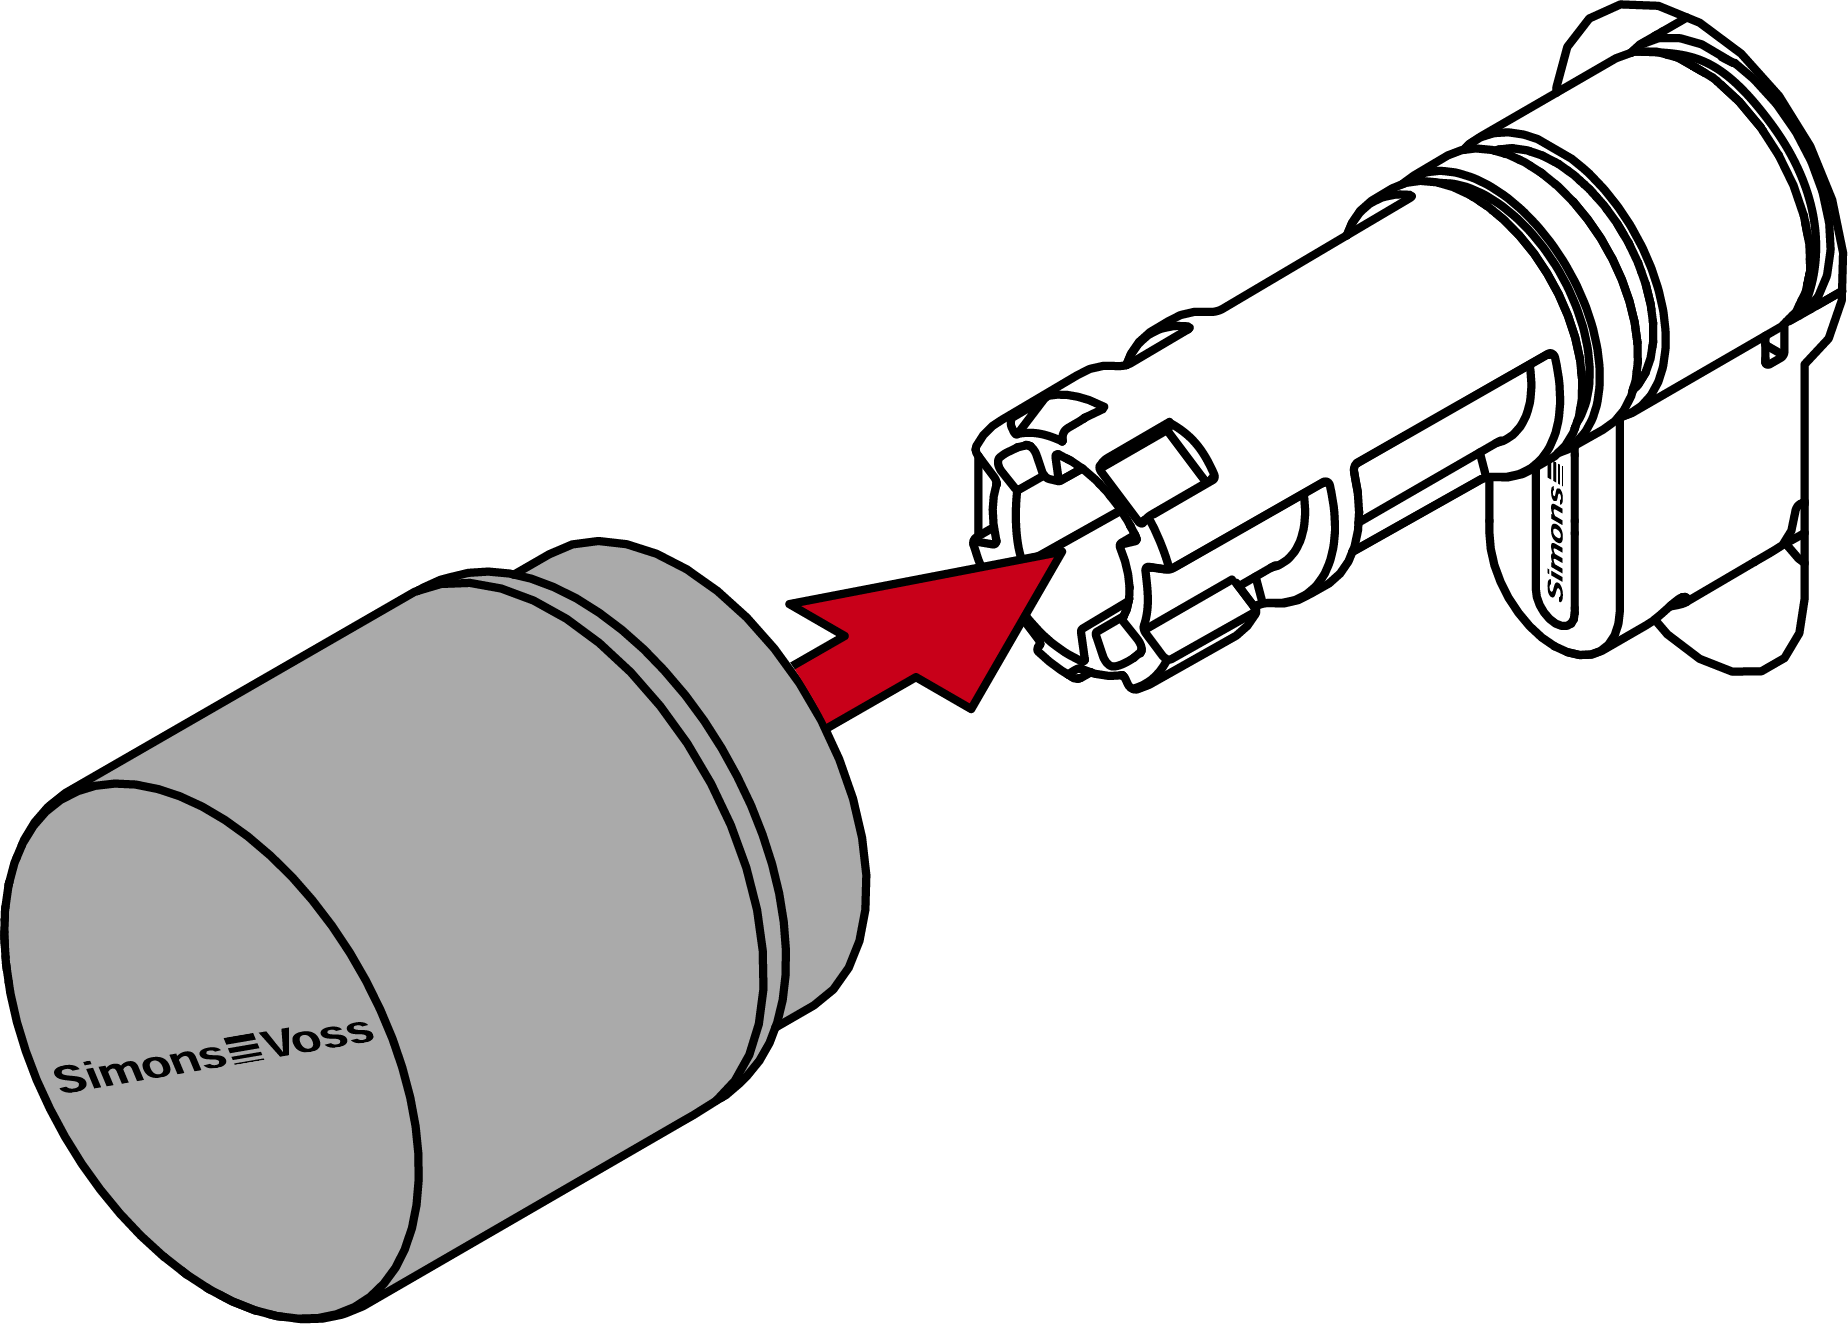
- Attach the thumb turn.
- Turn the thumb-turn clockwise.
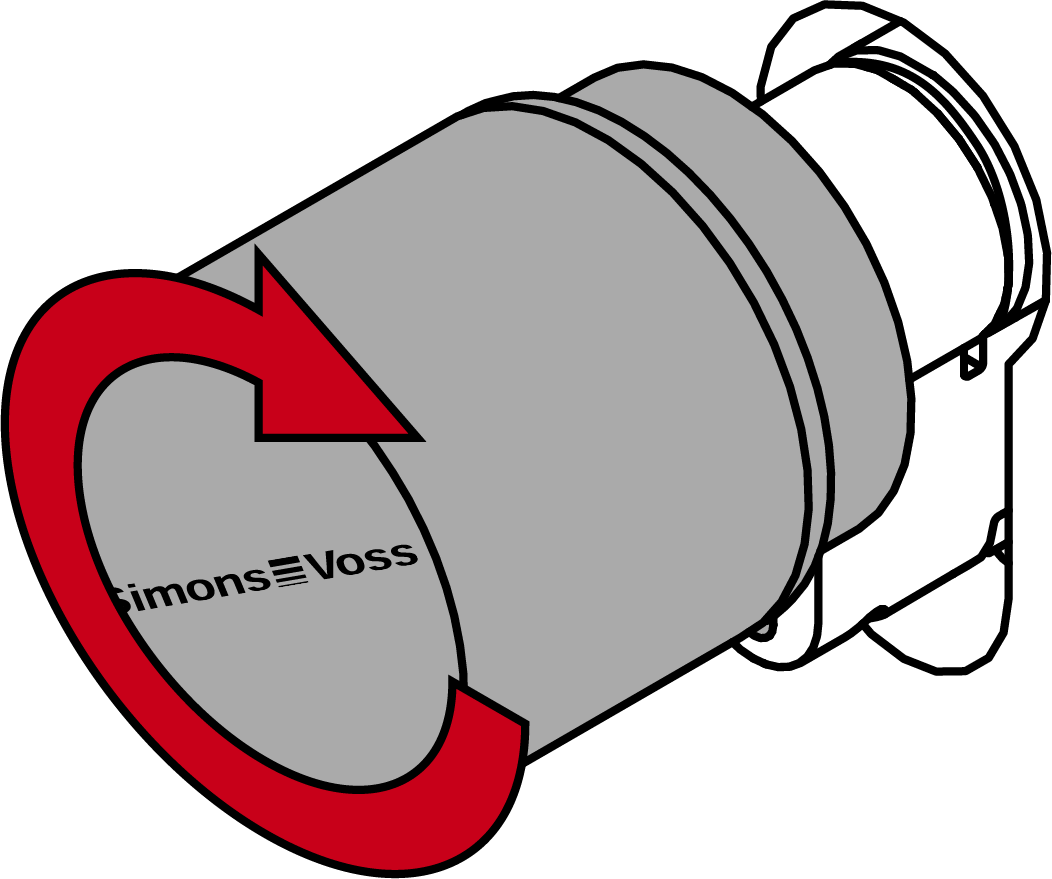
- The thumb-turn snaps into place with a click.
- The mechanical thumb-turn is installed.
- Carry out a functional test (see Functional test).
- You must also carry out the anti-panic function test on anti-panic cylinders (see AP functional test).
- Digital Cylinder AX is fully installed.