Network - Locking cylinder (Z4) DoorMonitoring
The DoorMonitoring Cylinder allows the door status to be sent to LSM within seconds. The information is transmitted via the SimonsVoss WaveNet network
You will find detailed information on WaveNet installation in the WaveNet manual on the SimonsVoss website
Installing hardware
The easiest way to install is using a CentralNode and an LN.I
- WNM.CN.UR.IO: CentralNode with USB connection to PC and wireless interface for locking devices
- WNM.LN.I: thumb-turn network cover for a TN4 Cylinder for direct networking
- A database has been added
- The locking plan has been added
- A DoorMonitoring Cylinder has been added and programmed
- A transponder has been added and programmed with authorisation for the DM Cylinder
- The CentralNode is connect to the PC with a USB cable
- The drivers for the CentralNode are installed
- WaveNet Manager is installed
- LSM is open
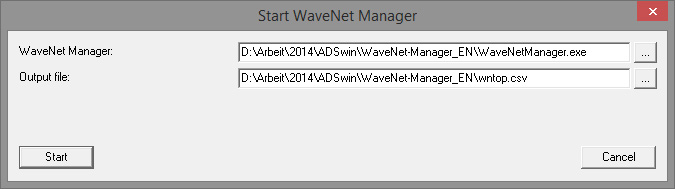
- Start WaveNet Manager (Network > WaveNet manager)
- Set the path for the WaveNetManager.exe and the output file
- Click on [Start]
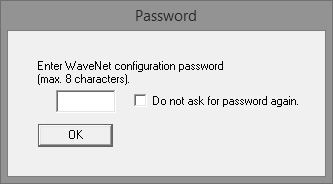
- Issue a password for the WaveNet components. Click on [OK] to proceed
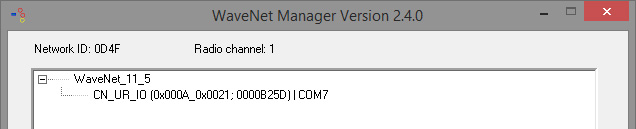
- WaveNet Manager will start
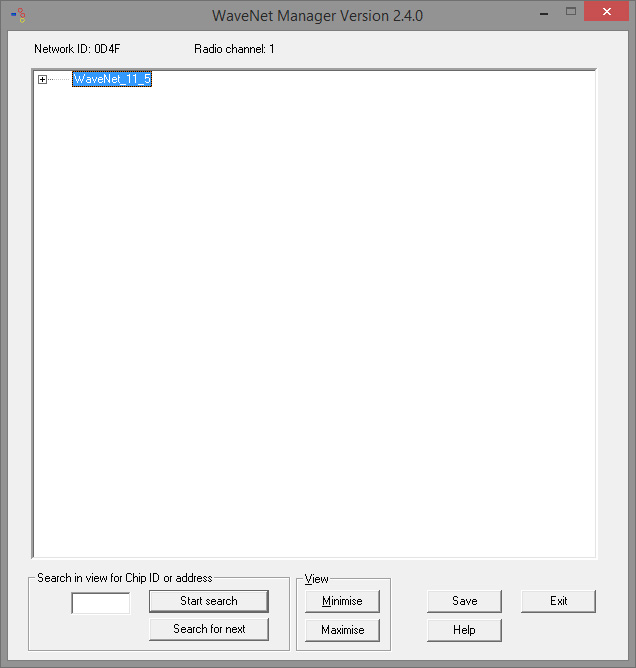
- Double-click on 'WaveNet_11_5' or 'WaveNet_8_8' to start administration
- Administration will open
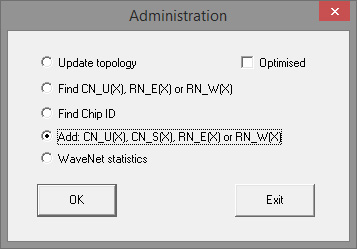
- Select 'Add CN_U(X), CN_S(X), RN_E(X) or RN_W(X).' Click on [OK] to proceed
- Change the radio frequency if necessary. Click on [Yes] to proceed
- The CentralNode is part of the network topology
- Double-click on the entry for the CentralNode
- CentralNode administration launches
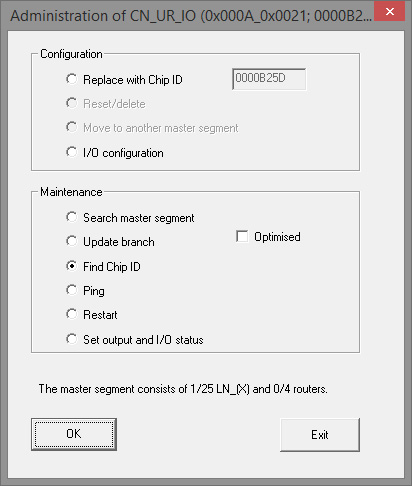
- Highlight 'Search by chip ID.' Click on [OK] to proceed
- Enter the network cover chip ID. You will find the chip ID on the network cover box and on the inside of the cover. Click on [Start] to proceed
- The LN.I has been assigned to the CentralNode
- [Apply] and [Finish]
- The mask to import the topology will open

- Click on [OK] to proceed
- Double-click on the cylinder in the locking plan. This will open the cylinder properties
- Open the 'Door' tab

- Change the type of config device to WaveNet node in the 'Programming device' section, so that programming tasks are implemented on the network
- Click on [Apply] and [Finish] to proceed
- The network is now set up ready for use
- Programming tasks are now performed via the WaveNet node
Collective tasks
You can programme several locking devices at the same time using 'Collective tasks'
- Click on 'Network' and select 'Collective tasks' » 'WaveNet node'
- Highlight the components which are to be programmed
- Click on [Configure automatically]
- The programming tasks are distributed via the network
Forward status change
The forwarding of status changes must be activated for locking devices
- Click on 'Network' in the menu and select 'Administer WaveNet'
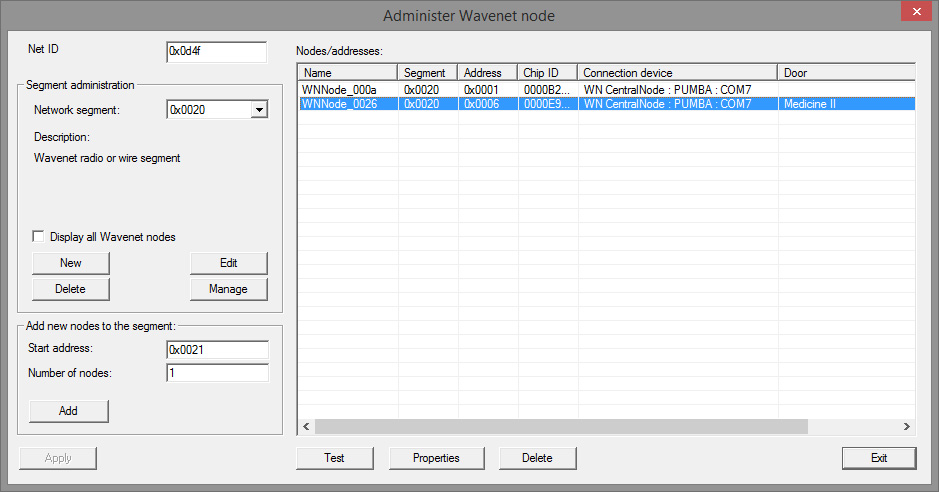
- Select the network segment with the locking device in Segment administration
- Highlight the locking device and open [Properties]
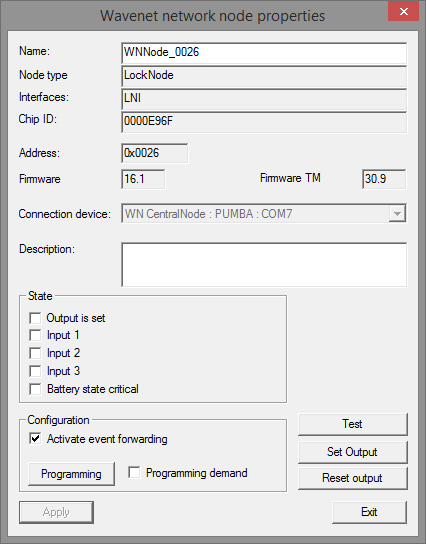
- Highlight 'Activate forwarding of events' in the 'Configuration' section
- Click on 'Programme'
- Forwarding of events is now set up
Reset/replace LockNode
If the DM Cylinder does not automatically forward status changes to the door after configuration and initial operation, the LockNode may be configured incorrectly. If this is the case, reset the LockNode. You can also replace a LockNode using the same process.
- The locking plan is open
- The 'Network' column is visible in the locking plan
- Find the LockNode WaveNet address. Position the mouse cursor on the 'W' for the locking device and write down the address
- Launch WaveNet Manager using 'Network' » 'WaveNet manager'
- Right-click on the locking device
- If the LockNode is reset, select 'Replace with chip ID' and maintain the ID entered
- If the LockNode is being replaced, enter the new chip ID
- Activate event forwarding by selecting 'Network' » 'Administer WaveNet'
- Select the segment with the LN.I and open [Properties]
- Highlight 'Activate forwarding of events'
- Click on [Apply]
- Click on [Programme]