Connect SmartRelay to network - AXM Lite
NOTE

SmartRelay with current IP settings before changing IP settings
The AXM Lite cannot change IP settings that are already stored in the SmartRelay.
- Reset the SmartRelay before changing the IP settings (see Reset).
You may also communicate via the network using network-compatible SmartRelay (e.g., SmartRelais 3 Advanced). The necessary settings for this are IP Settings.
- CommNode installed (see CommNode set up).
- Locking device list or matrix view open.
- The planned IP settings are known (by the IT department or network administrator): free static IPv4 address, domain name if applicable, or alternatively, operation using a DHCP server.
- Click on the SmartRelay you want to connect to the network.
- The locking device window will open.
- Click the tab .

- Window switches to the tab.
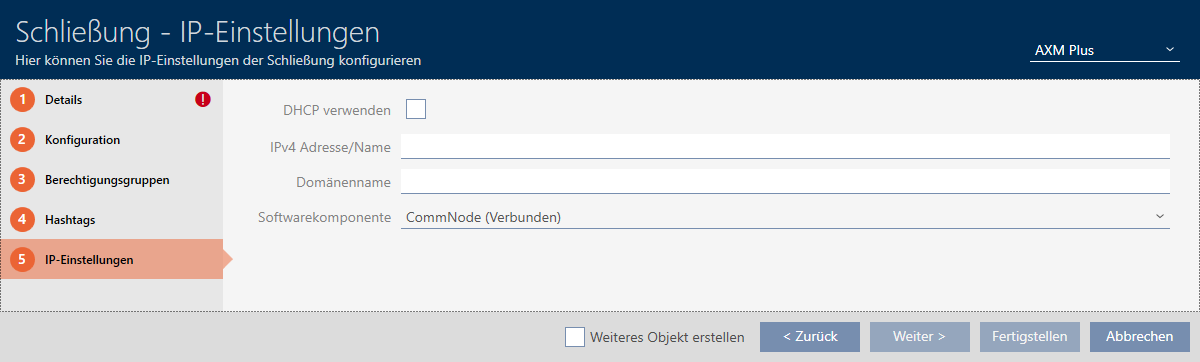
- Enter the IP settings provided by the IT department (static IPv4 Address/Name and, if necessary Domain Name or activate the checkbox
 Use DHCP).
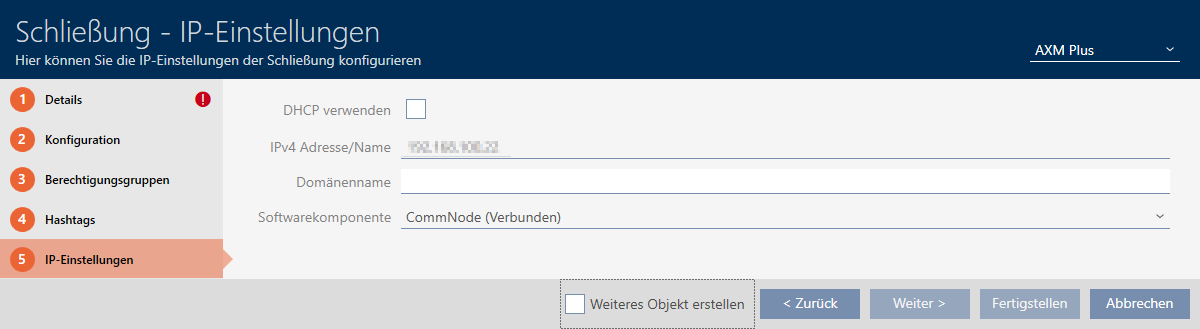
- Click the button.
- The locking device window closes.
- Click the button
 and synchronise the locking device (for details see Synchronising the locking device (including reading access list)).
 NOTE
Synchronisation via USB
The IP settings you have entered have not yet been saved in the SmartRelay. Therefore, the SmartRelay is not (yet) accessible via the network.
- Synchronise new IP settings for the SmartRelay via the USB port.
- You can then access and synchronise the SmartRelay via the network.