Installing the fitting - SmartHandle AX Advanced SmartIntego
- Door pre-drilled.
- PH2 screwdriver at hand.
- TX15 screwdriver at hand.
- Caliper gauge at hand.
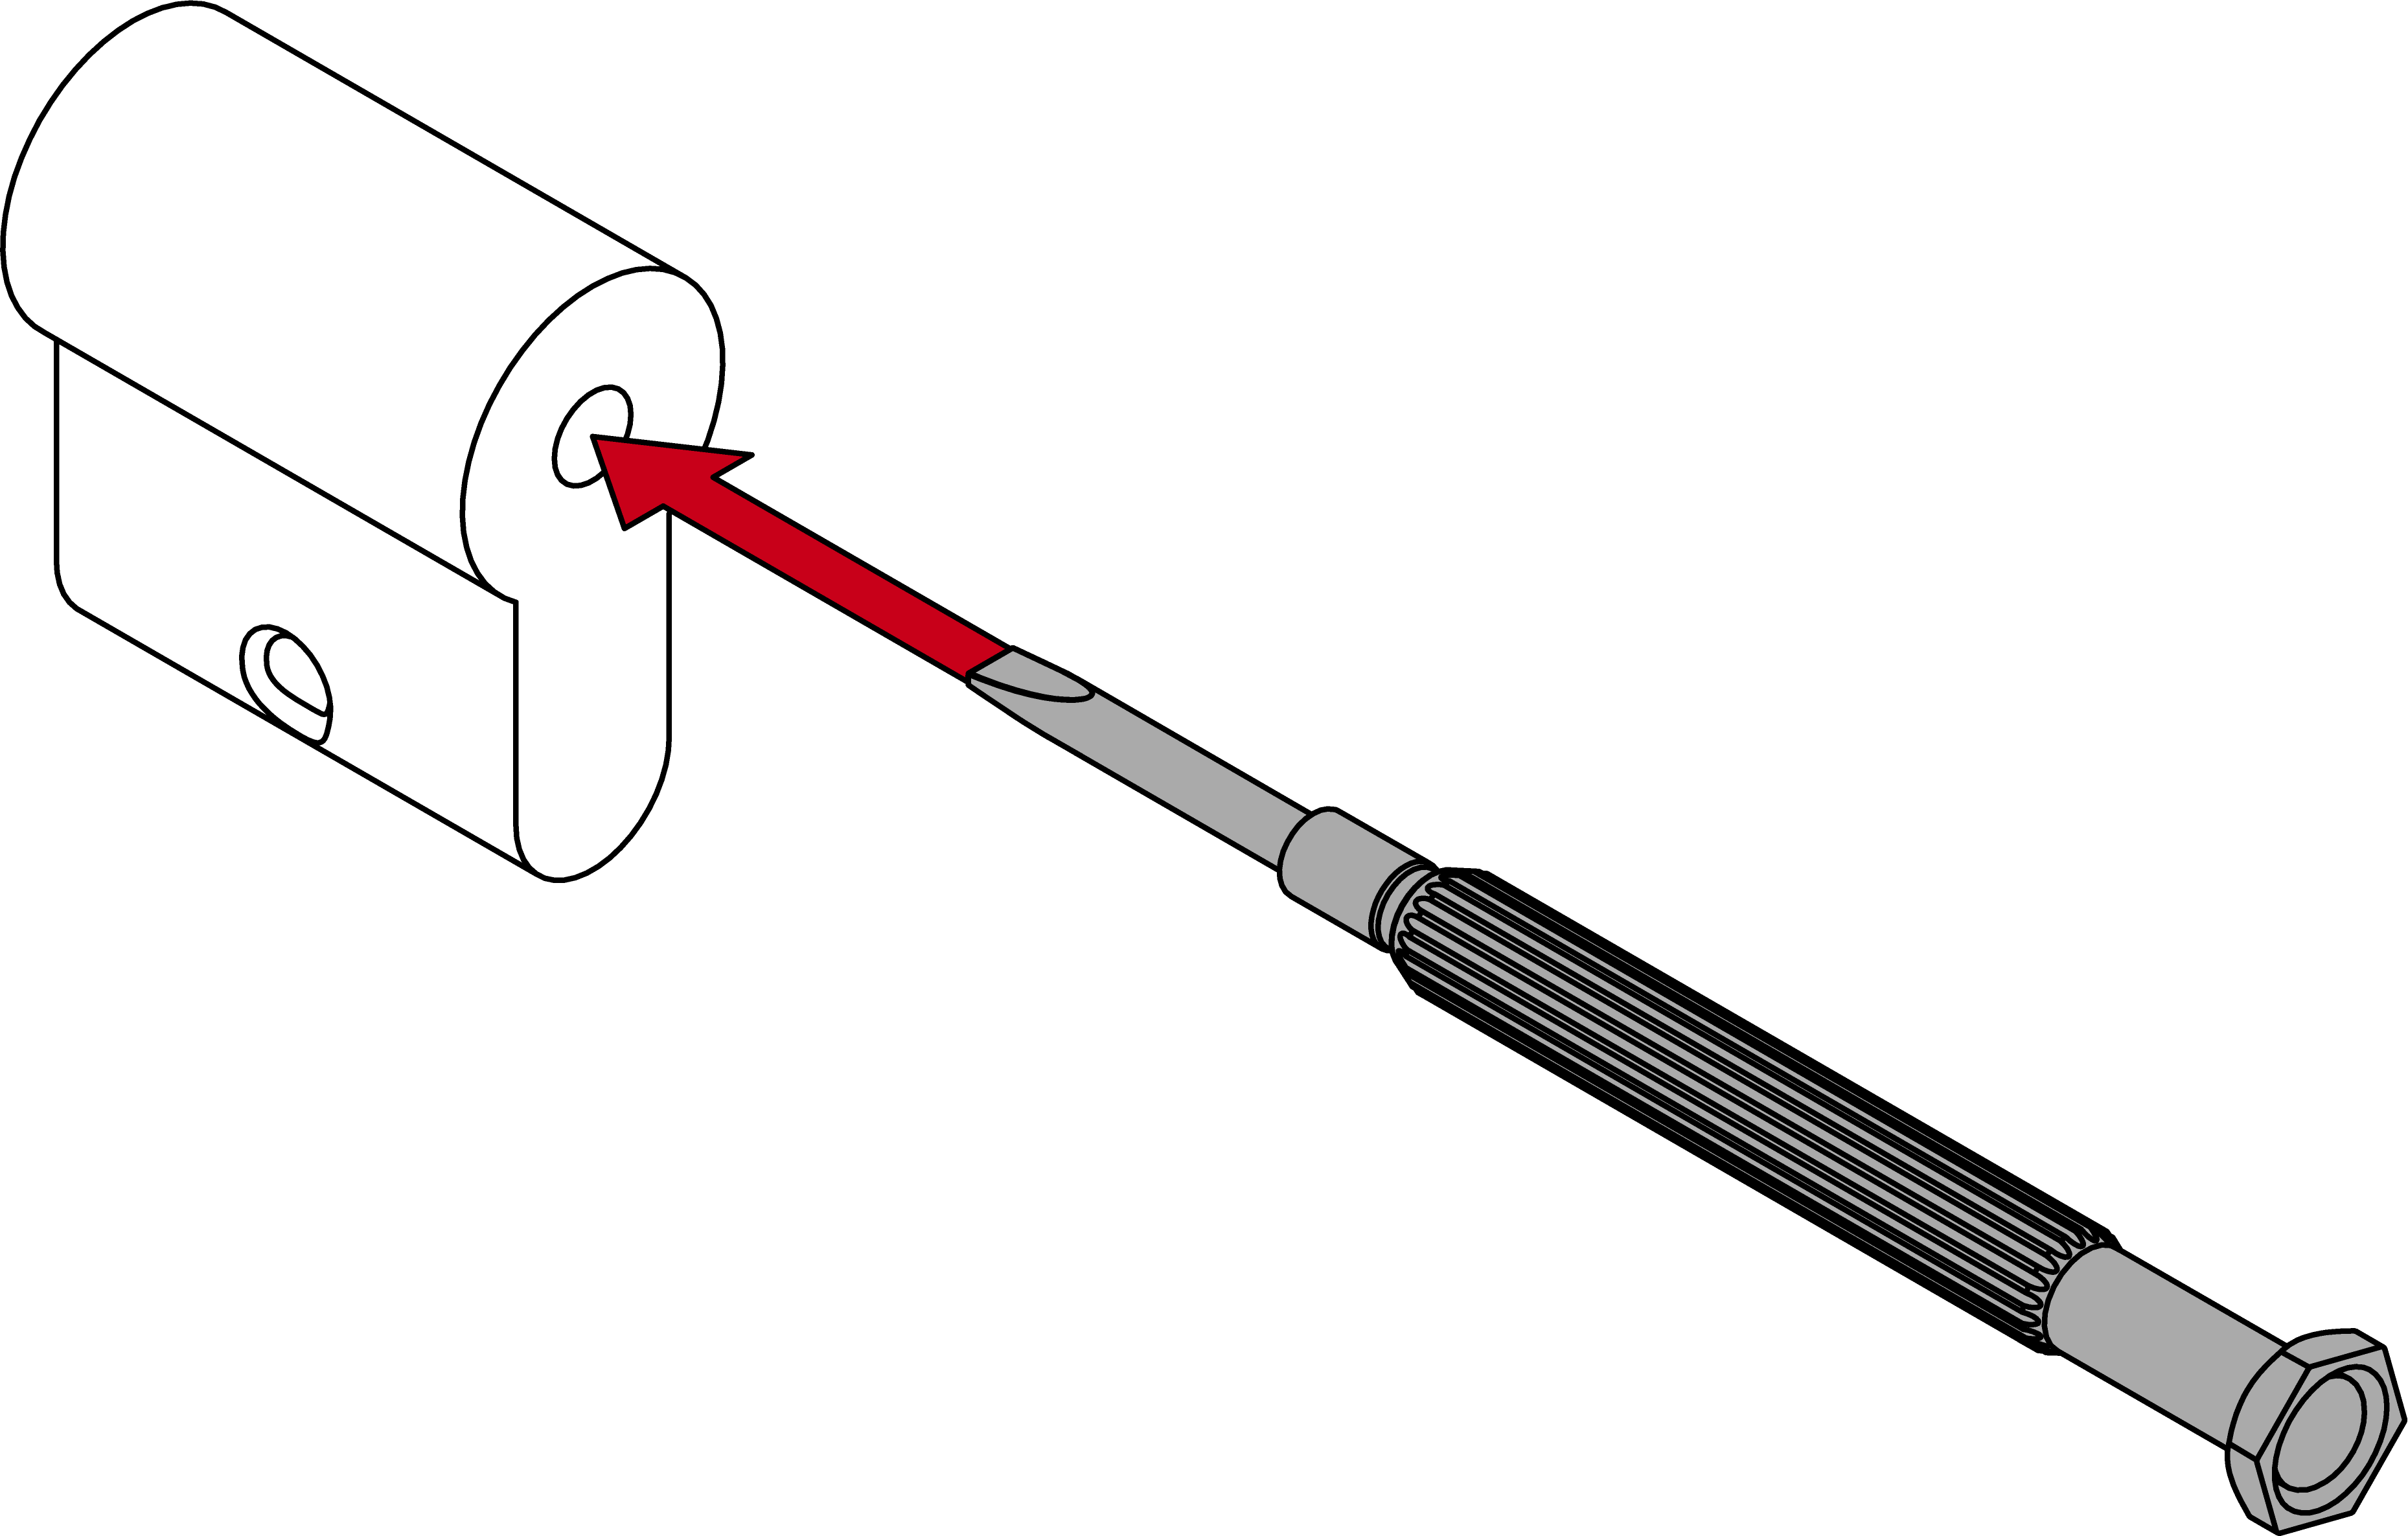
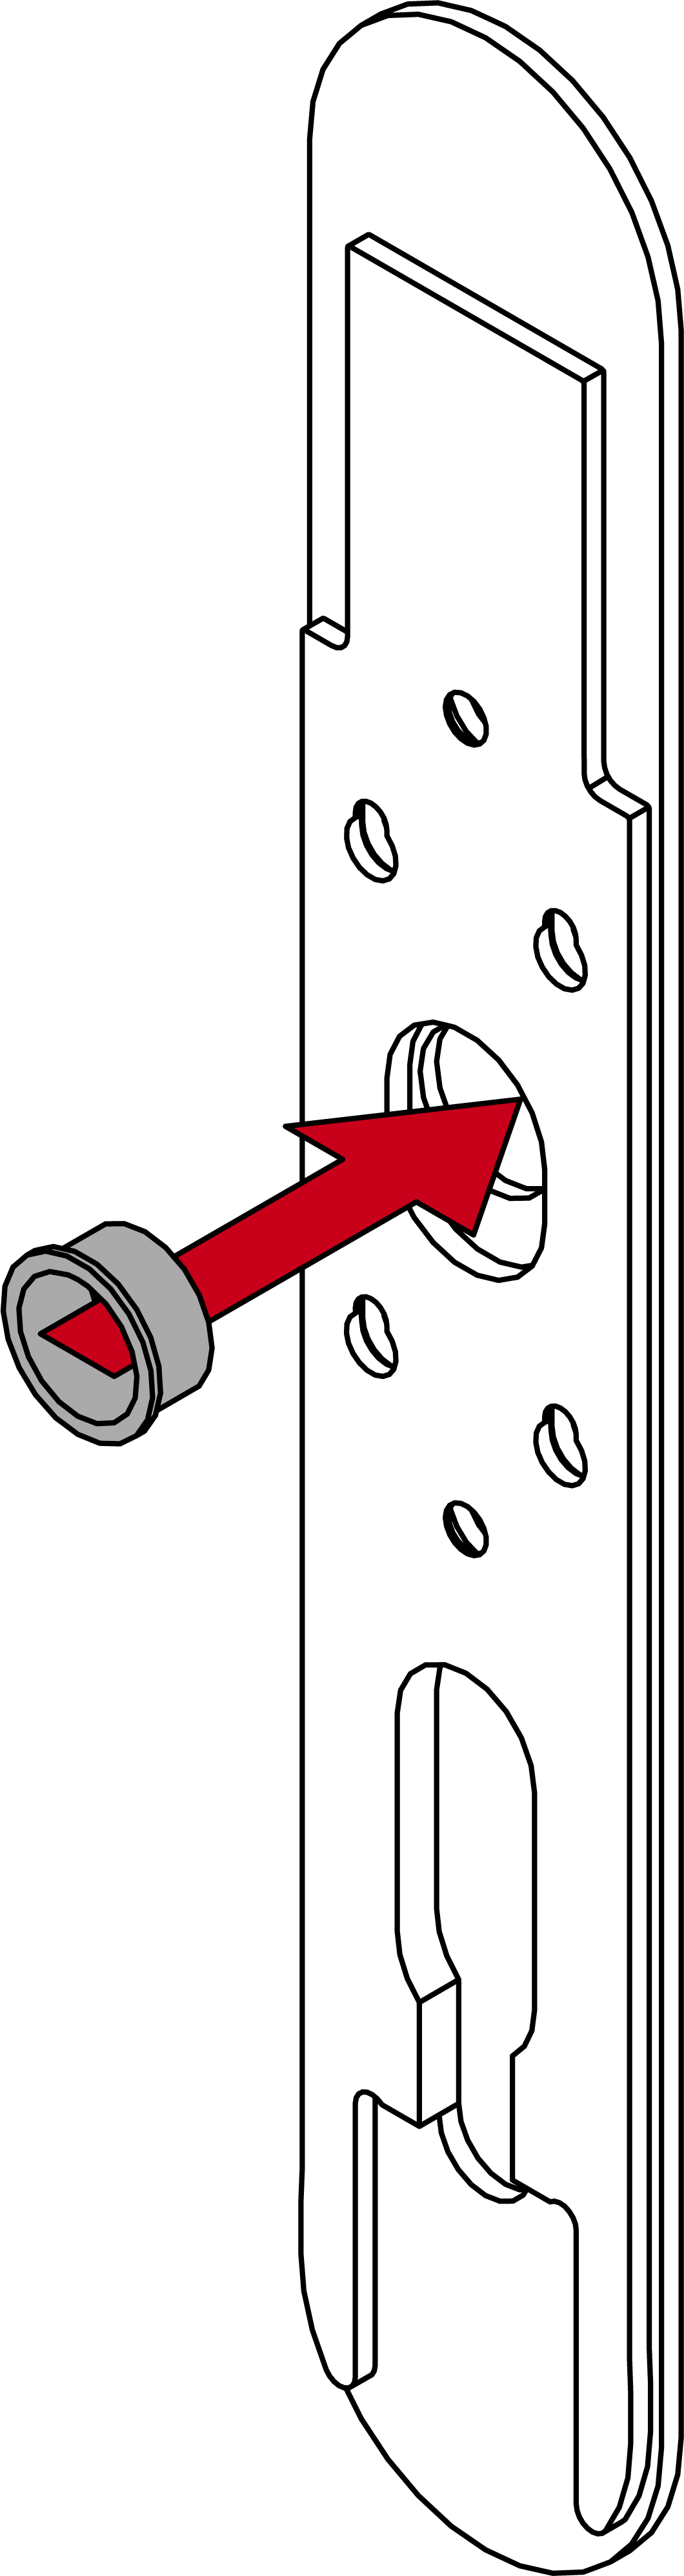
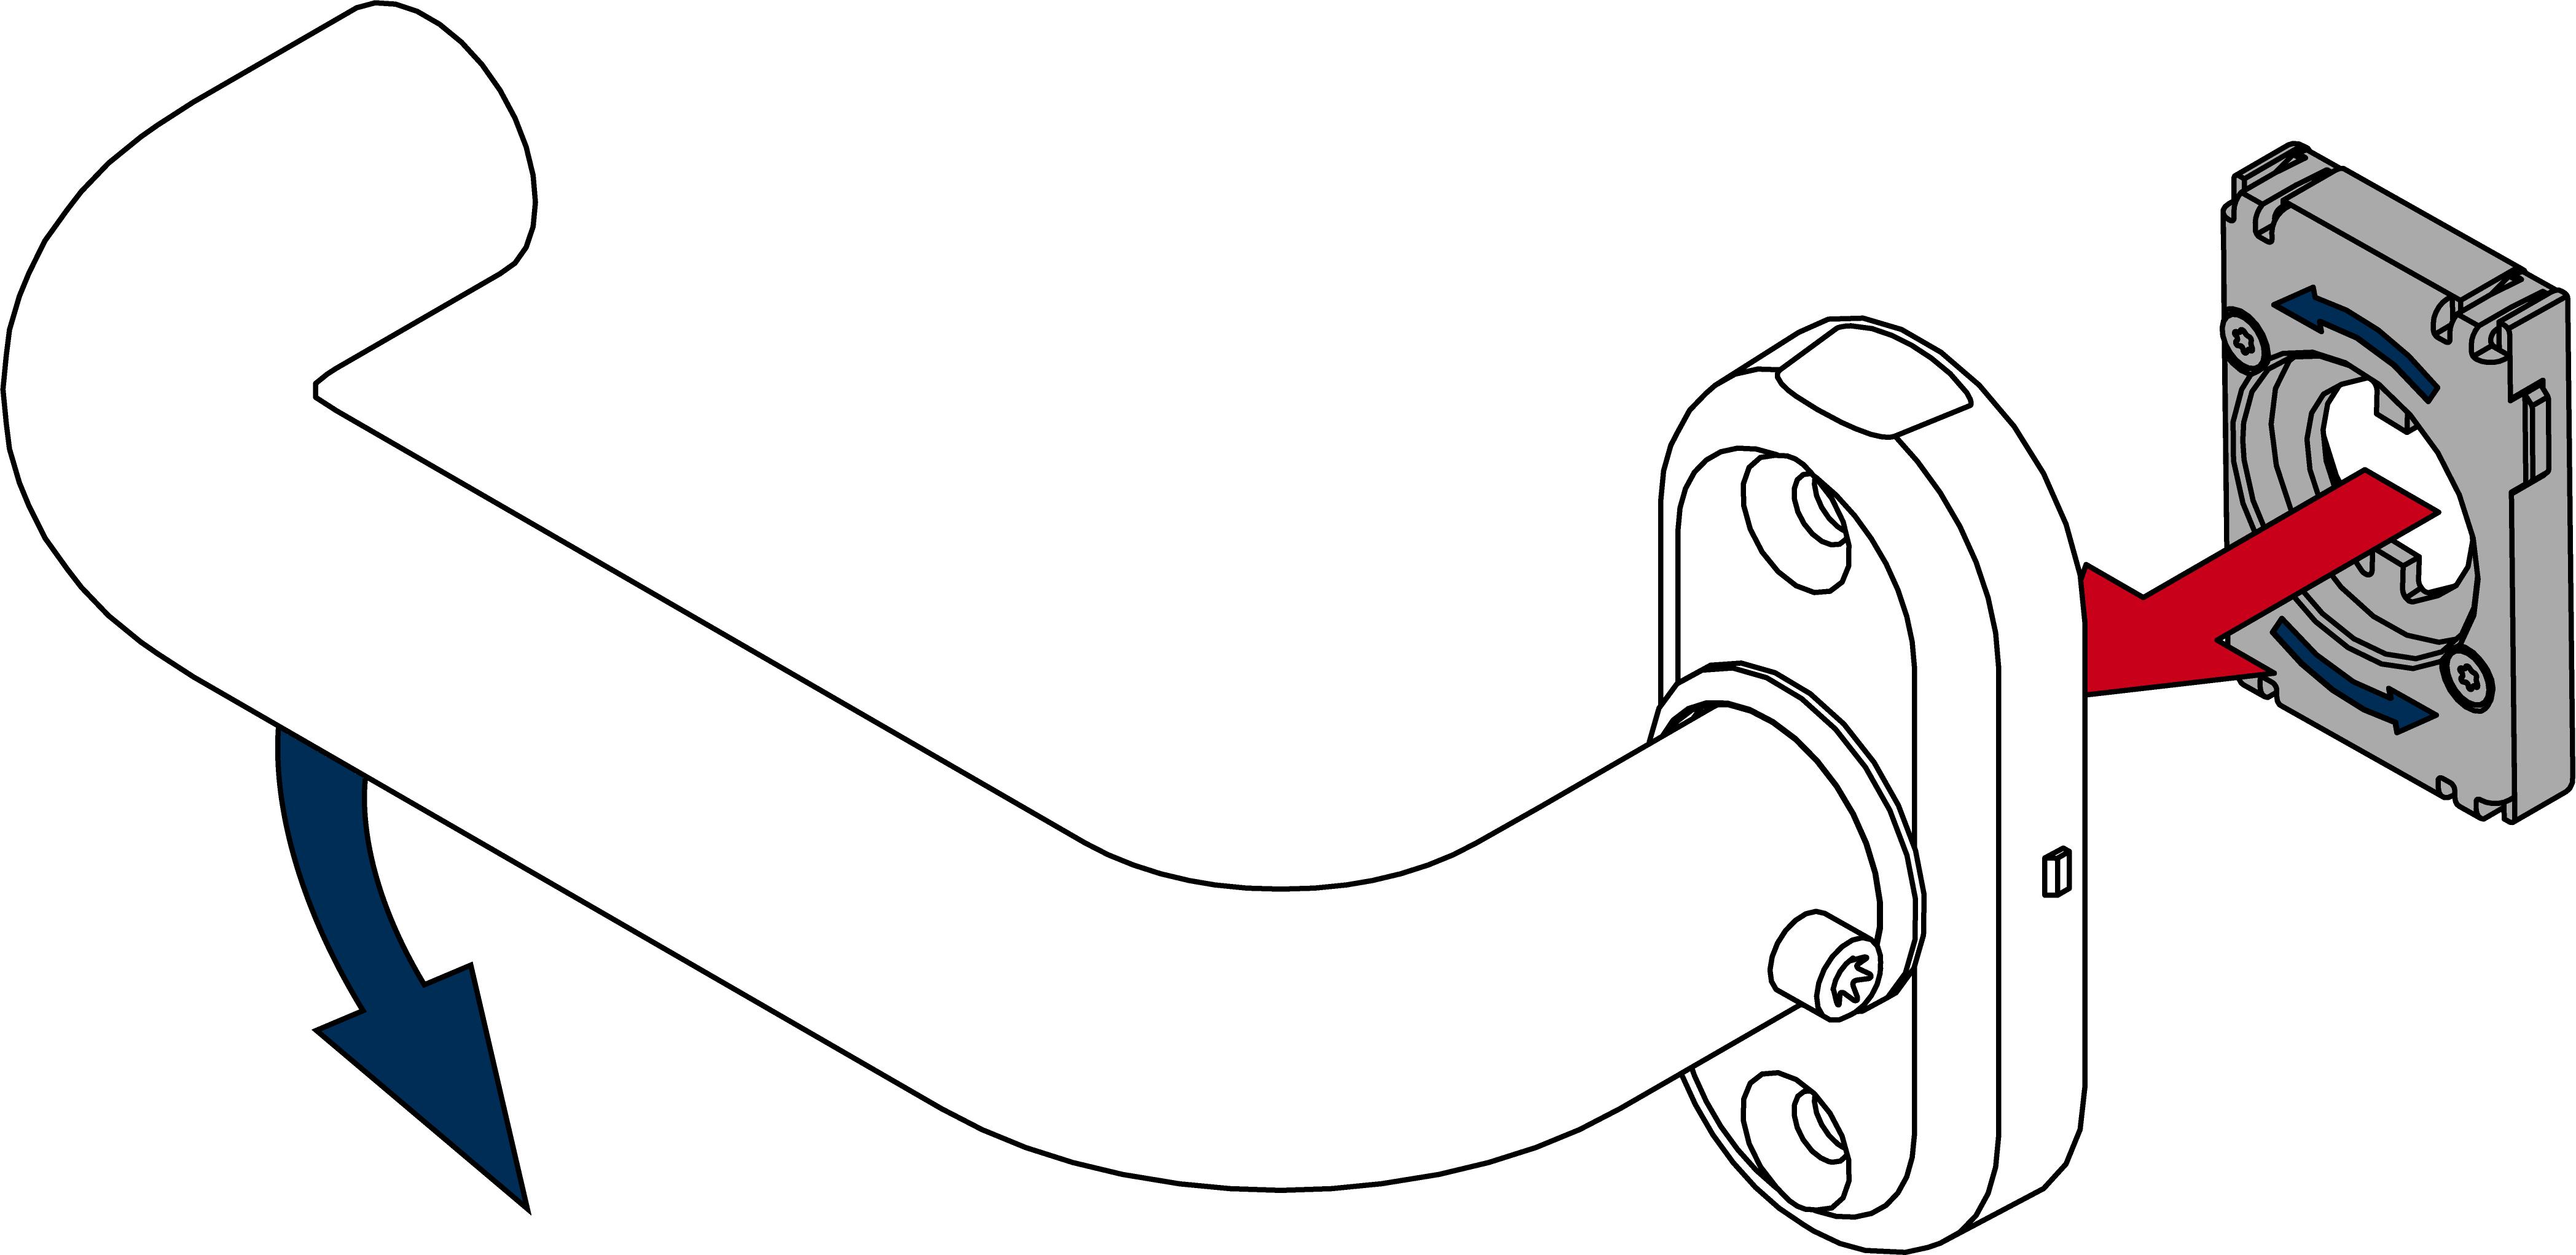
- For non-MO: insert the blank cylinder.
NOTE

Feed the blank cylinder into the hole using a screwdriver
It is difficult to position the blank cylinder correctly, especially in thick doors.
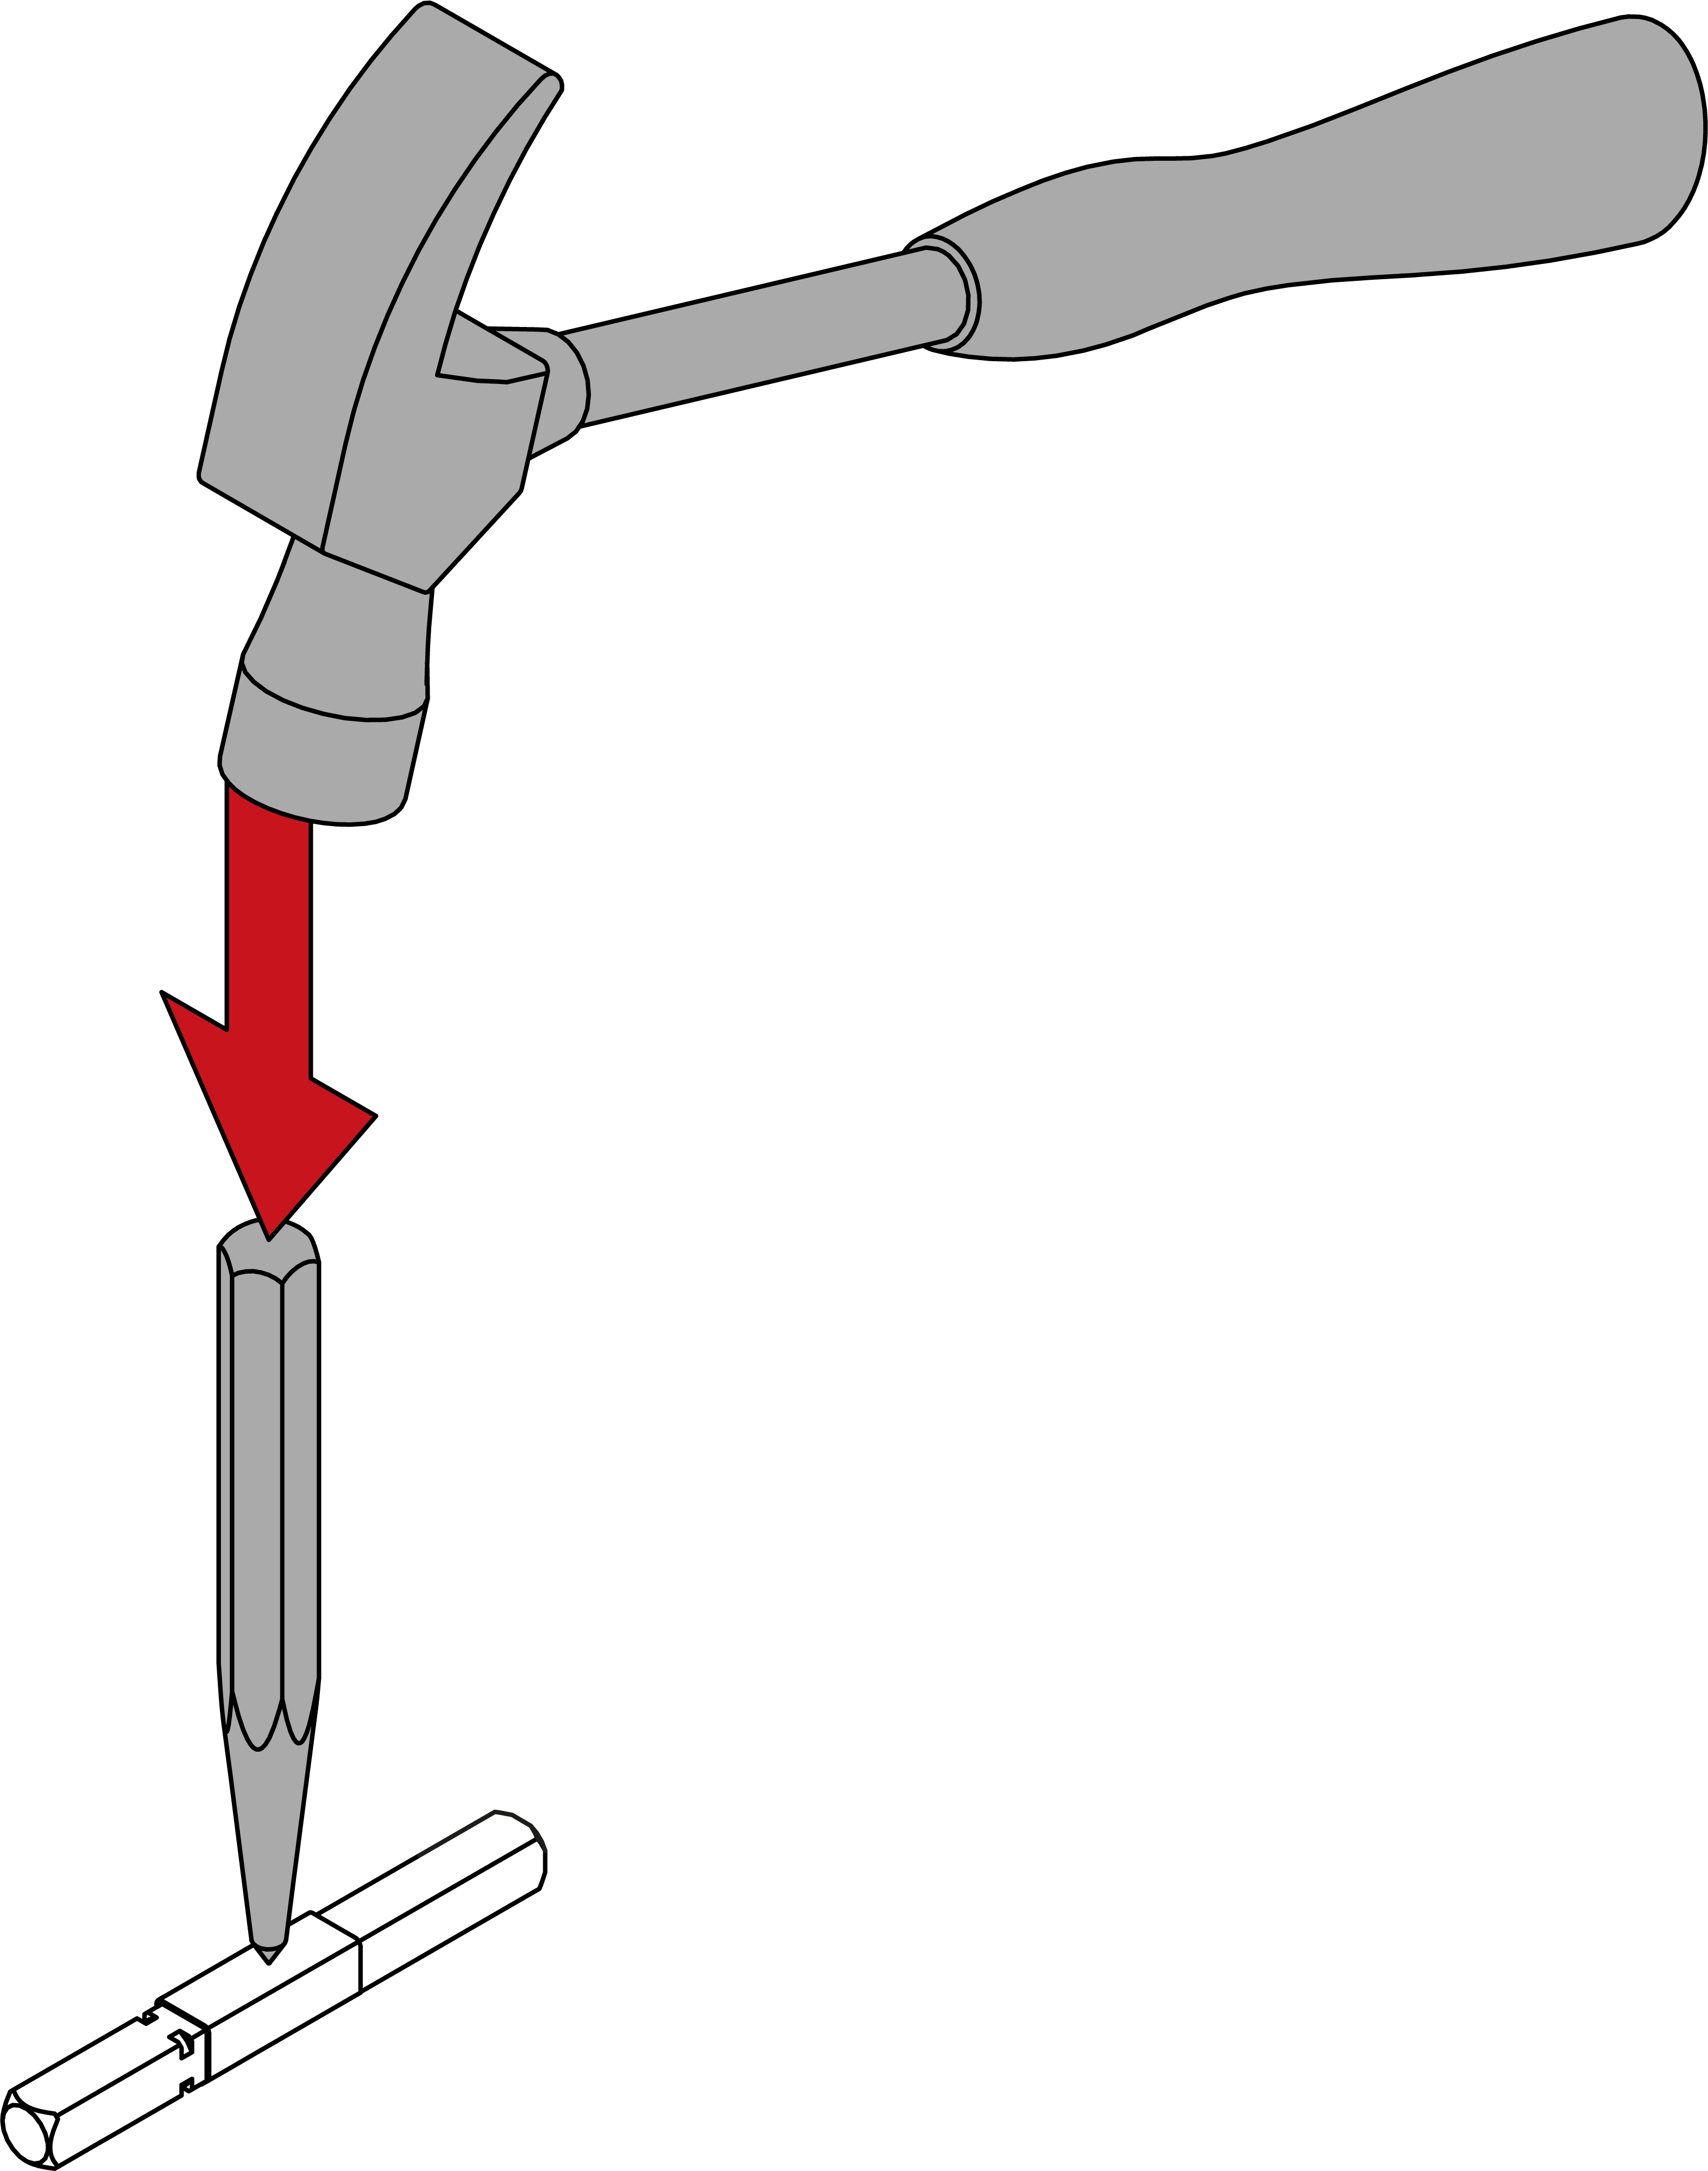
- Insert a screwdriver into the hole in the blank cylinder.
- Position the blank cylinder using the screwdriver.
- For non-MO: screw the dummy cylinder firmly into place (PH2; torque: 1.1 Nm).
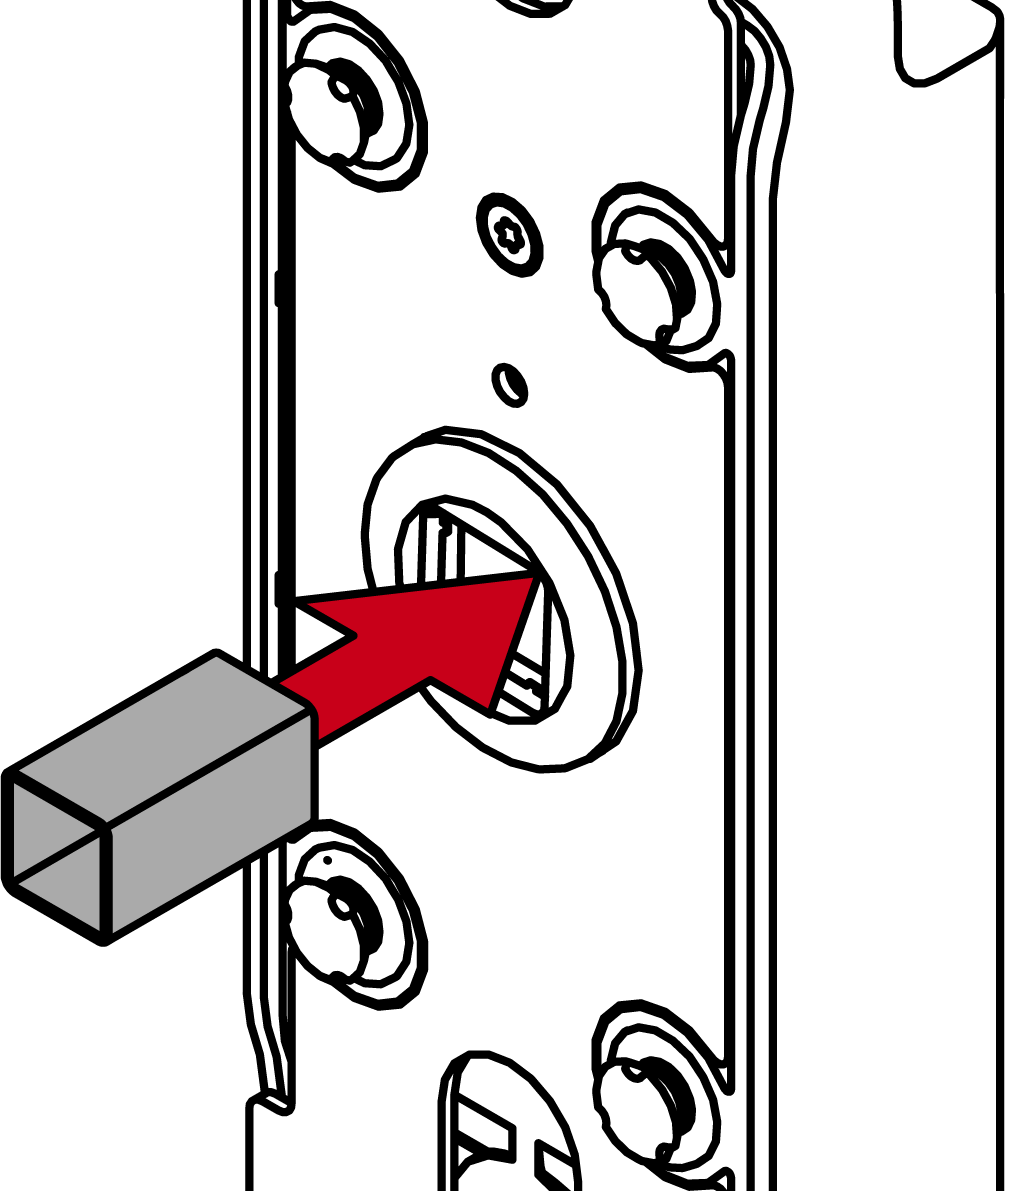
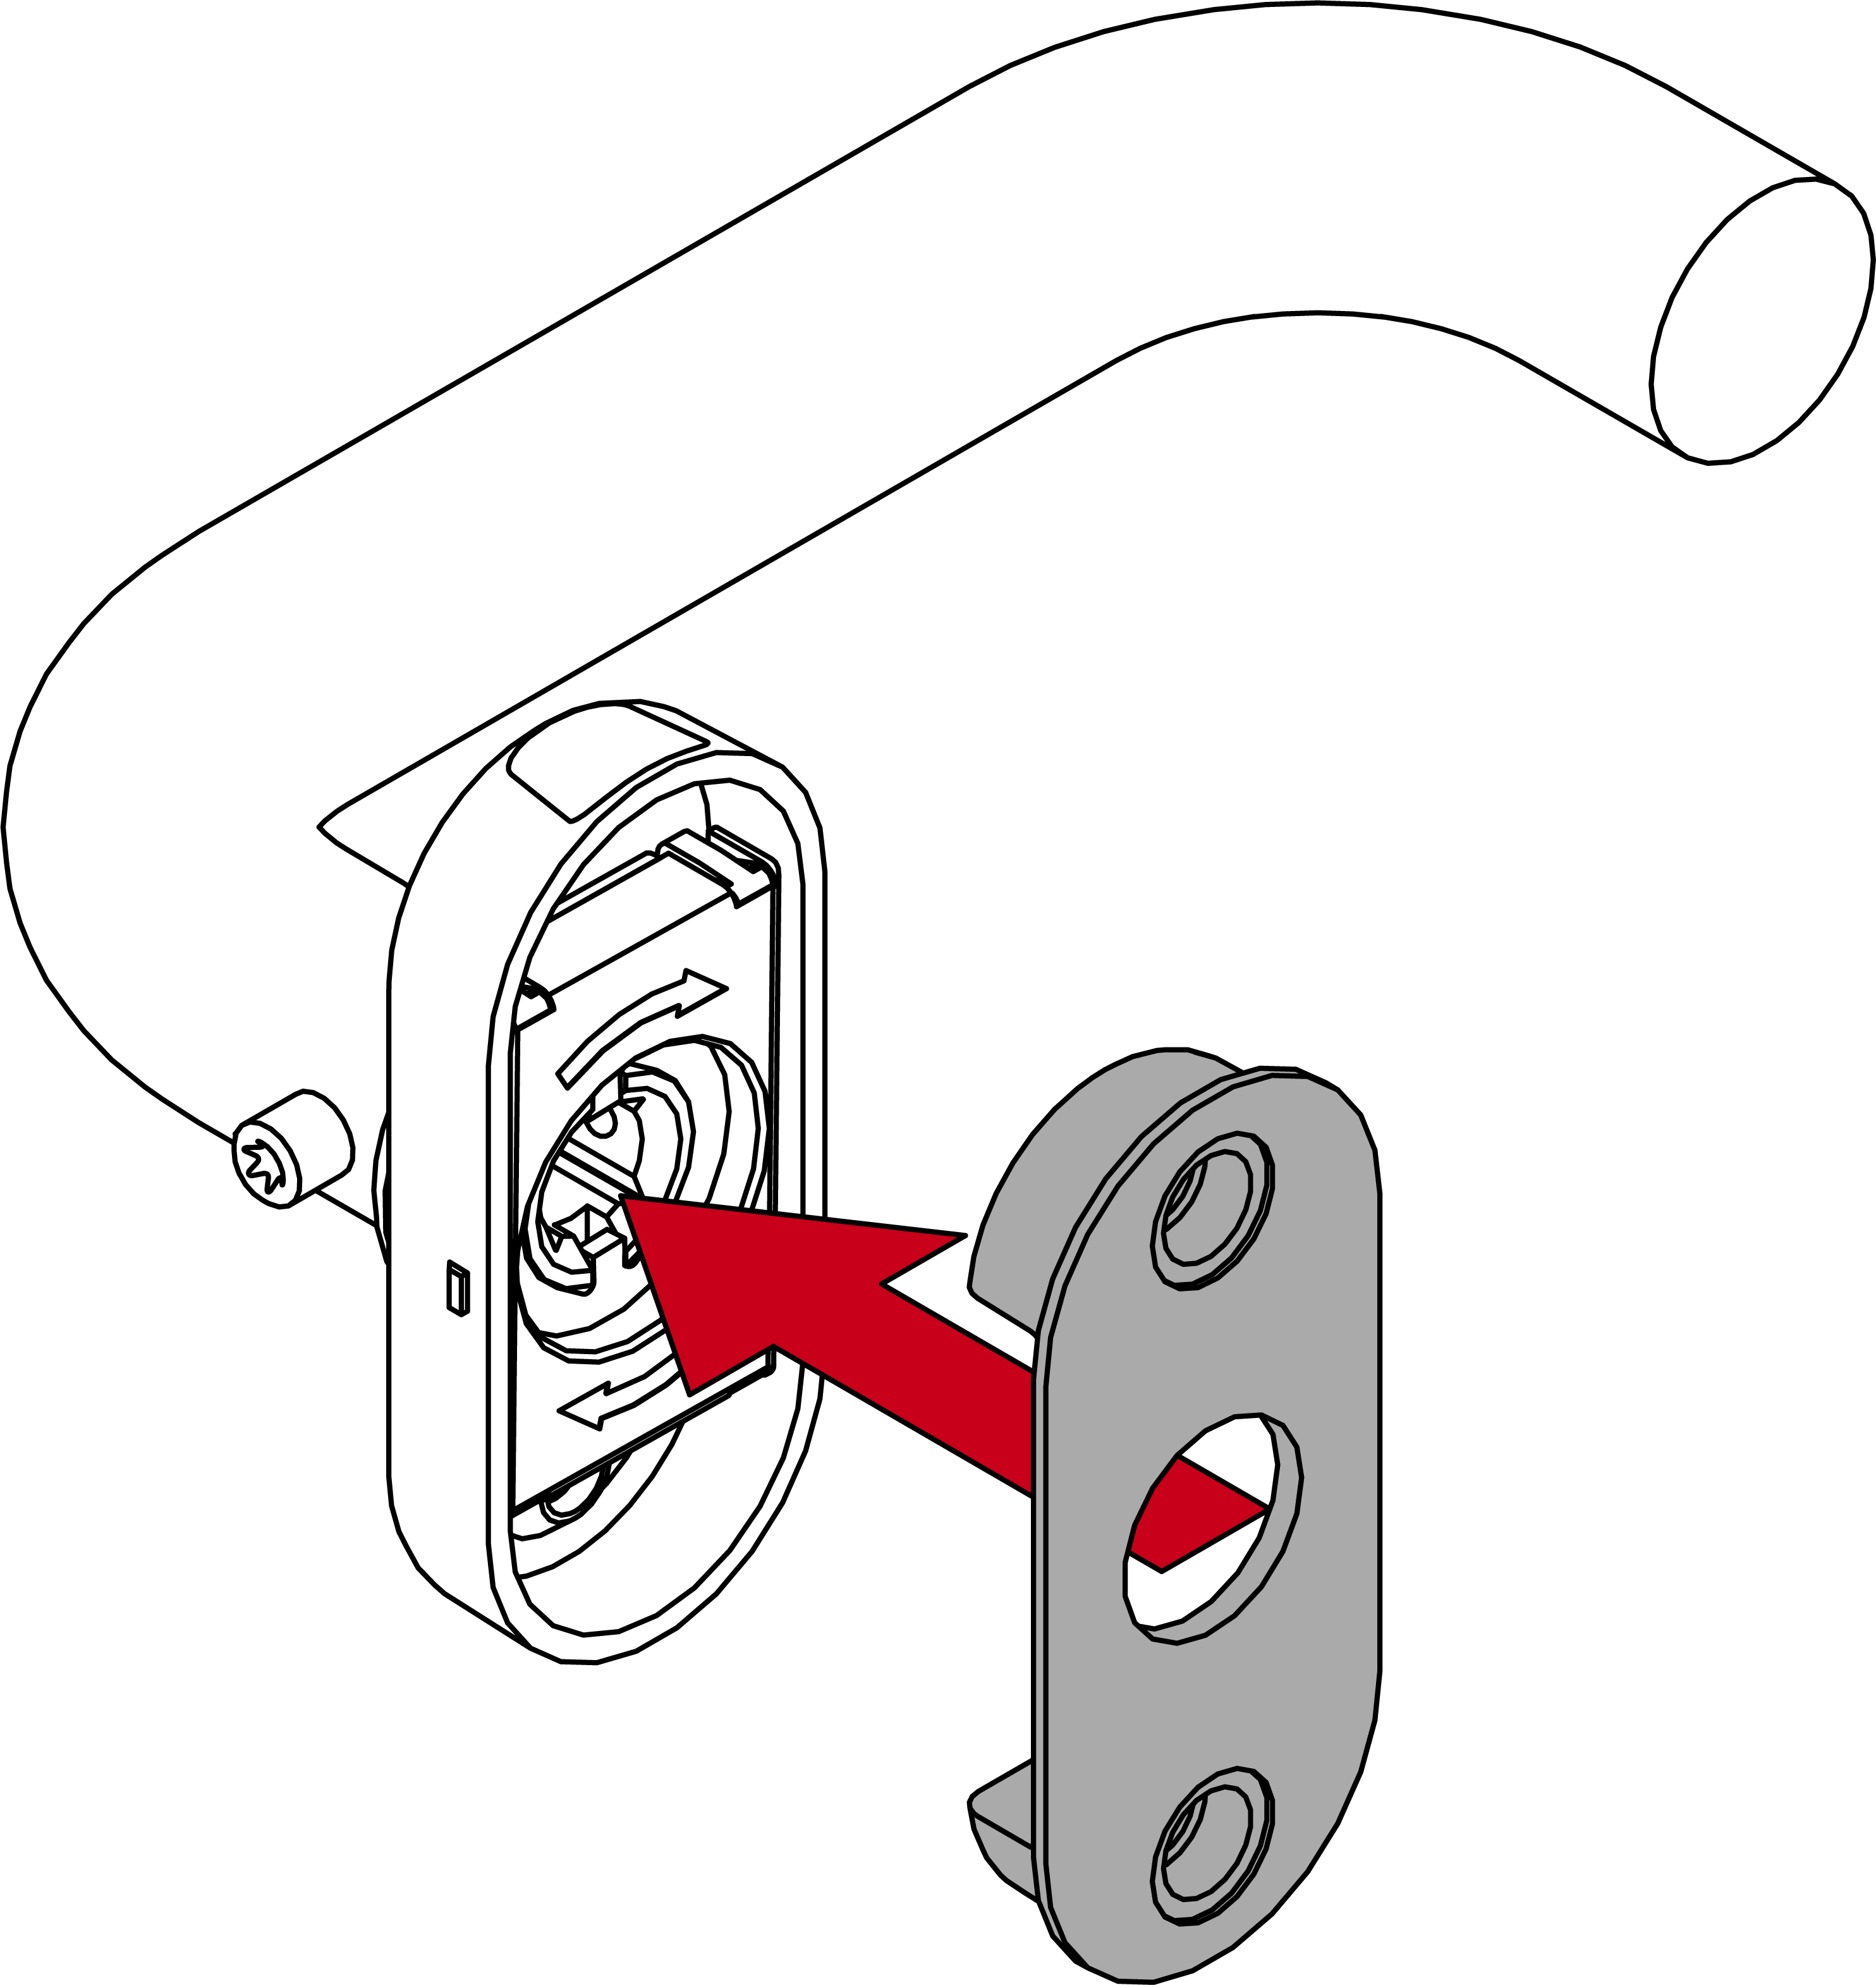
- Insert the spindle protection tube into the fastening plate.
- For 7 mm spindle: Insert the adapter shoe into the spindle mount on the module support.
- Insert the module support into the fastening plate.
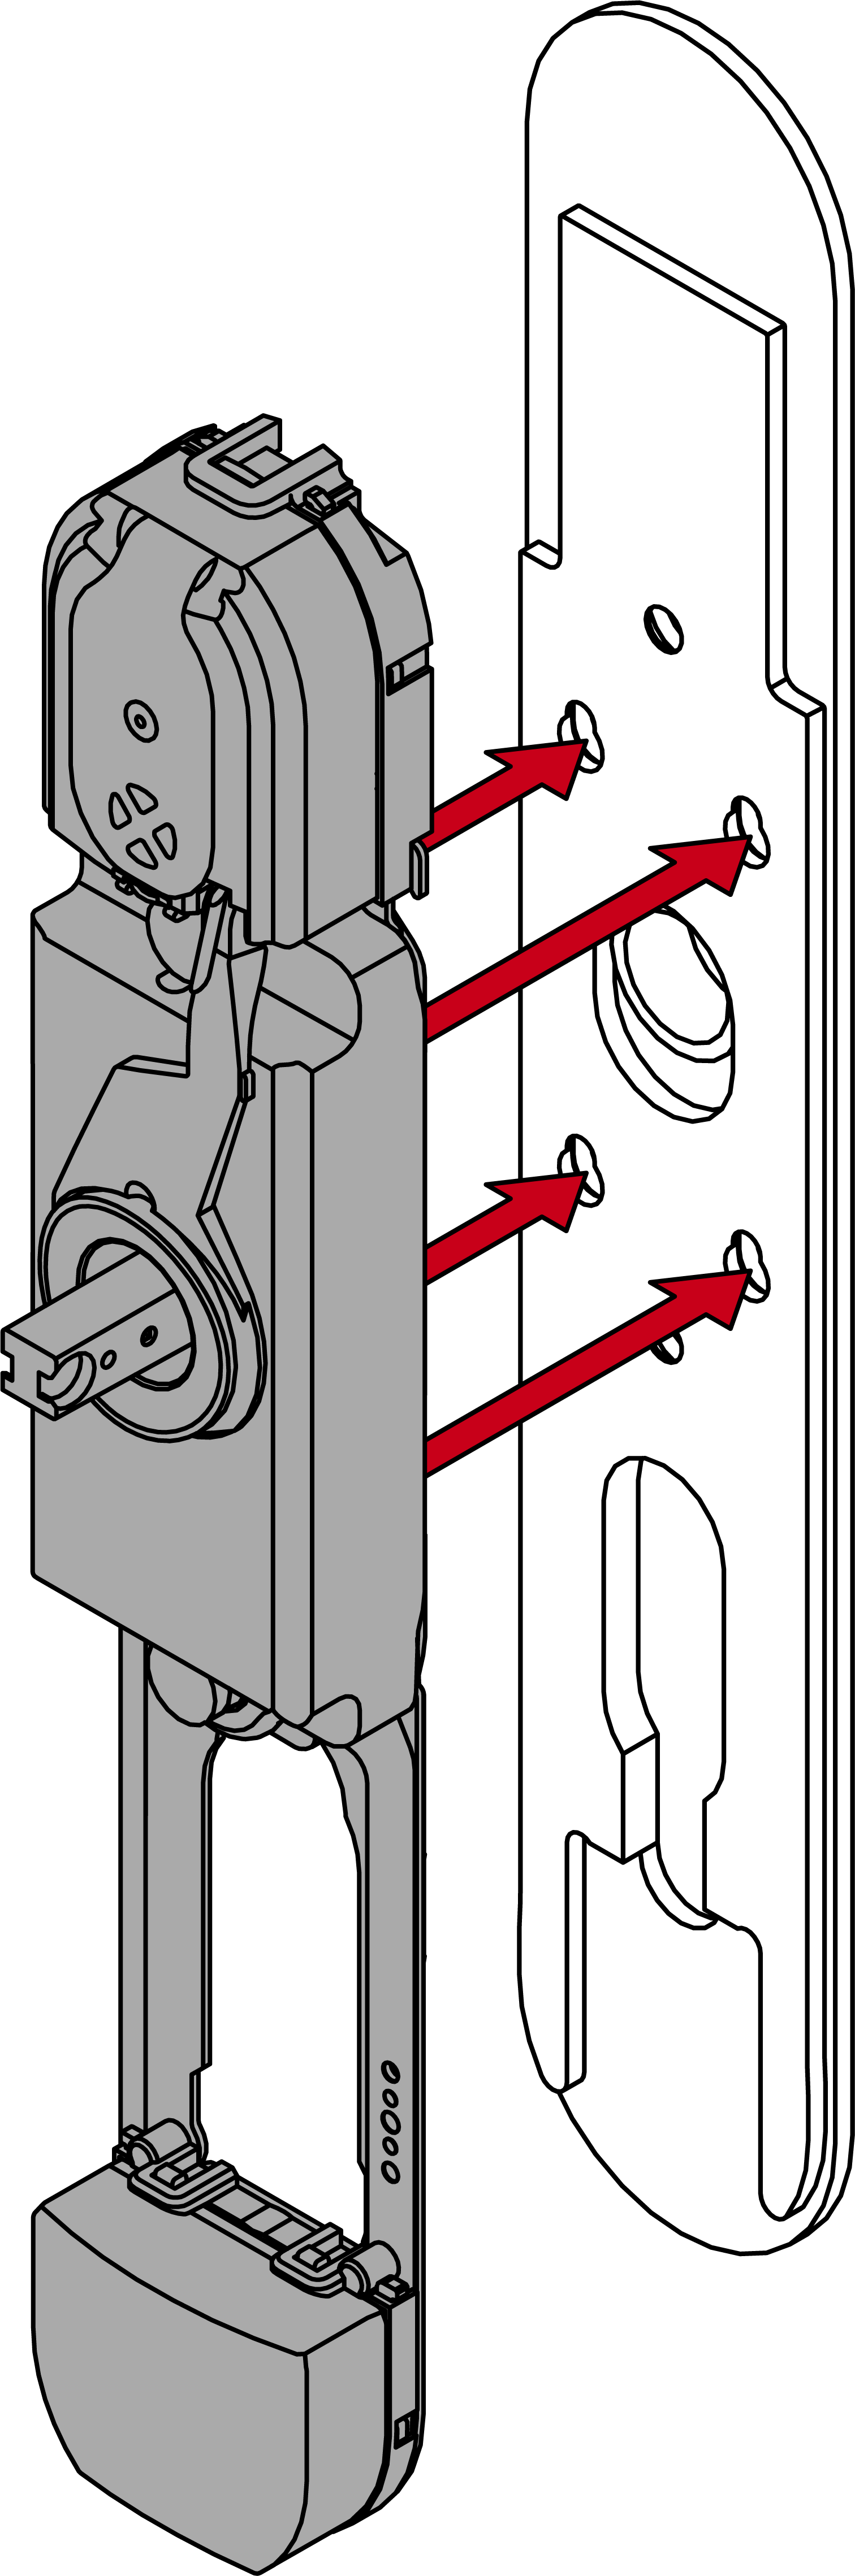
- Slide the module support upwards.
- Module support snaps into place.
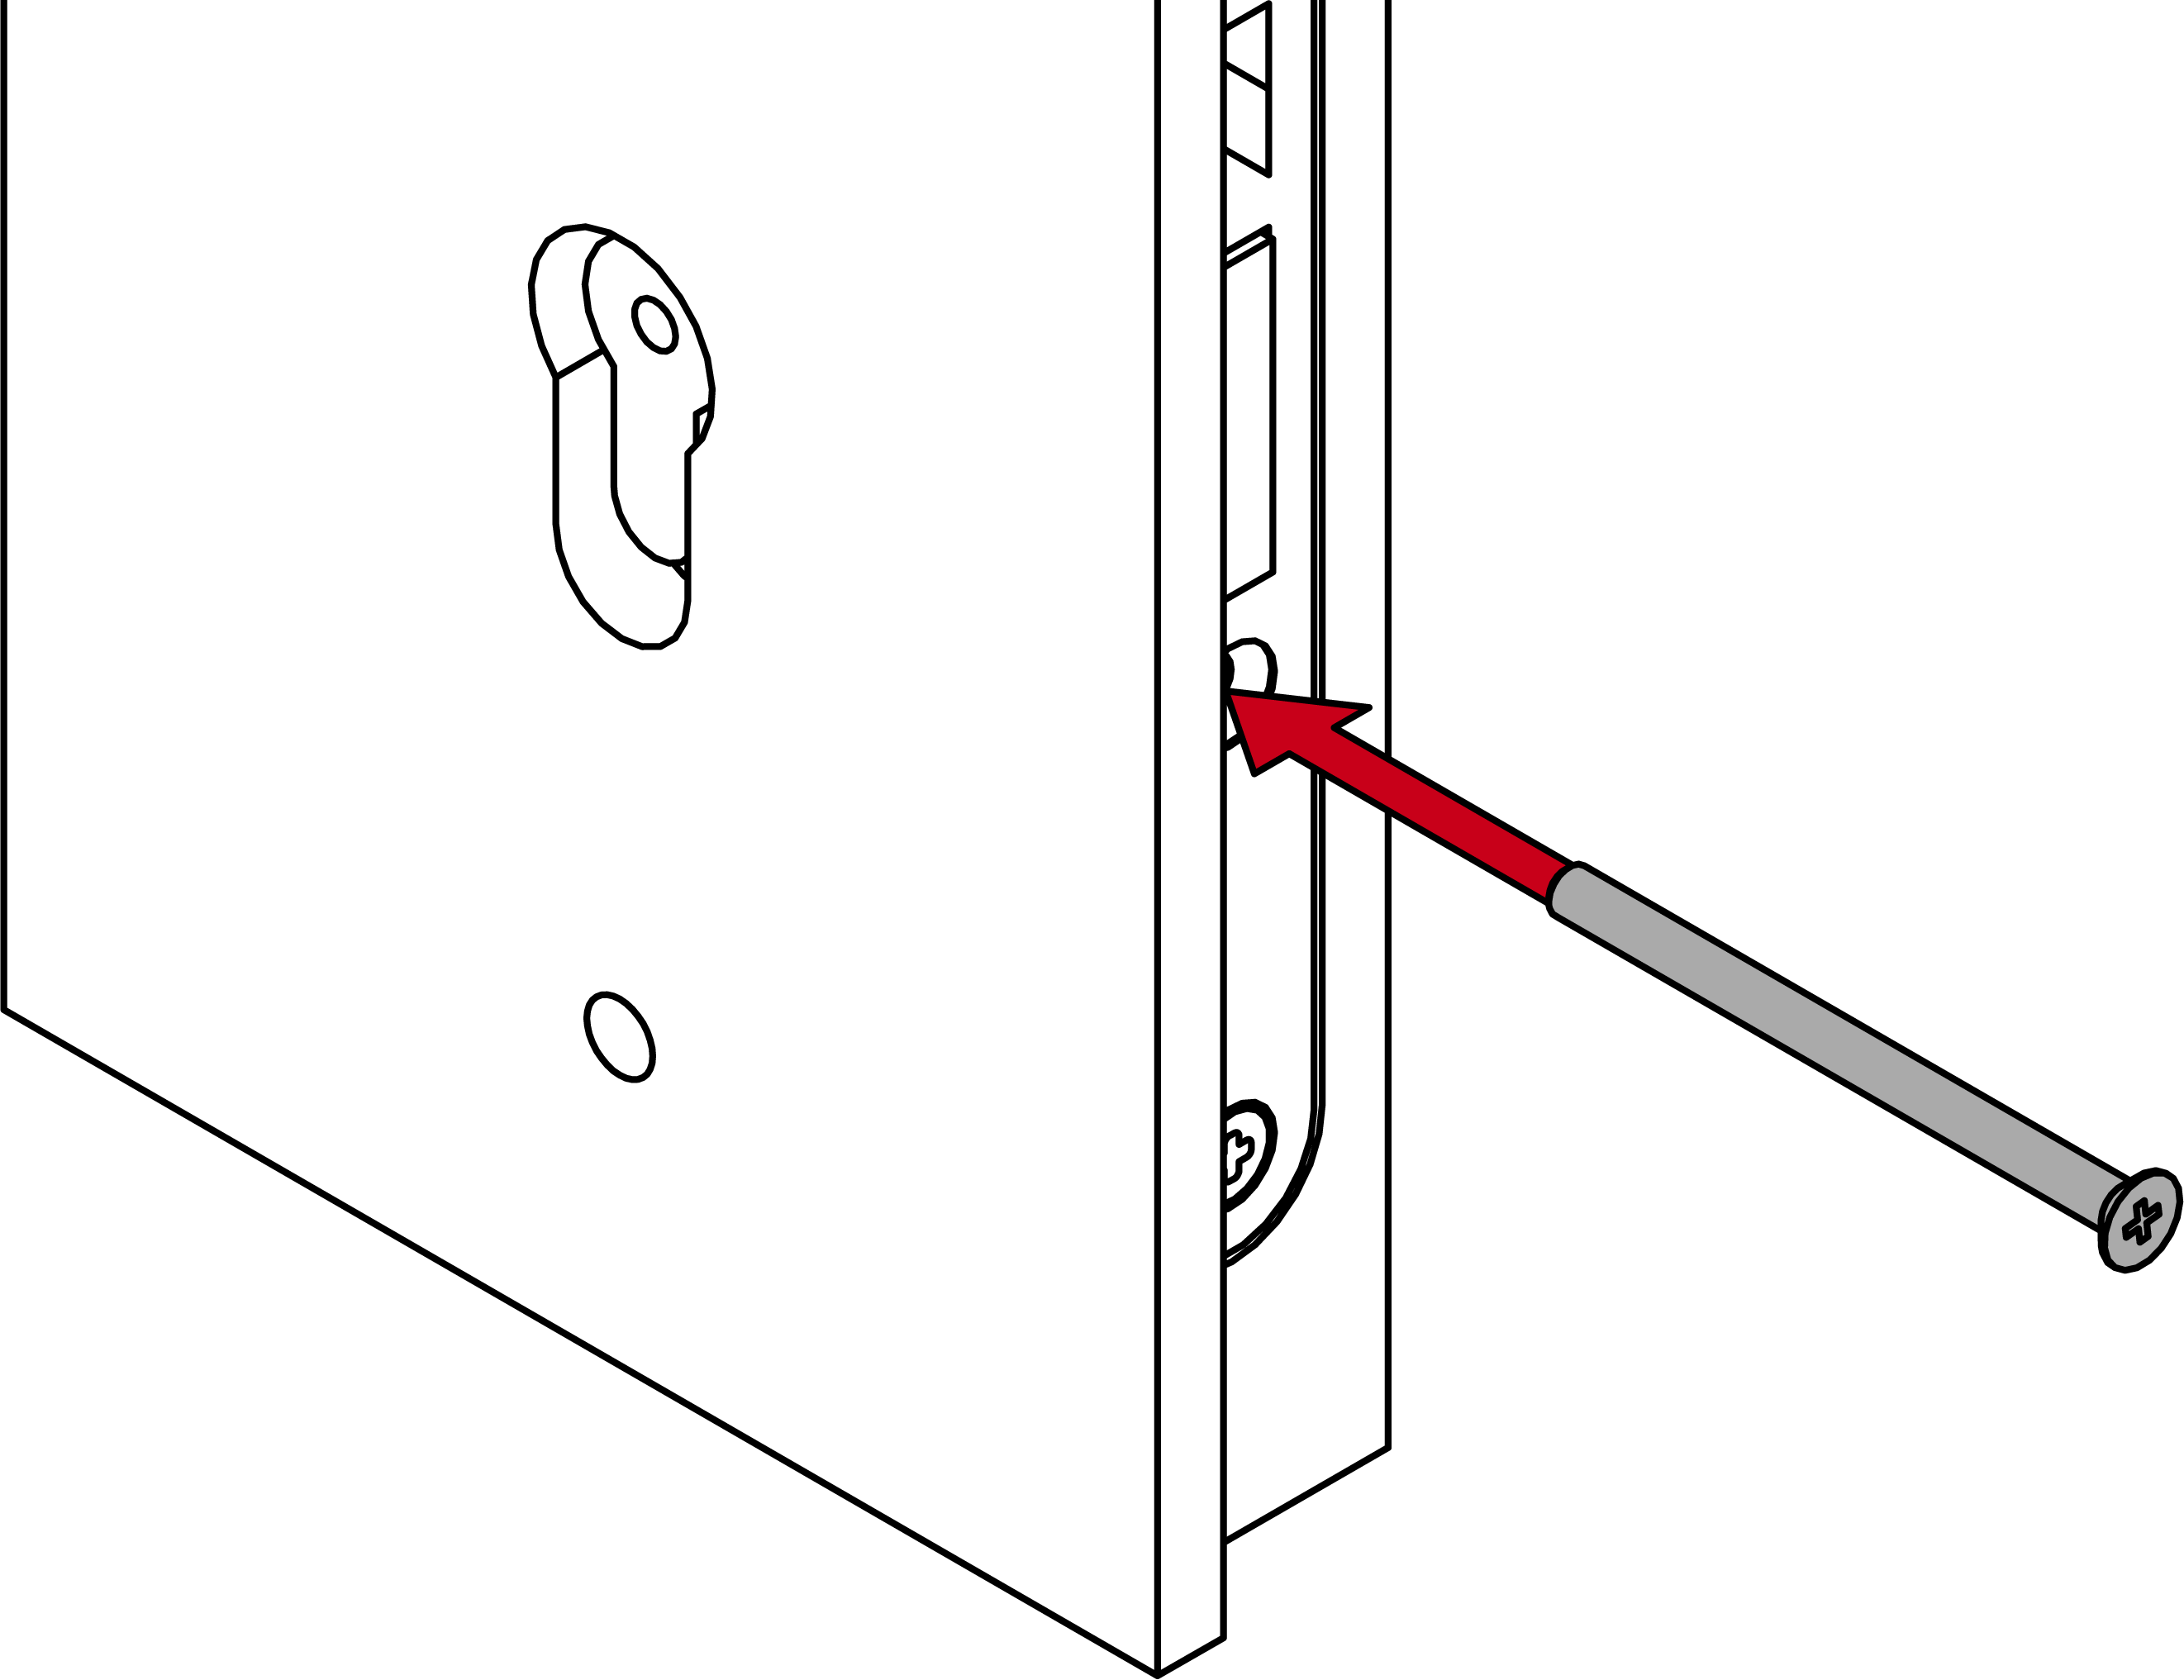
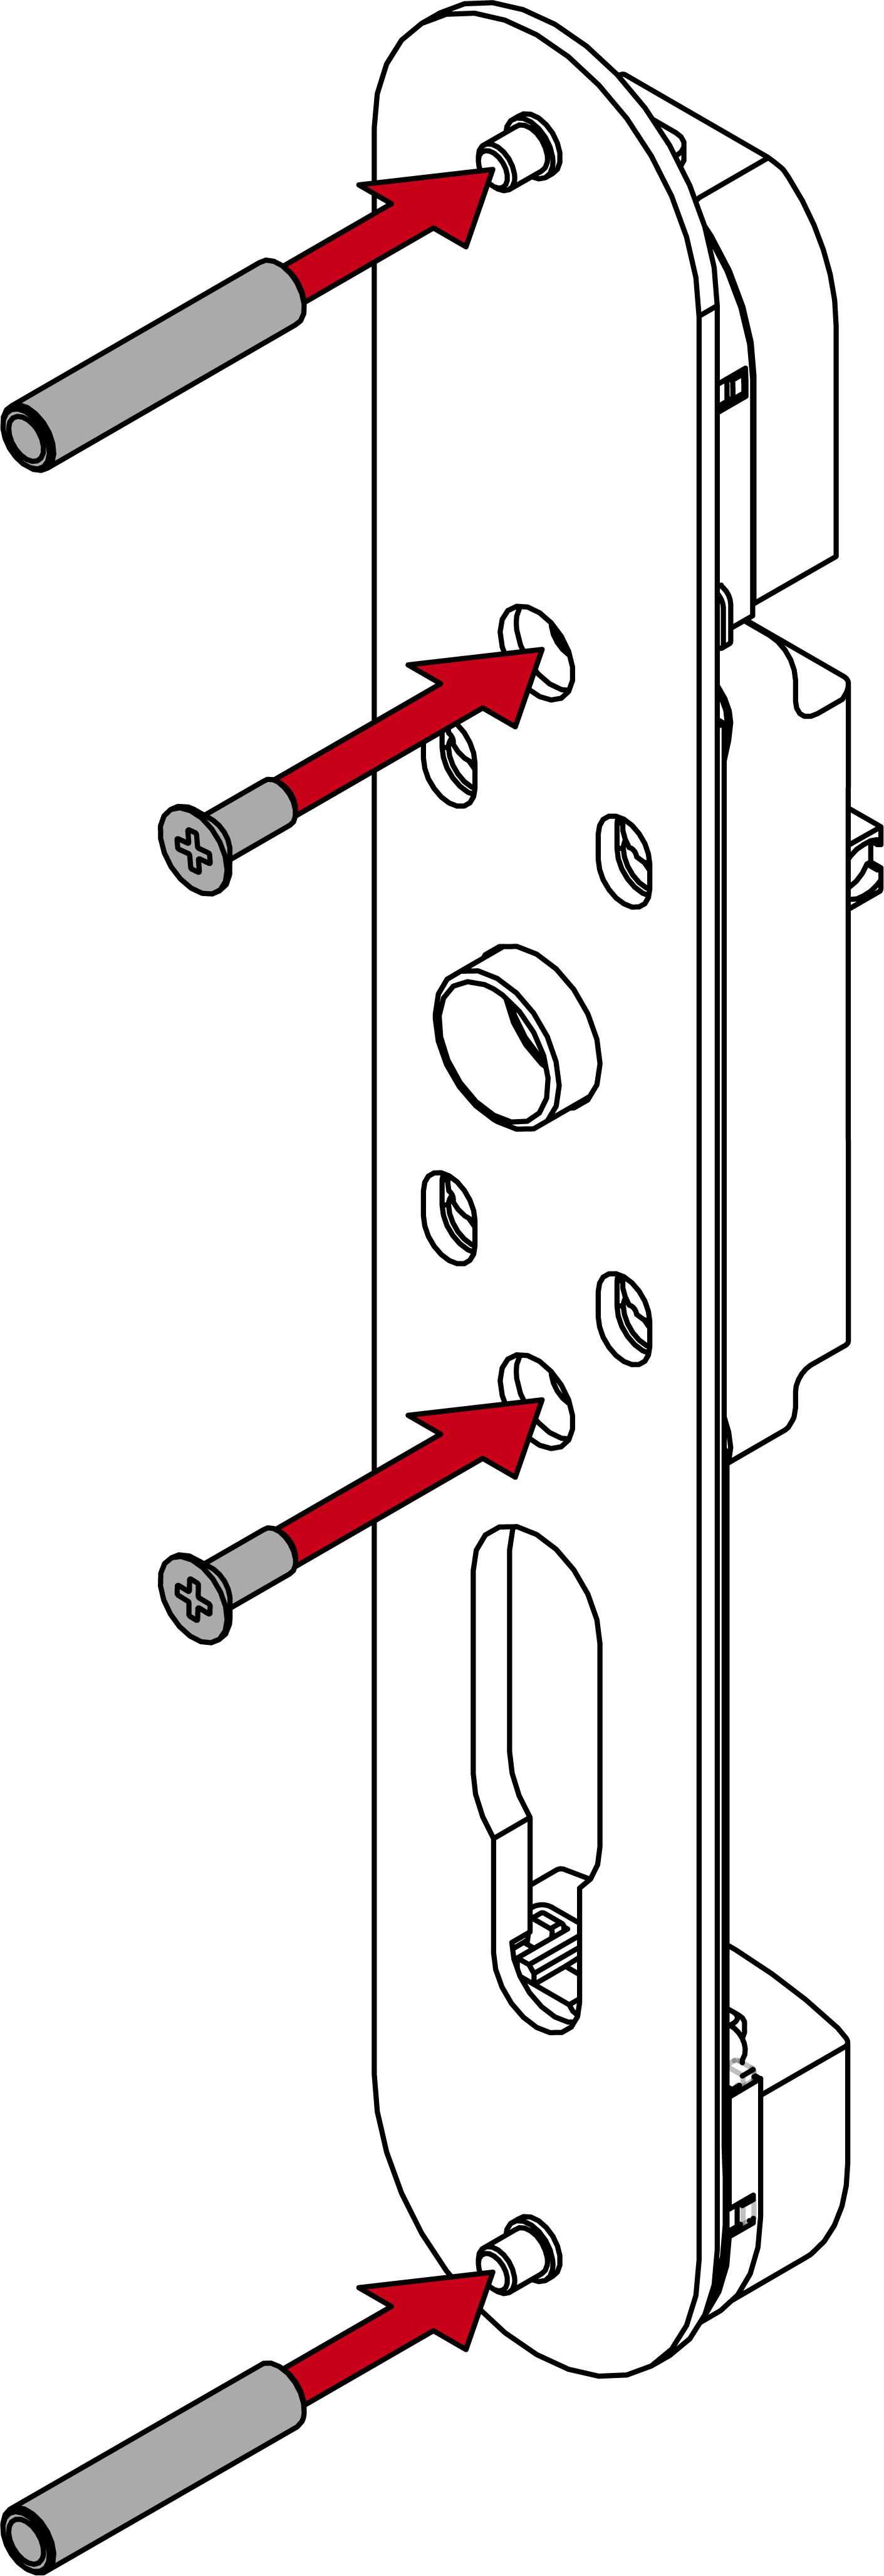
- Screw the threaded sleeves onto the fastening plate threaded bolts.
- Fasten the module support to the fastening plate with the 12 mm screws (PH2, torque 3.0 Nm).
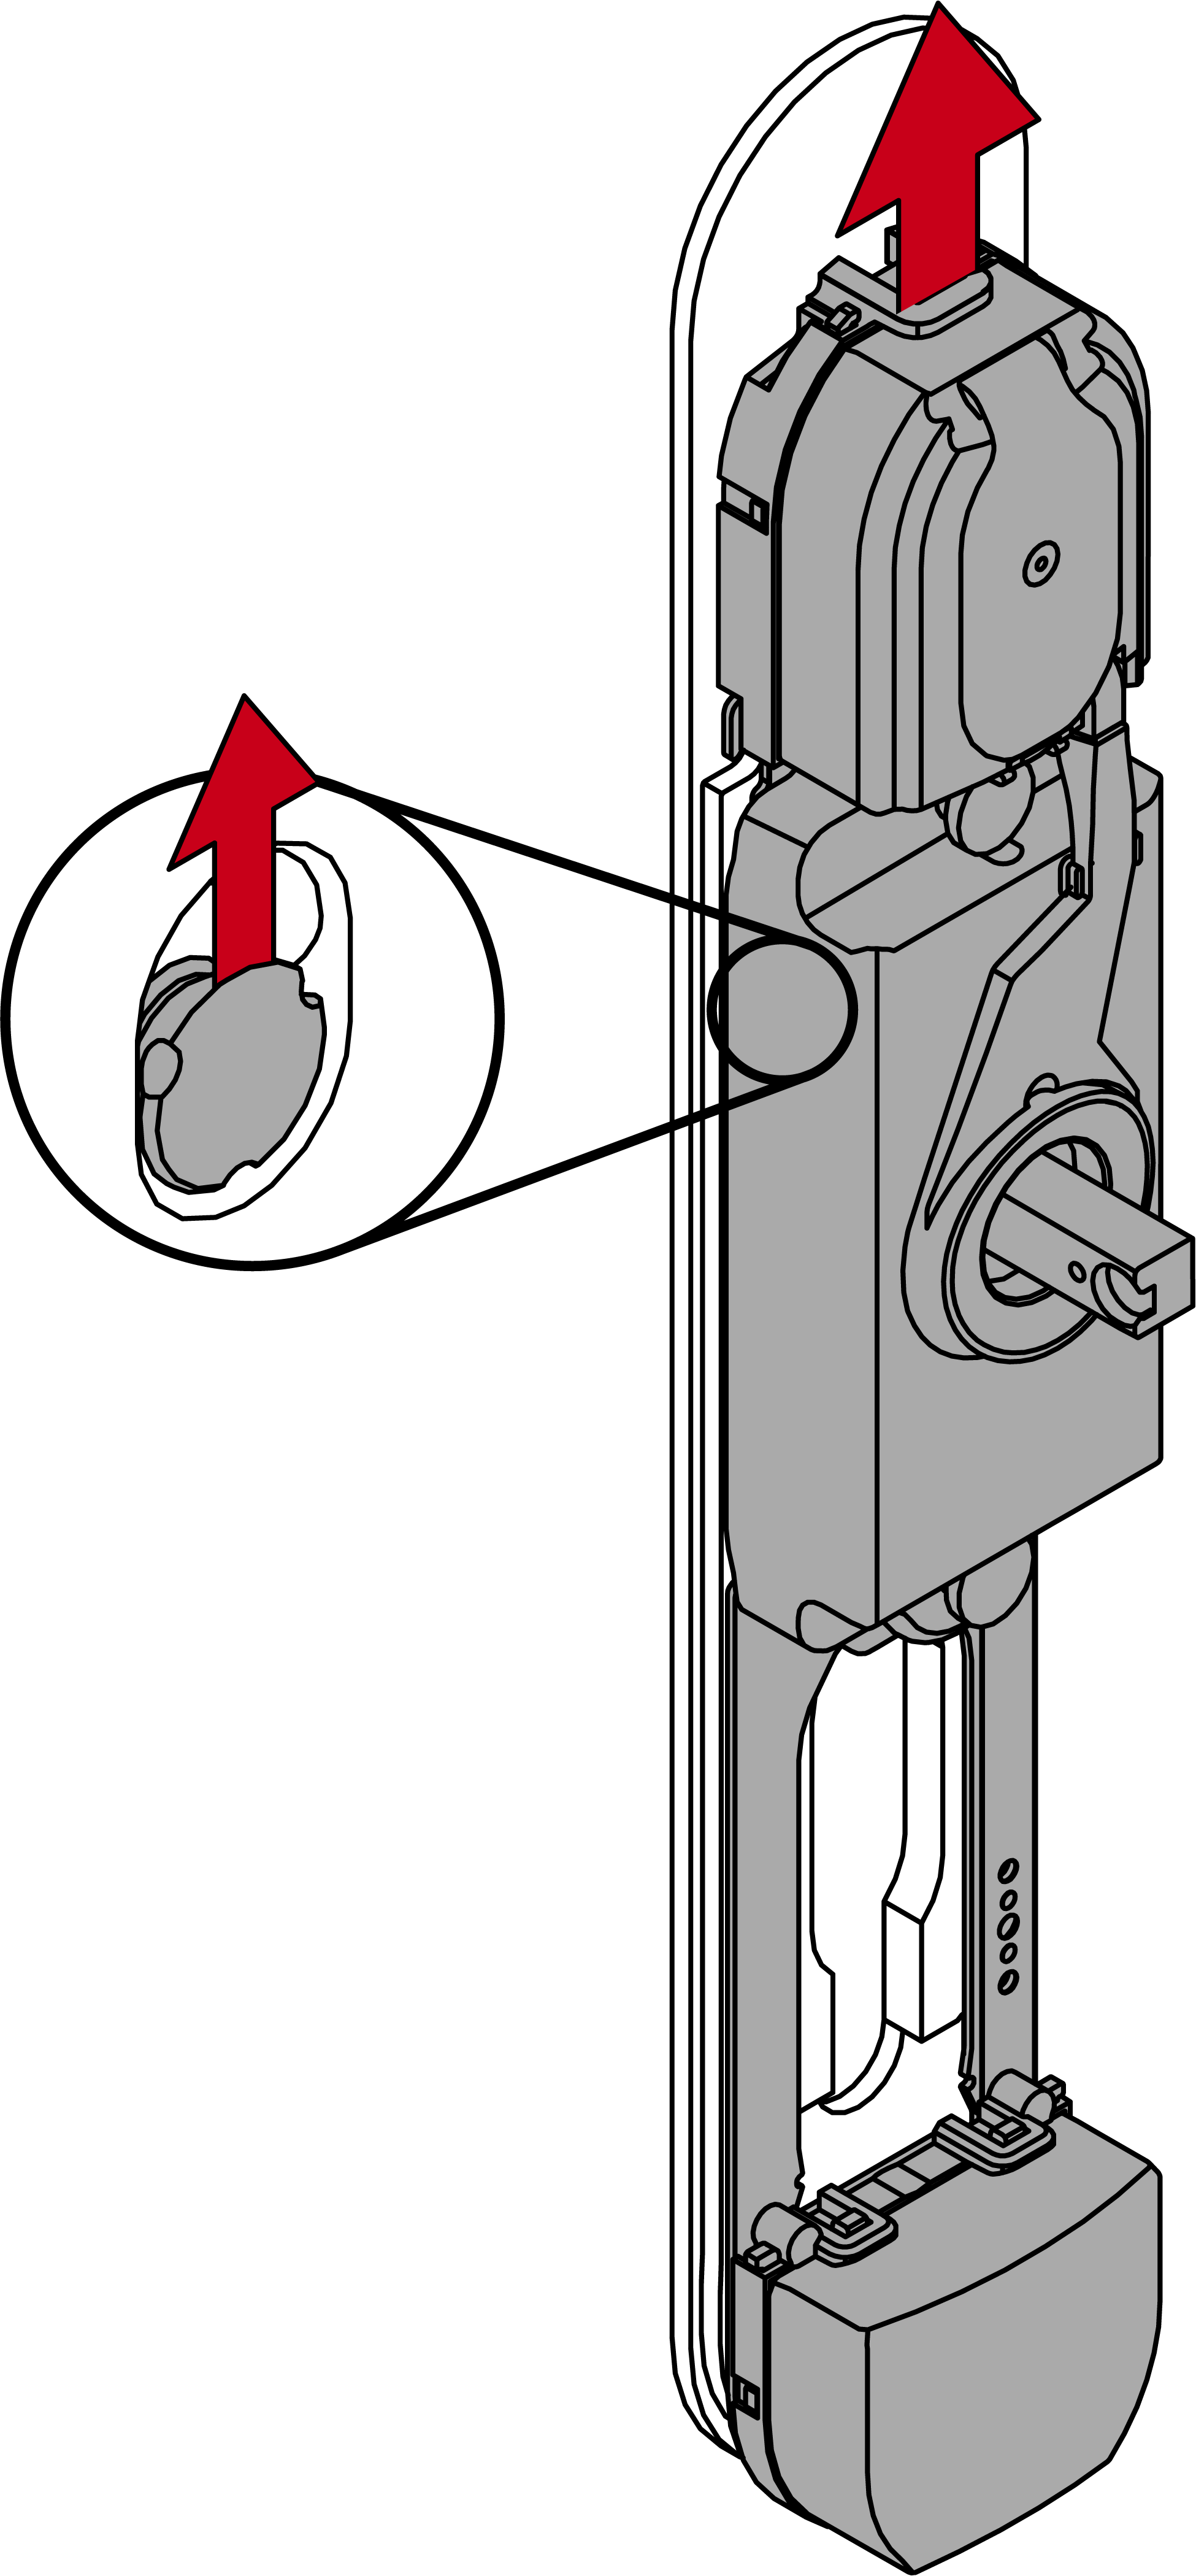
- Insert the module support with the fastening plate into the outer side of the door.
NOTE
Reducing sleeves for existing 14 mm holes
Existing 14 mm holes make it difficult to secure the SI SmartHandle AX Advanced.
- Insert the supplied silicone reducing sleeves into the existing holes to reduce the backlash.
- For 7 mm spindle: Place the adapter sleeve in the inside handle in such a way that the recess faces the grub screw.
- Determine the required direction of rotation for your inside handle.
- Insert the spring element appropriately.
- Place the underlay in the inner handle unit.
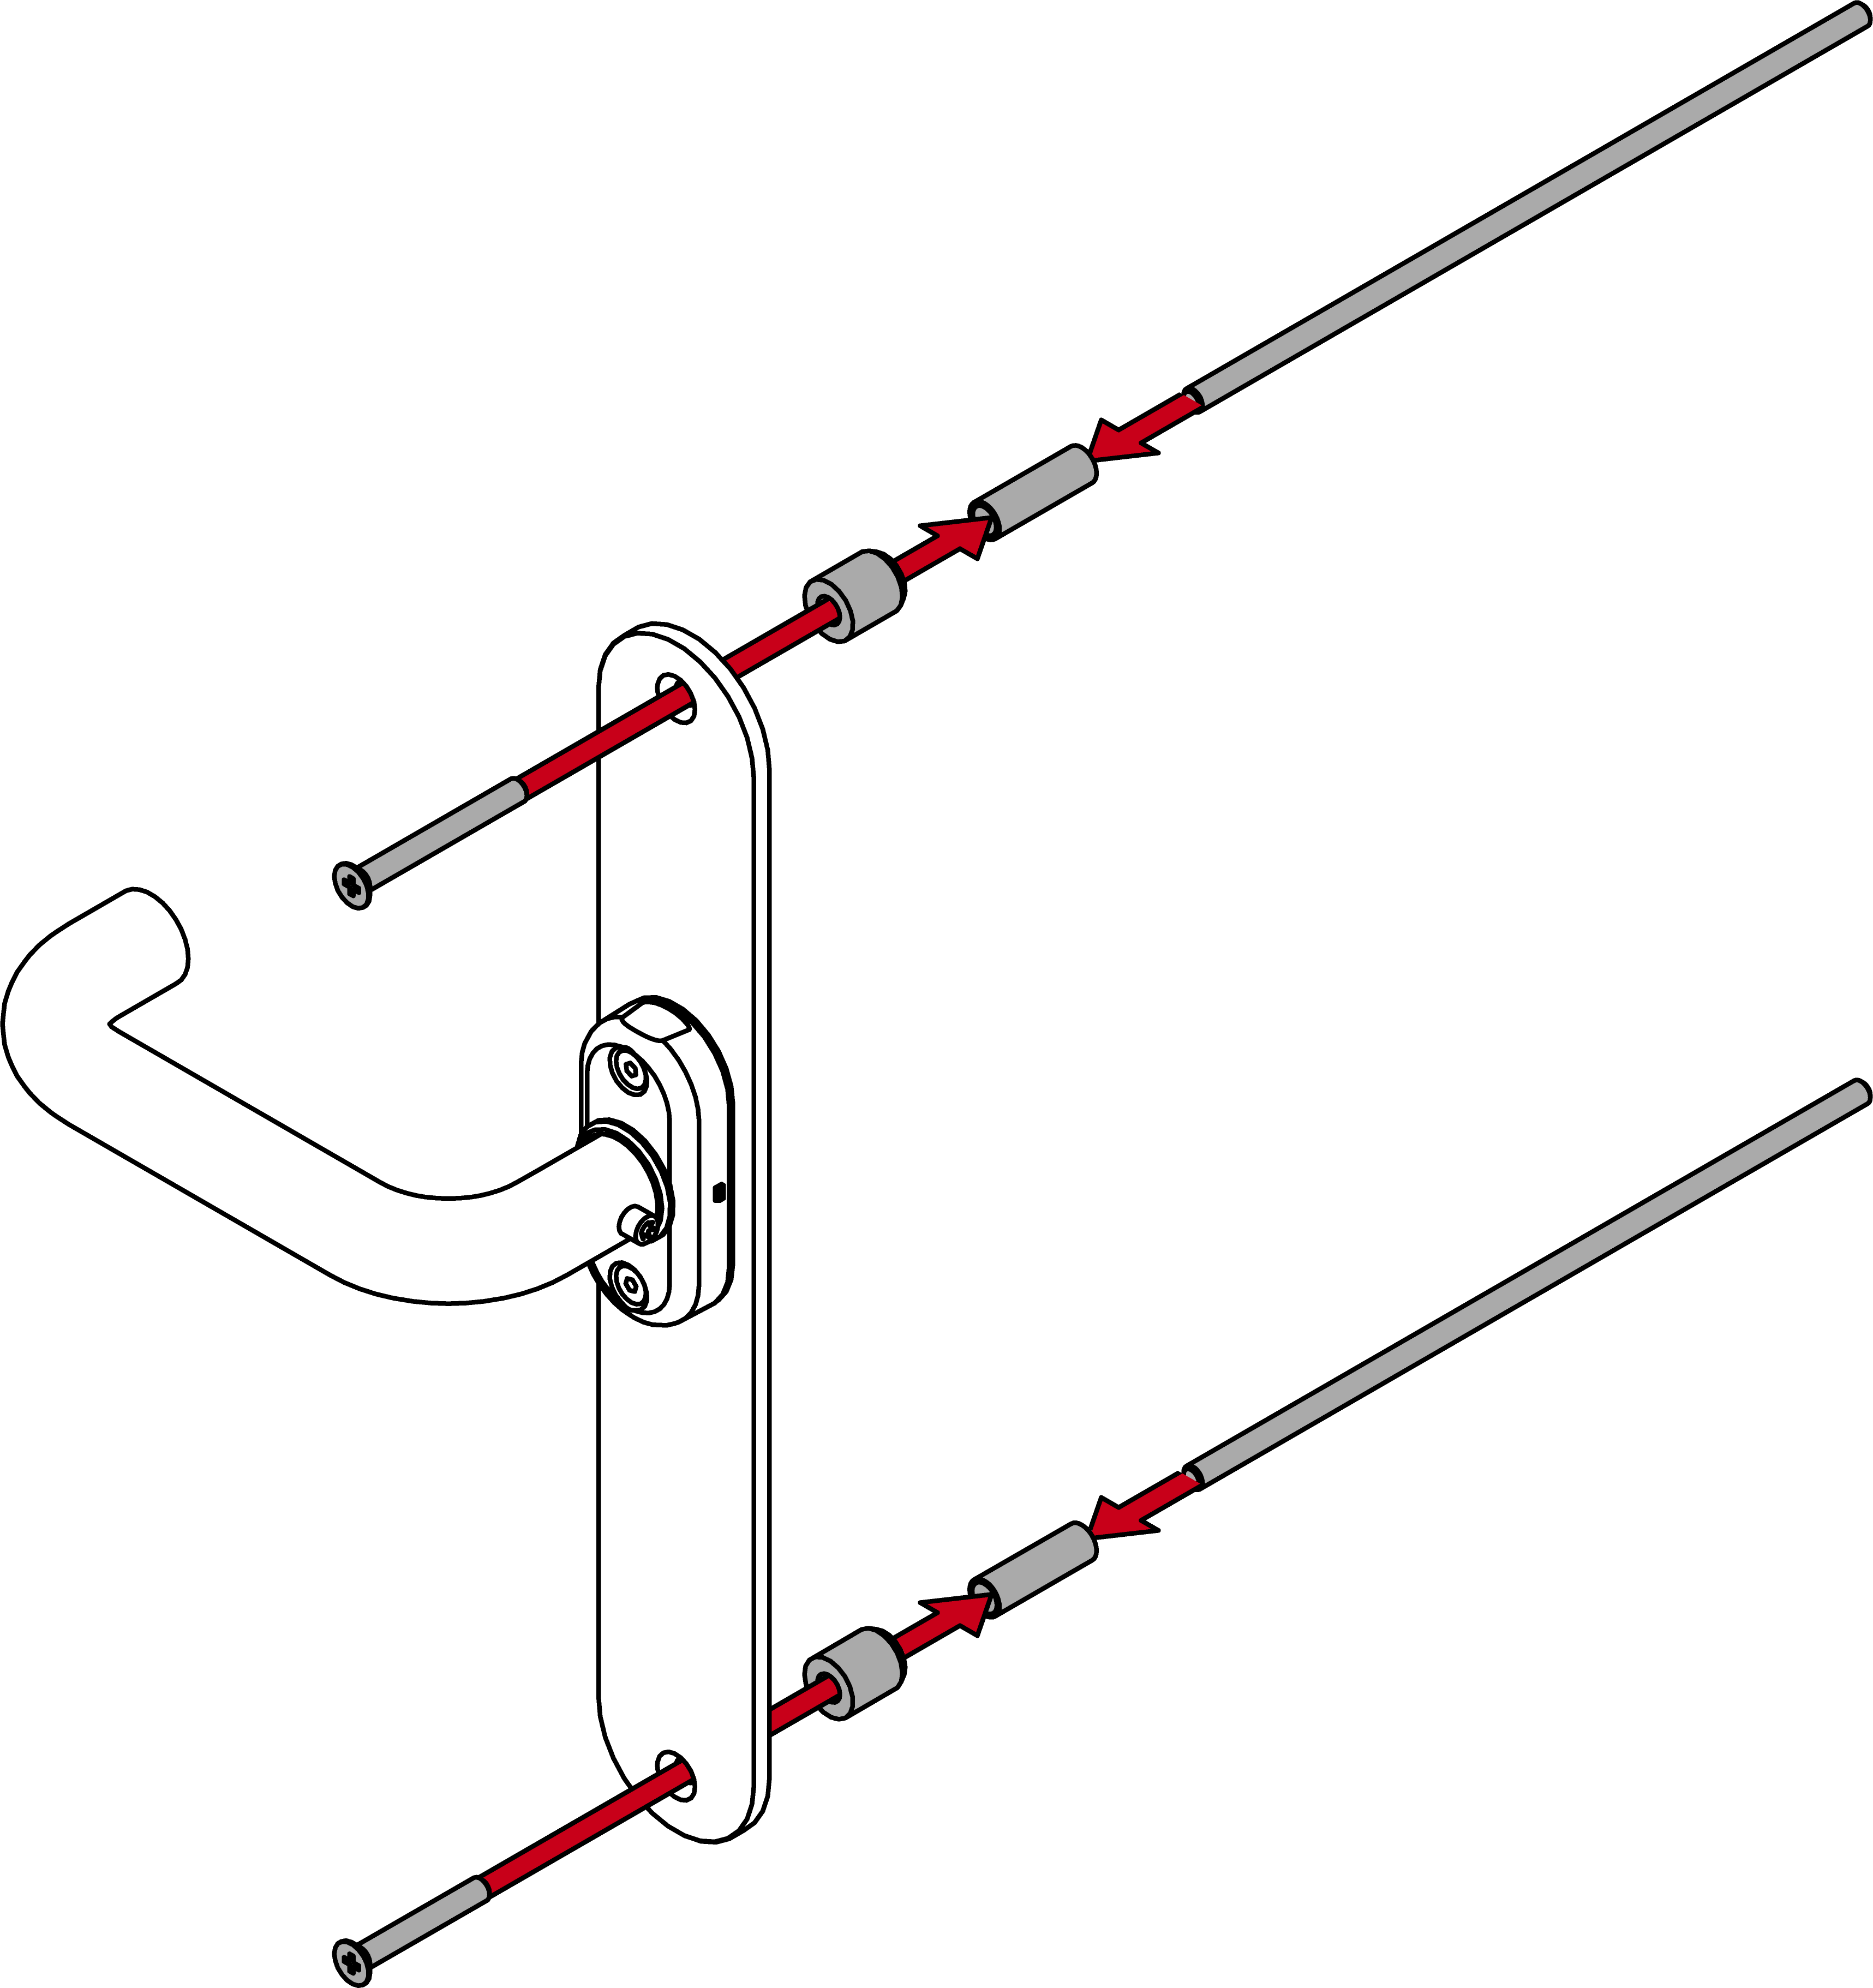
- Screw the inside handle together with the threaded sleeves and 10 mm screws onto the fastening plate (2.5 mm hex key and PH2; torque 1.5 Nm).
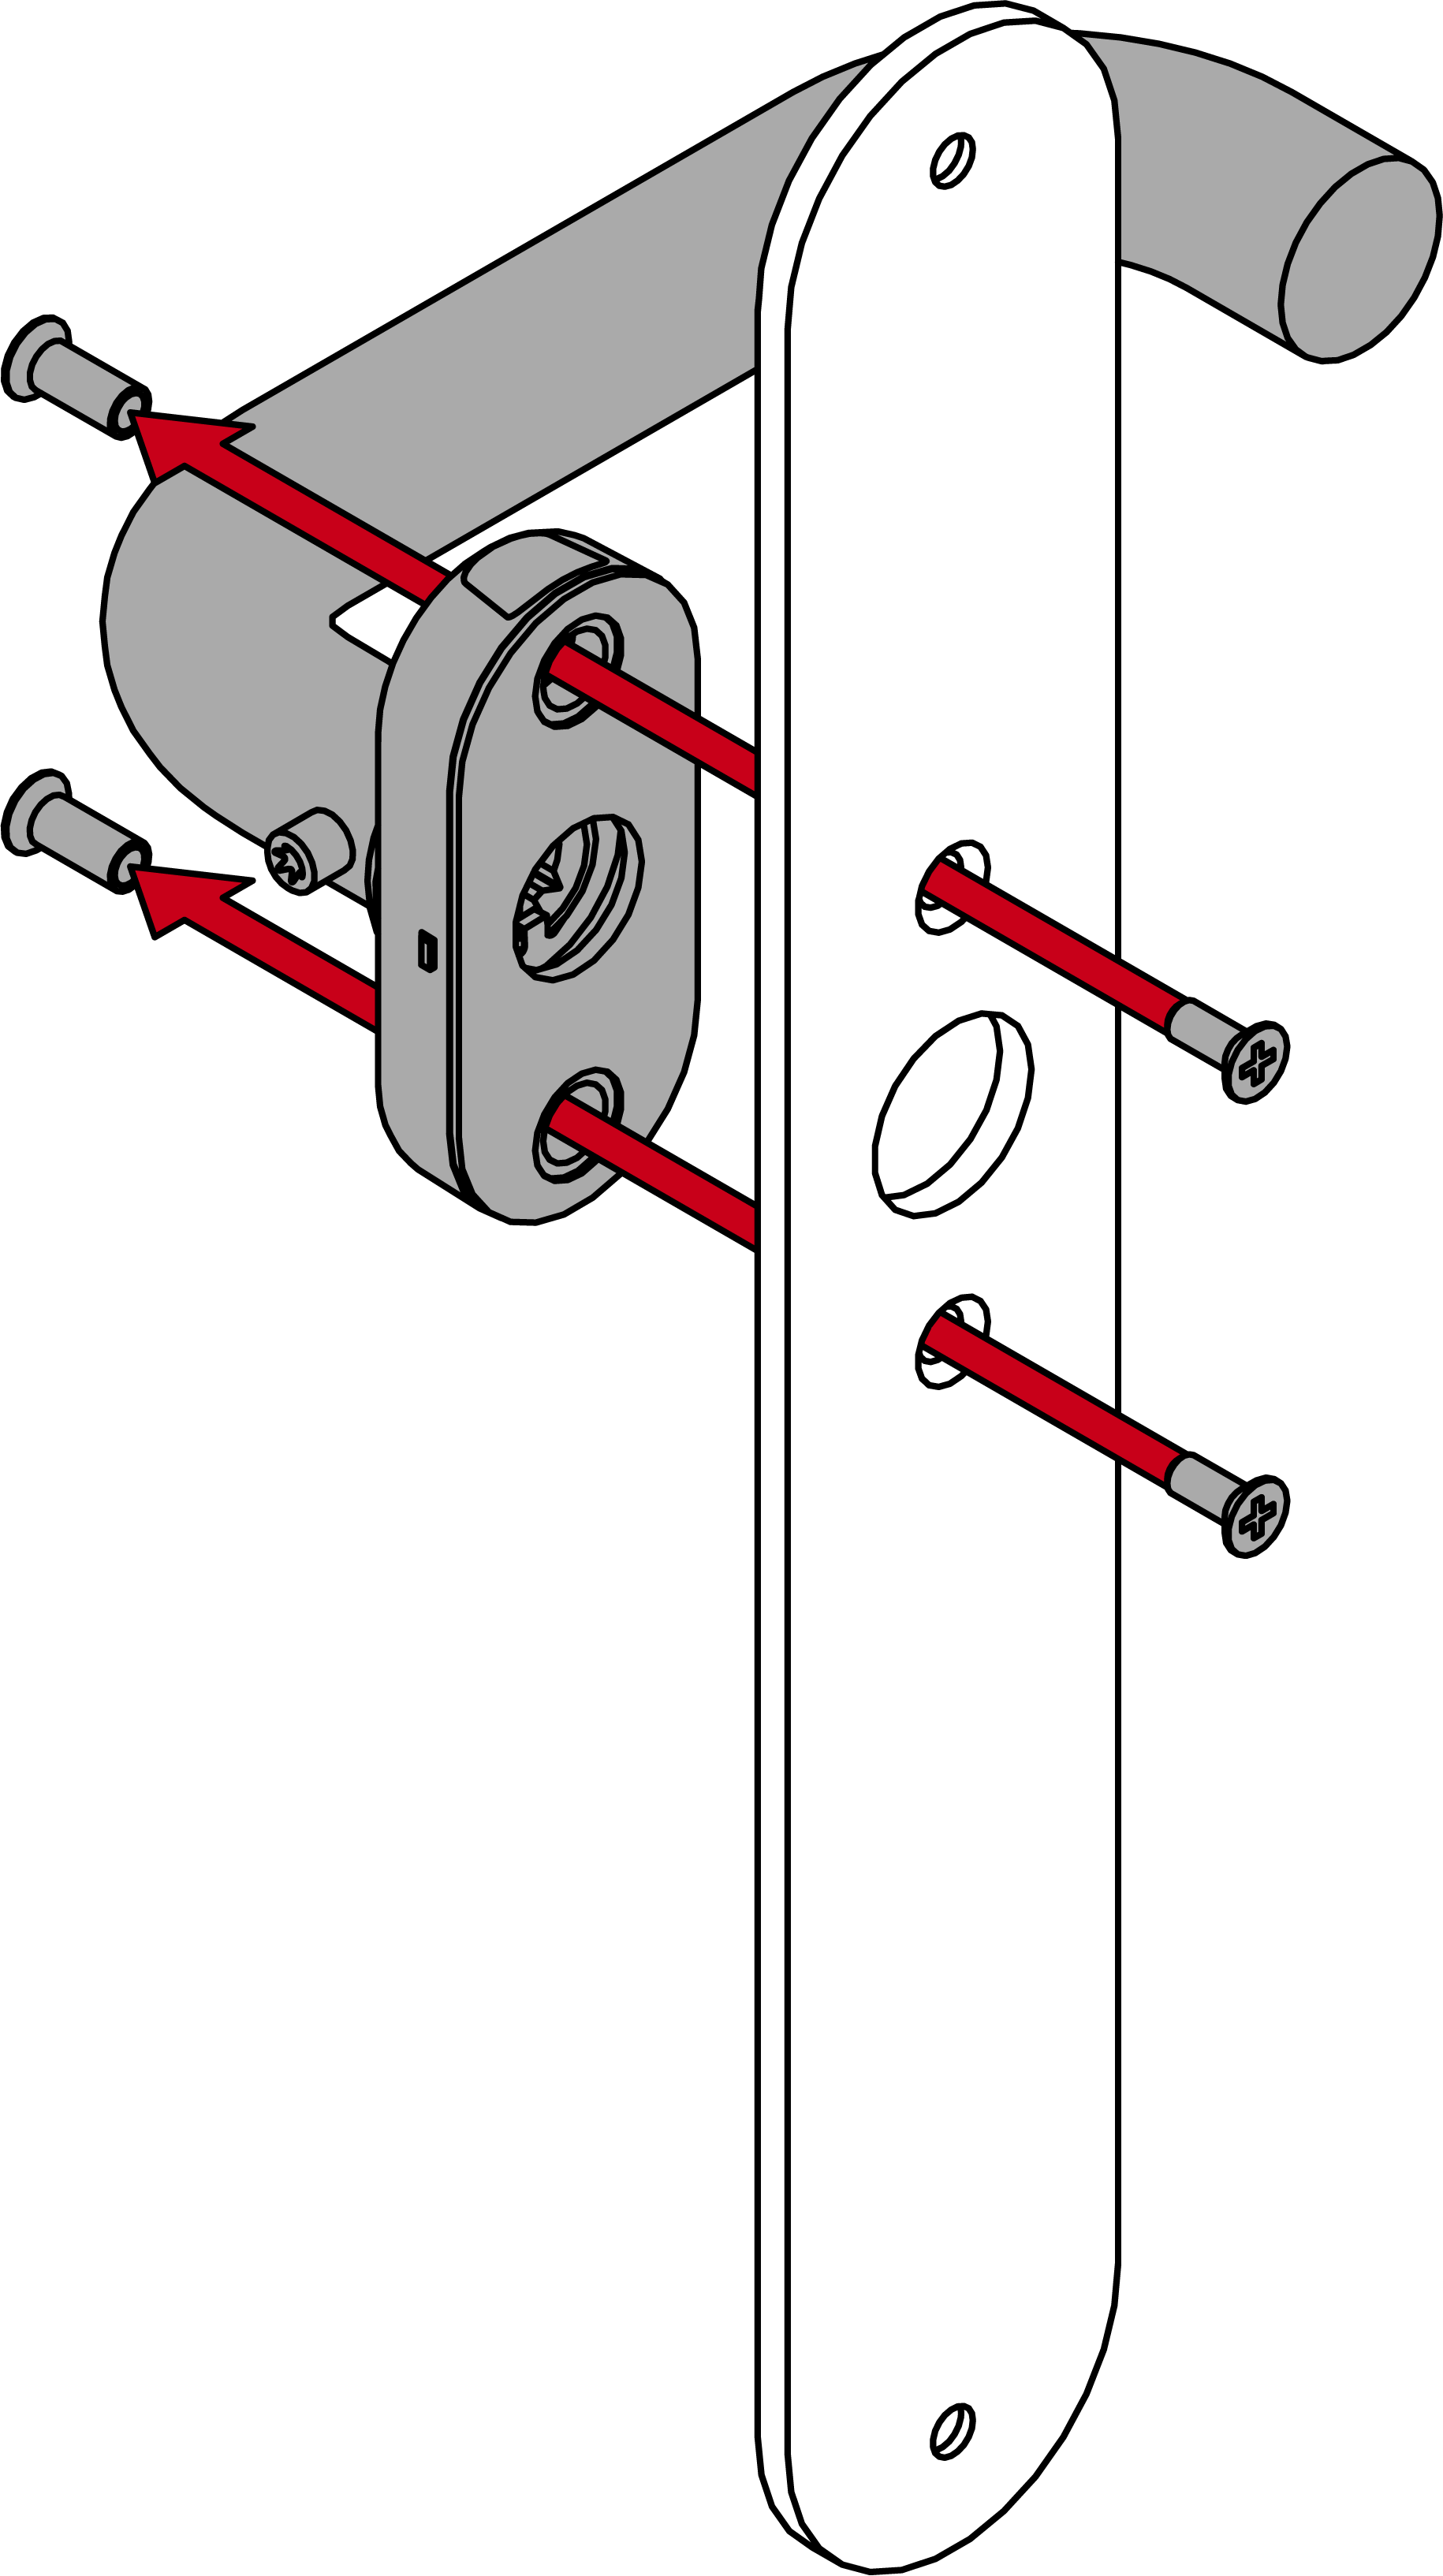
- For 8.5 mm and 10 mm spindle: slide the adapter sleeve into the centre of the spindle. Use a punch and hammer to make an indent in the adapter sleeve to prevent it from slipping.
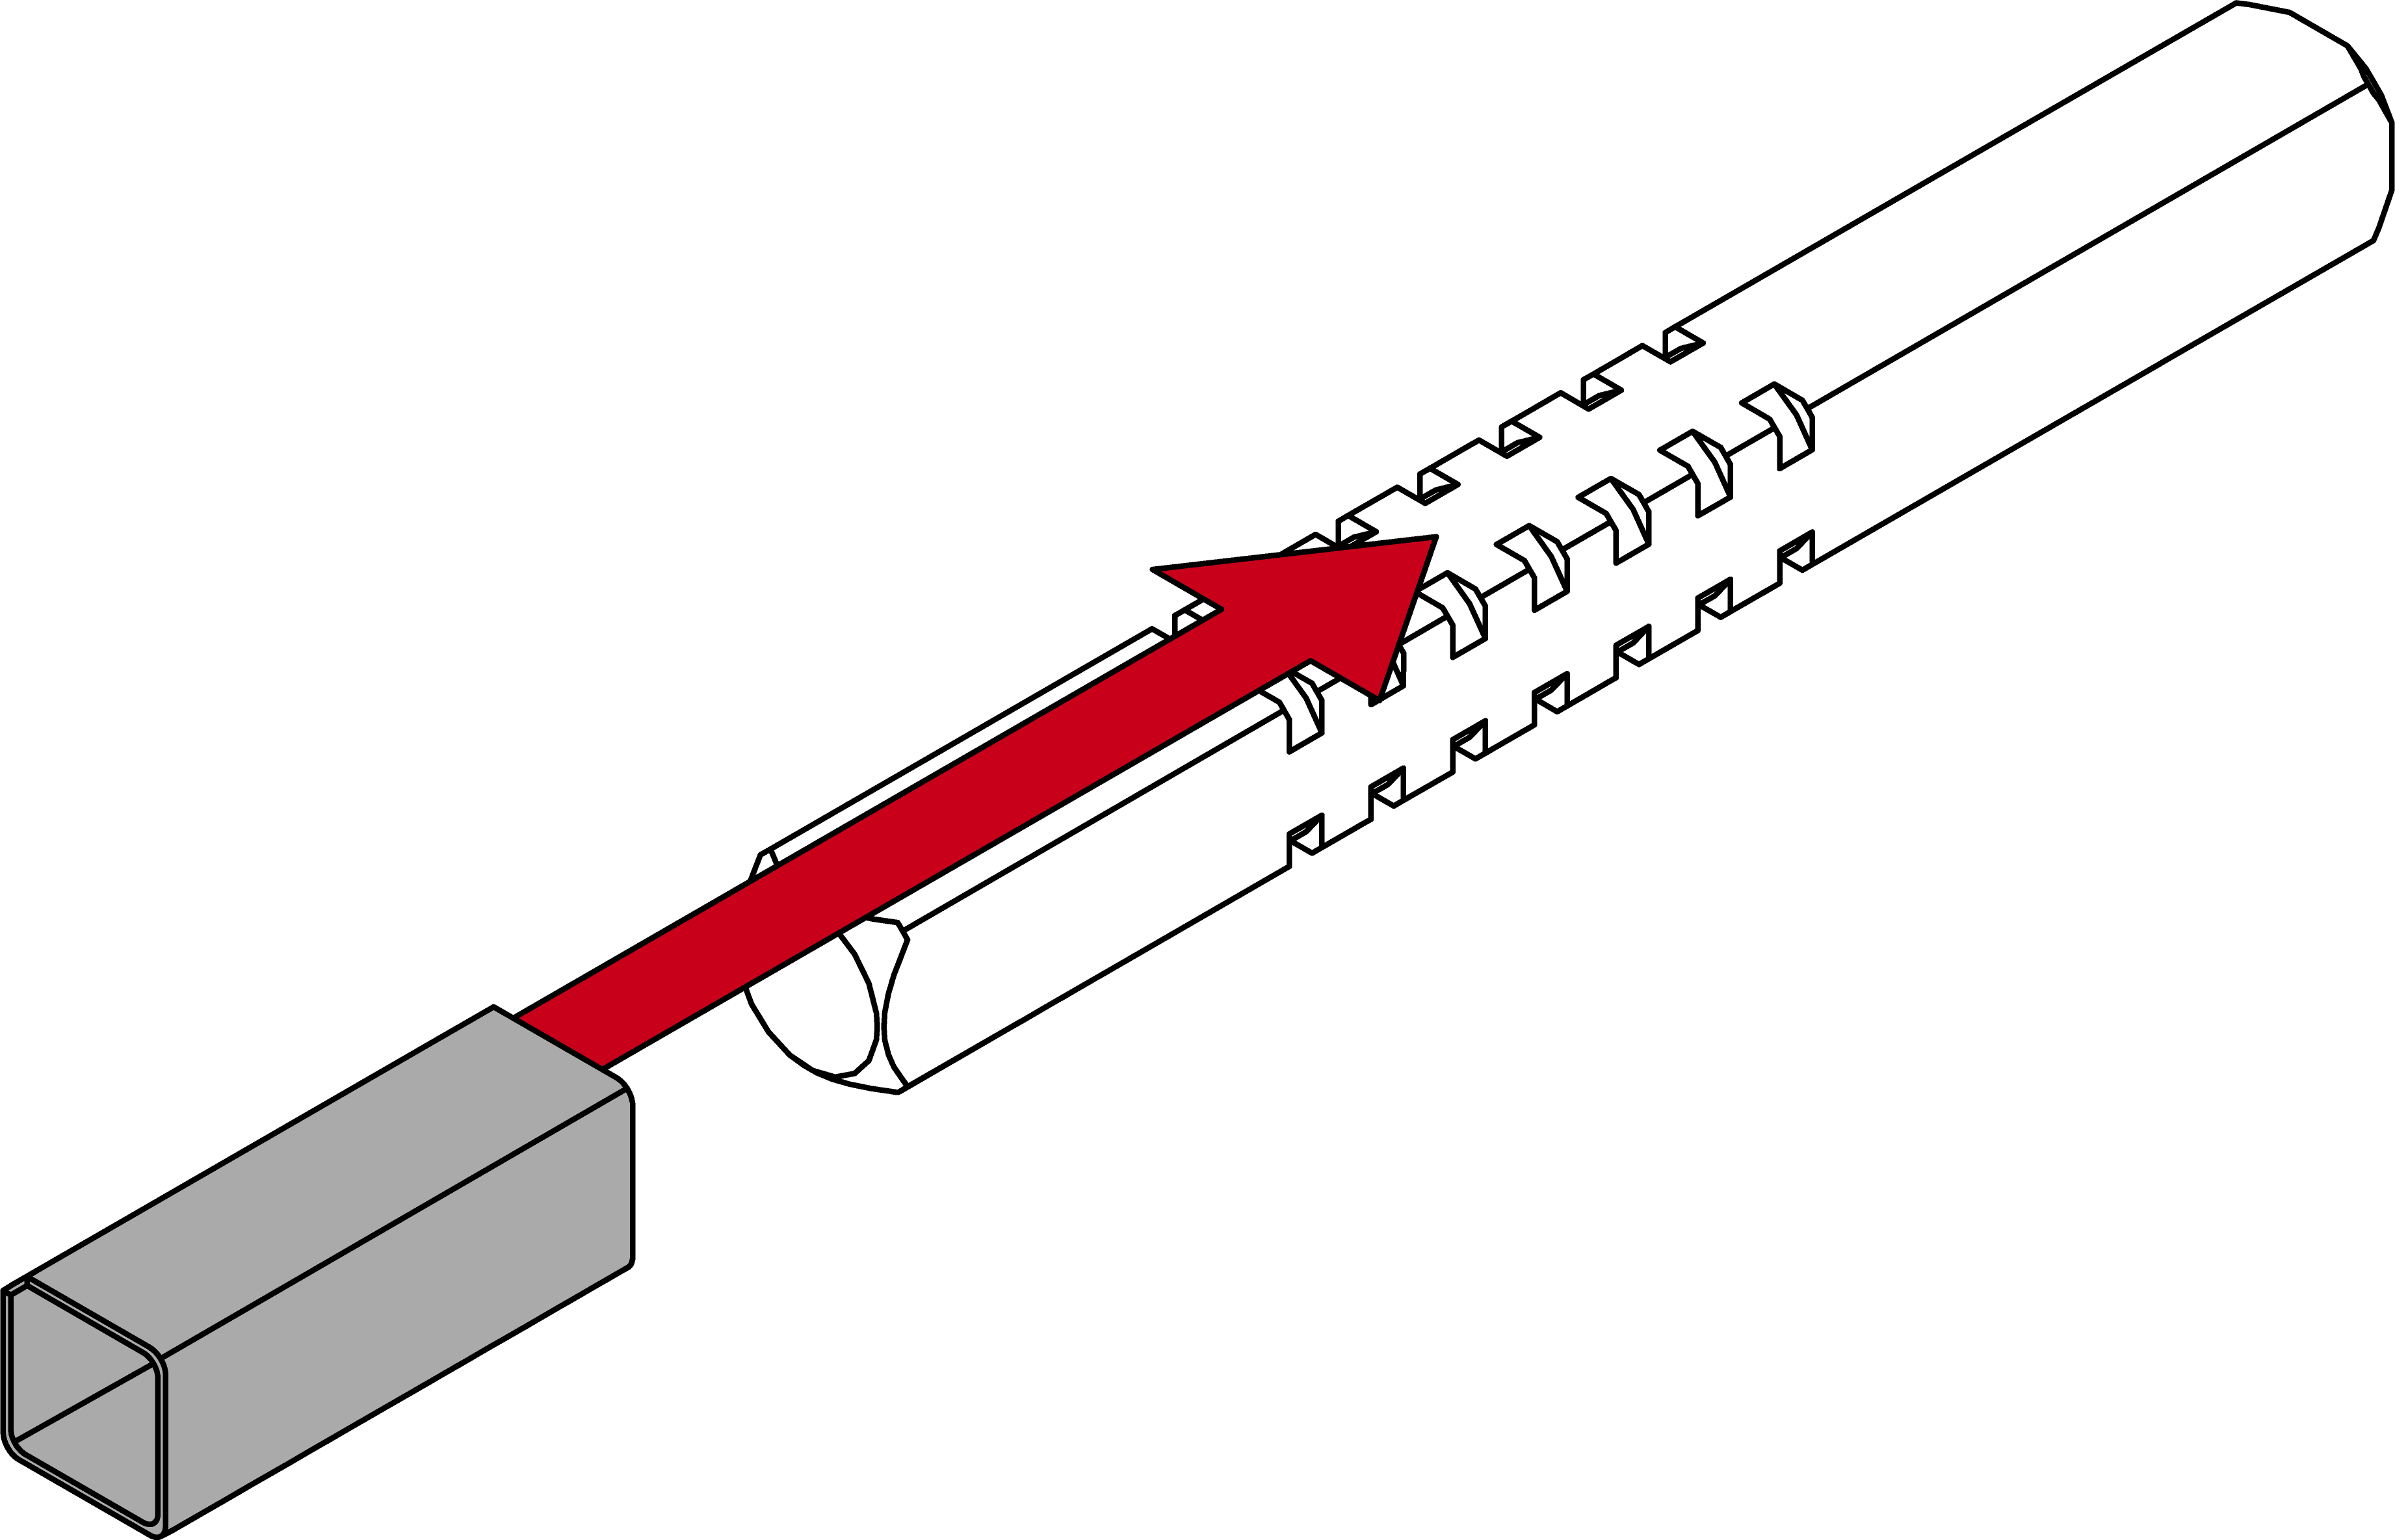
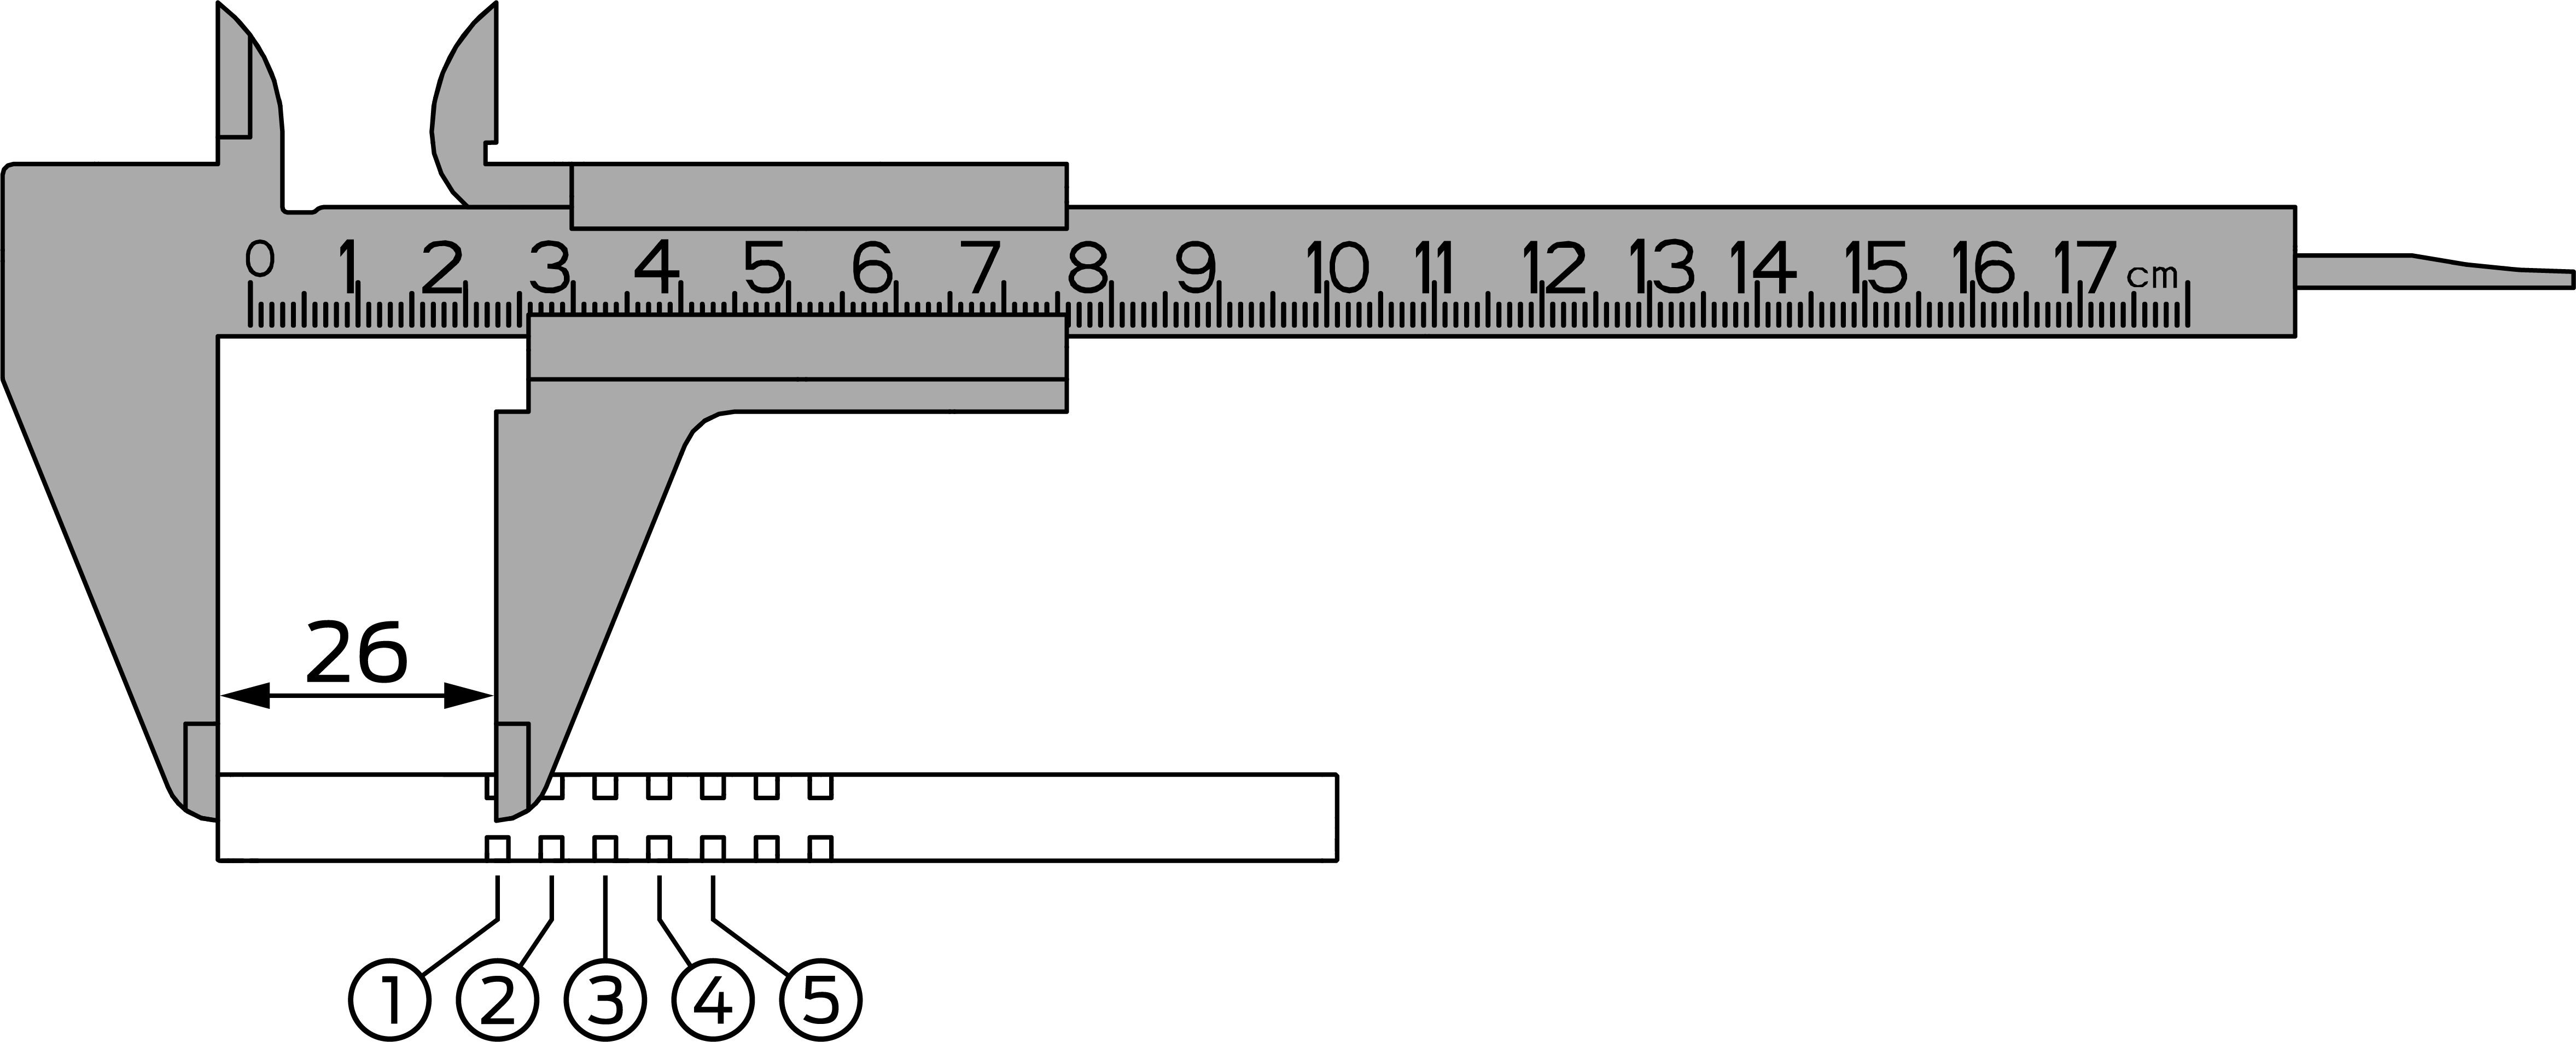
- Measure the total length of the spindle.
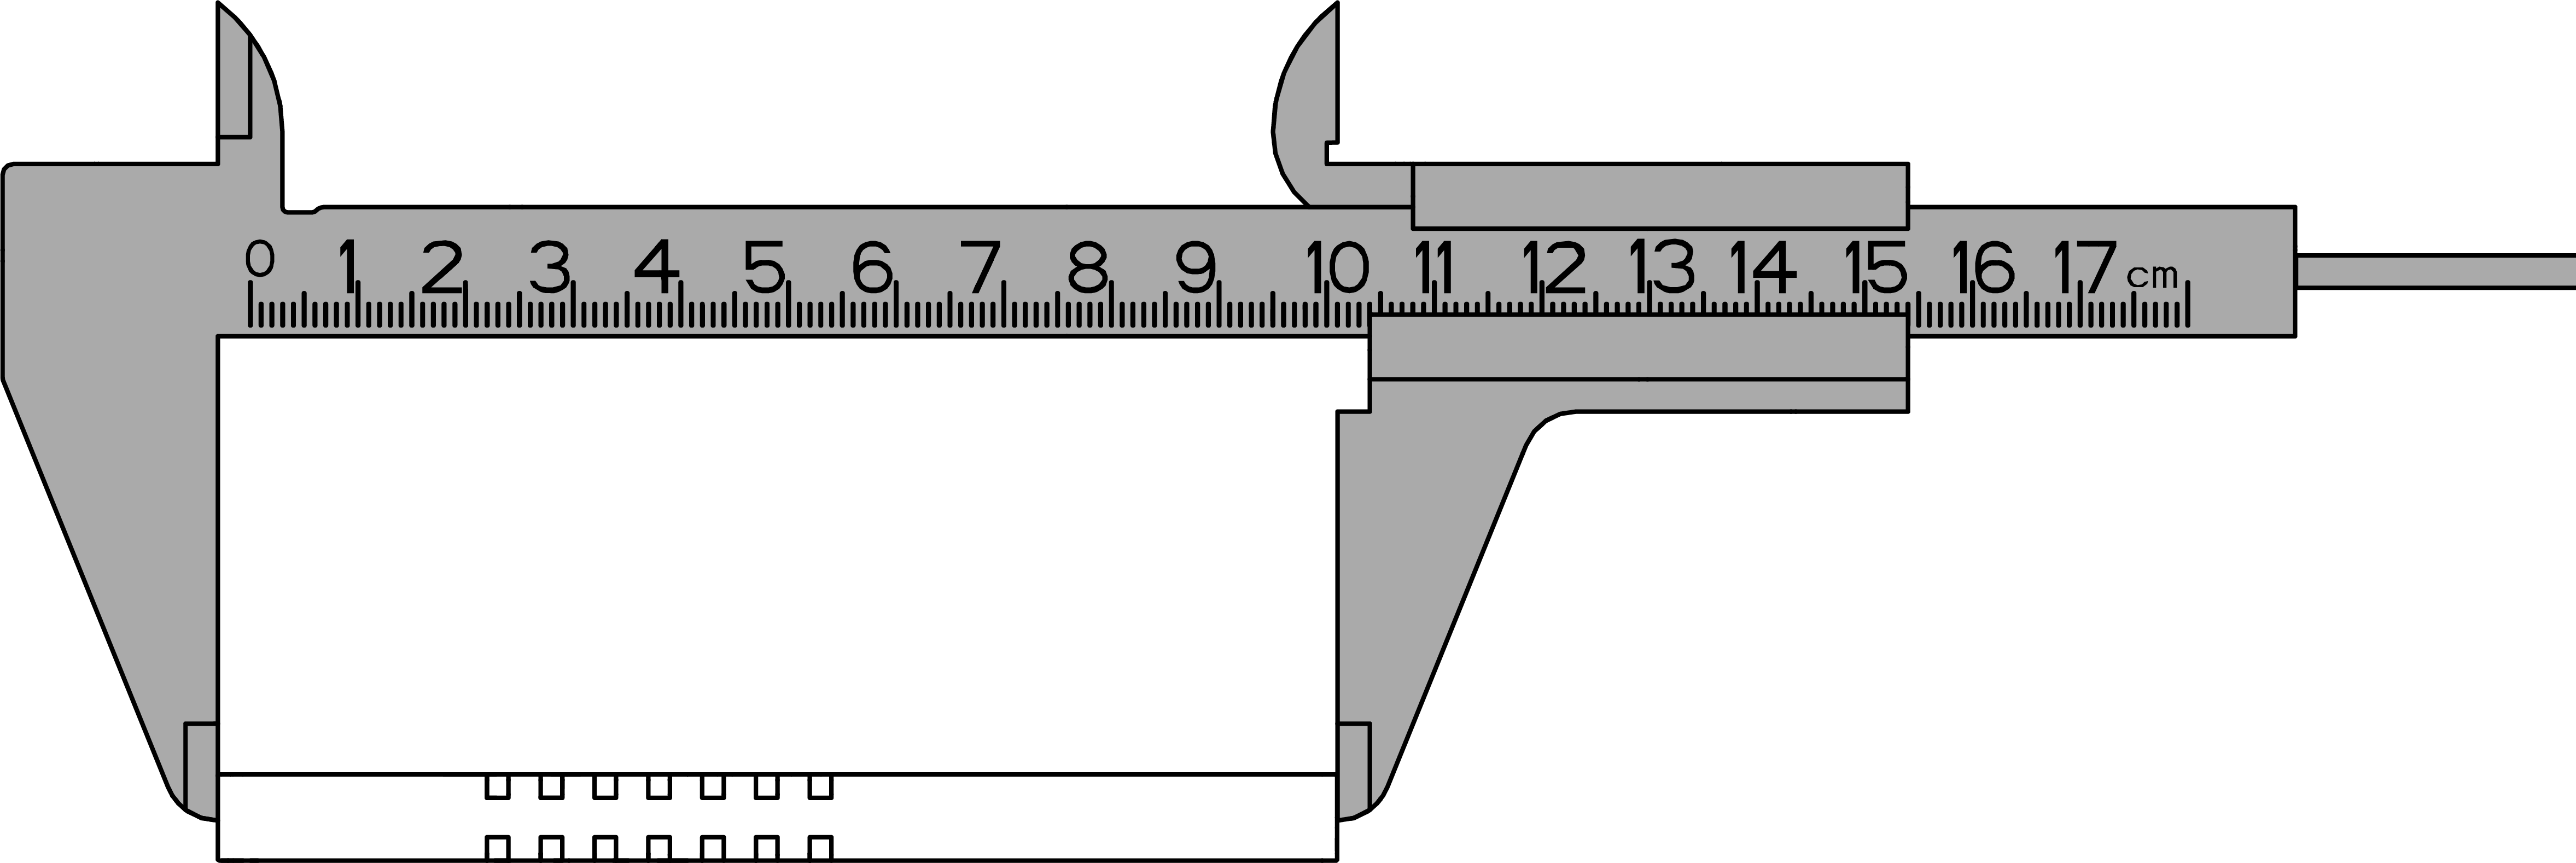
- Locate the inside of the spindle (four-edge end up to the centre of the first groove = 26 mm).
- Use the table to determine the position of the O-ring.
Size
Door thickness (mm)
Spindle length (mm)
Ring position
S
38 – <41
94
2
S
38 – <41
104
4
S
41 – <46
94
1
S
41 – <46
104
3
S
46 – <51
104
2
S
51 – 53
104
1
M
51 – <56
114
3
M
51 – <56
124
5
M
56 – <61
114
2
M
56 – <61
124
4
M
61 – <66
114
1
M
61 – <66
124
3
M
66 – <71
124
2
M
71 – 73
124
1
L
71 – <76
134
3
L
71 – <76
144
5
L
76 – <81
134
2
L
76 – <81
144
4
L
81 – <86
134
1
L
81 – <86
144
3
L
86 – <91
144
2
L
91 – 93
144
1
XL
91 – 176
O-ring is located 30–35 mm from the cut end of the spindle.
- Slide the O-ring onto the calculated groove.

- Insert the spindle into the door with the ring-free side as far as it will go.
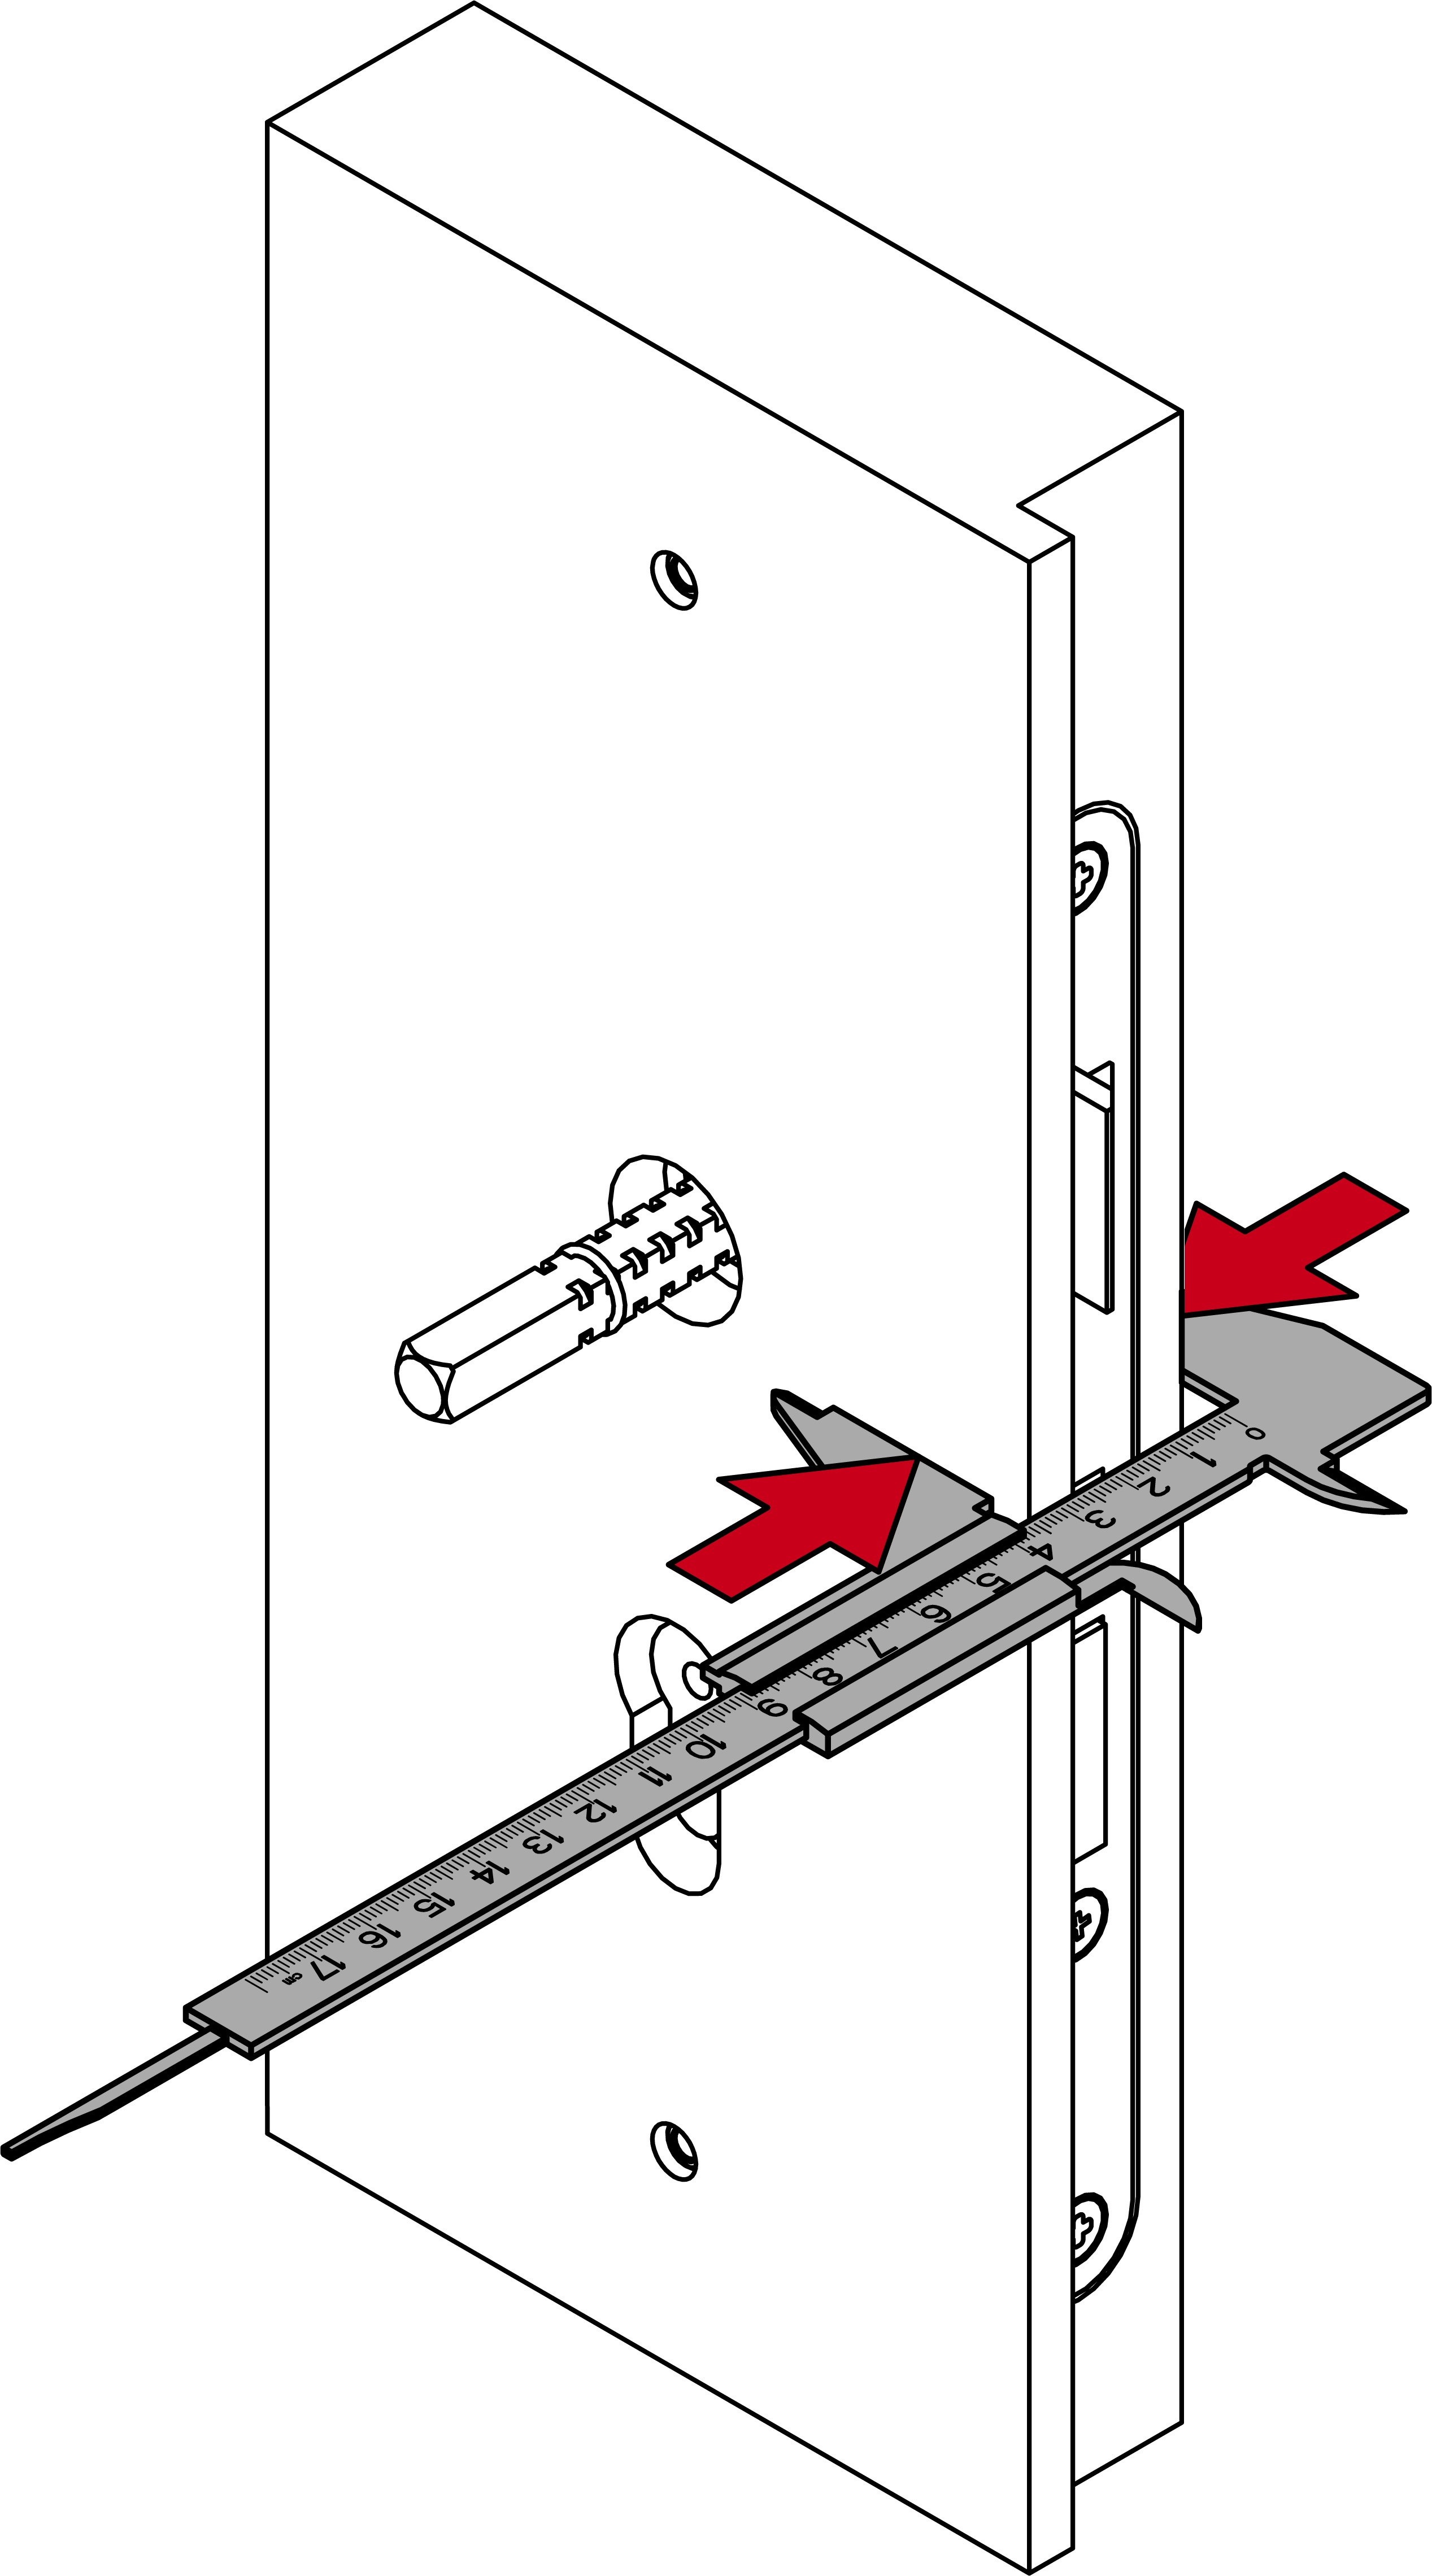
- Measure the door thickness.
Size
Door thickness (mm)
Screws
S
38 – 53
M5×35
M
51 – 63
M5×40
M
62 – 73
M5×50
L
71 – 83
M5×60
L
82 – 93
M5×70
X
91 – 176
M5 X
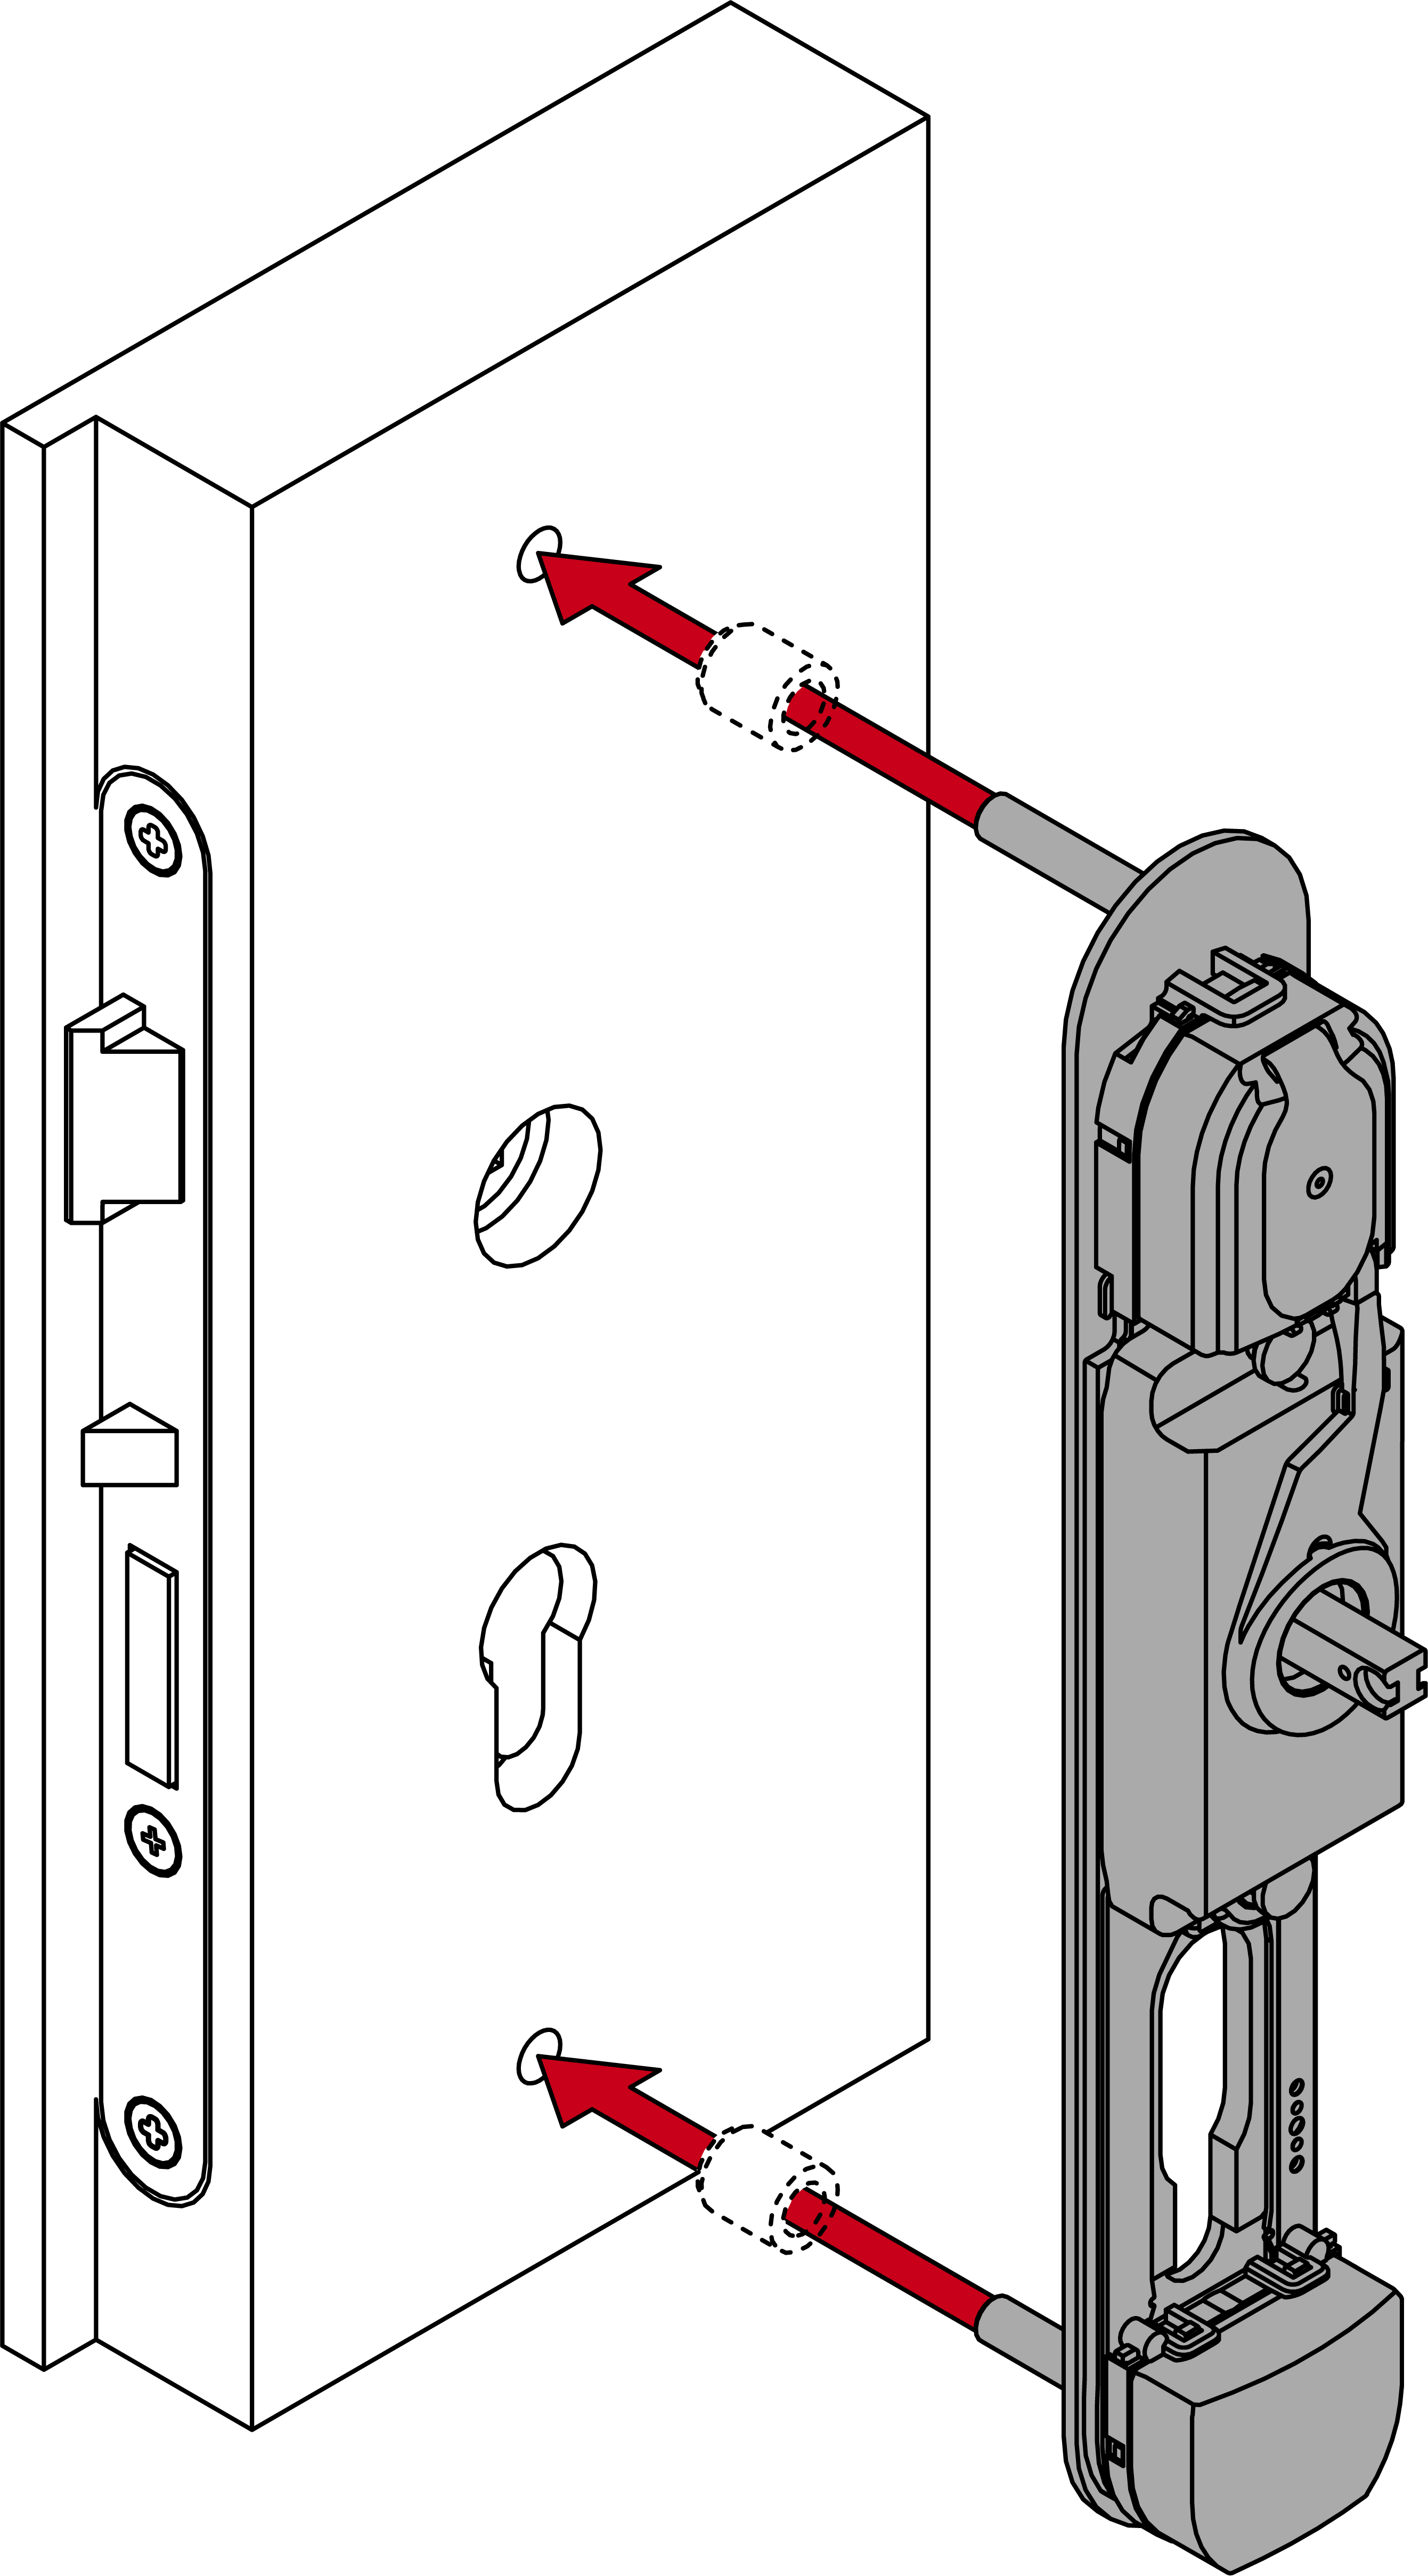
- Determine what screws are required for the door thickness measured.
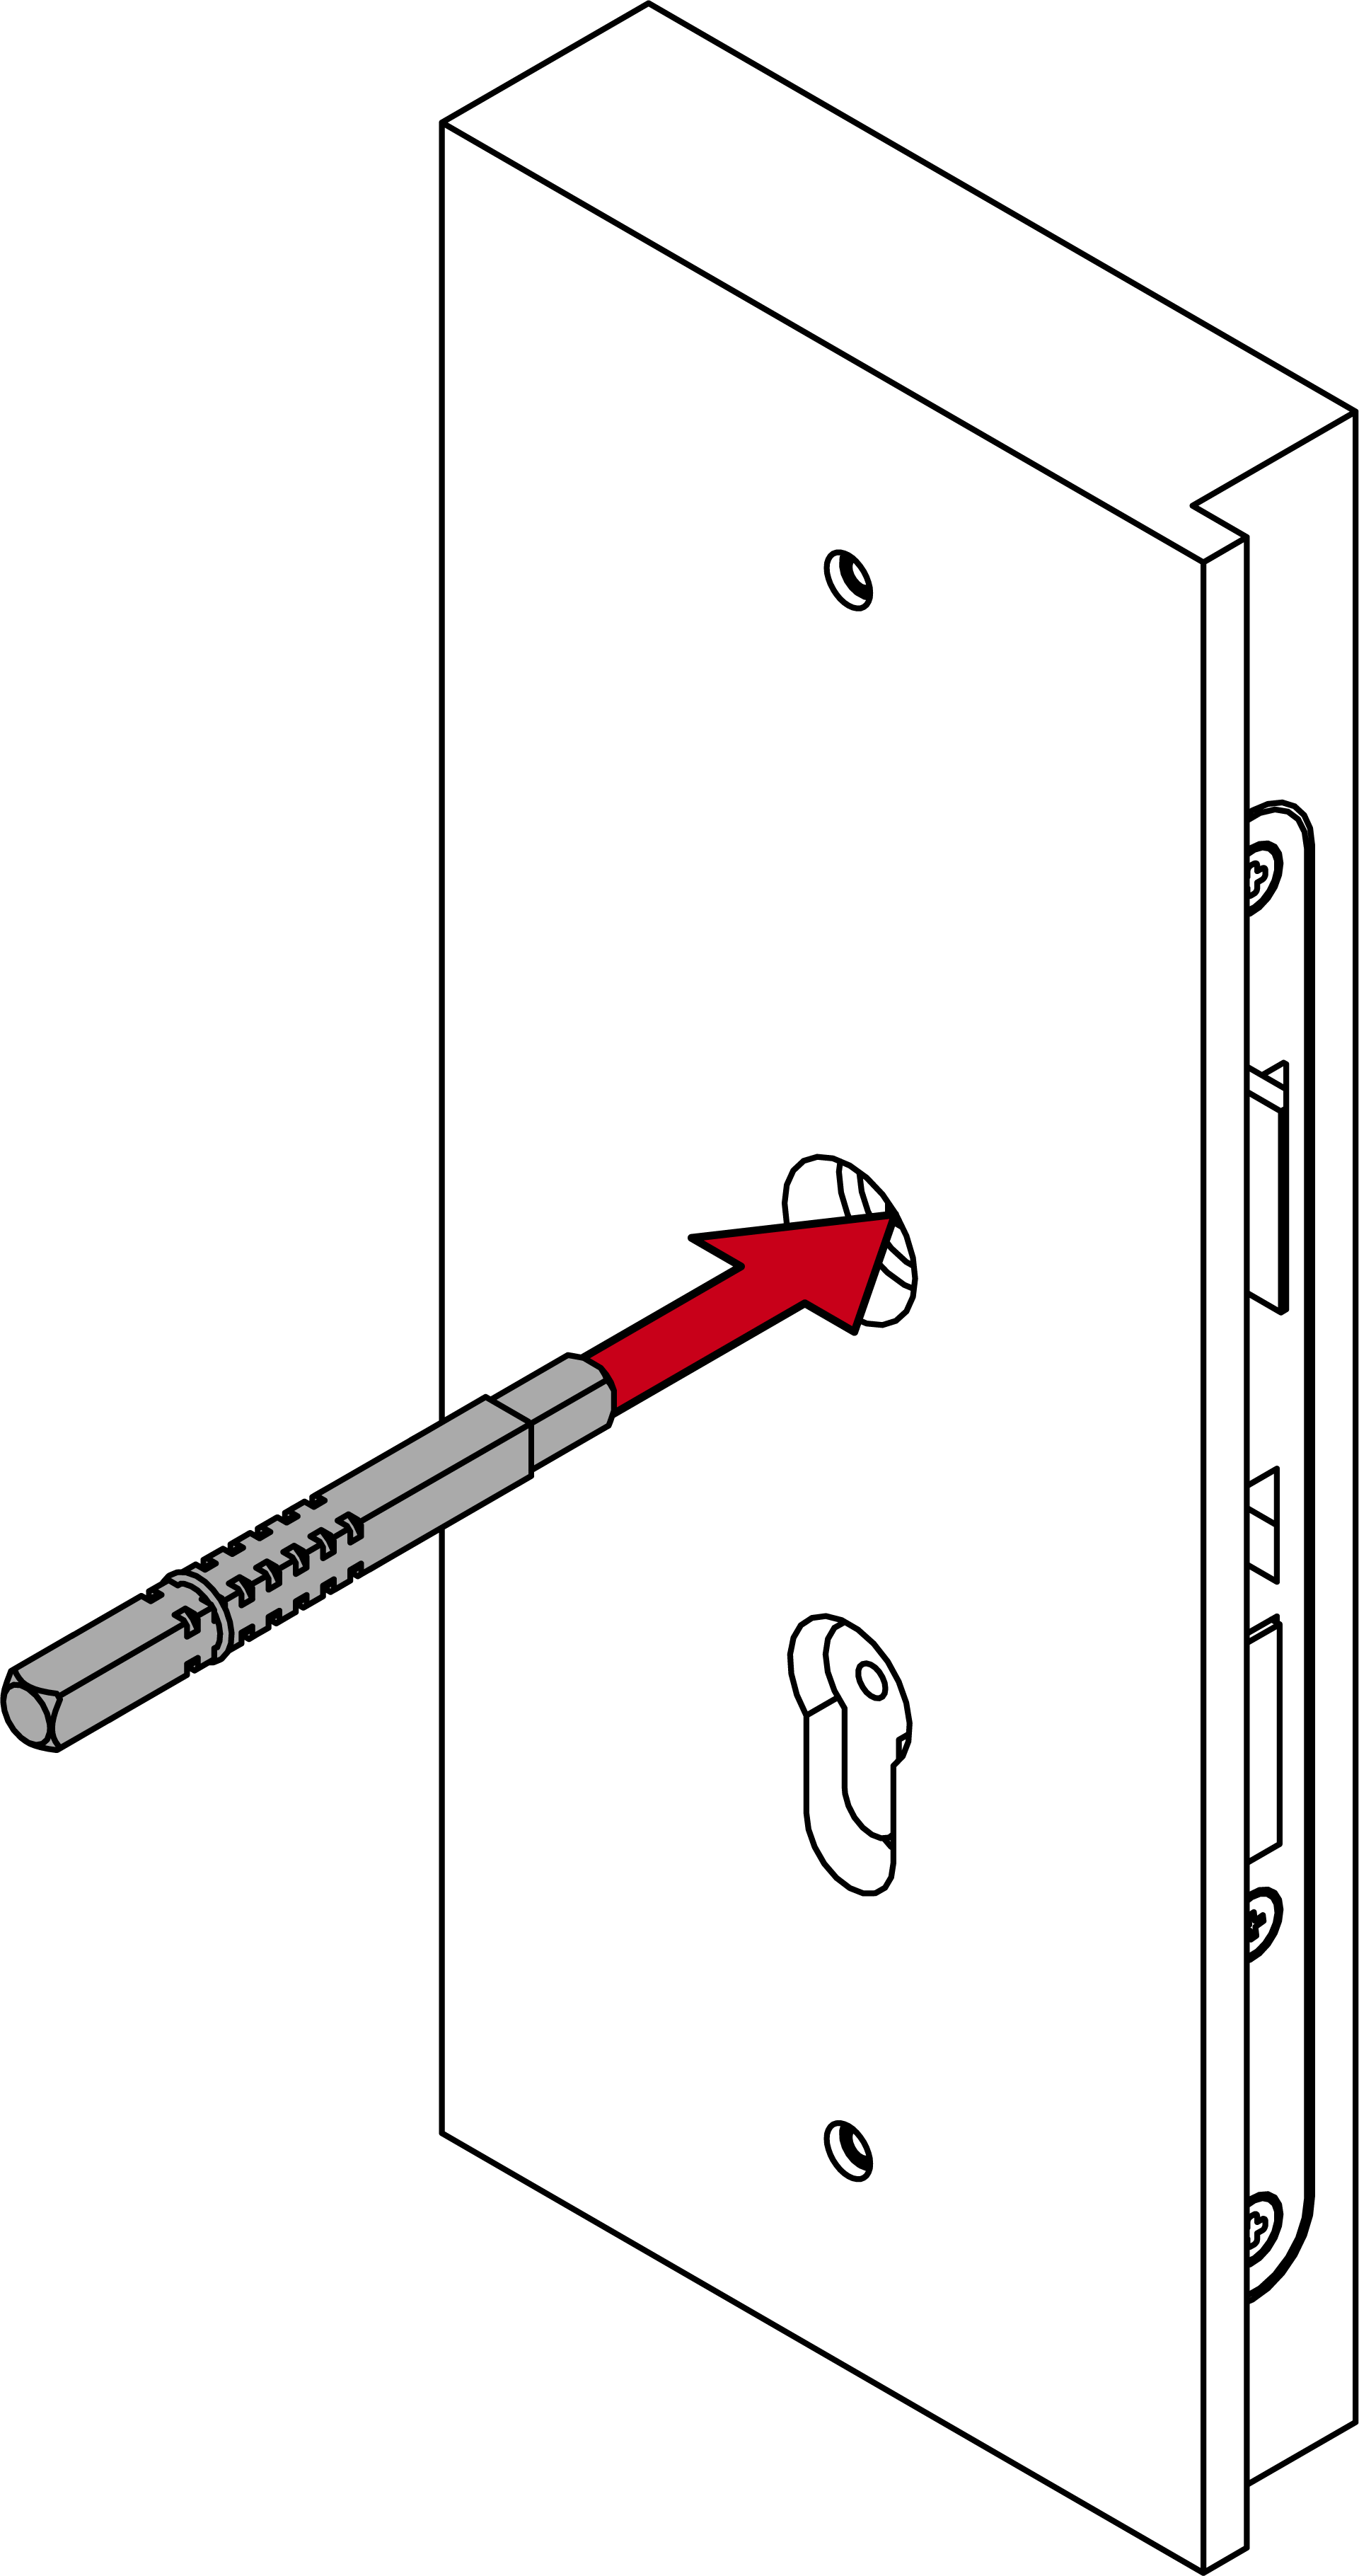
- For X: insert the screws through the inner fastening plate and screw them together with the threaded sleeve and threaded rod.
- Screw the inner part and the outer part with the required screws (PH2; torque: 1.1 Nm).
NOTE
Reducing sleeves for existing 14 mm holes
Existing 14 mm holes make it difficult to secure the SI SmartHandle AX Advanced.
- Insert the supplied silicone reducing sleeves into the existing holes to reduce the backlash.

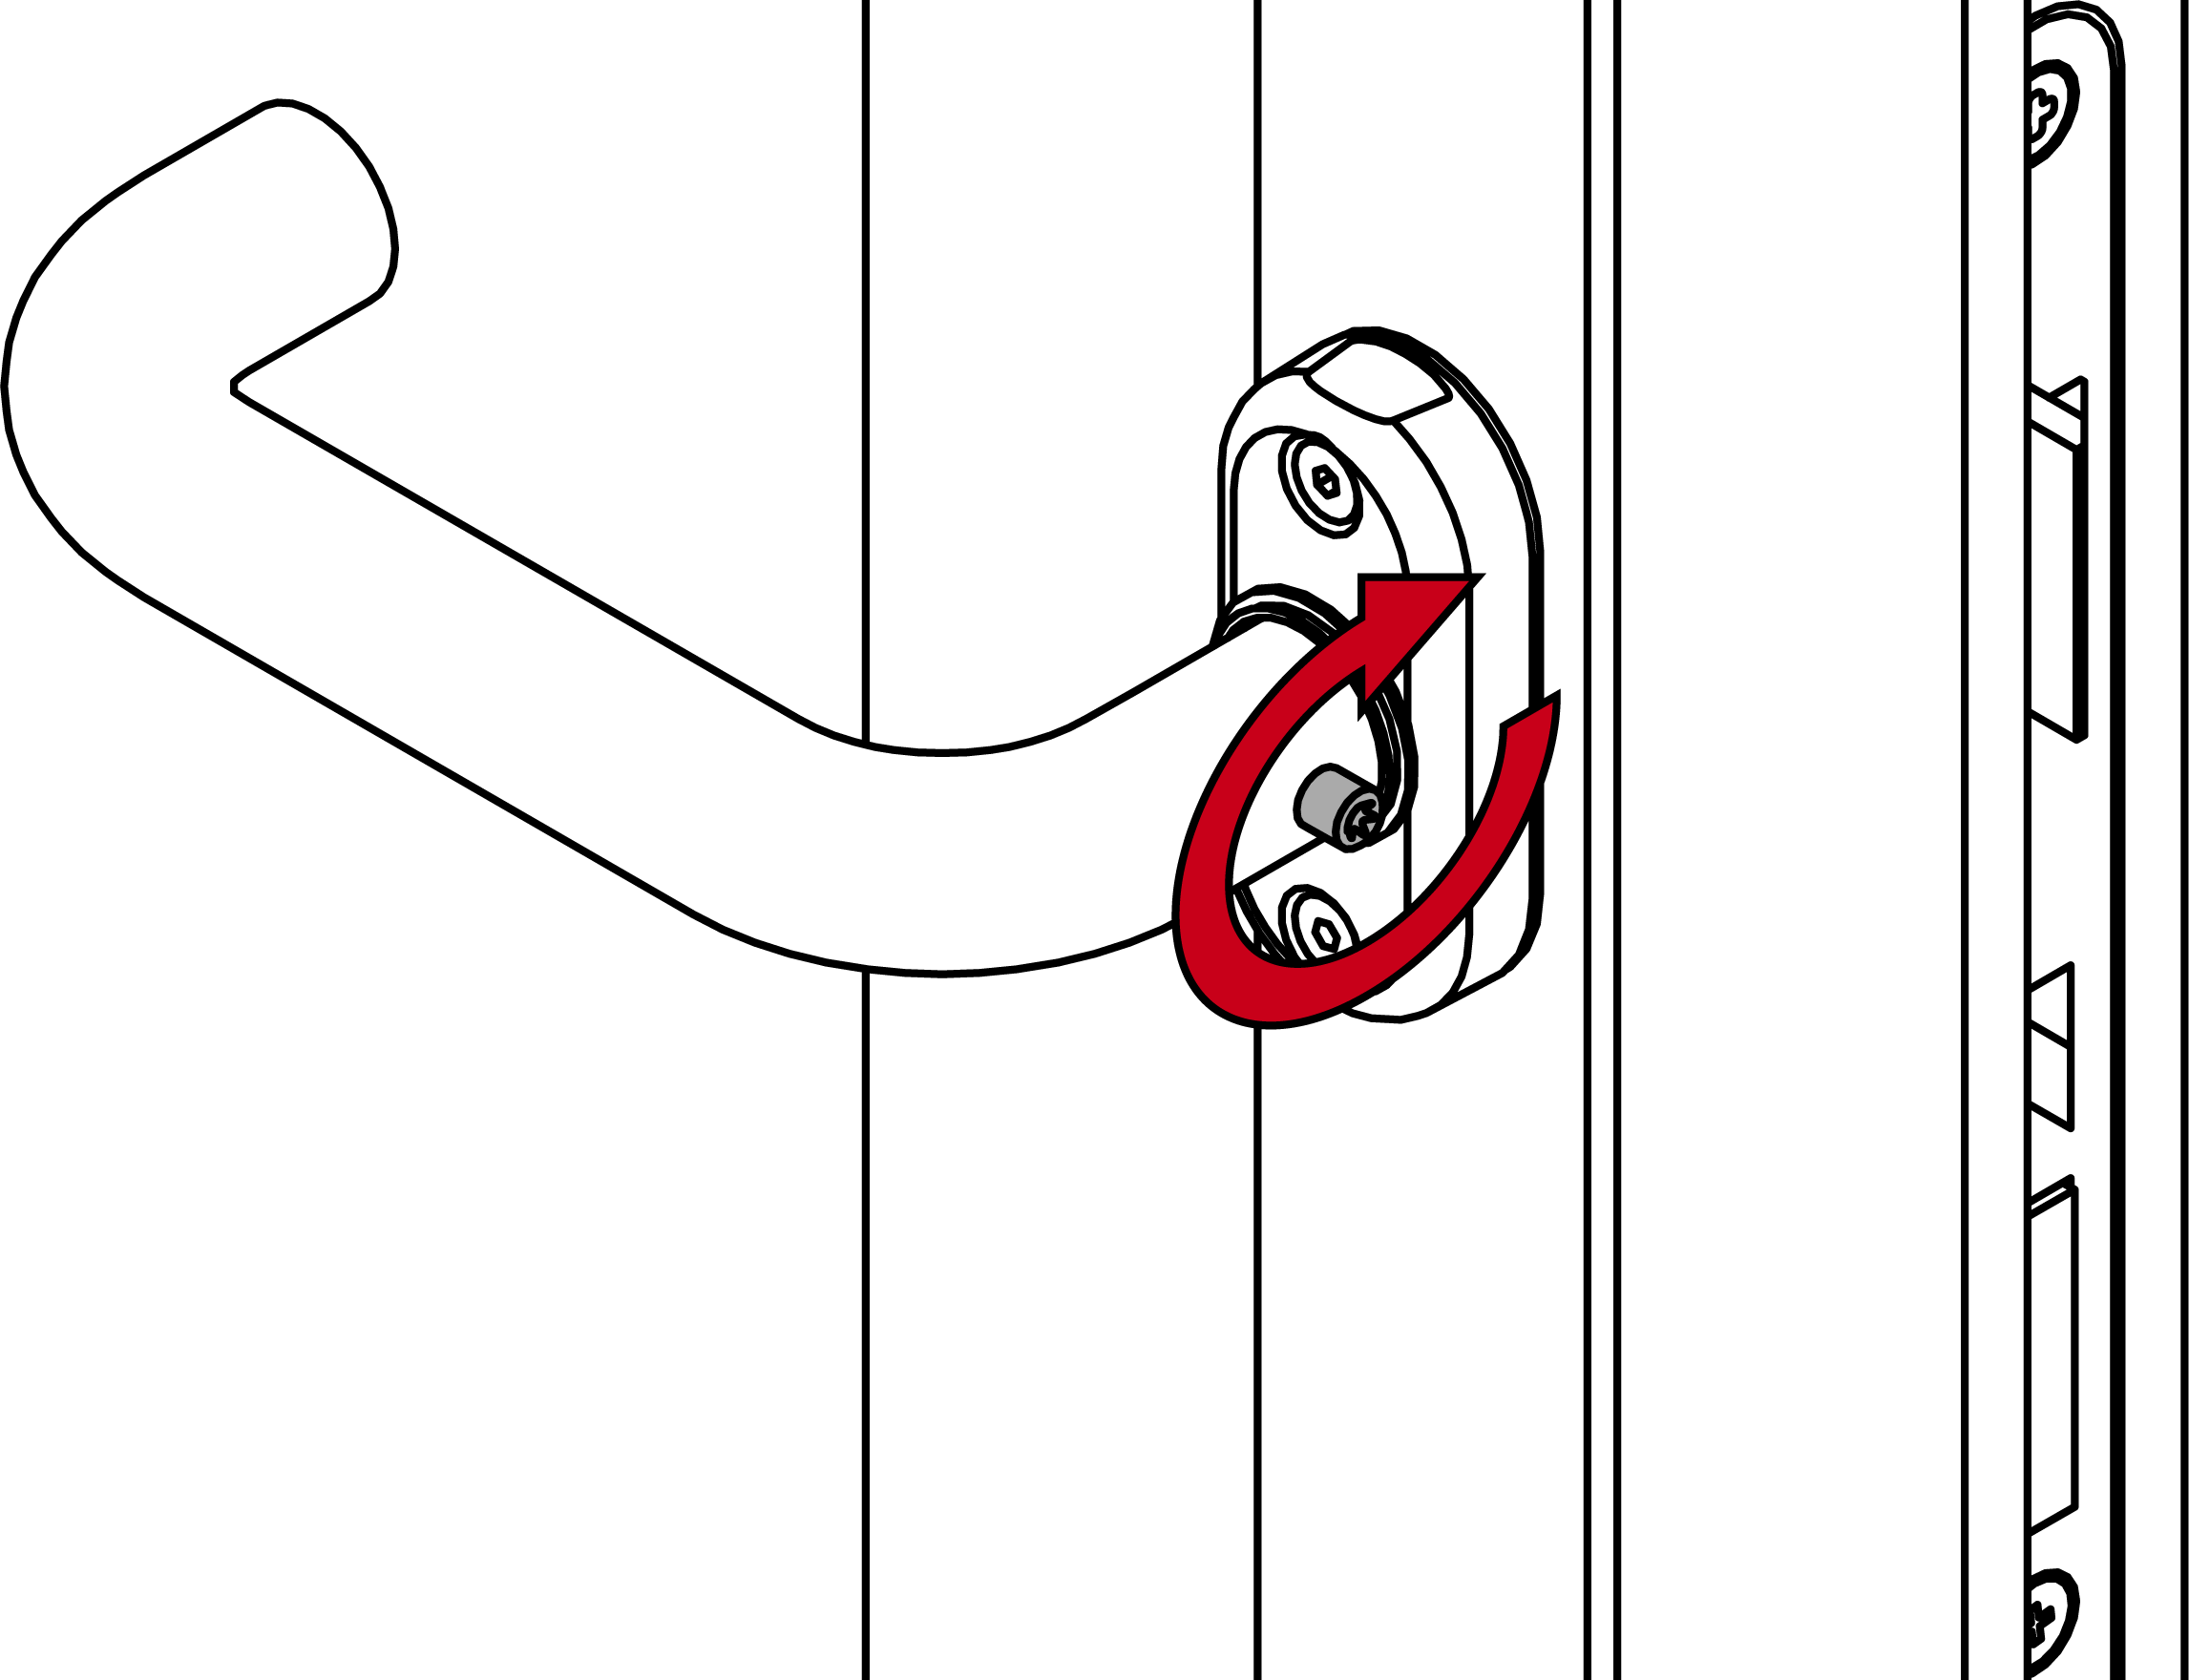
- Fasten the inner handle grub screw firmly (TX15, torque 5.0 Nm).
- Place a cover with the notch facing downwards onto the escutcheon base.
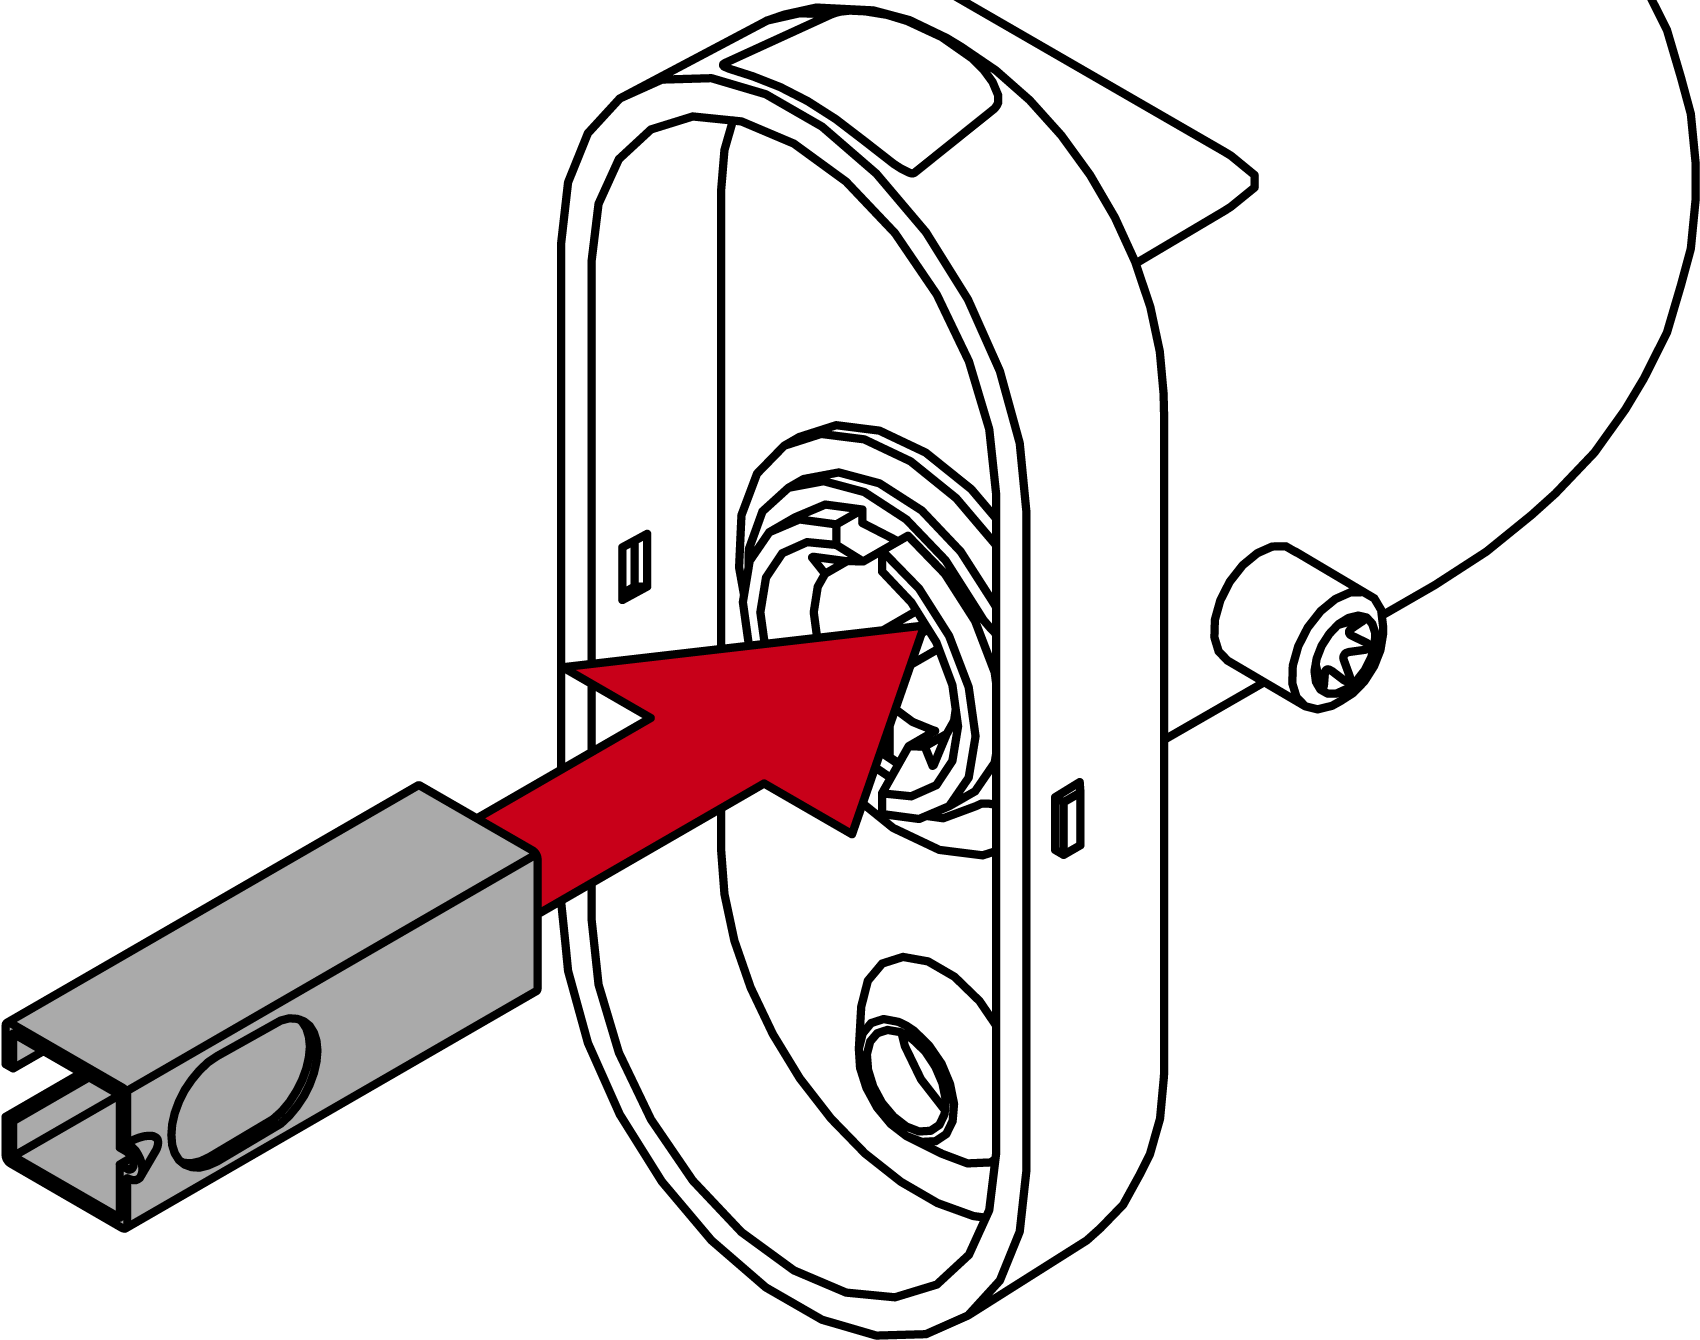
- For FH: insert the locking cylinder.
- For MO: fasten the locking cylinder firmly with the fastening screw (PH2; torque 1.1 Nm).

- For MO: remove the protective film from the adhesive side of the adhesive escutcheon.
- For MO: position the adhesive escutcheon on the cylinder and glue it to the fastening plate.

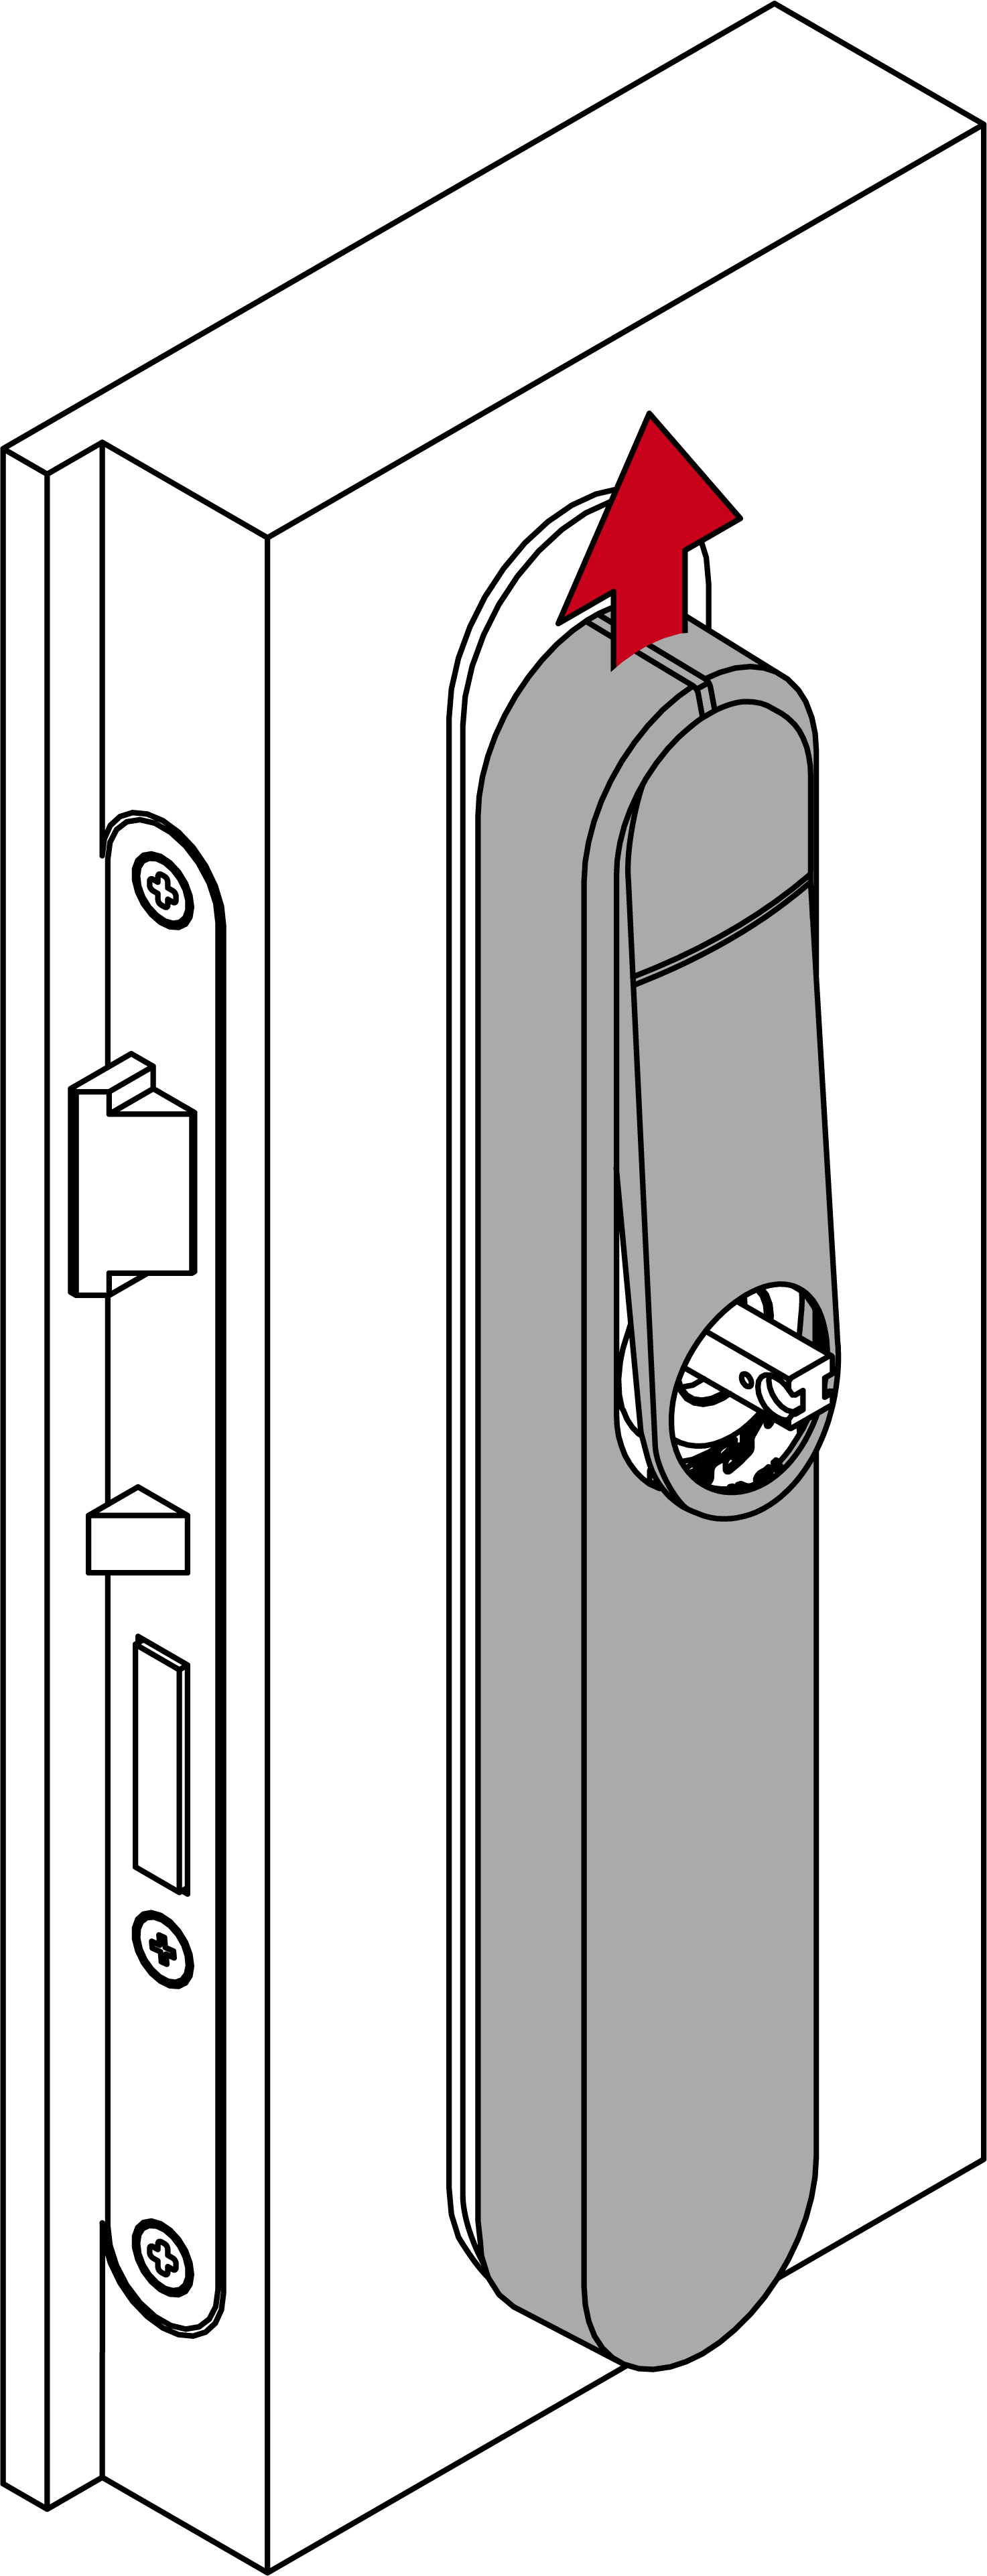
- Place the cover on top of the fastening plate.
- Fold down the cover.
- Slide the cover upwards.
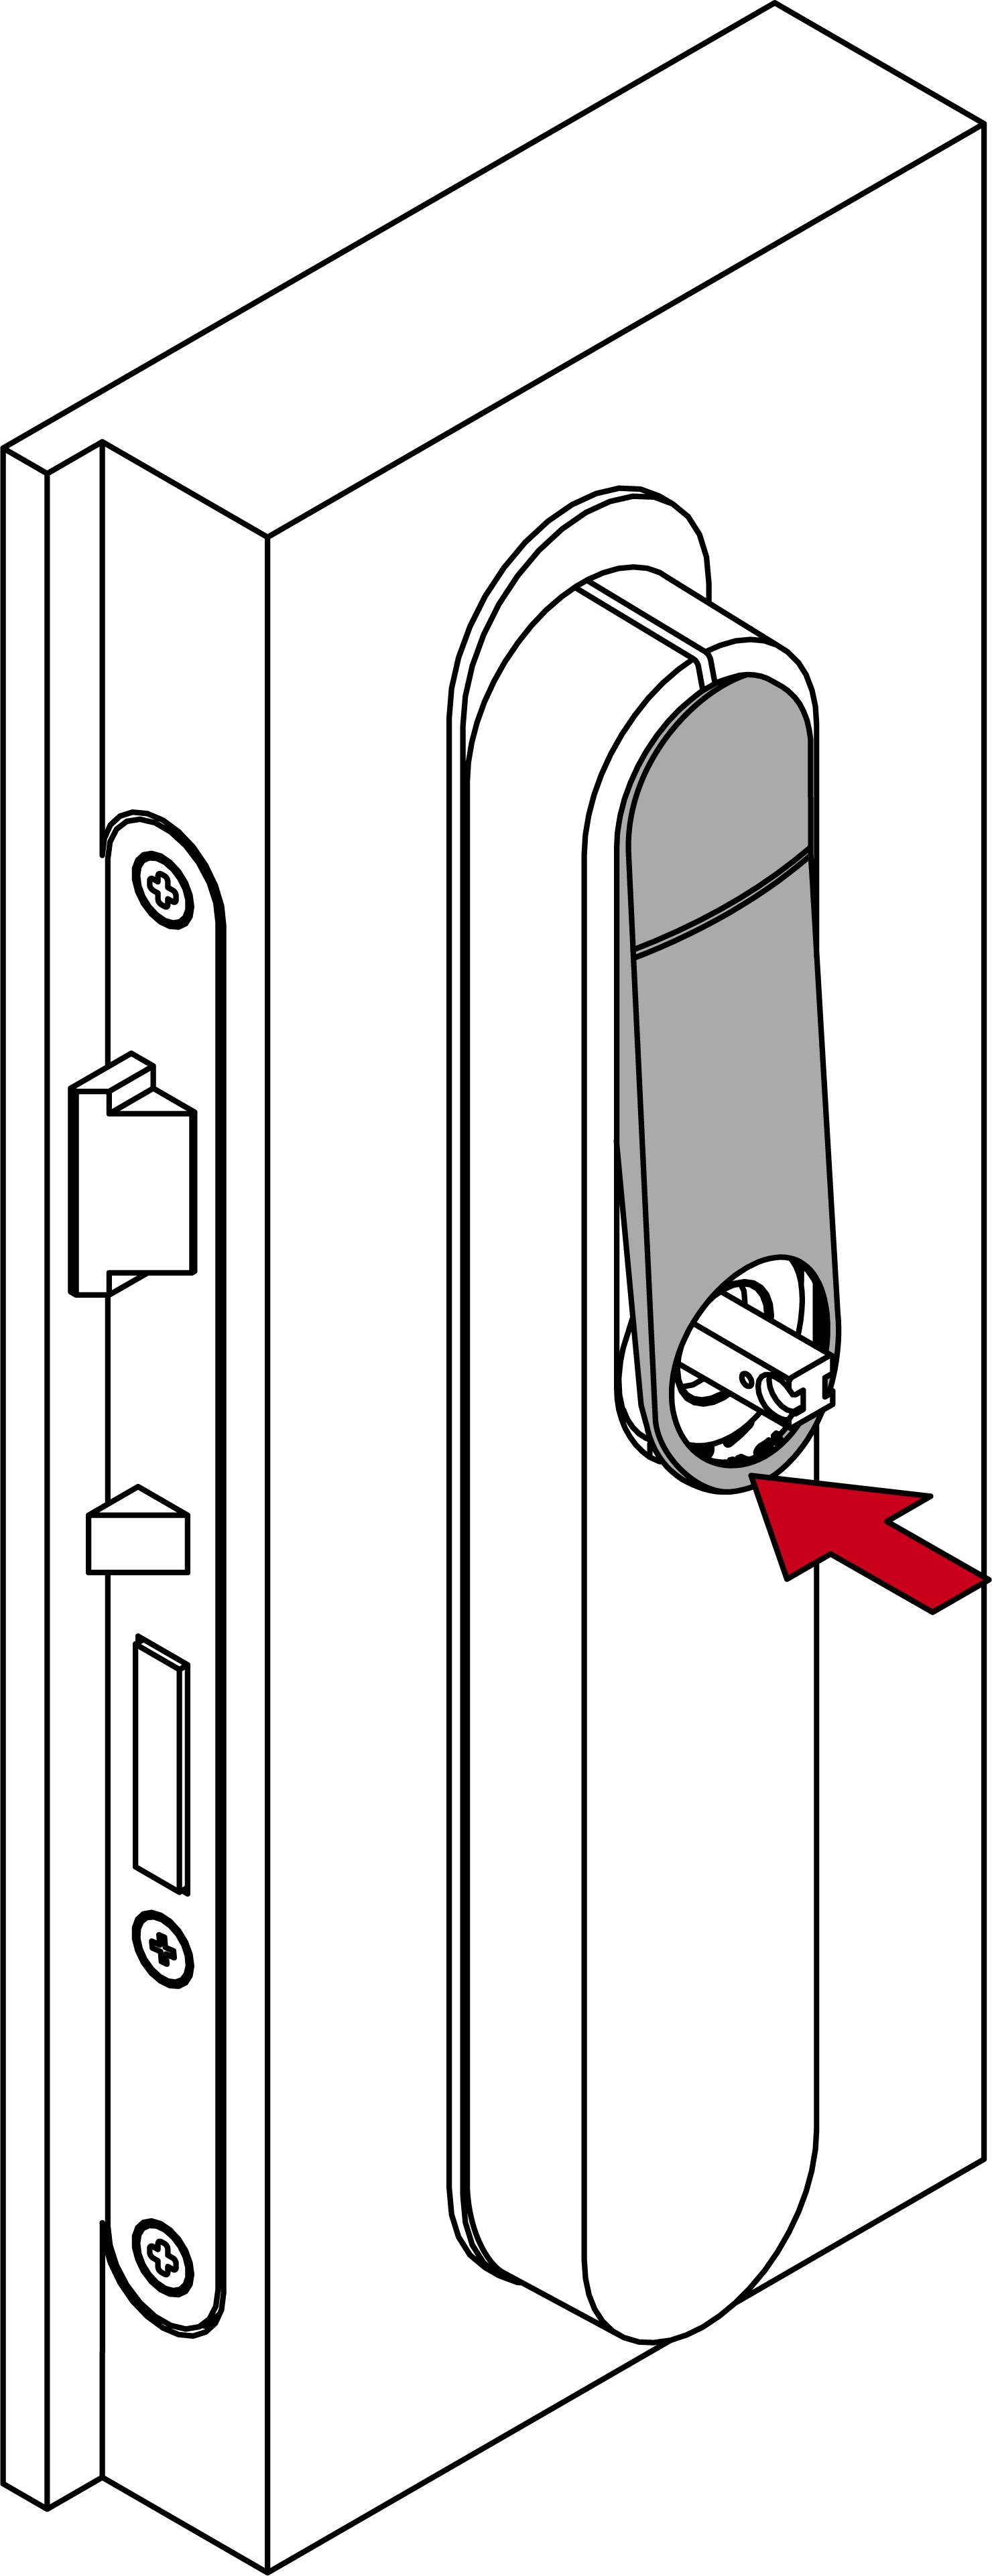
- Press the inlay into place.
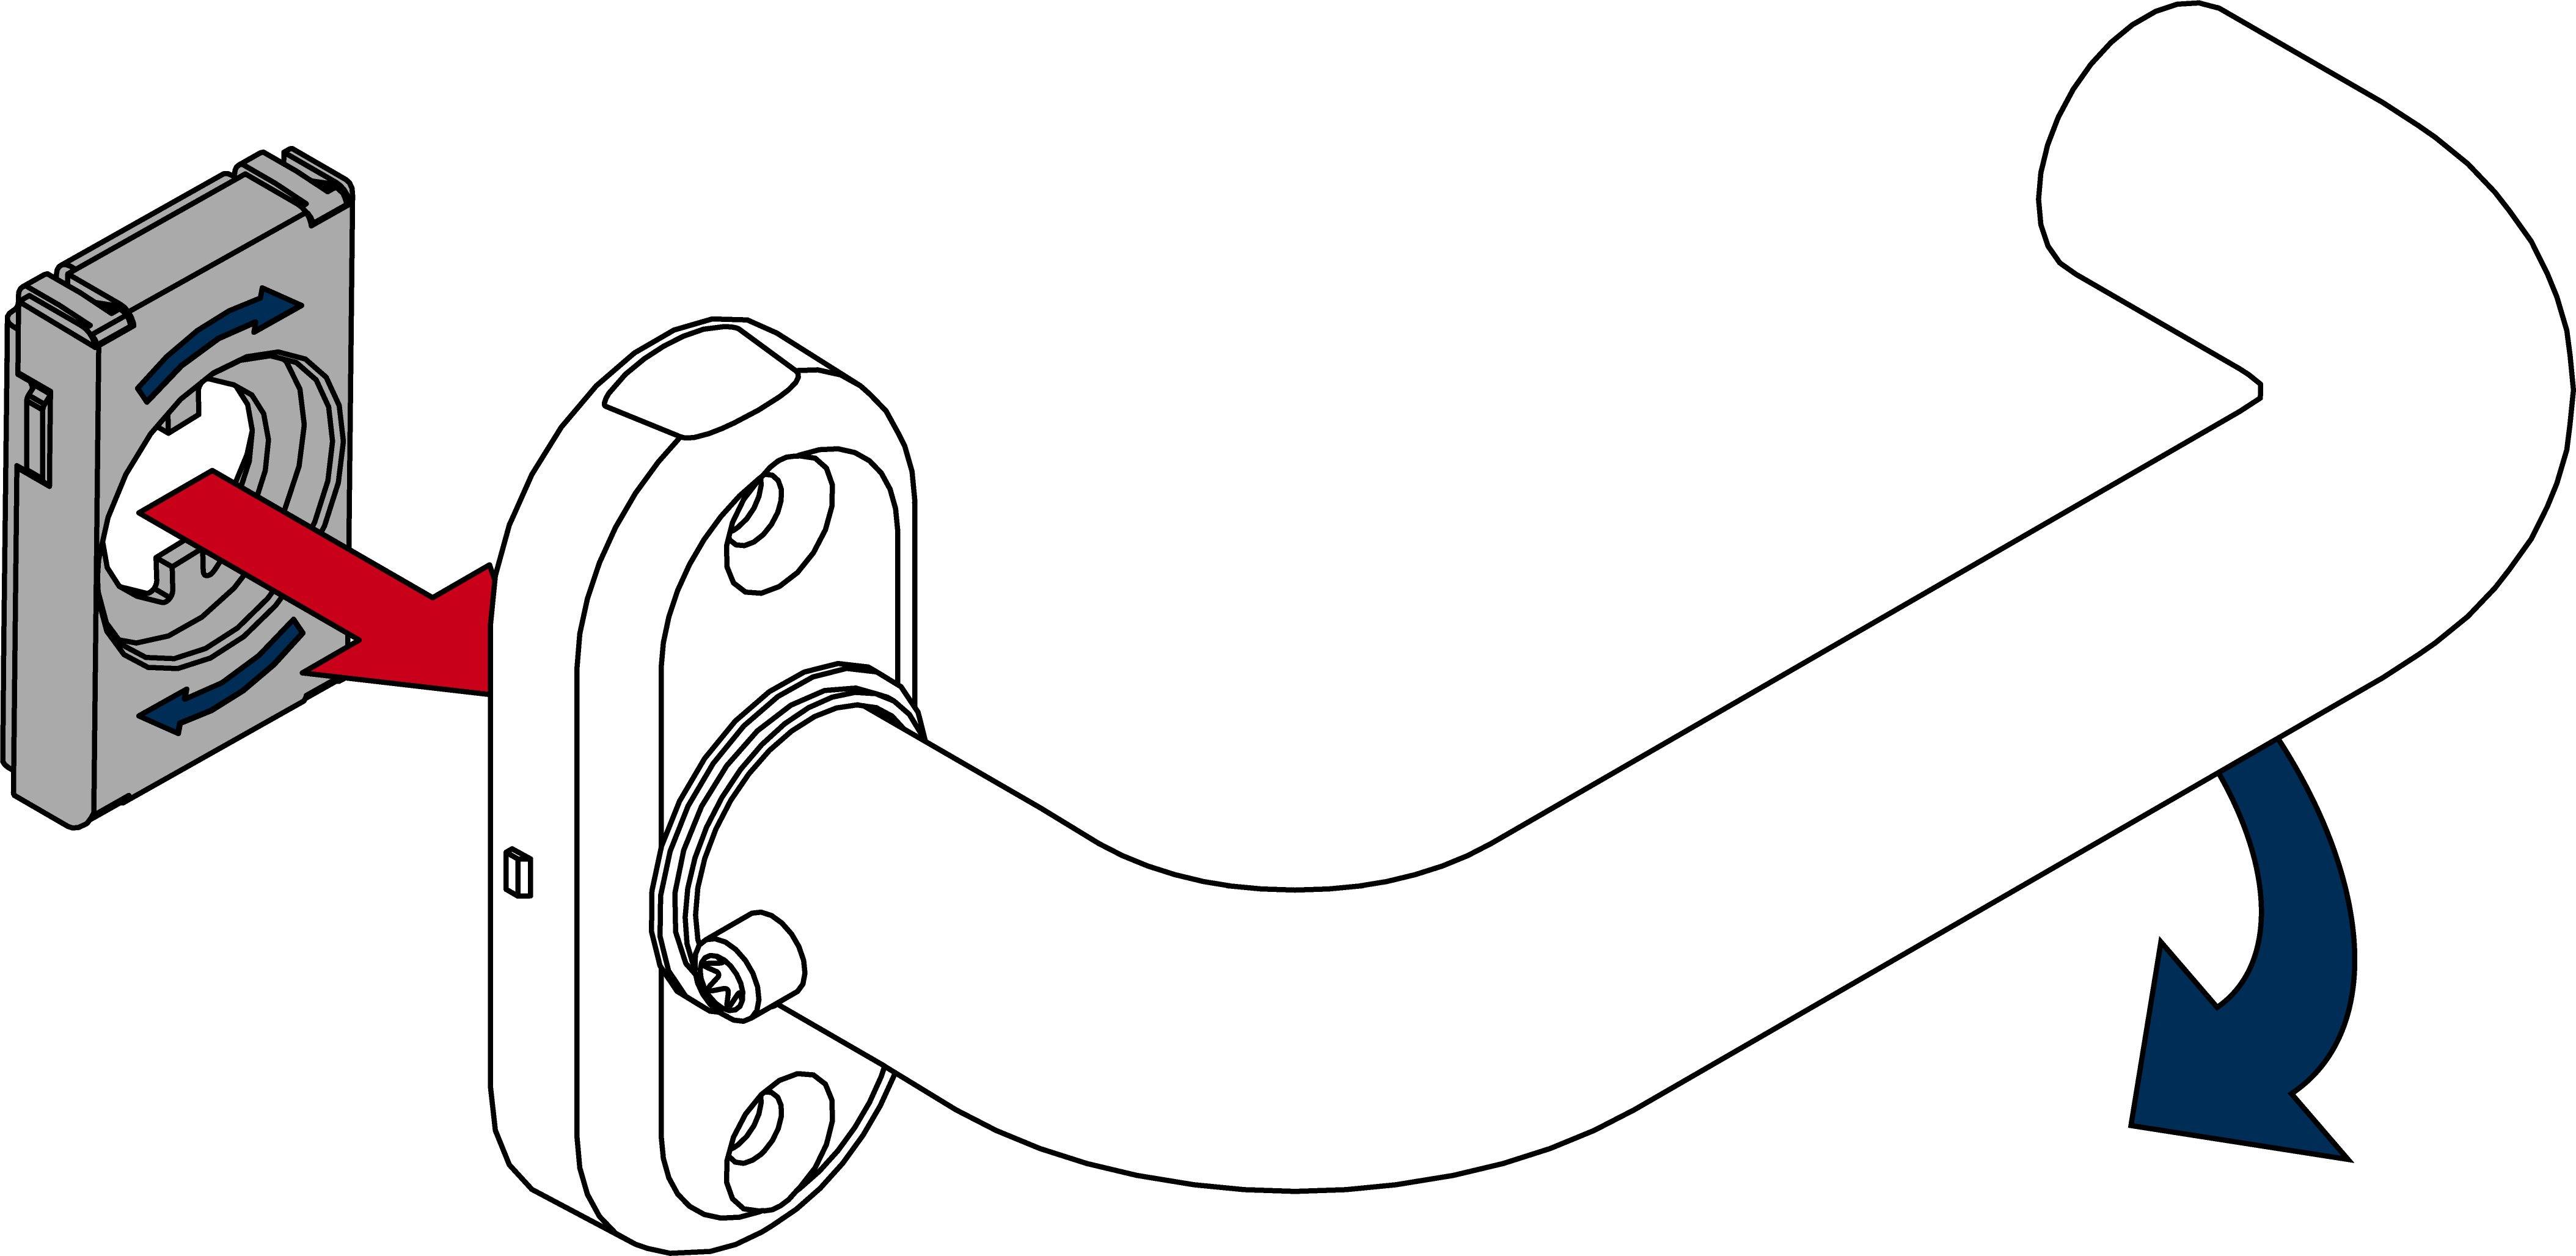
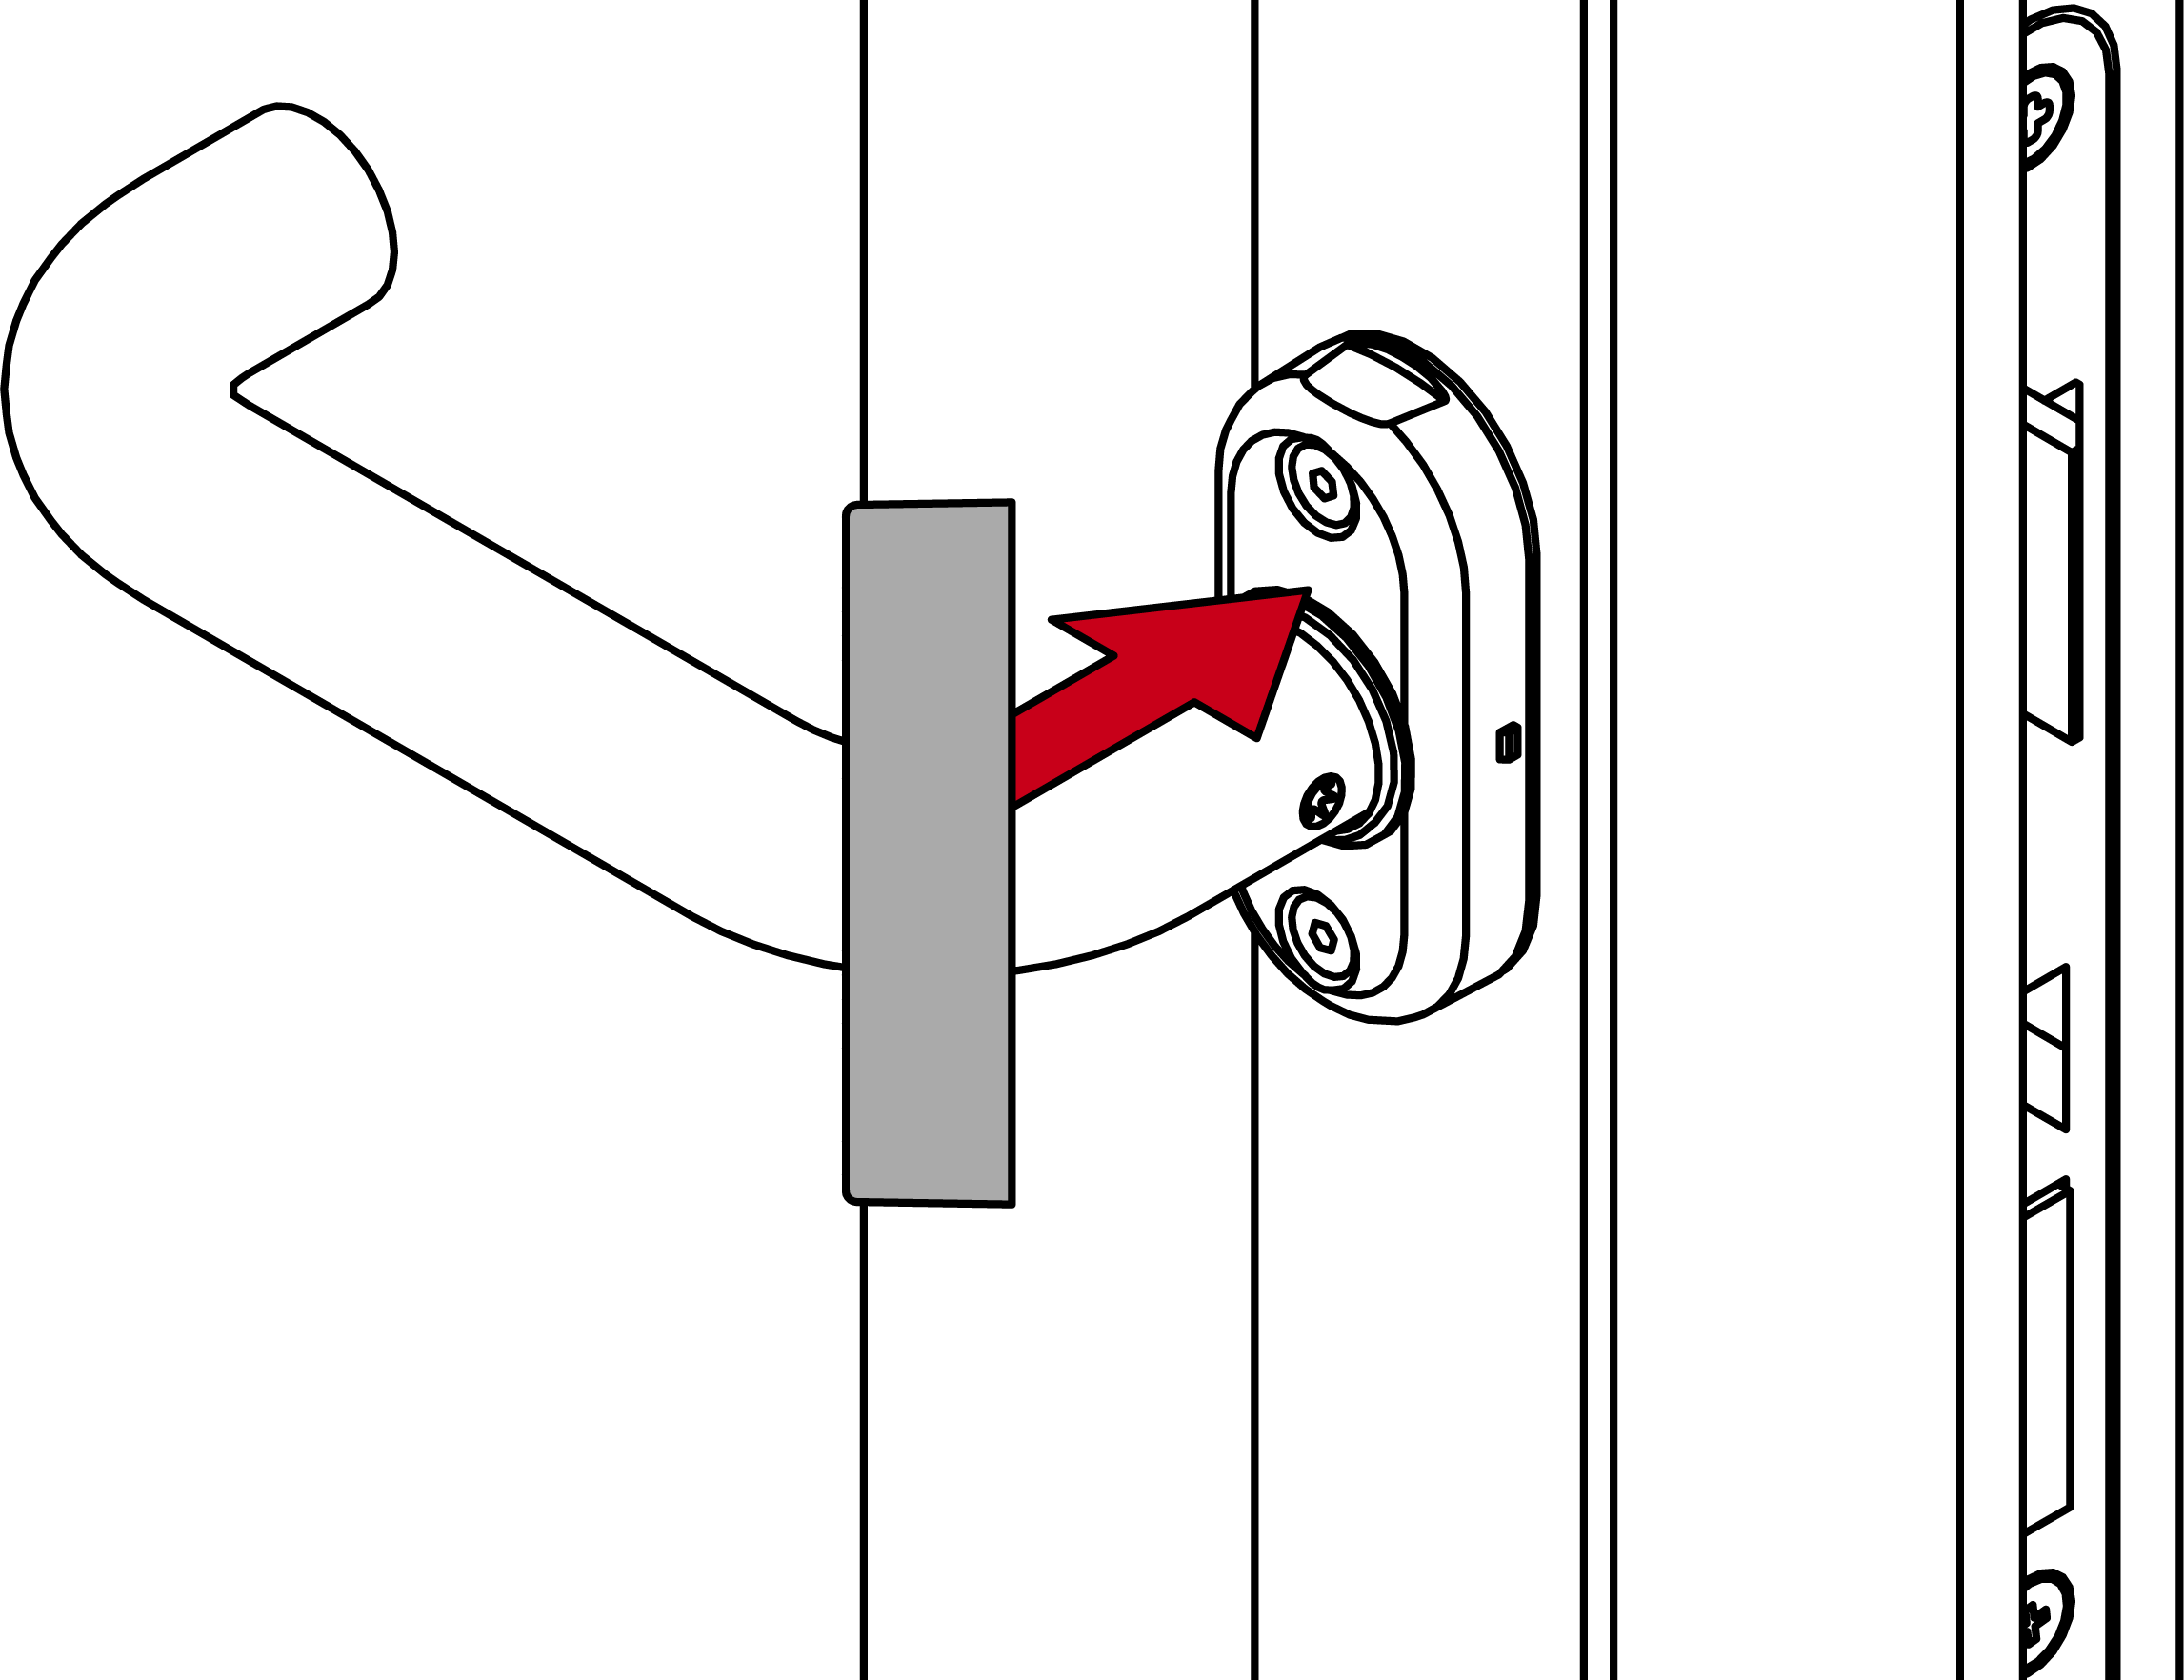
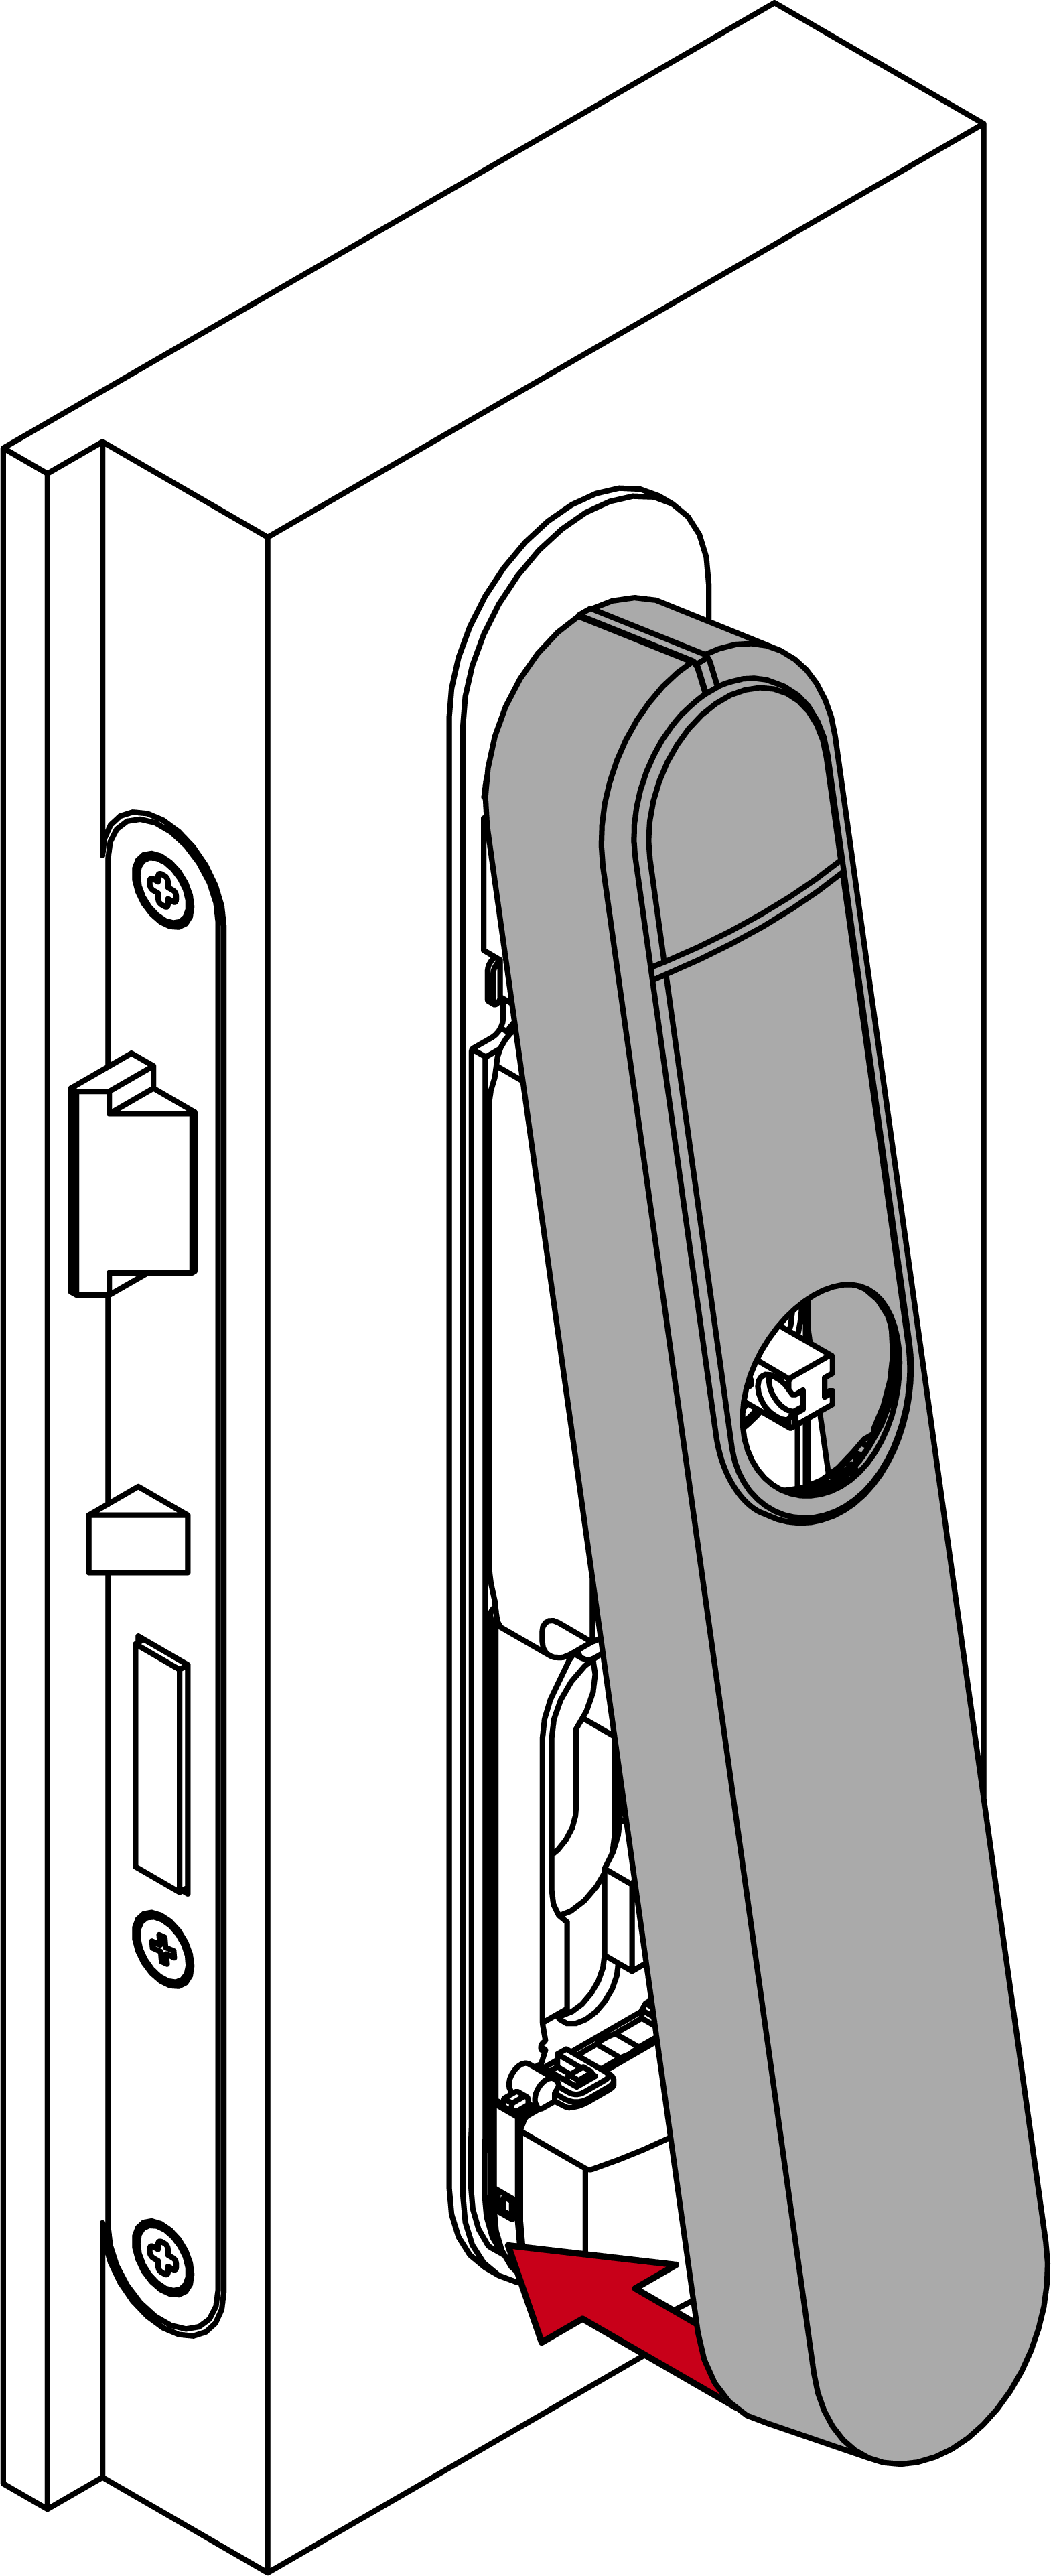
- Fit the outside handle.

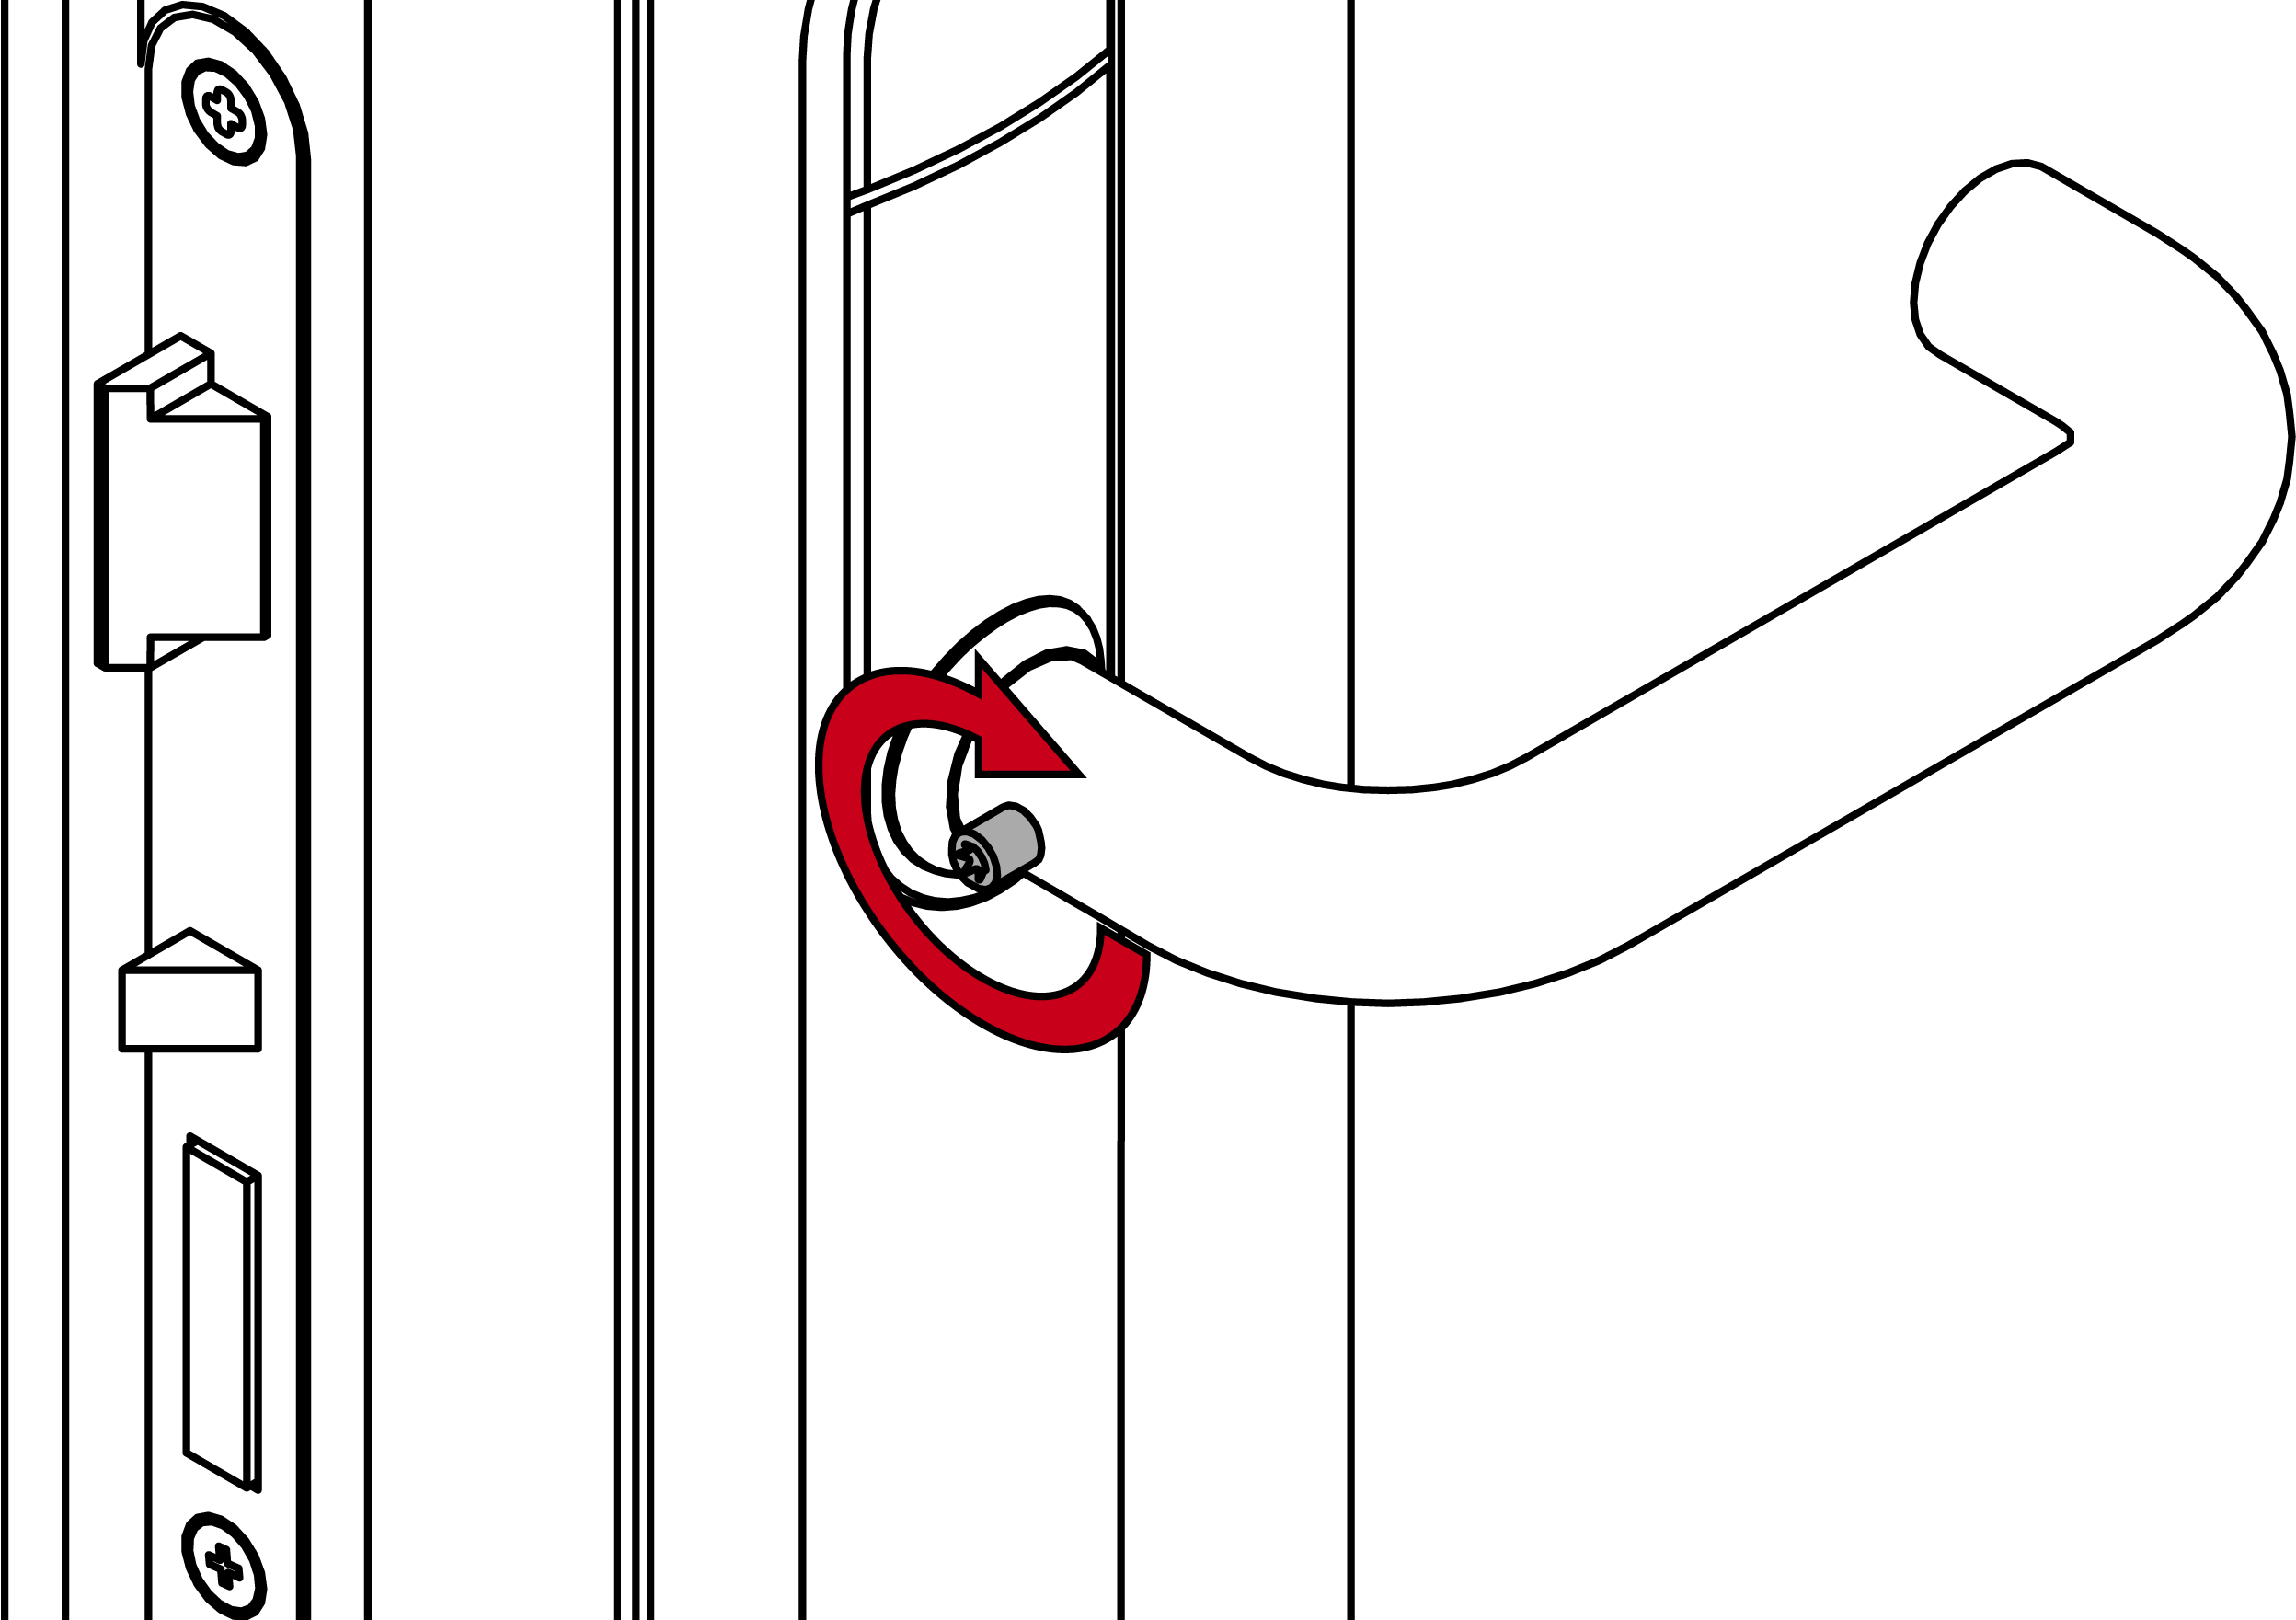
- Use the grub screw to fasten the outer handle (TX15, torque 5.0 Nm) into position.
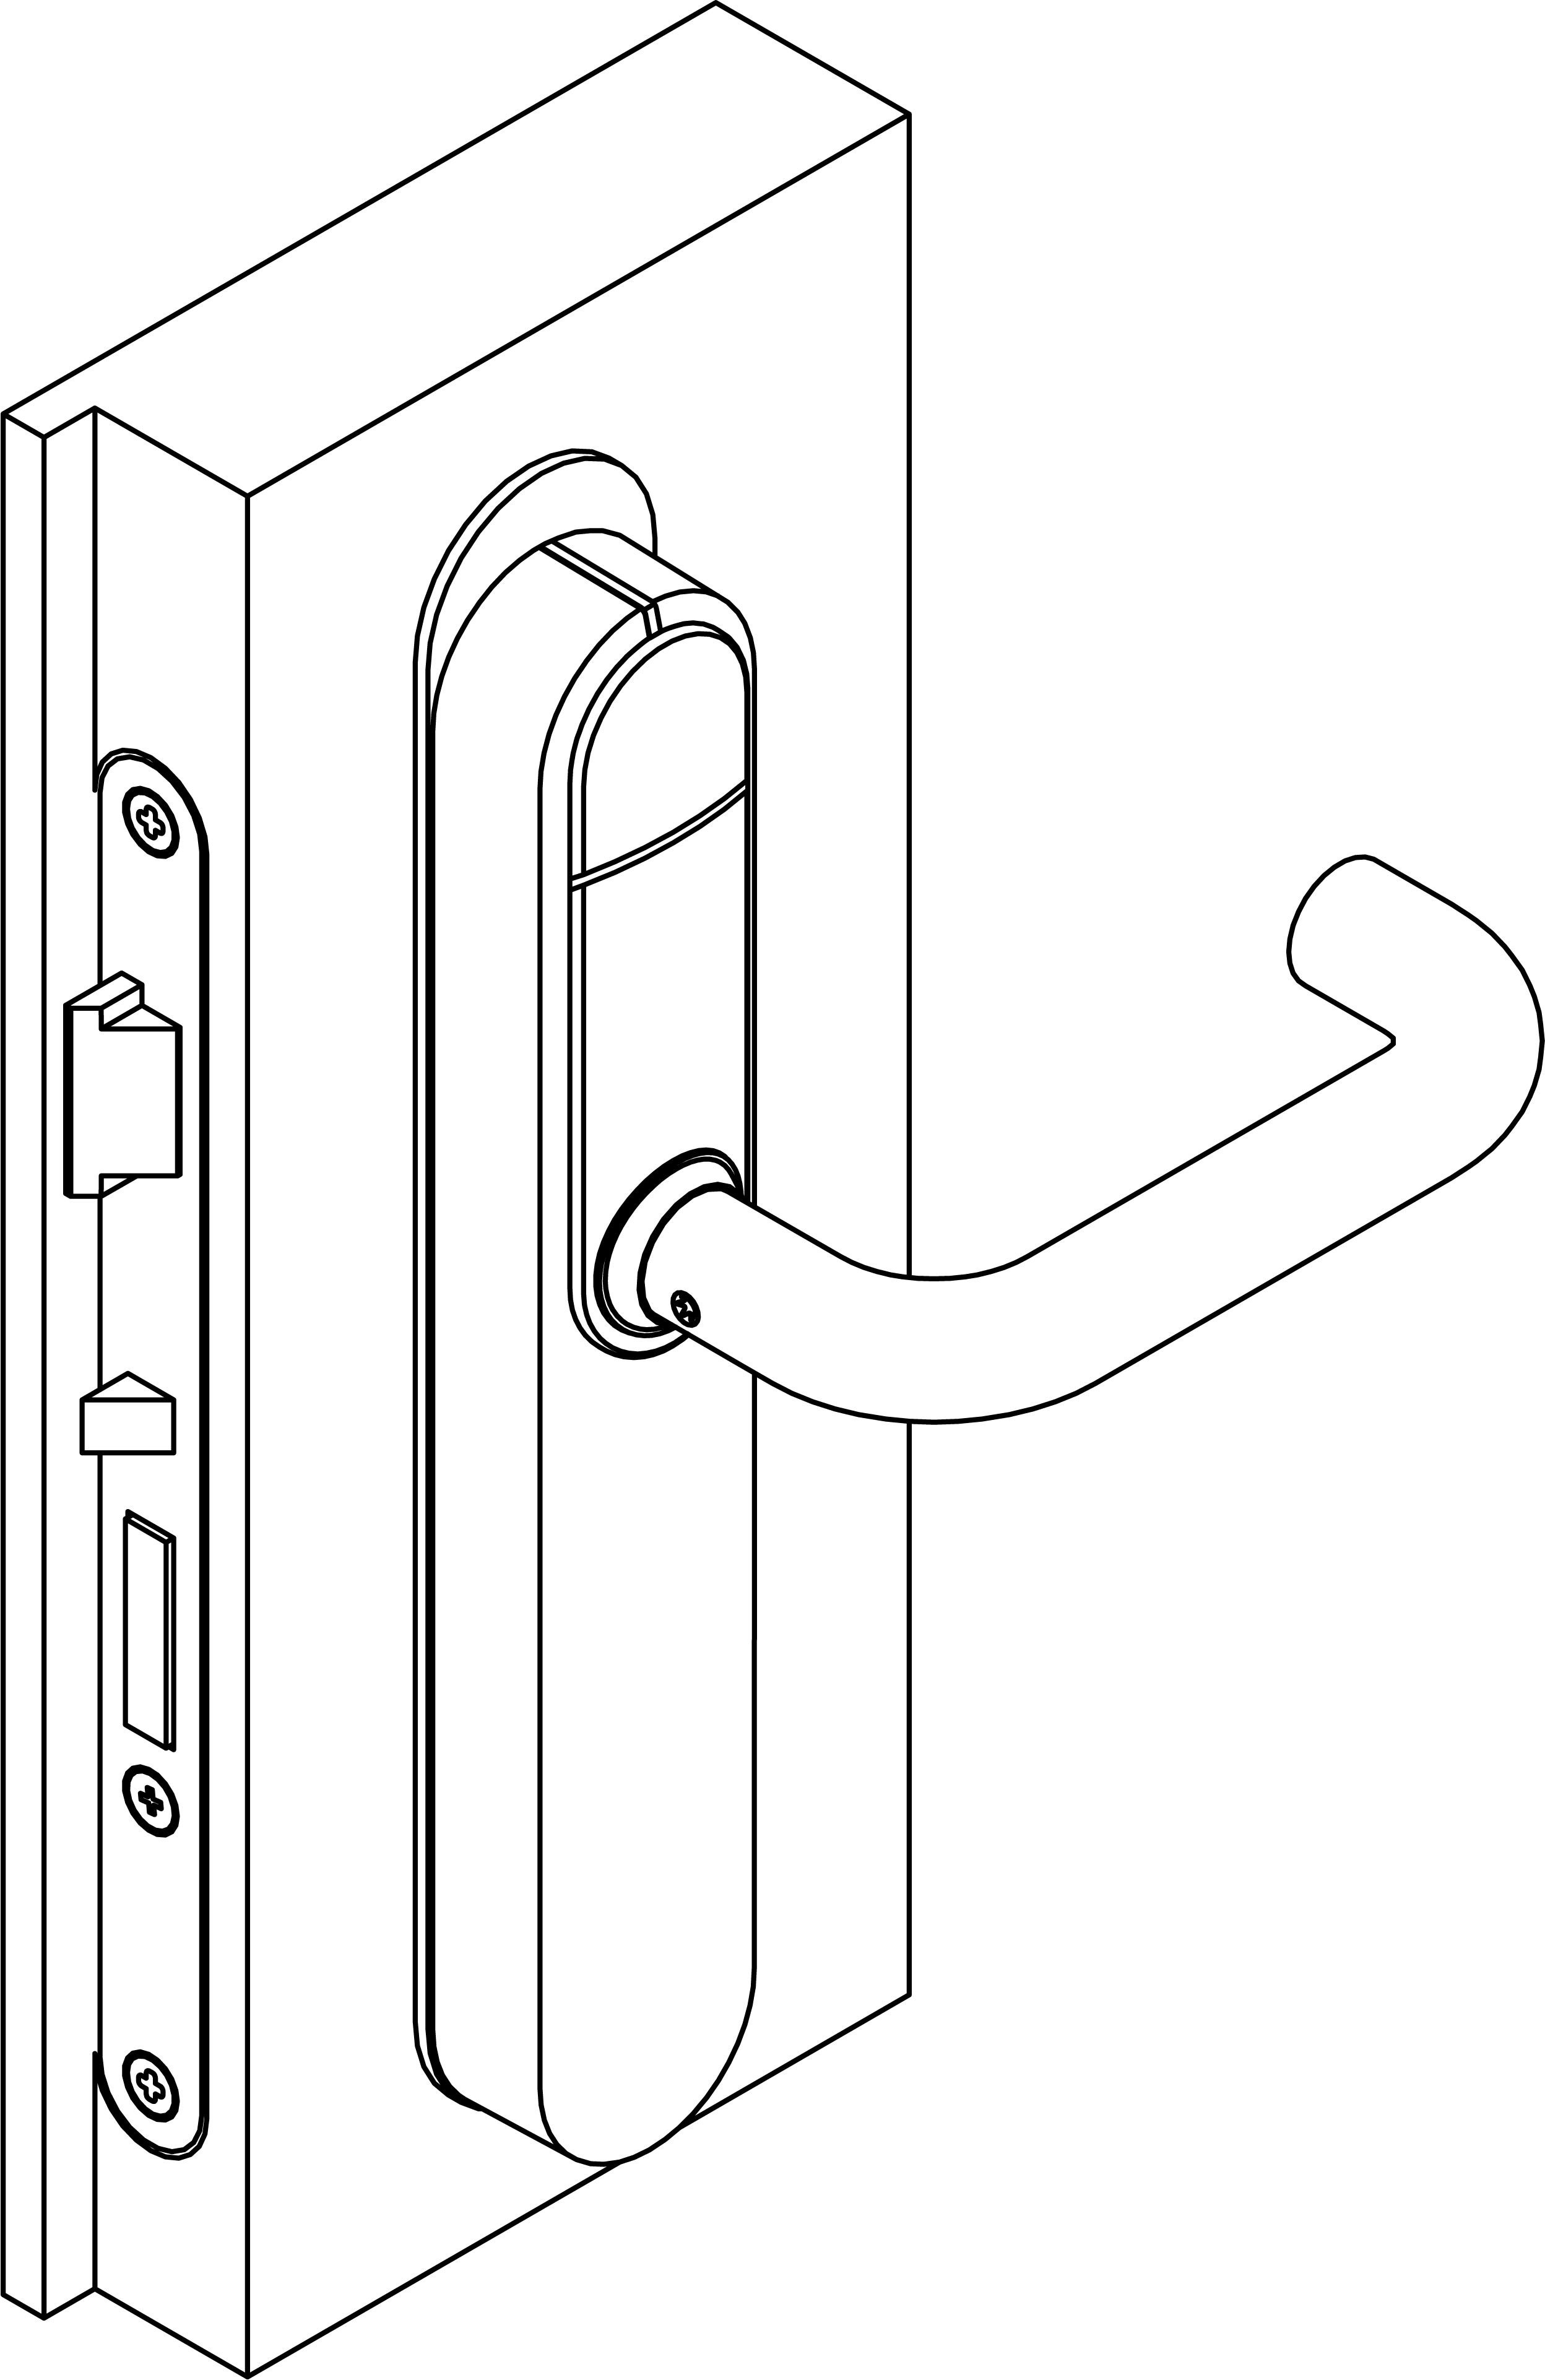
- SI SmartHandle AX Advanced fully installed.