Installing the fitting - SmartHandle AX Advanced SmartIntego
- Door pre-drilled.
- PH2 screwdriver at hand.
- TX15 screwdriver at hand.
- Caliper gauge at hand.
- Saw at hand.
- Remove the panic bar as described in the manufacturer's documentation except for the adapter plate.
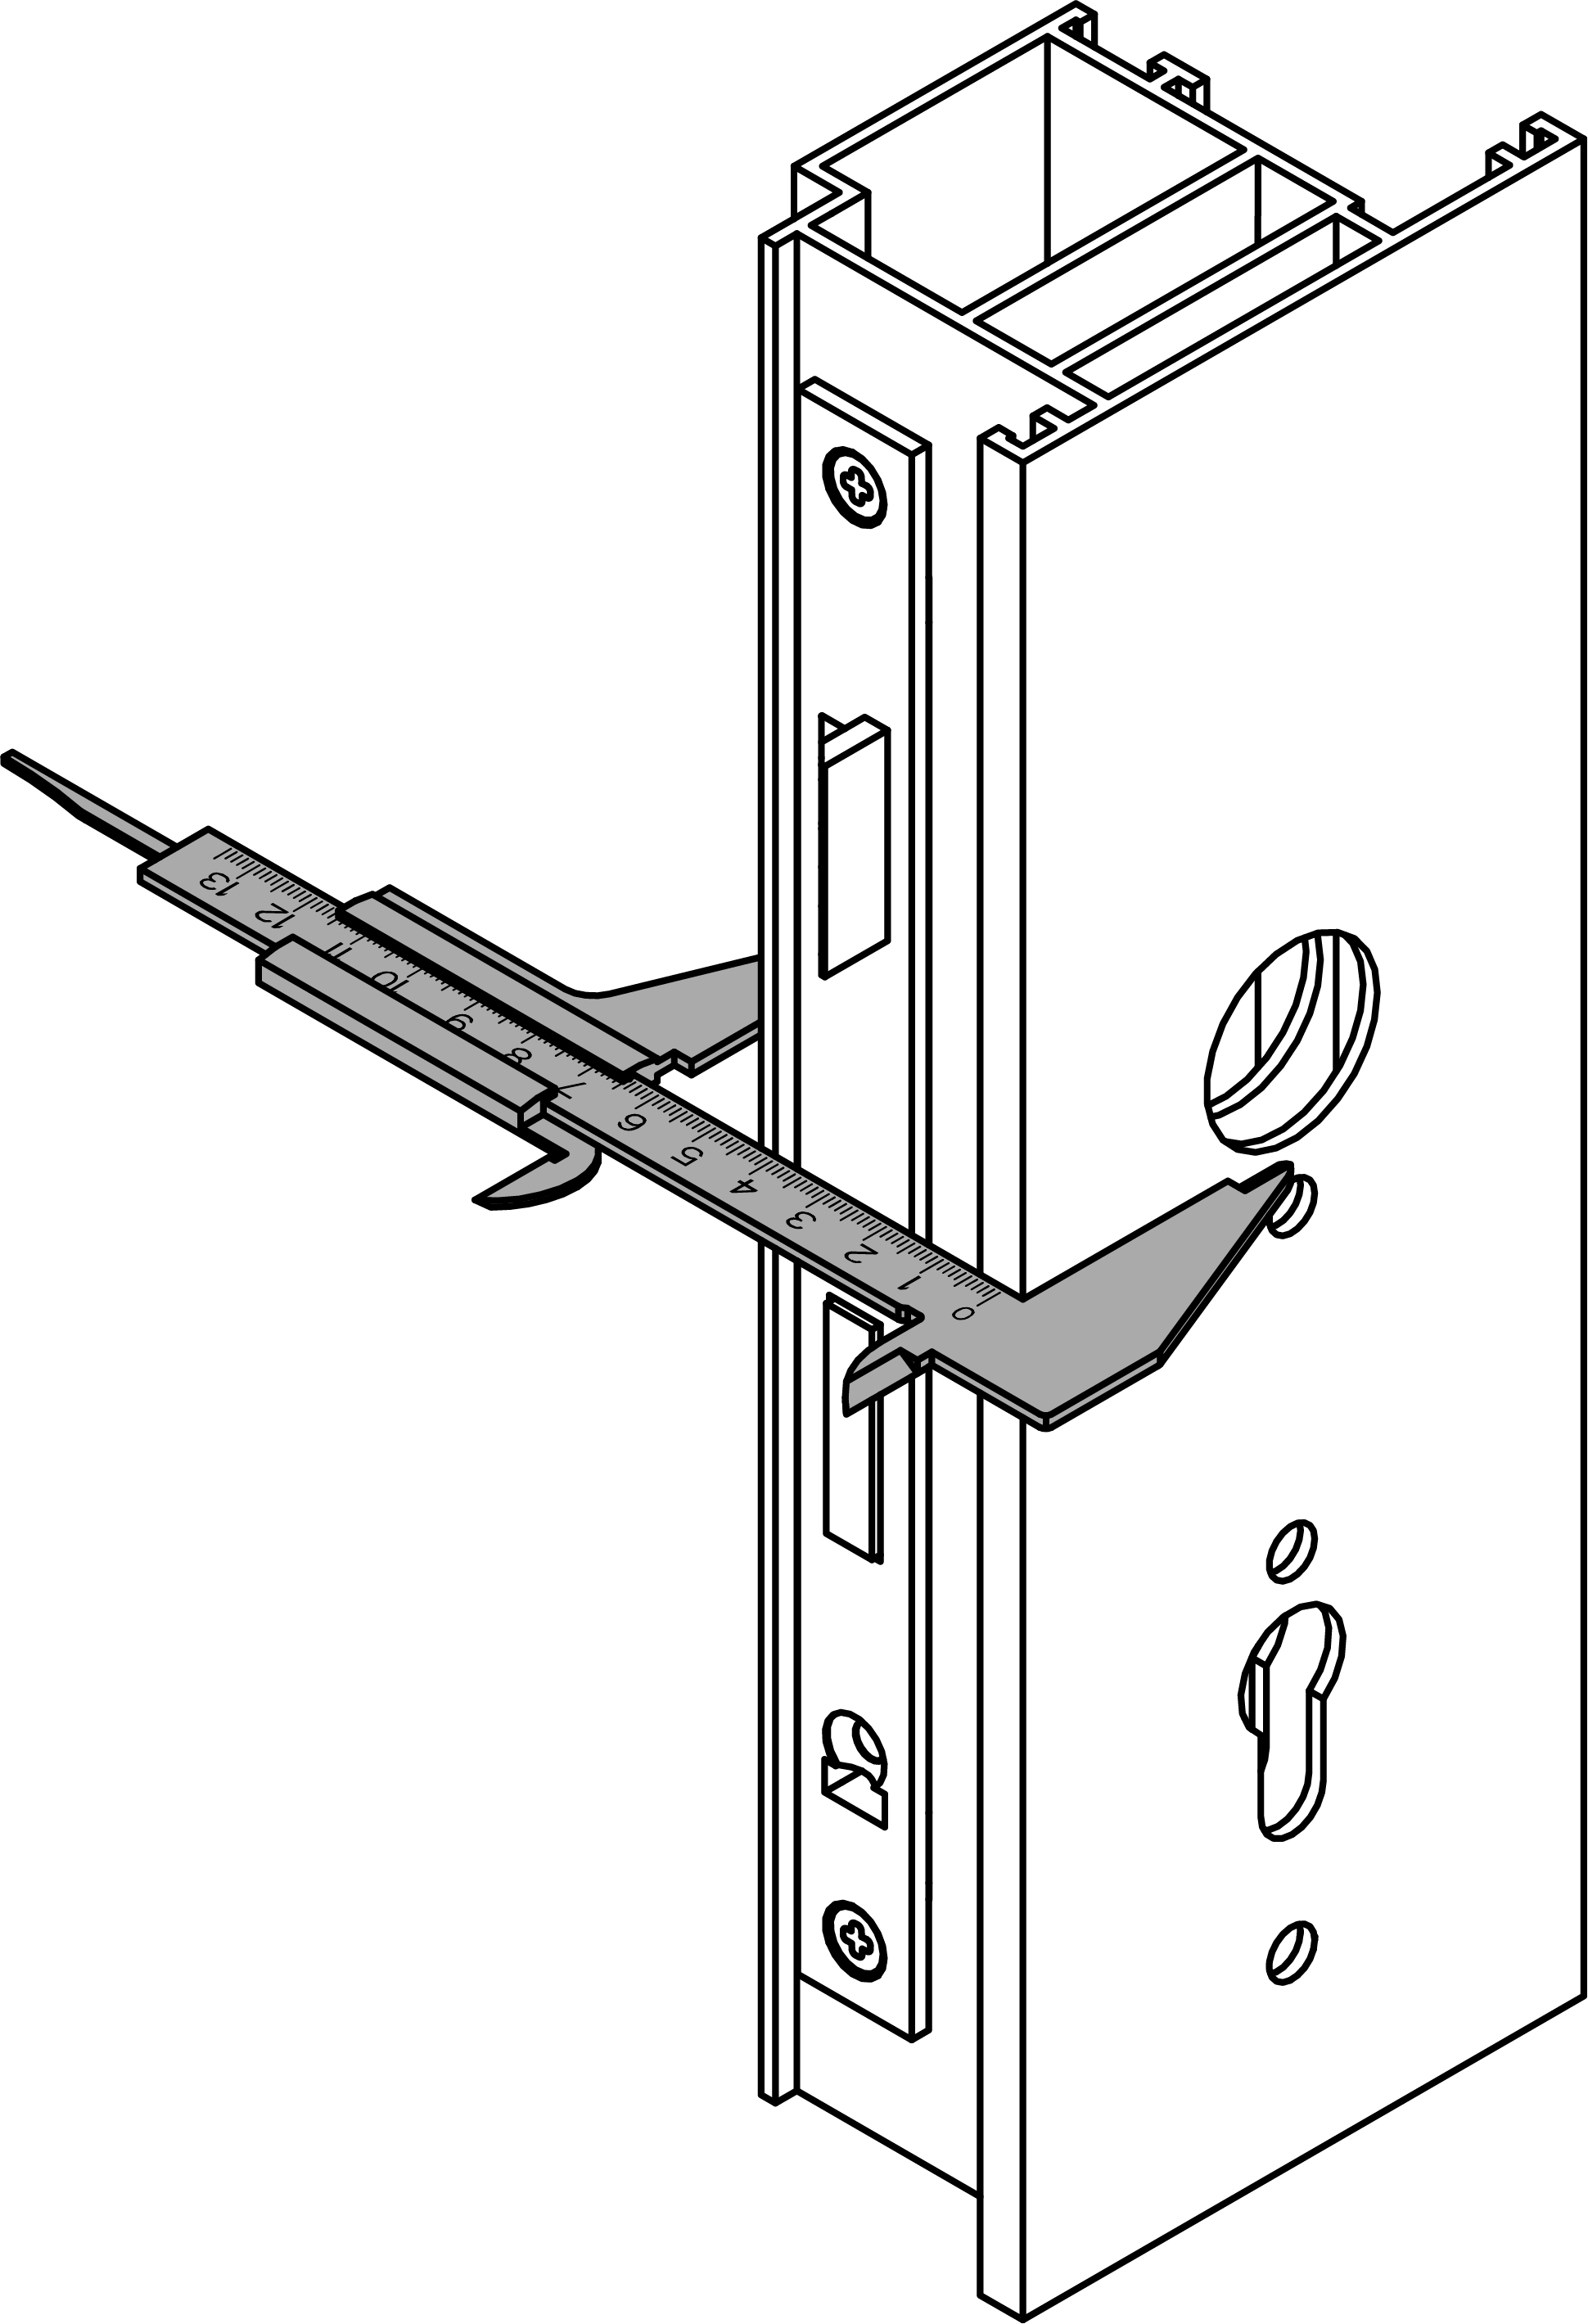
- Measure the door thickness and determine the length of the spindle.
*PS* (with backplate)
*PO* (with oval escutcheon)
BKS (bar handle)
Door thickness – 27.8 ± 1.5
BKS (bar handle)
Door thickness + 27.8 ±1.5 mm
BKS (push bar)
Door thickness – 36.8 ± 2.5 mm
BKS (push bar)
Door thickness + 36.8 ±2.5 mm
CISA 8 mm spindle
Door thickness – 27.3 ± 0.5 mm
CISA 8 mm spindle
Door thickness + 37.3 ±0.5 mm
CISA 9 mm spindle
Door thickness – 19.3 ± 0.5 mm
CISA 9 mm spindle
Door thickness + 27.3 ±0.5 mm
- Trim the spindle with a suitable saw.

- For BKS: obtain the screws not included in the scope of delivery from your panic bar manufacturer.
For CISA: shorten the screws included in the scope of delivery as described. NOTE

Panic bar manufacturer’s specifications
The panic bar manufacturer may impose further requirements on the screws, including strength and length.
- Observe the documentation provided by the panic bar manufacturer.
- Insert the sleeve nuts and spindle protection into the fixing plate.
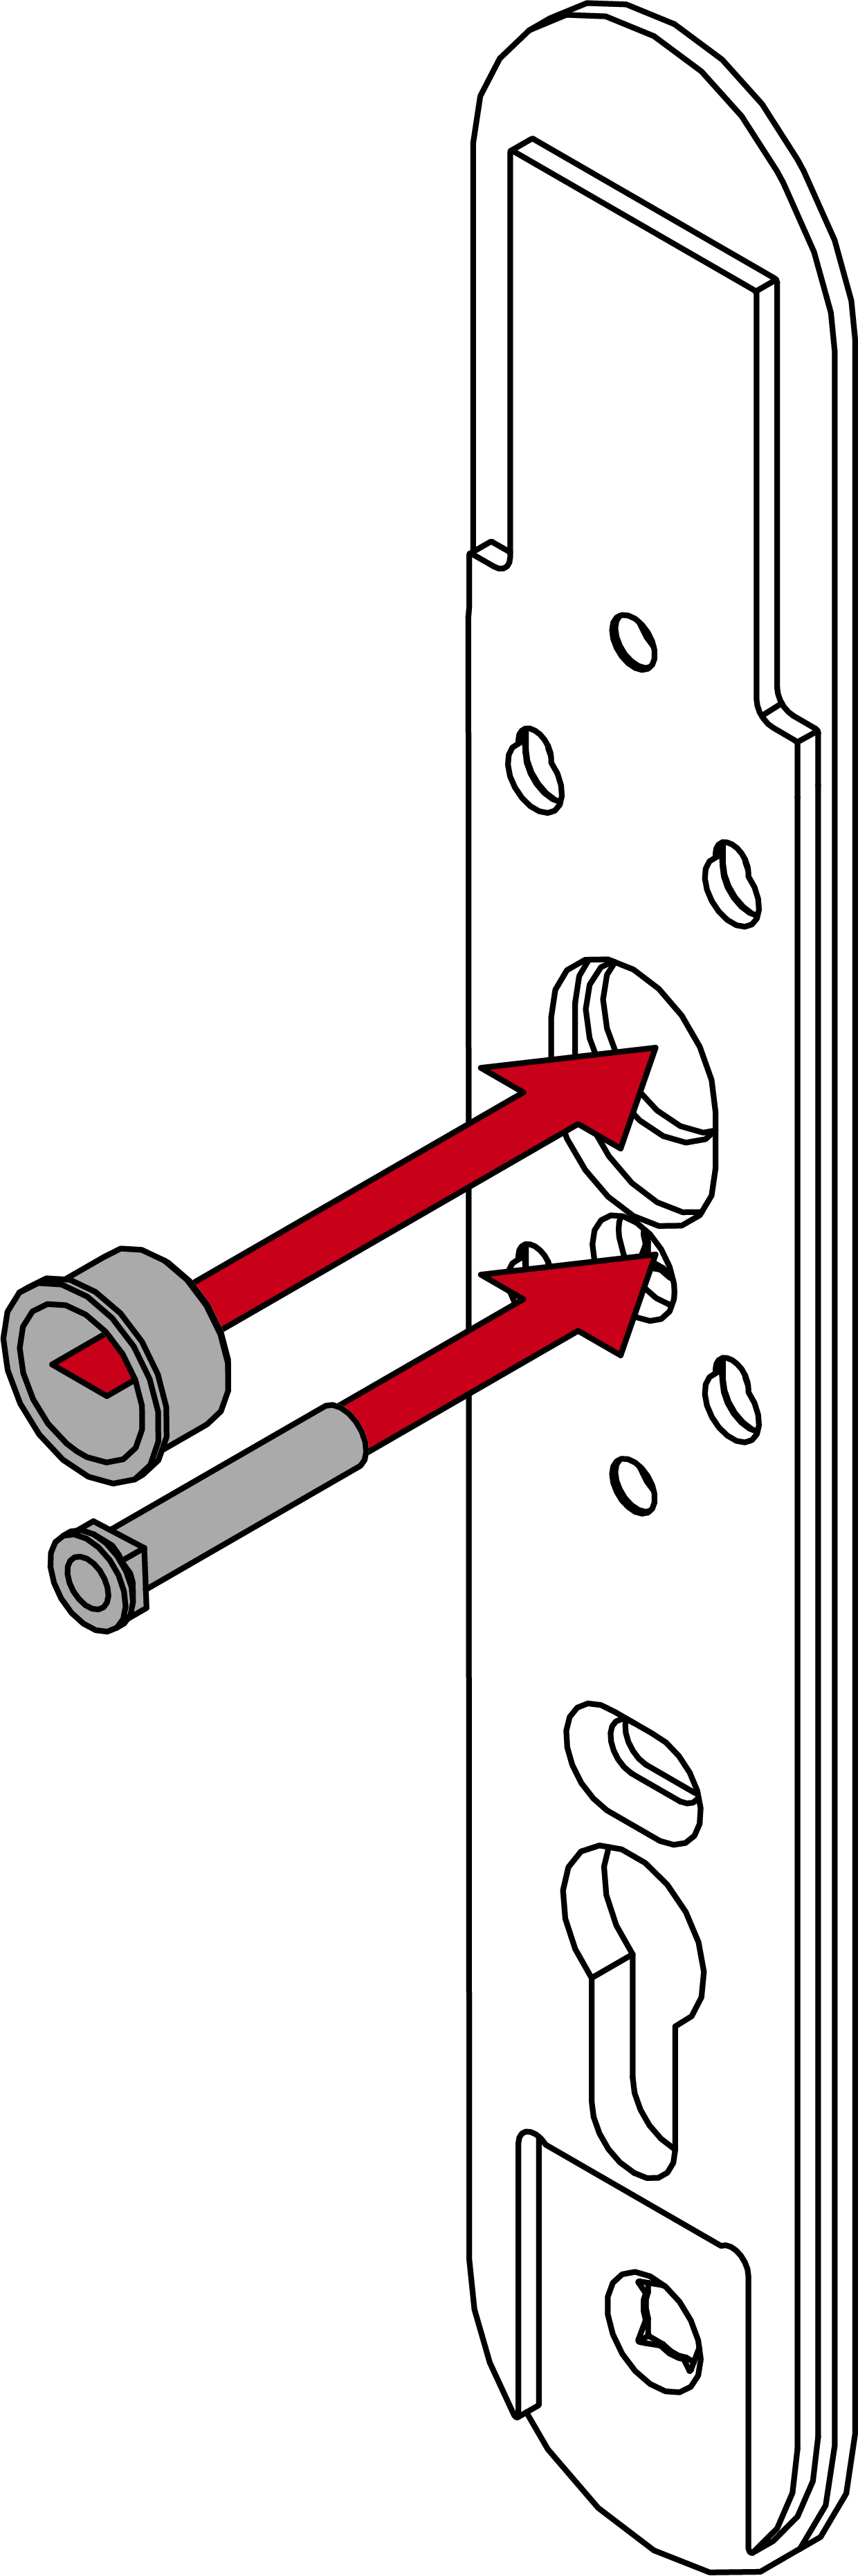
- Insert a spacer ring into the hole in the middle sleeve nut.
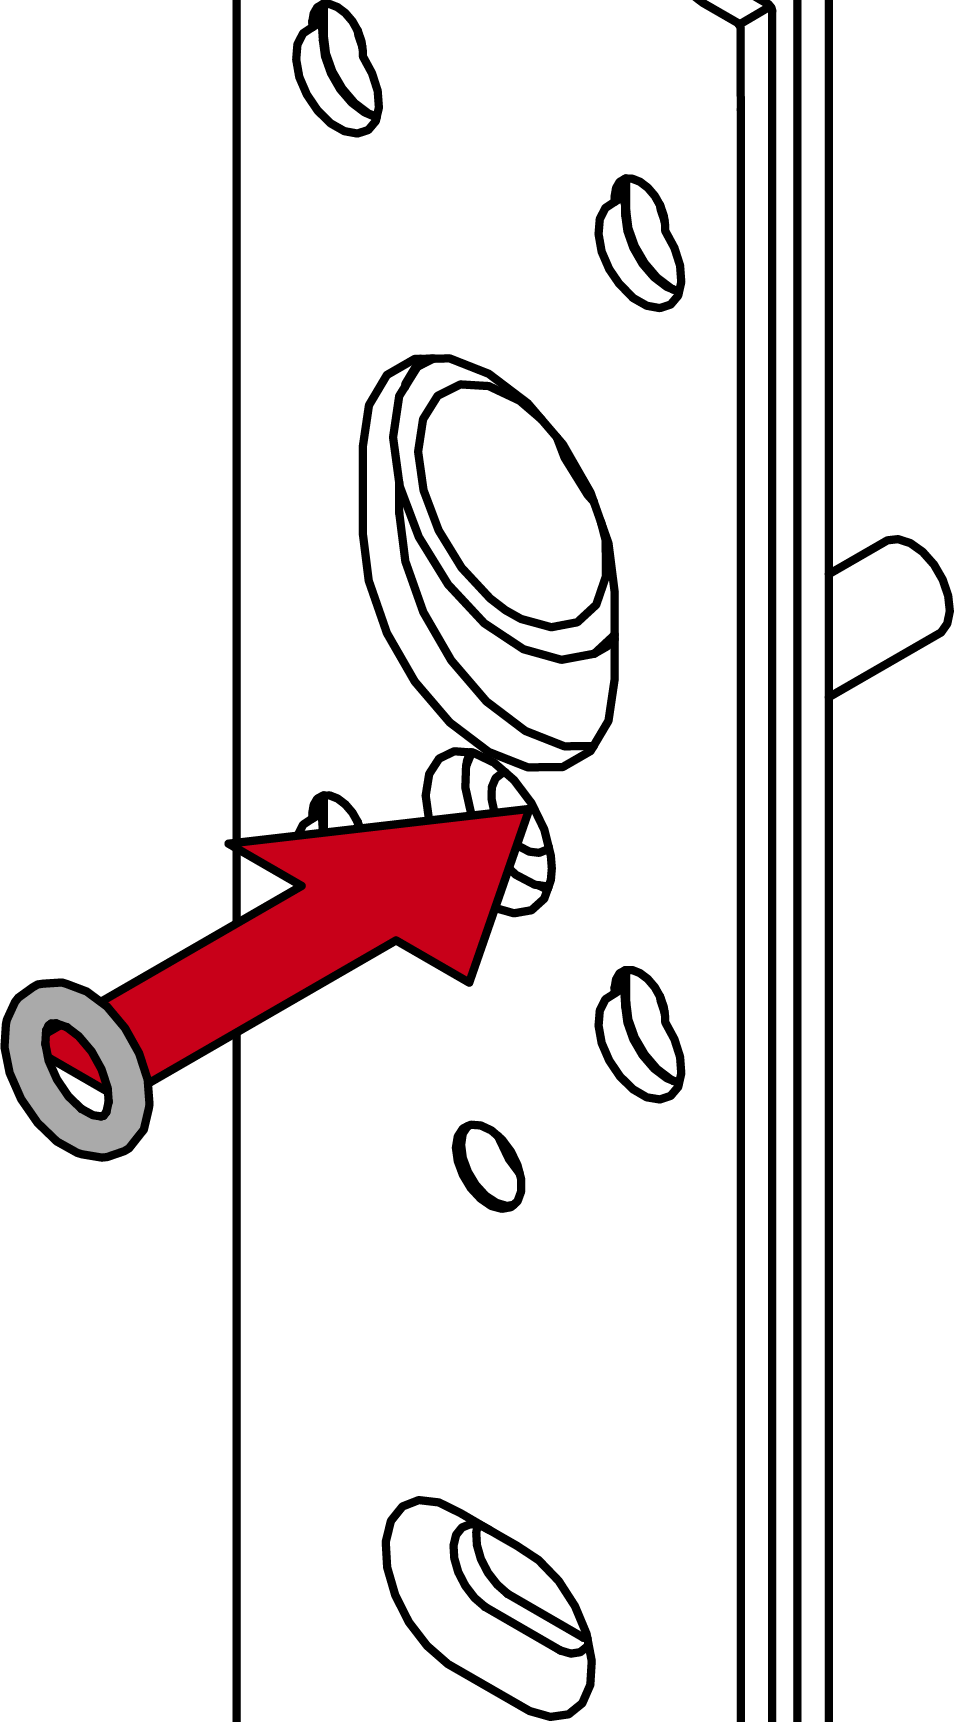
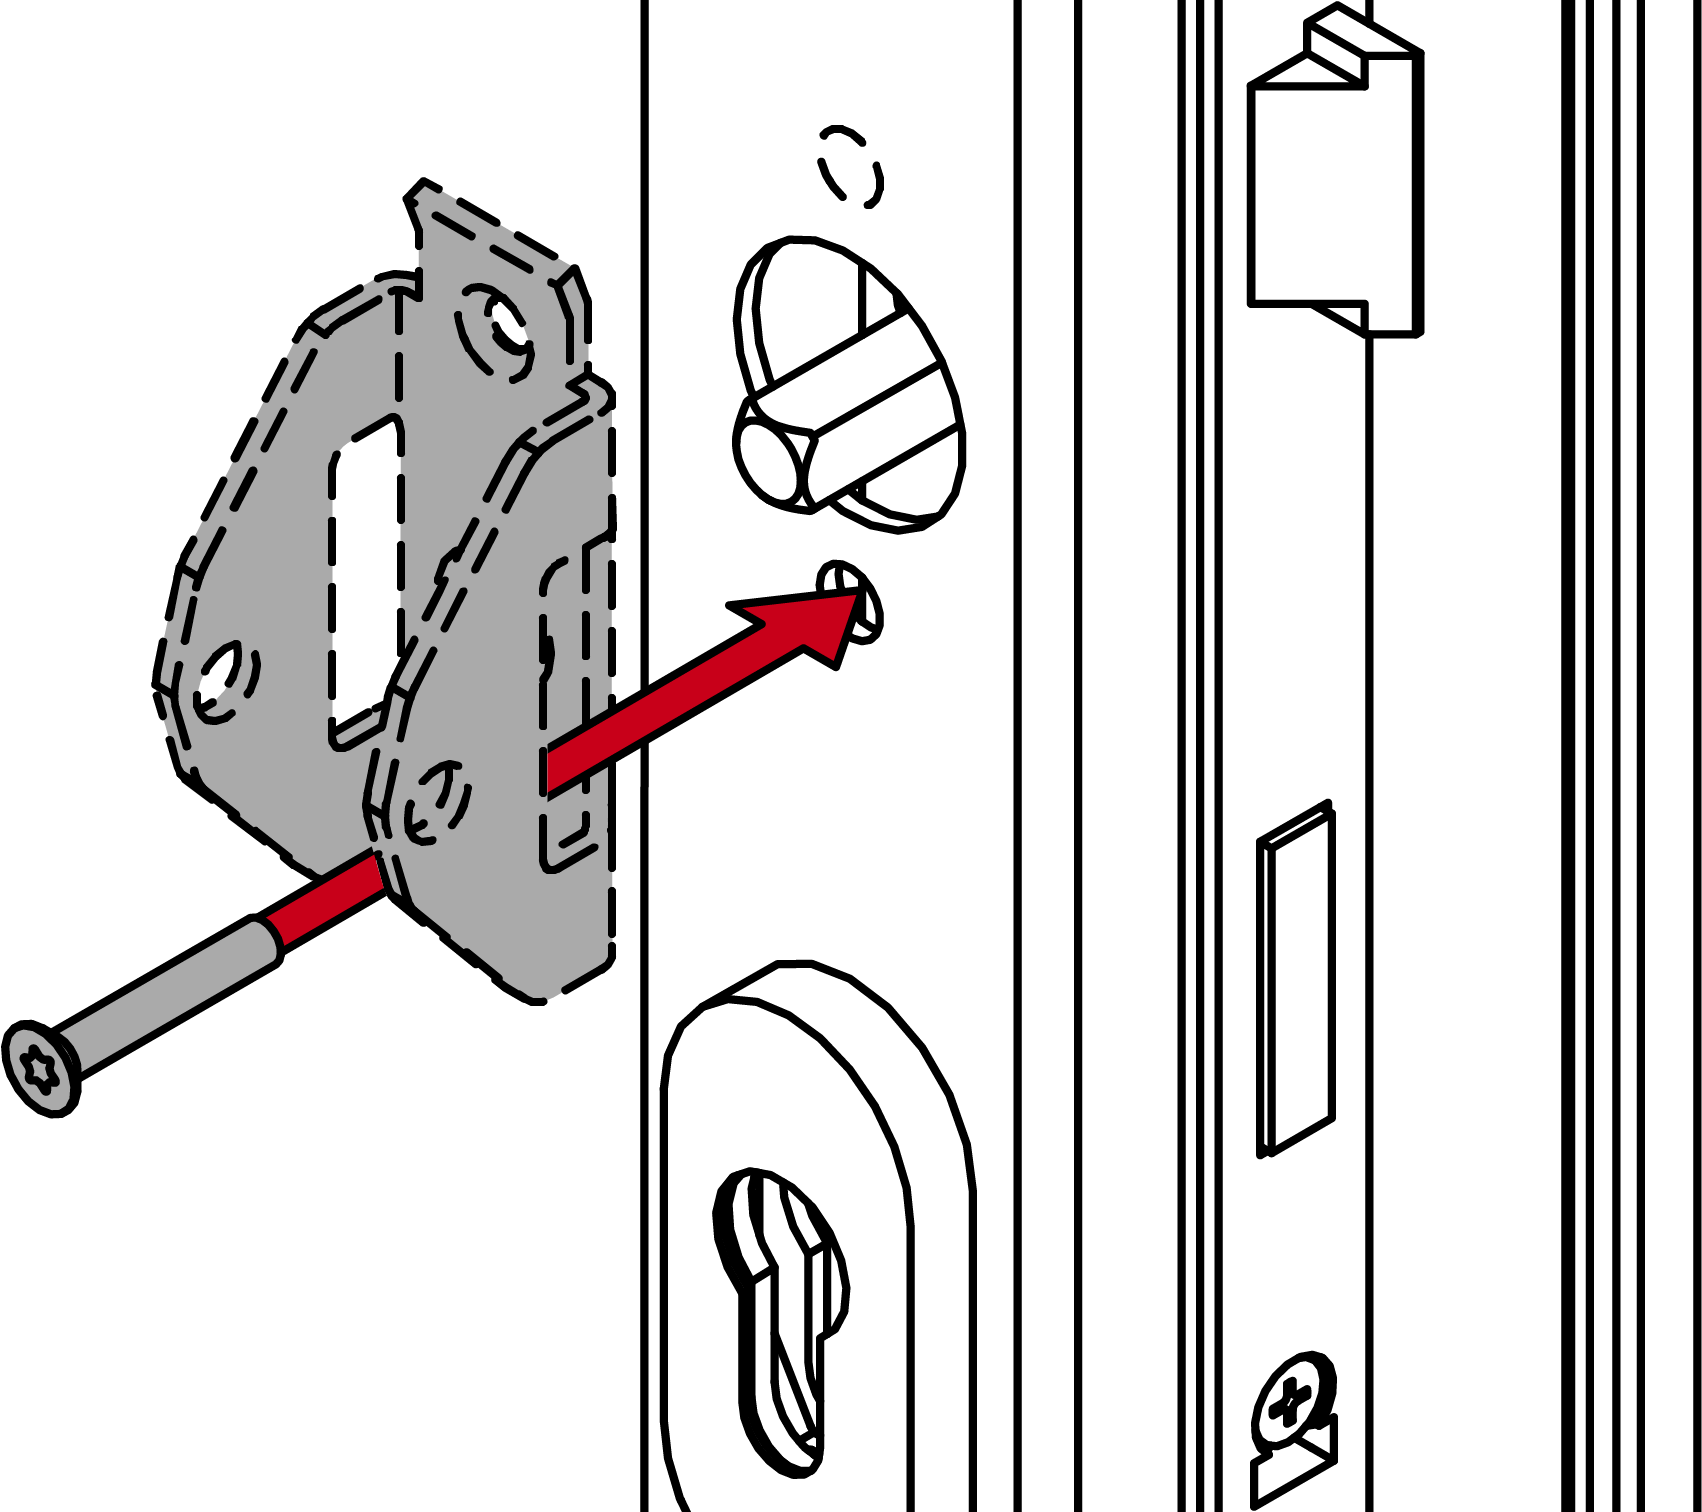
- Insert the module support into the fastening plate.
- Slide the module support upwards.
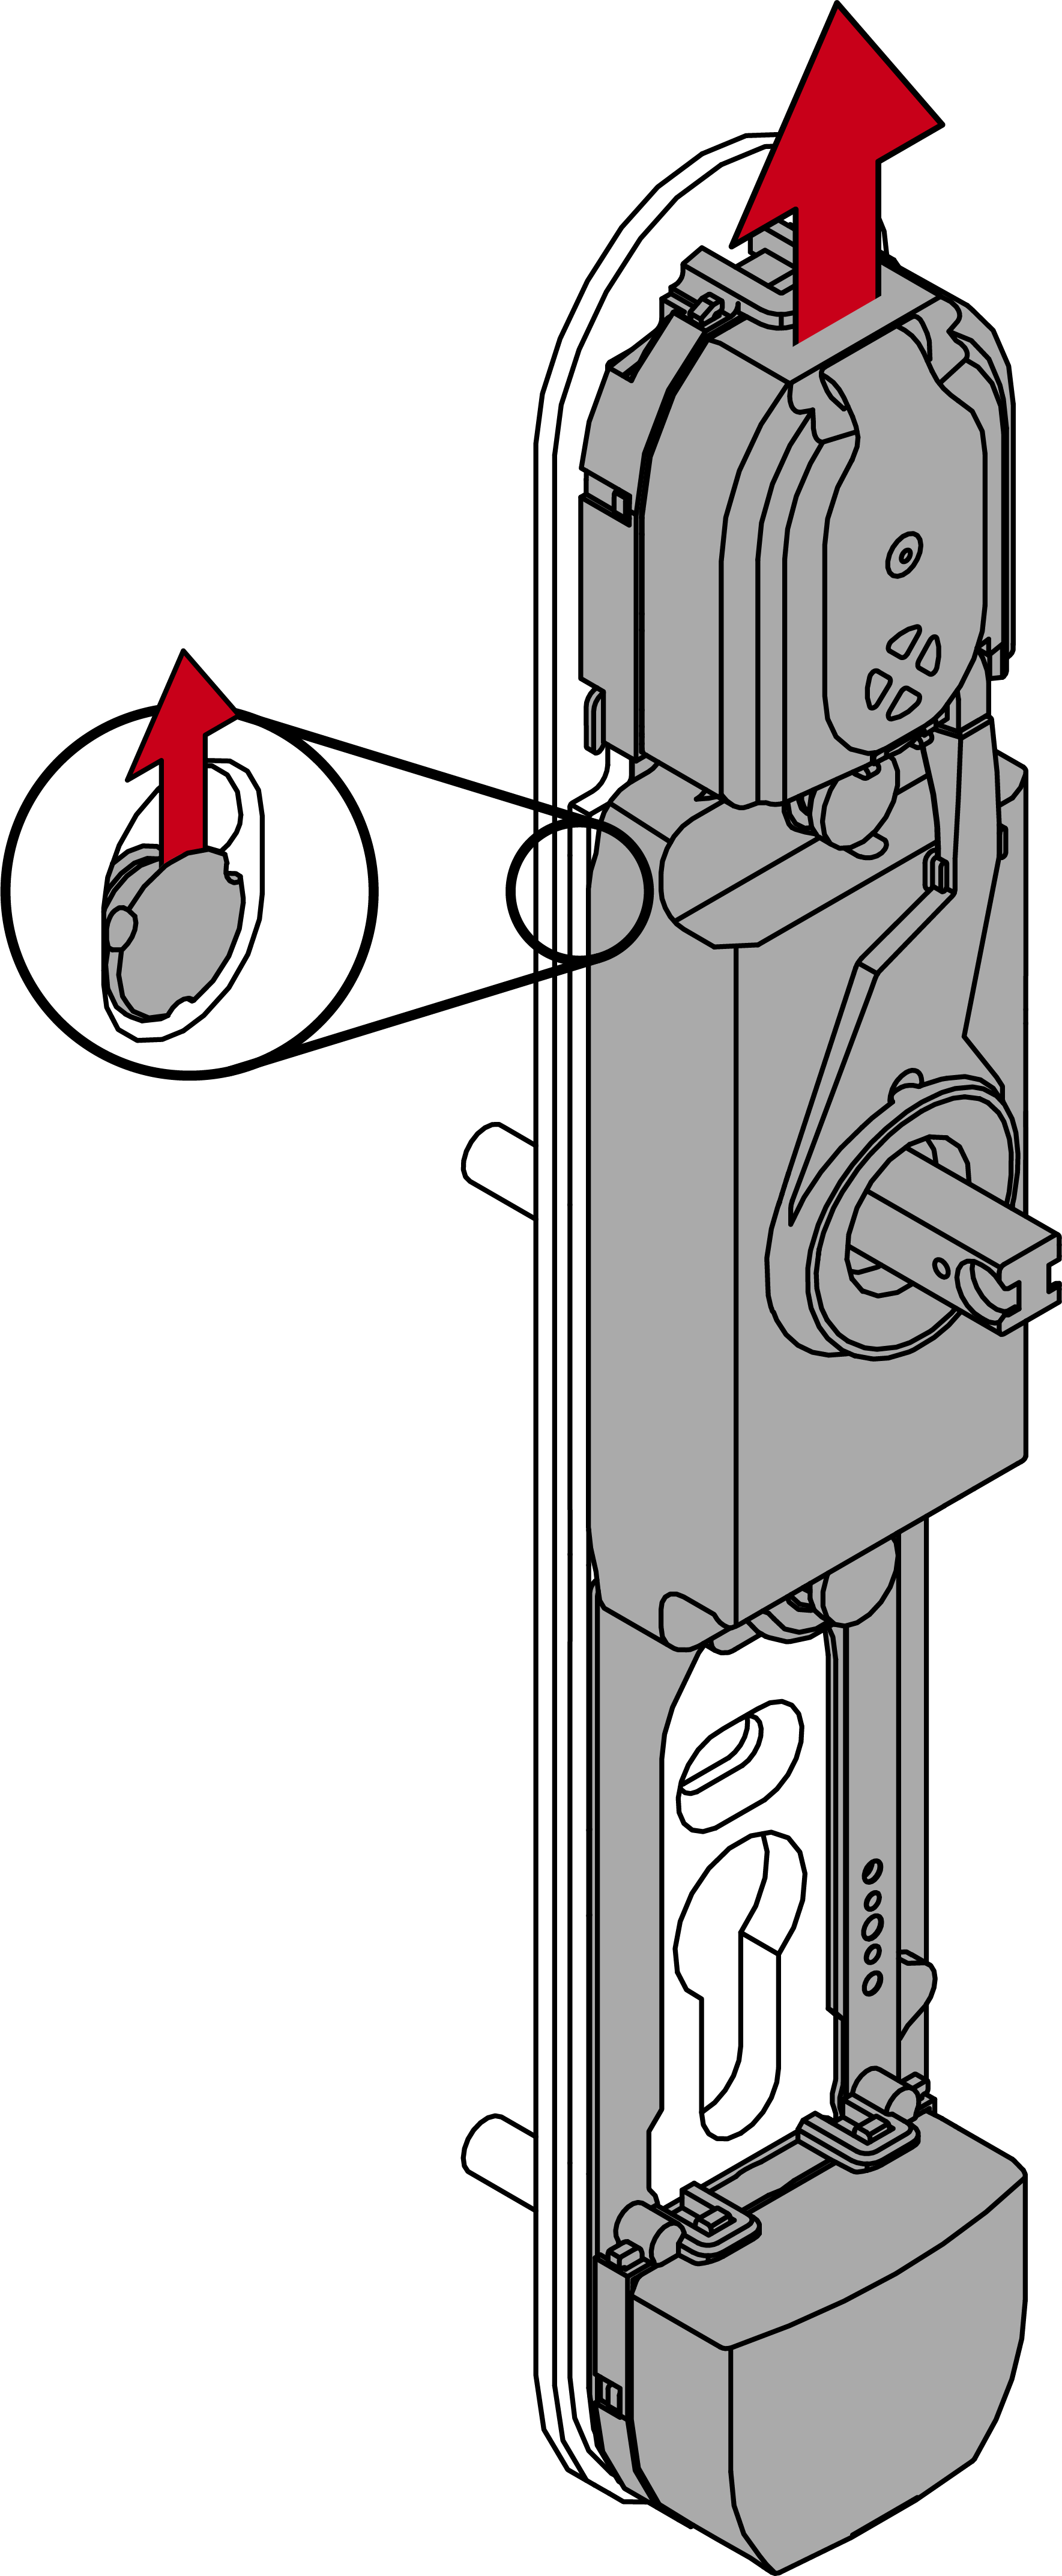
- Module support snaps into place.
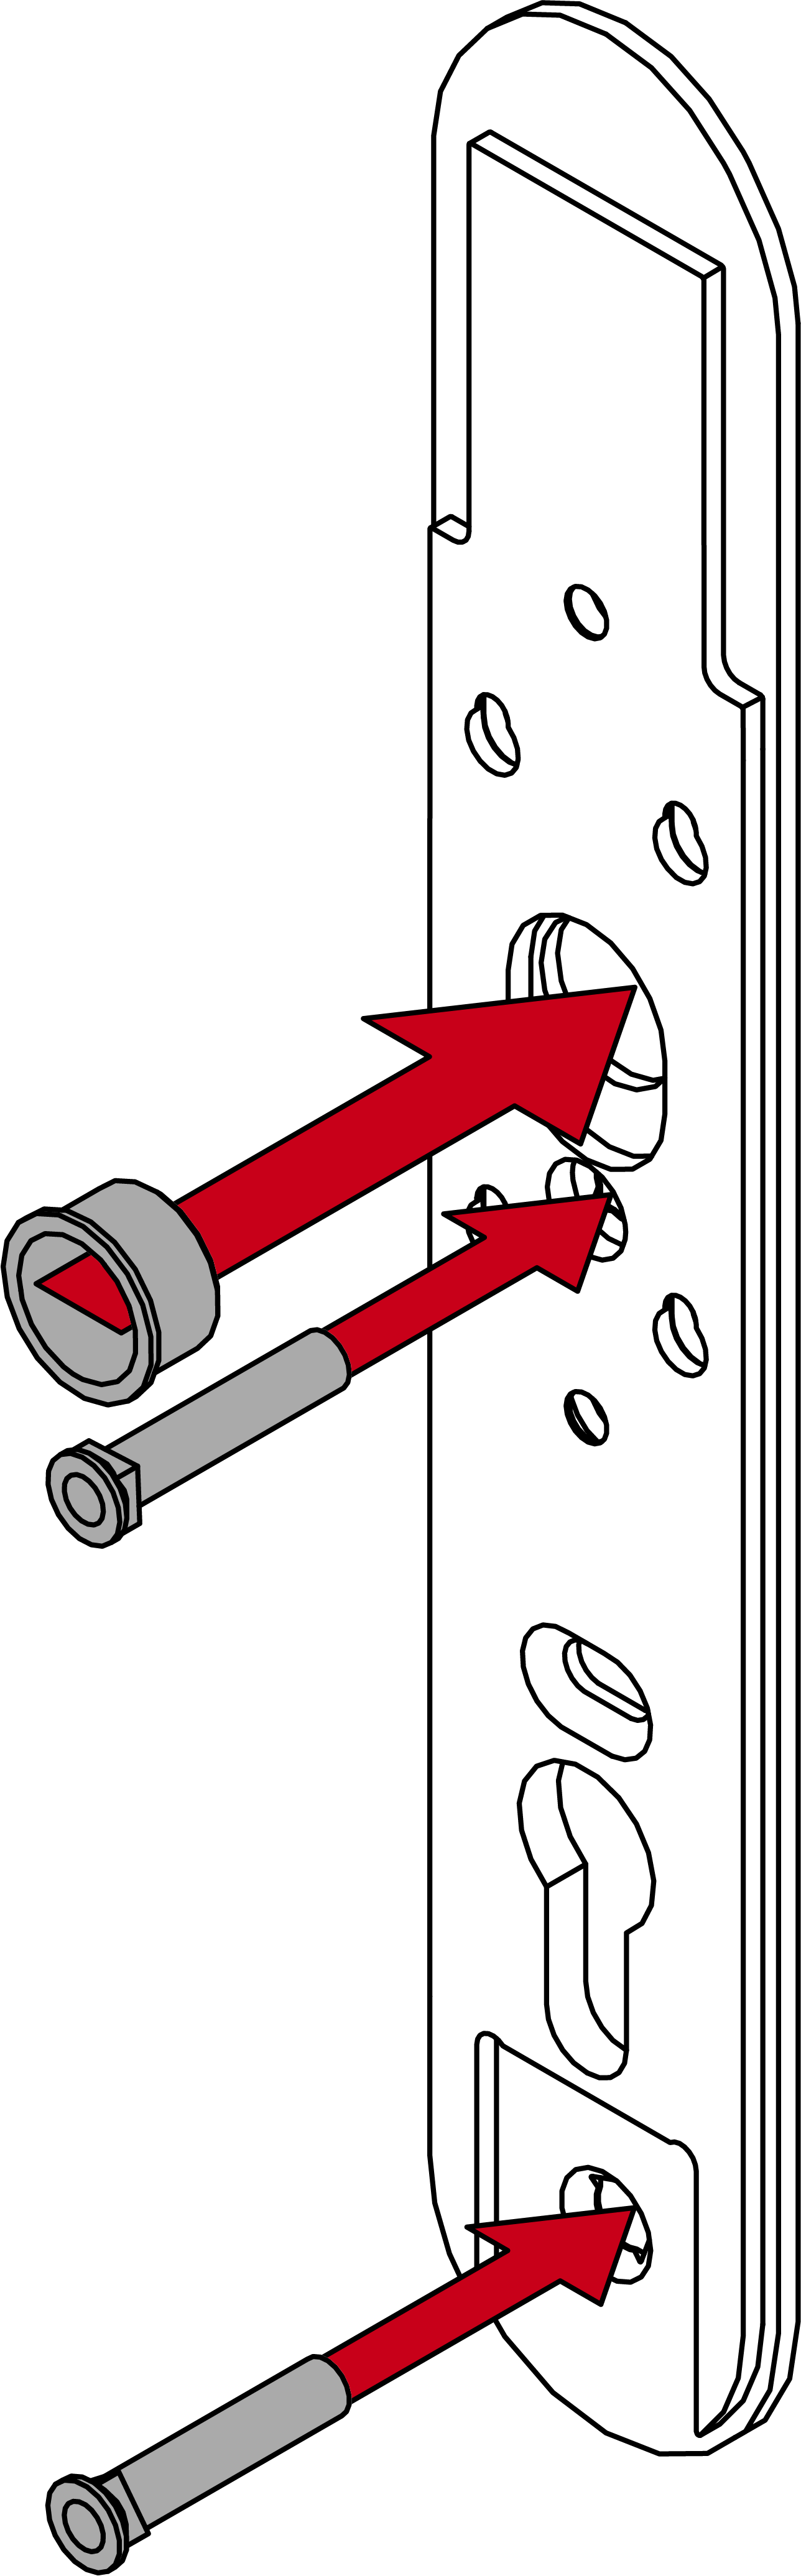
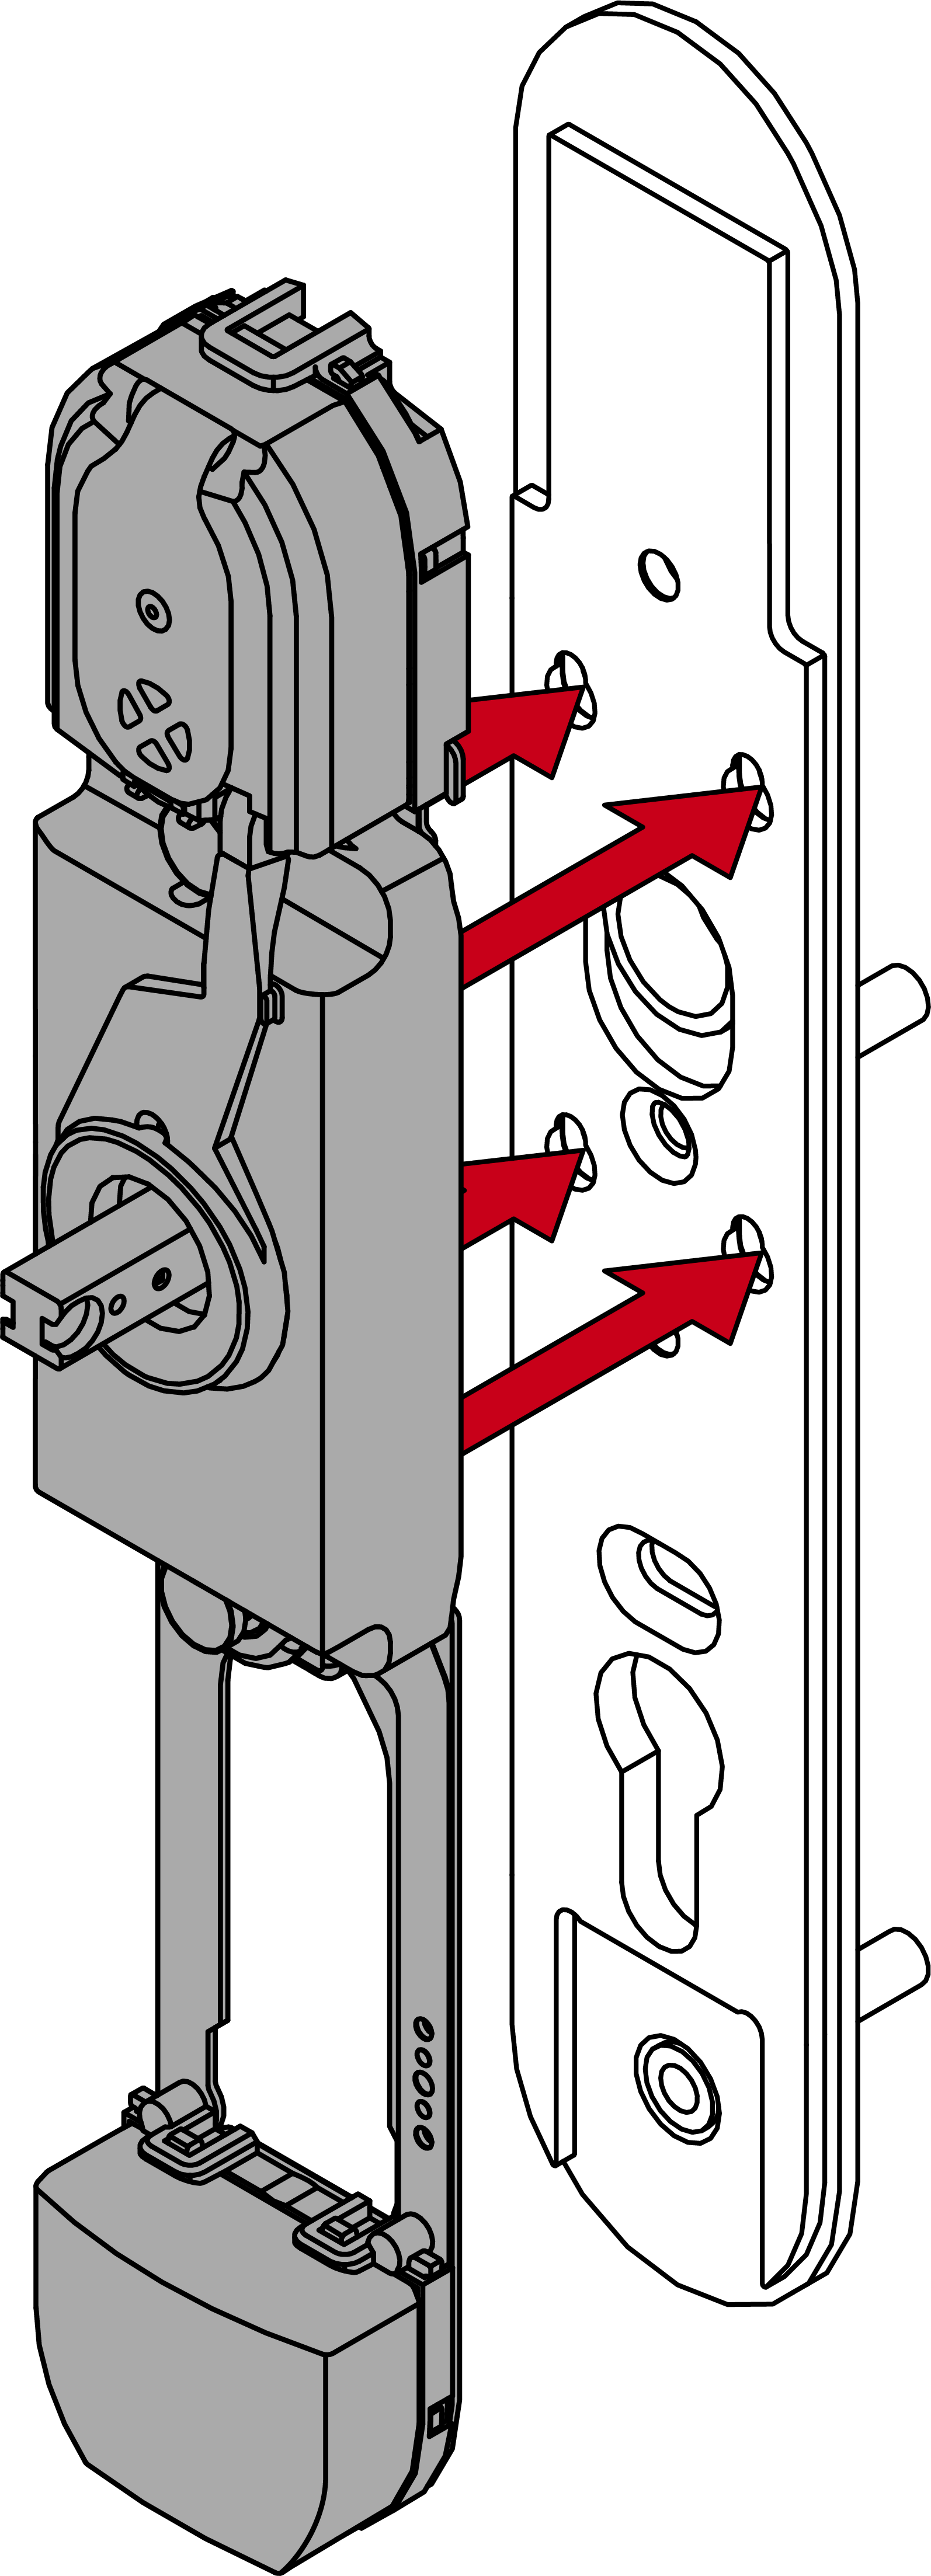
- Fasten the module support to the fixing plate with the 16 mm screws (PH2, torque 3.0 Nm).

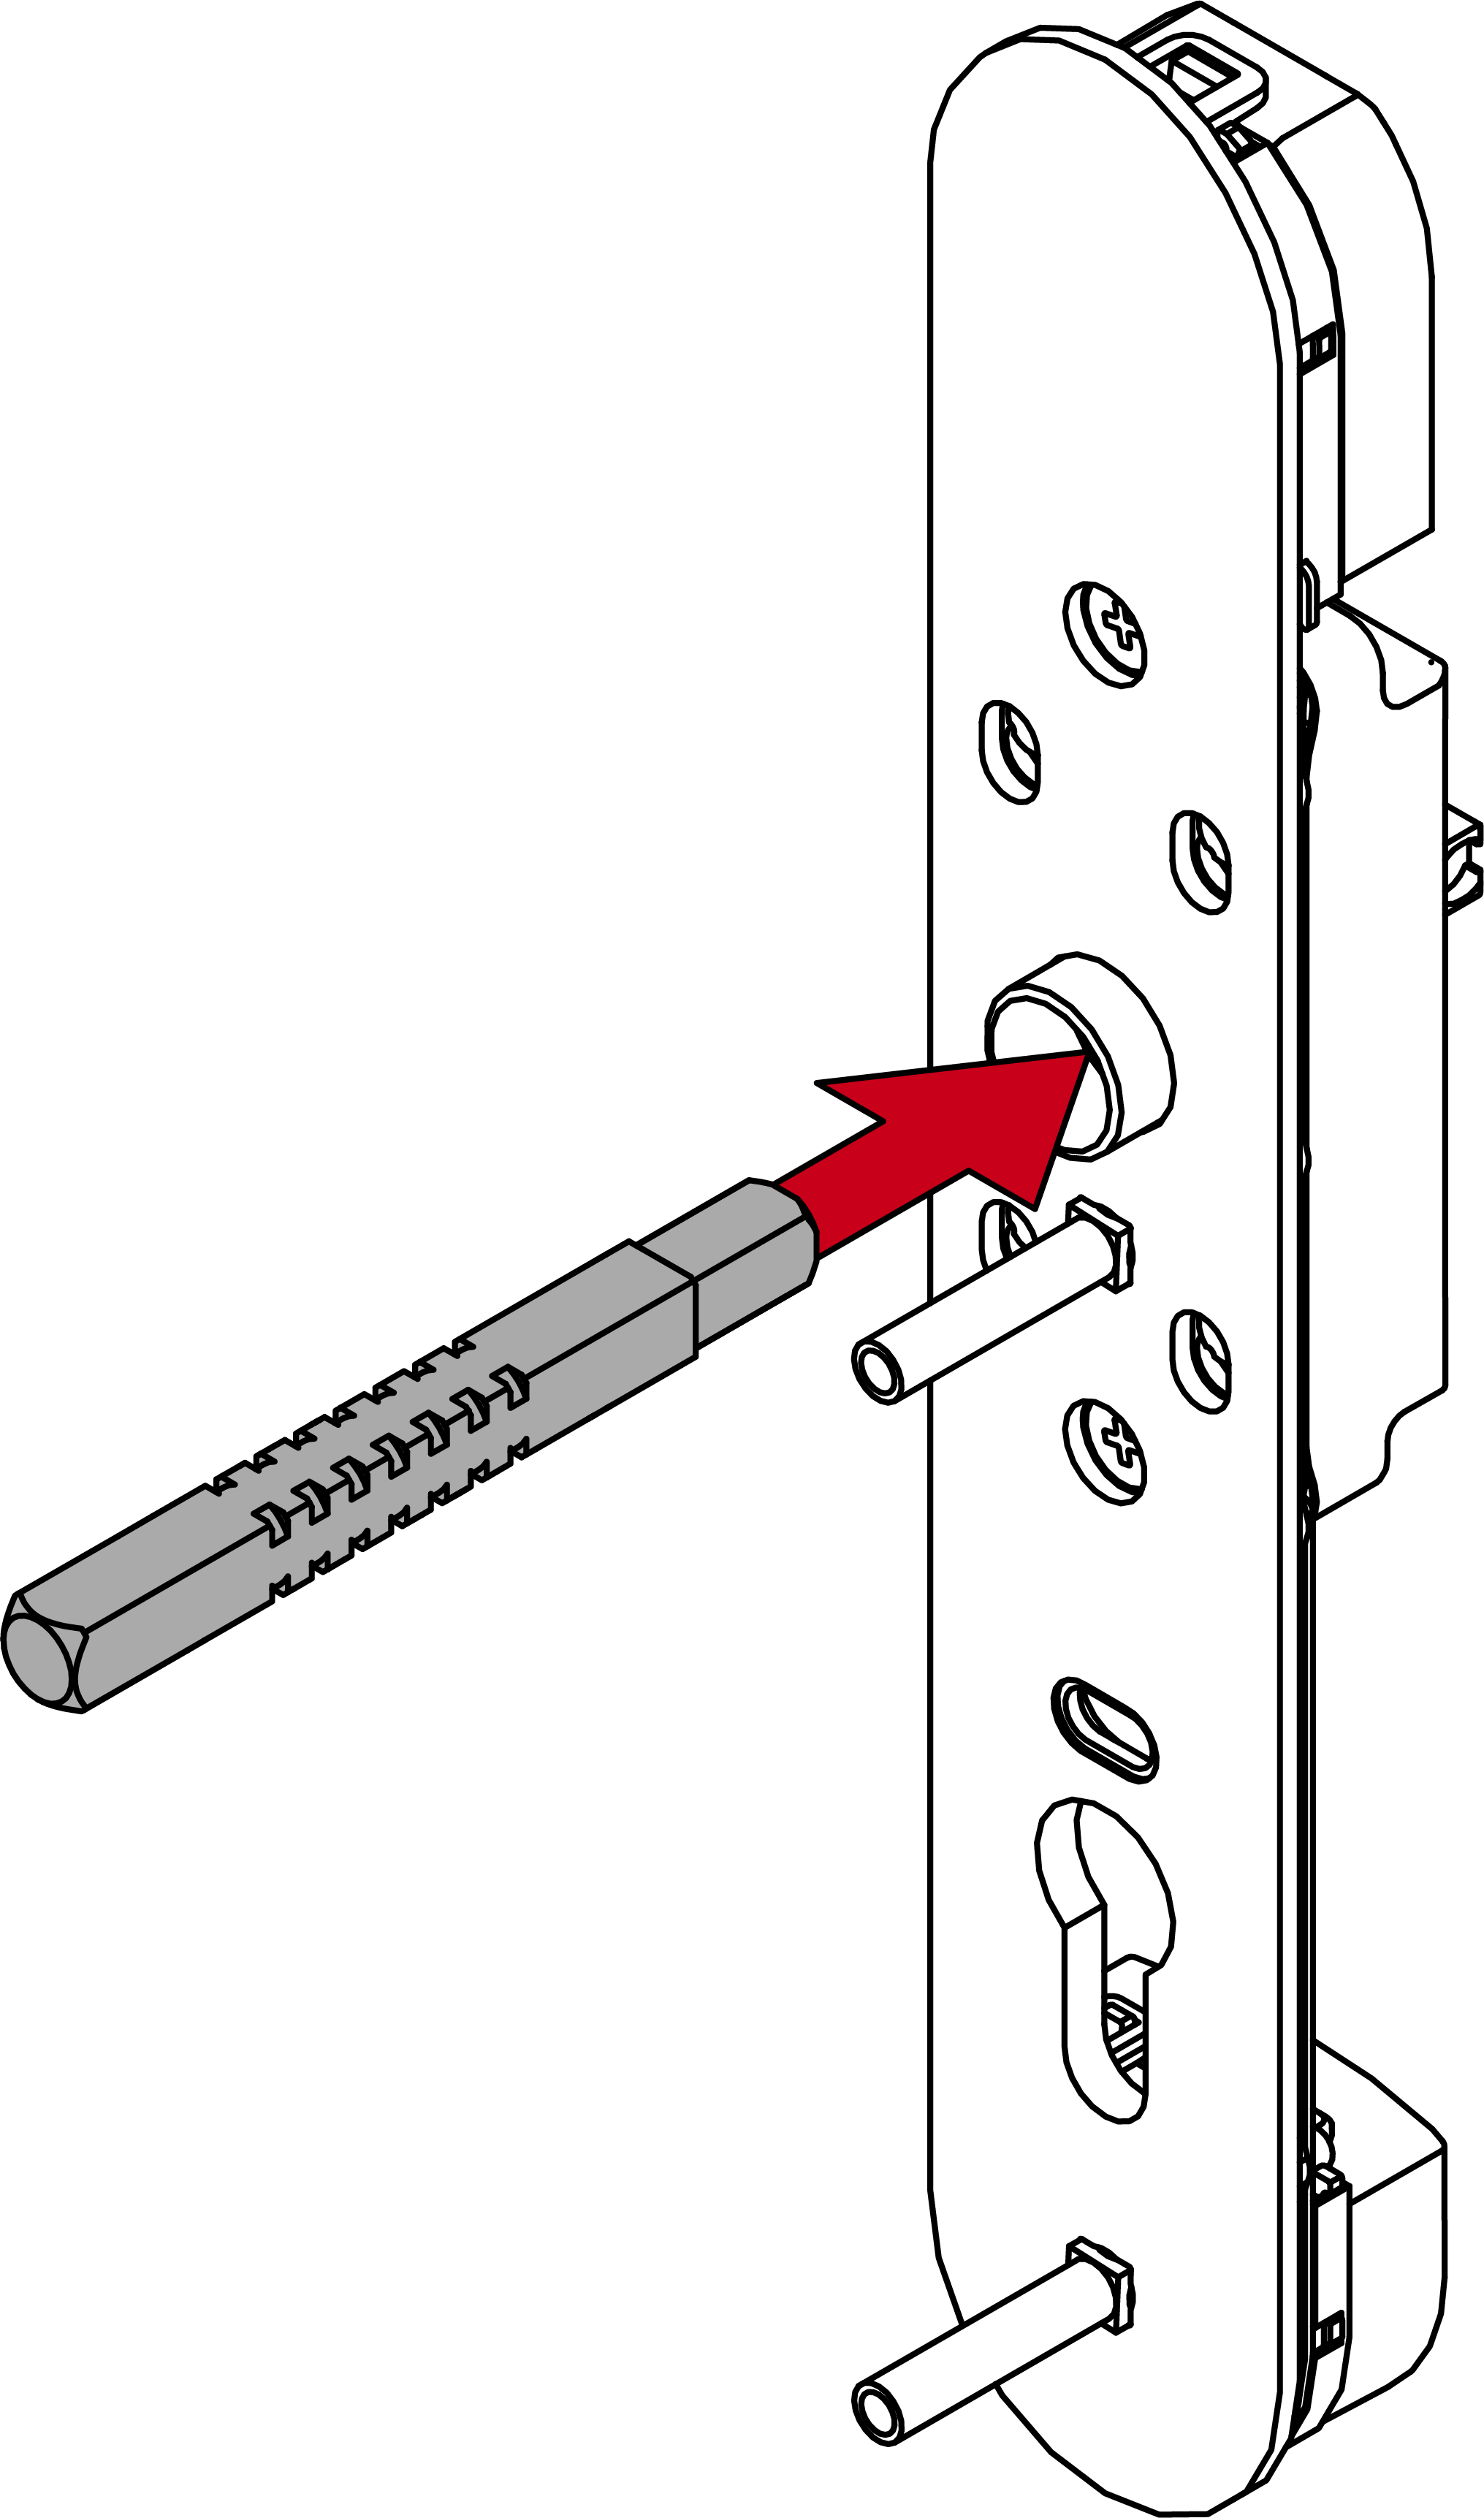
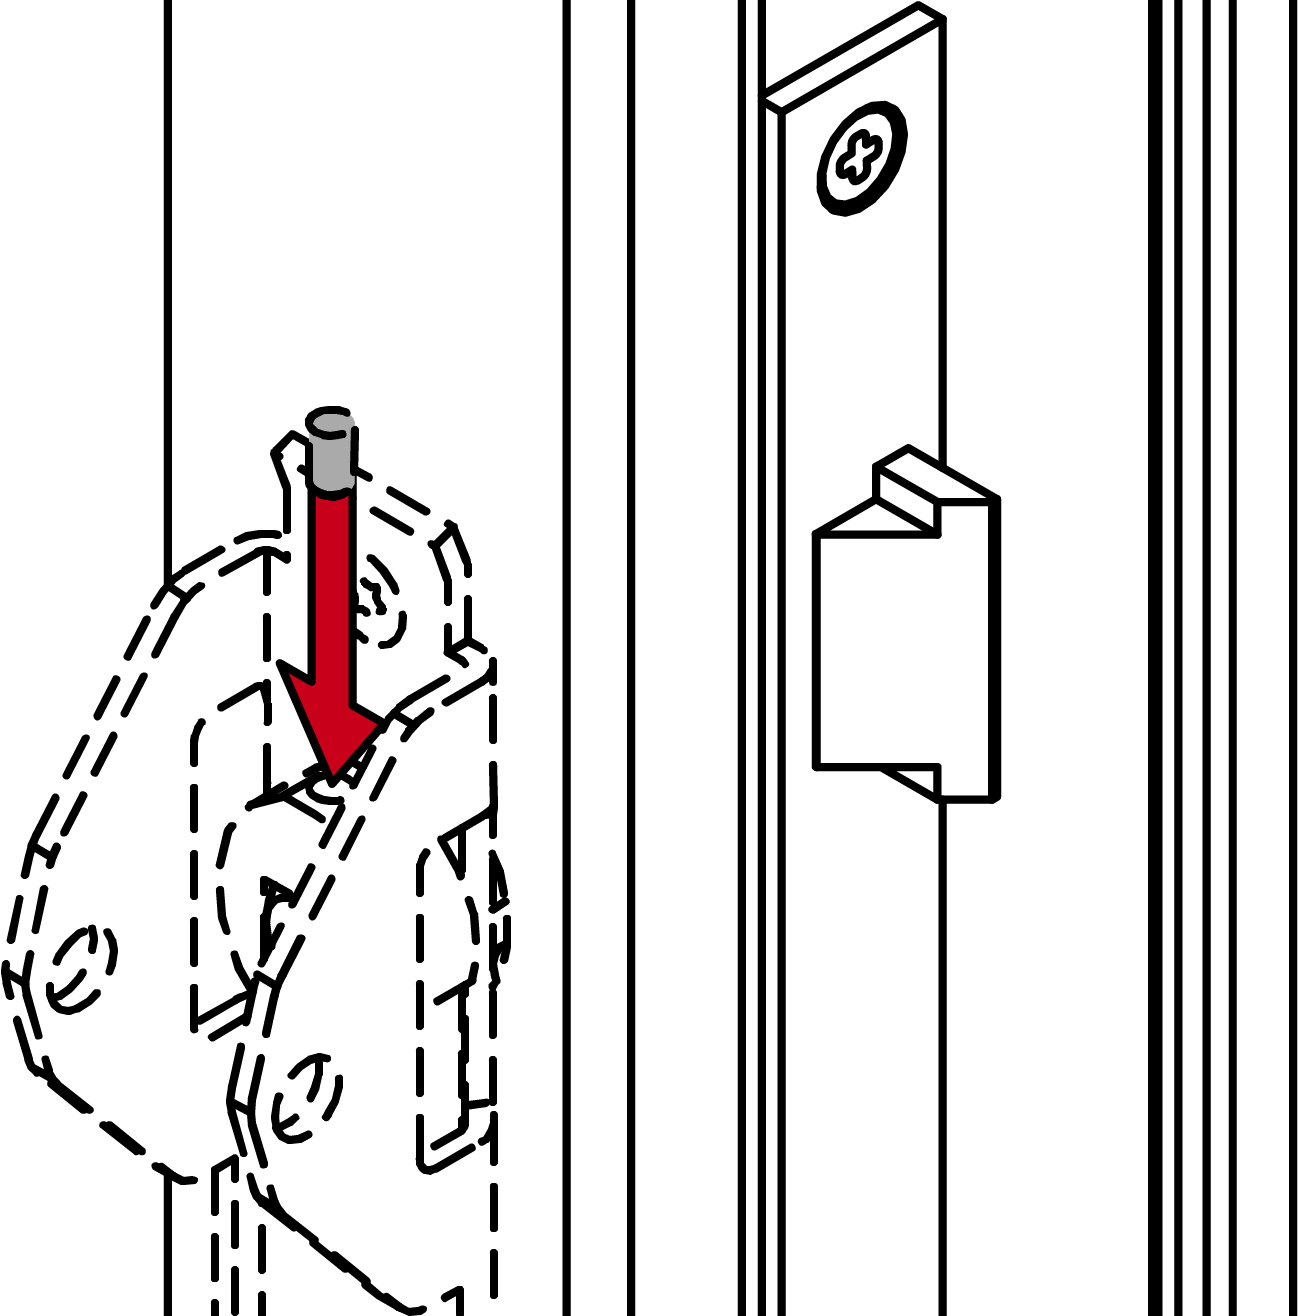
- Insert the spindle into the fitting.
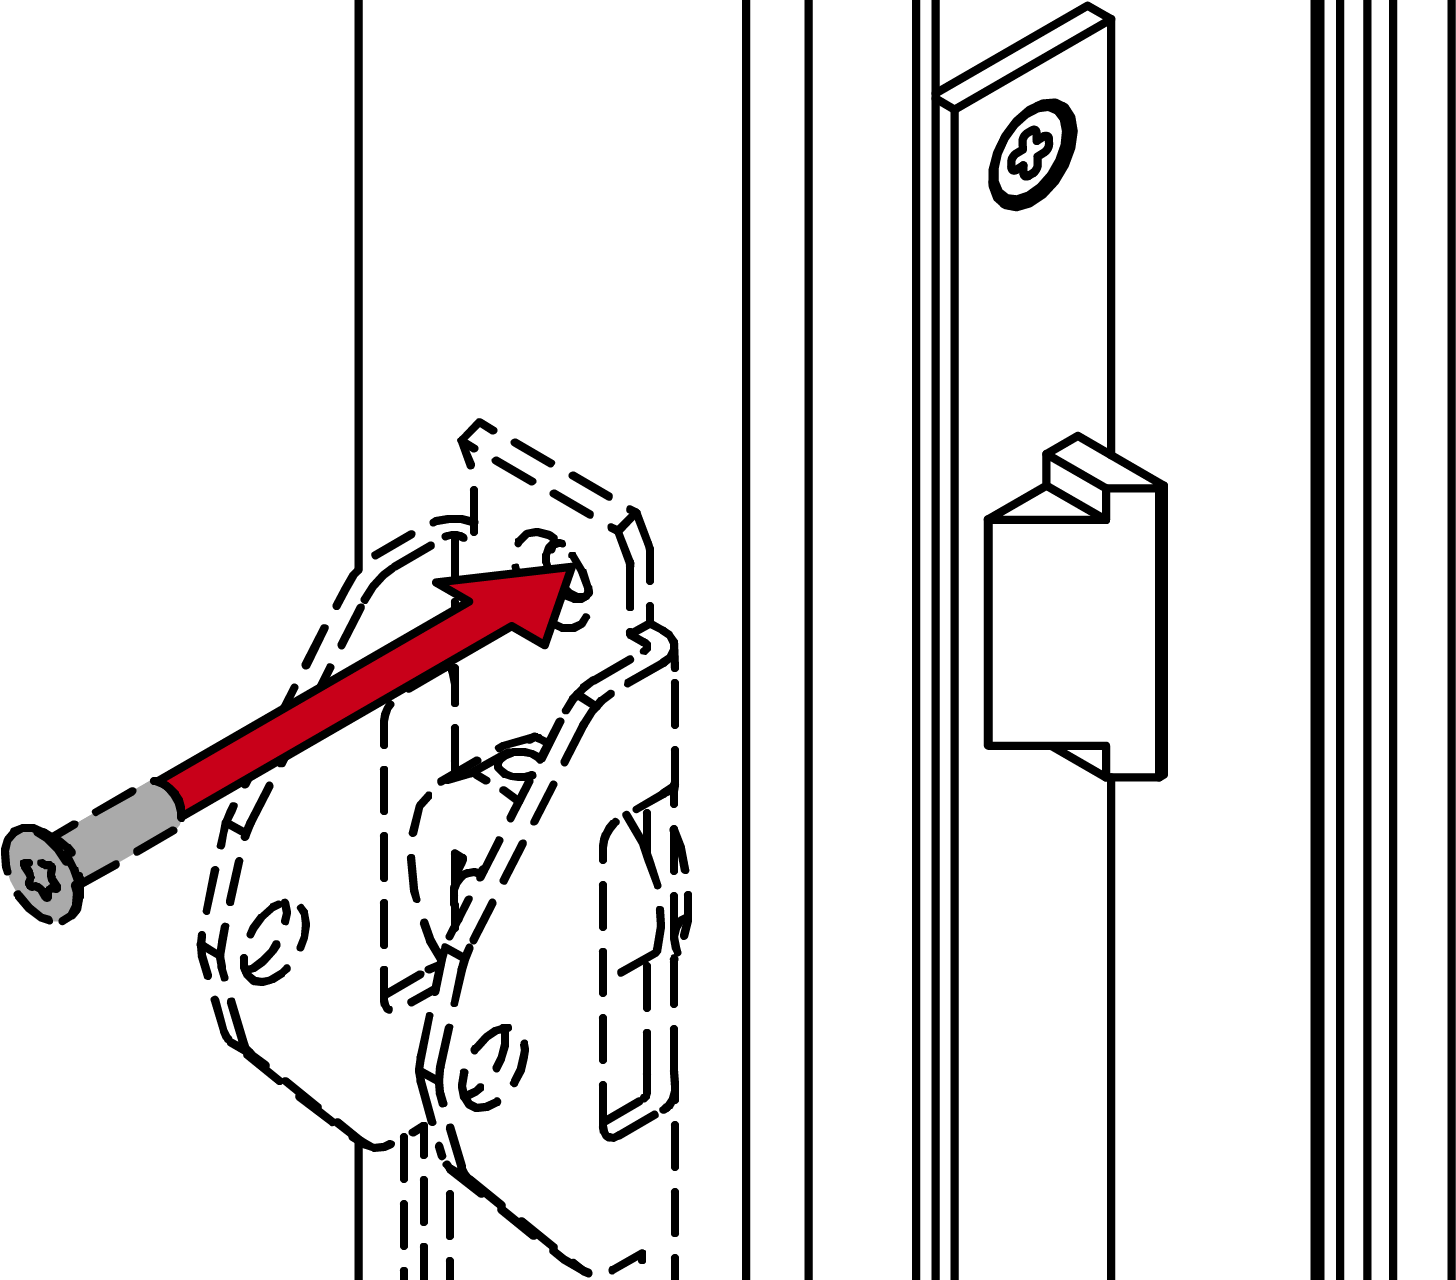
- Insert the module support with the fastening plate into the outer side of the door (PH2, torque 3.0 Nm).

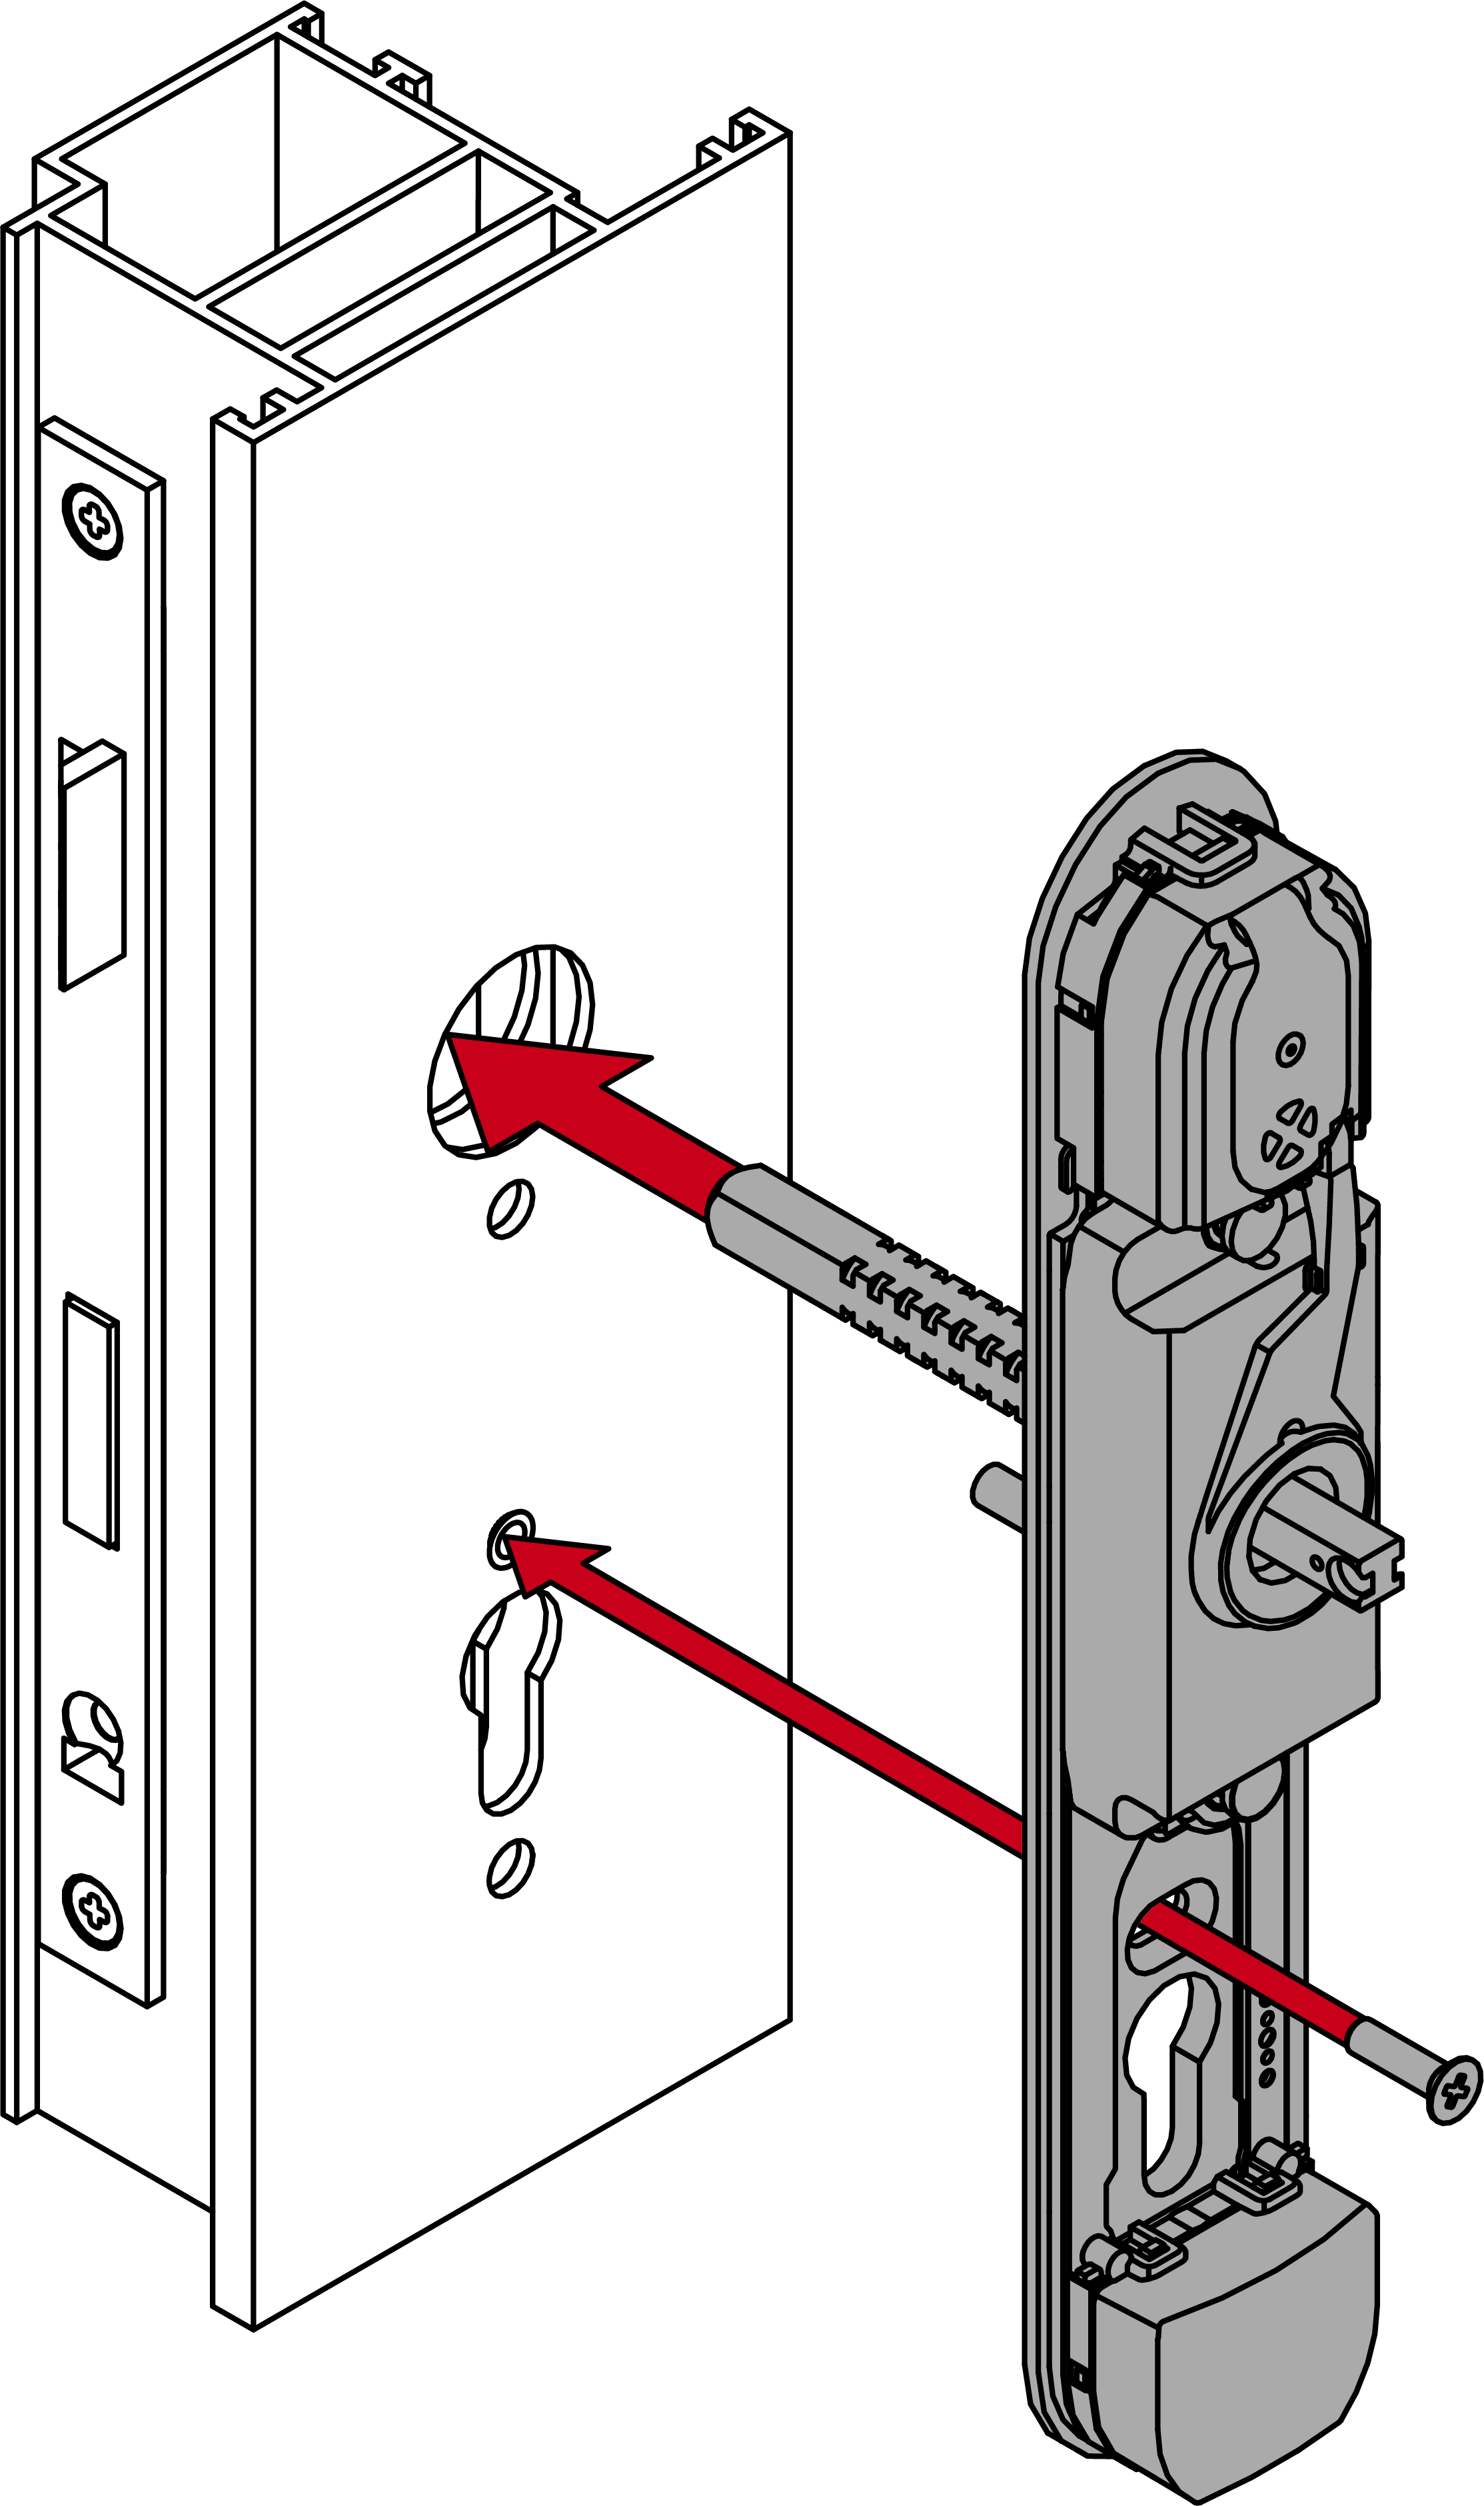
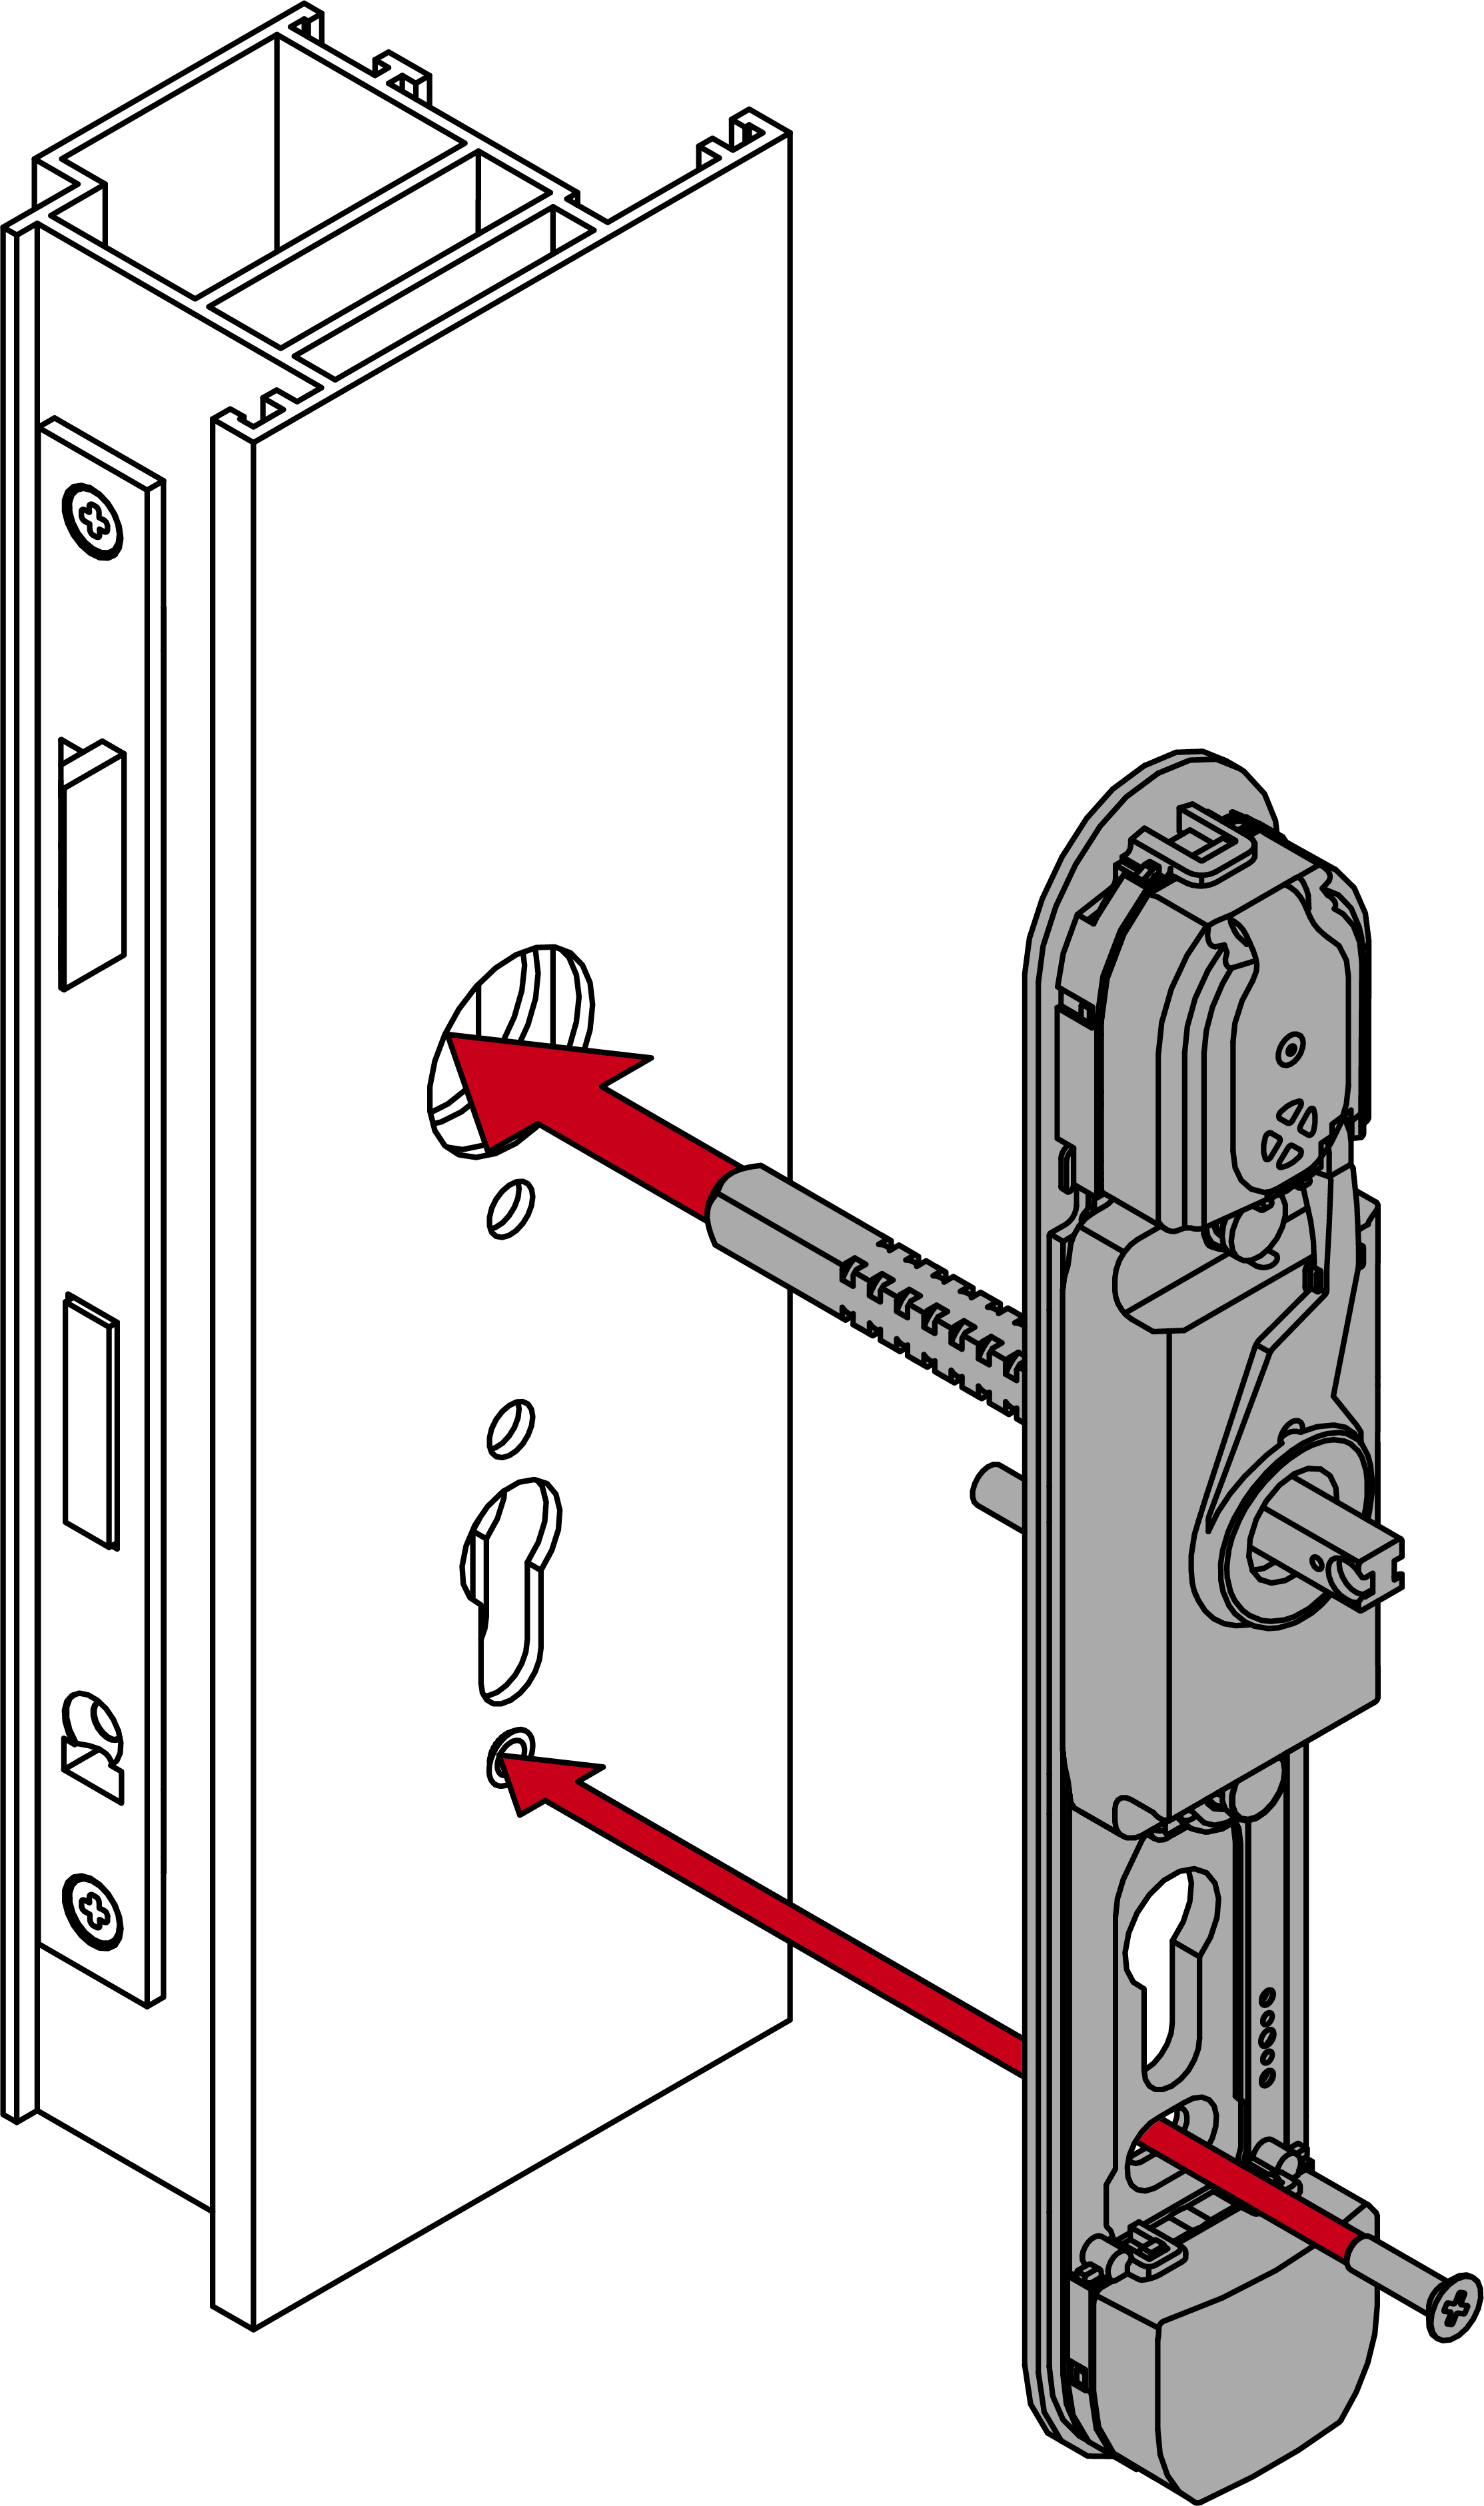
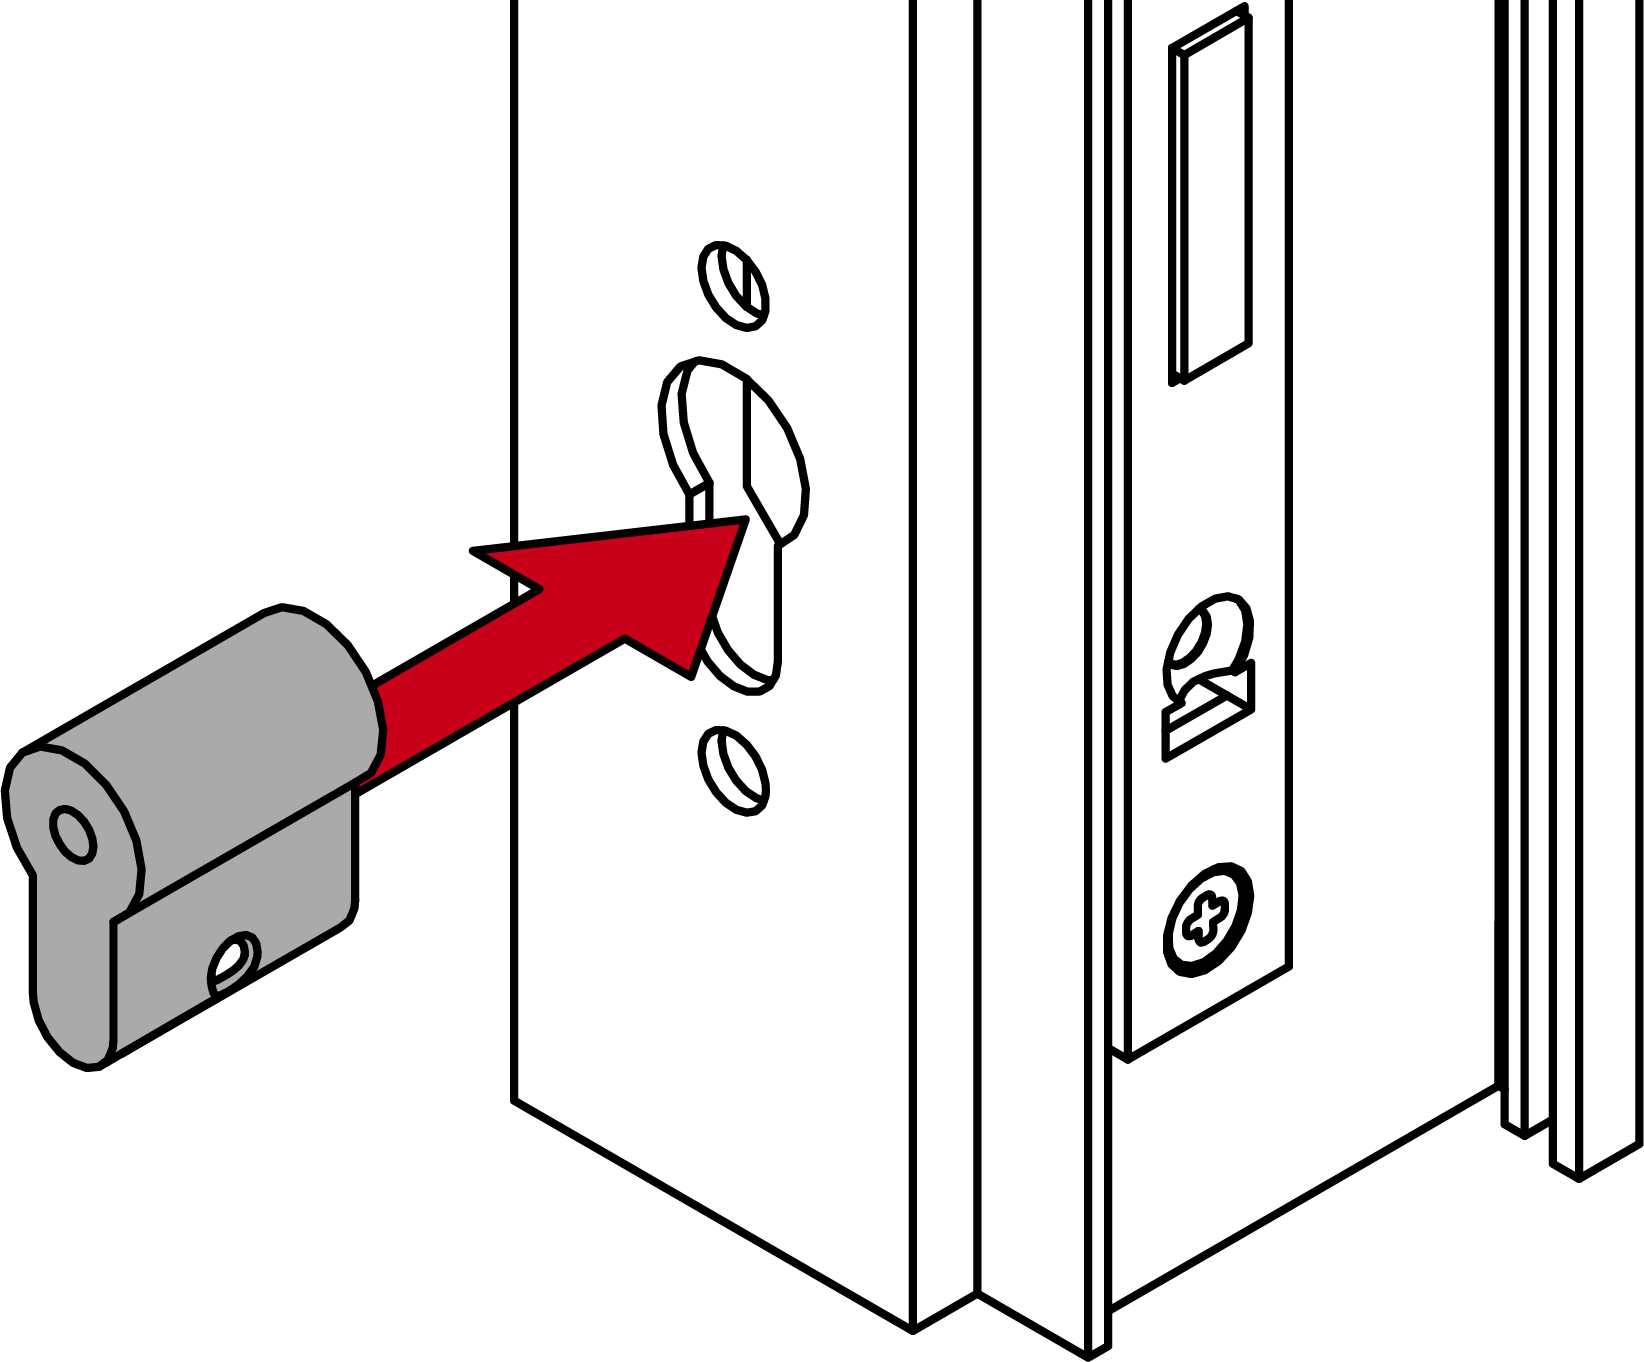
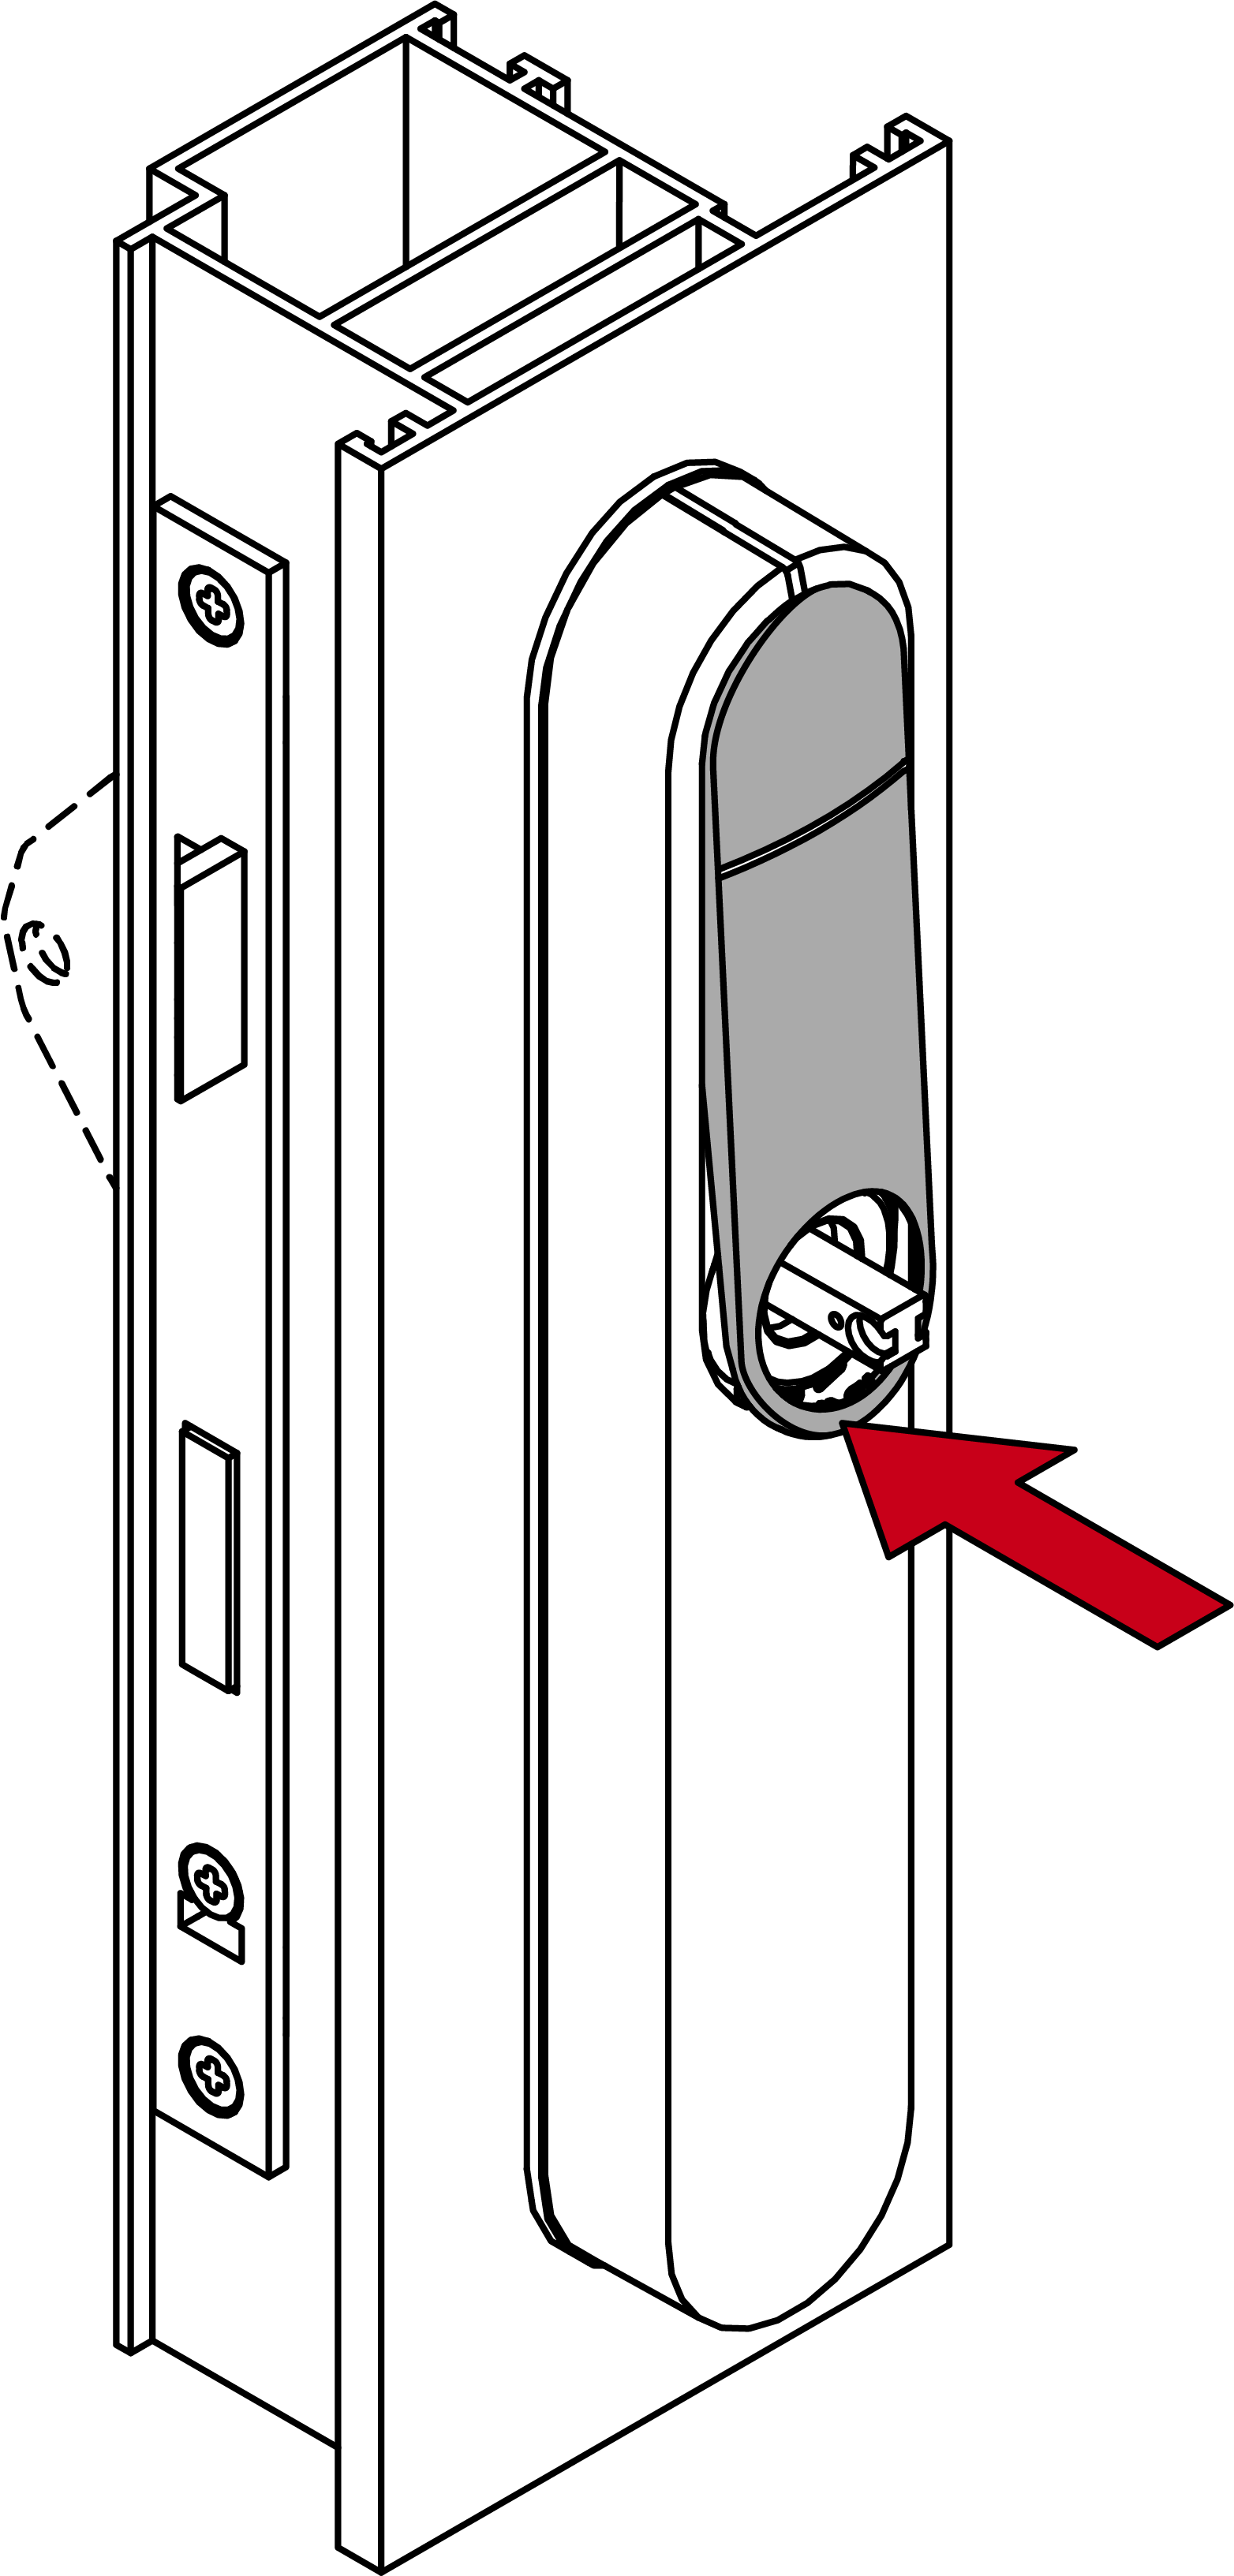
- For non-MO: insert the blank cylinder.
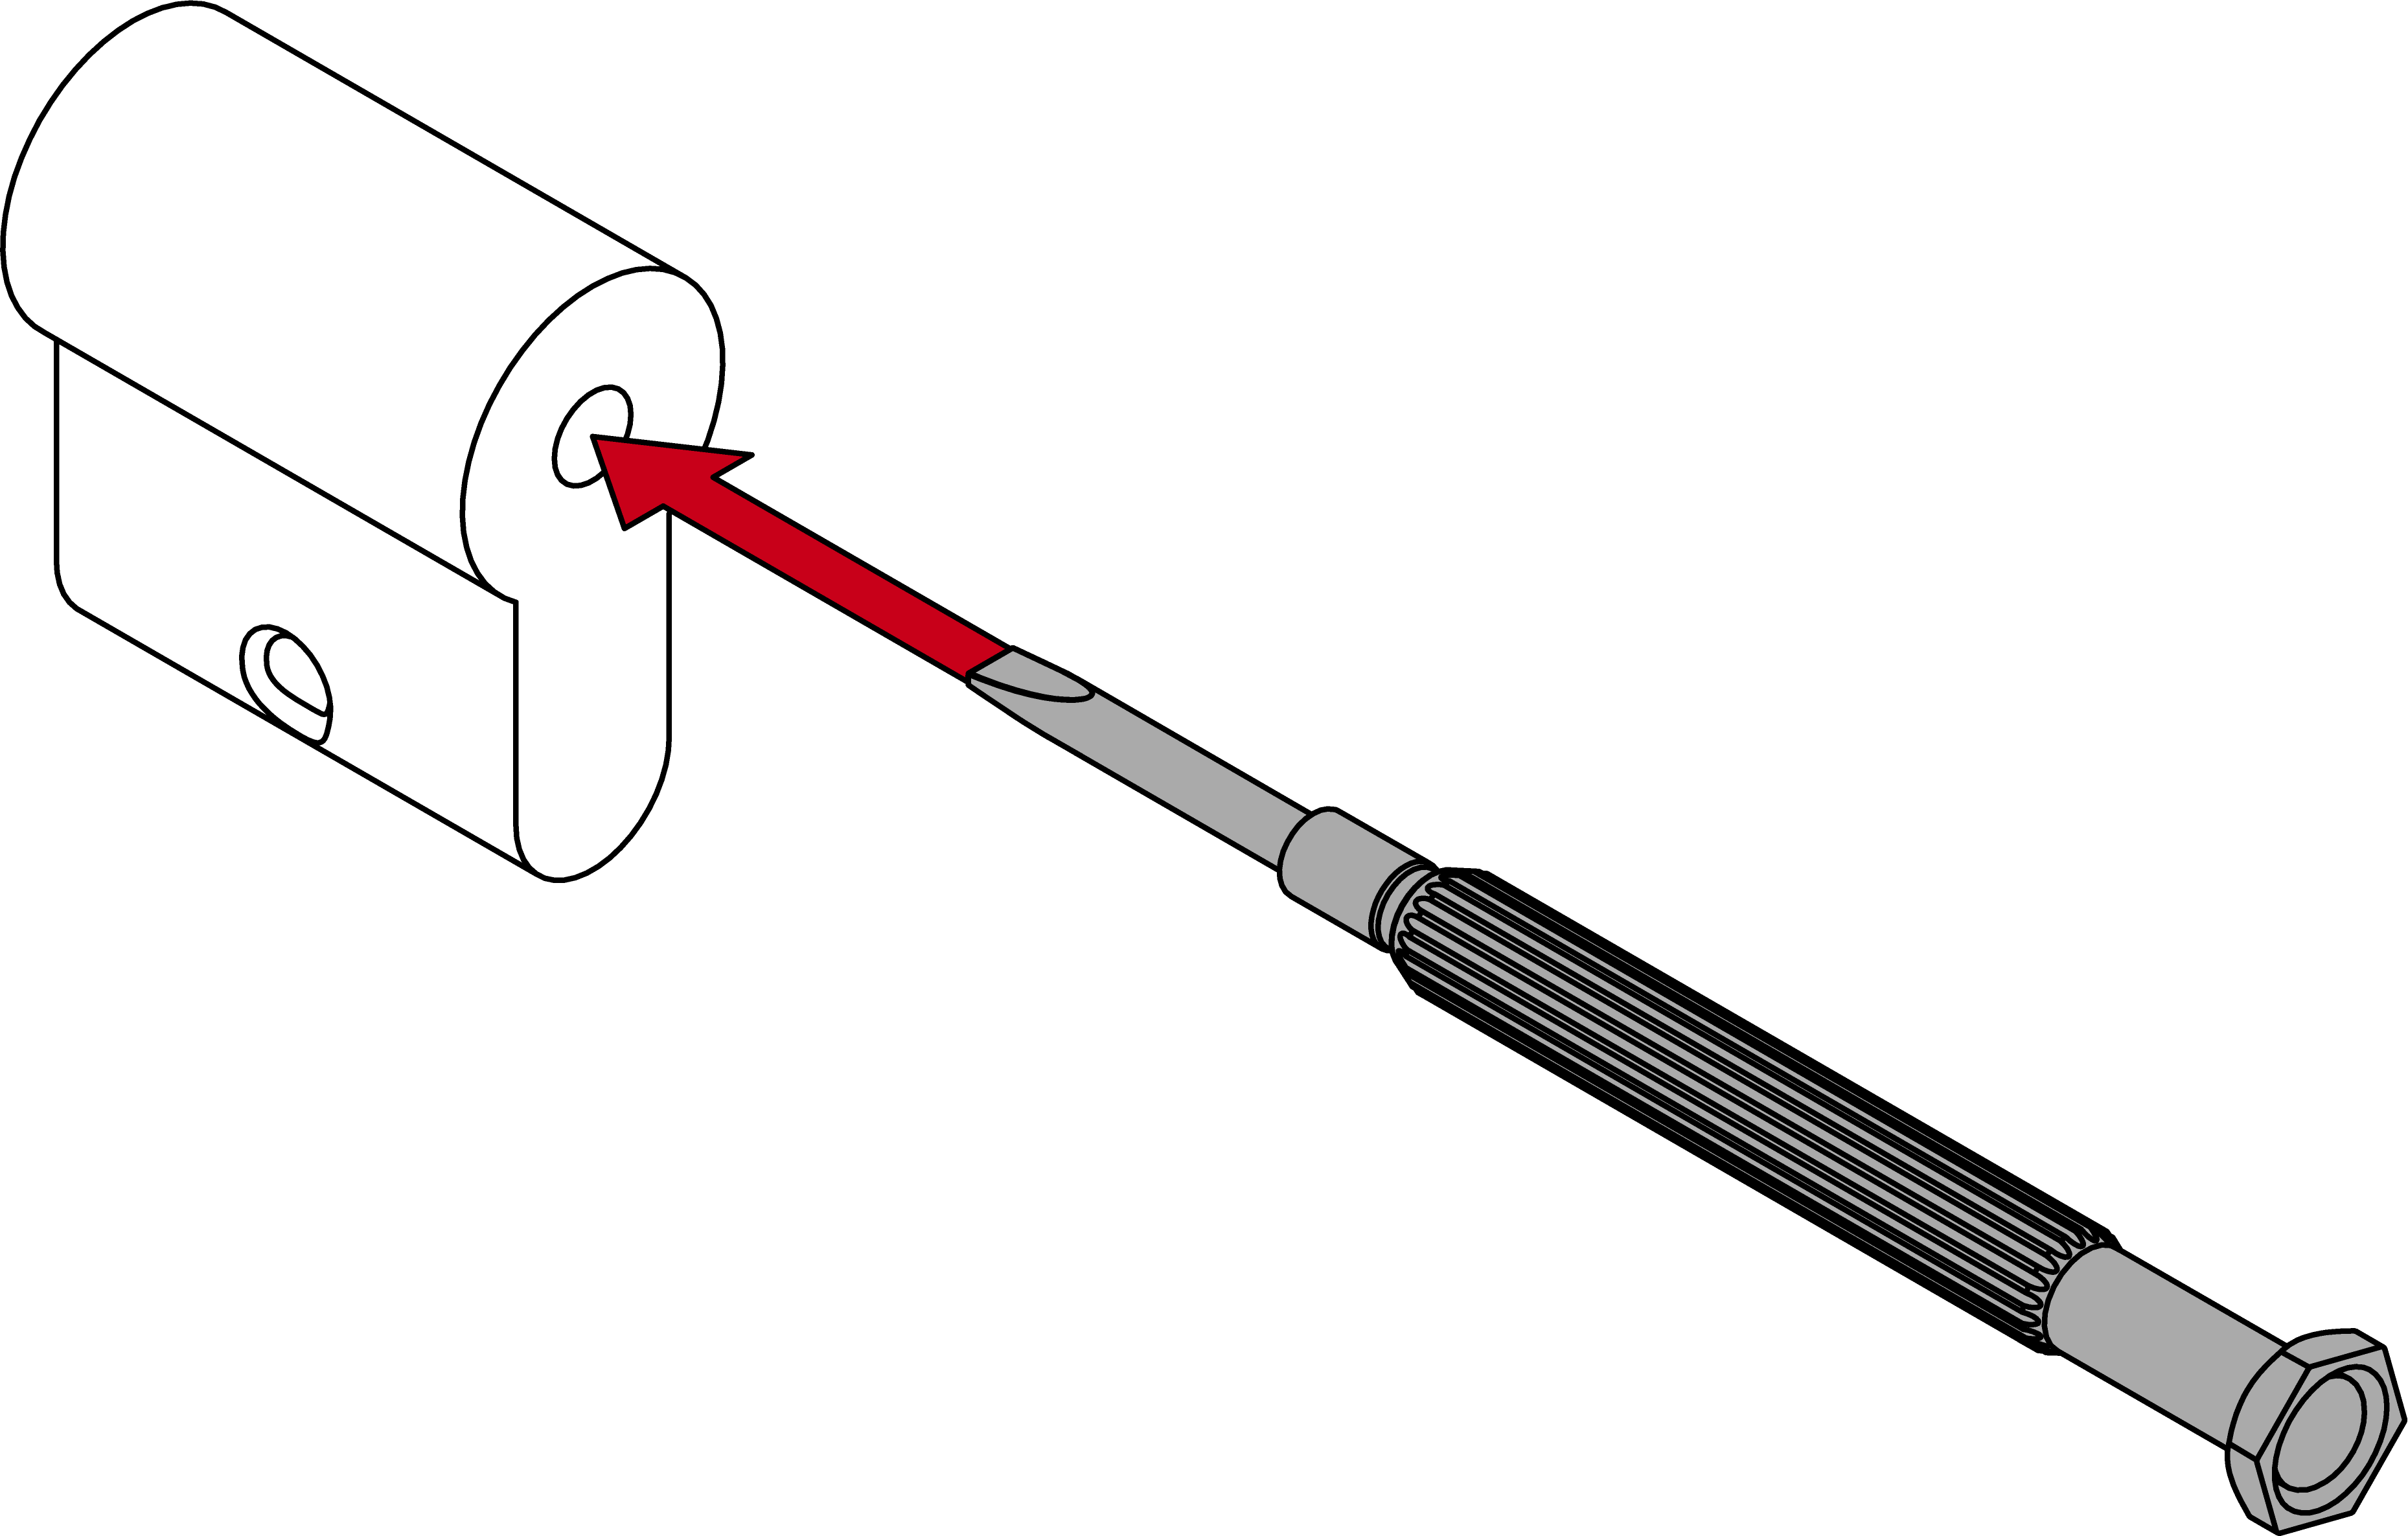
NOTE
Feed the blank cylinder into the hole using a screwdriver
It is difficult to position the blank cylinder correctly, especially in thick doors.
- Insert a screwdriver into the hole in the blank cylinder.
- Position the blank cylinder using the screwdriver.
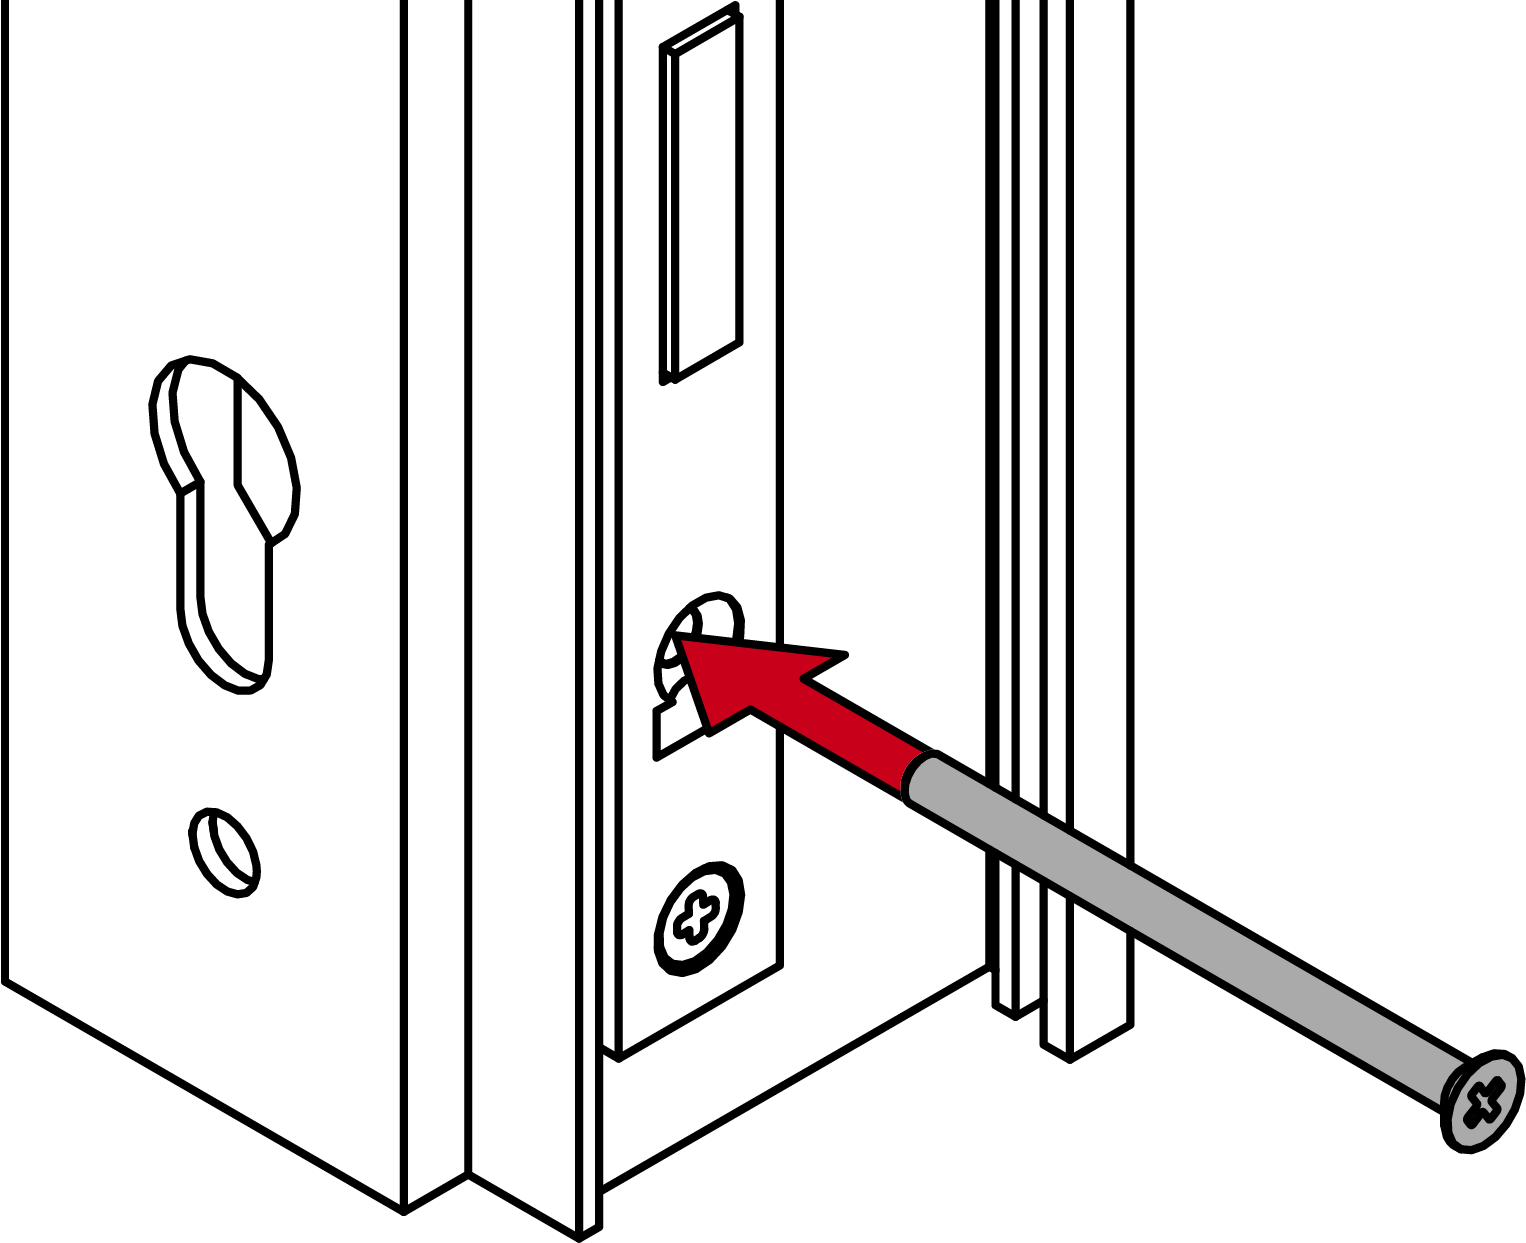
- For non-MO: screw the dummy cylinder firmly into place (PH2; torque: 1.1 Nm).
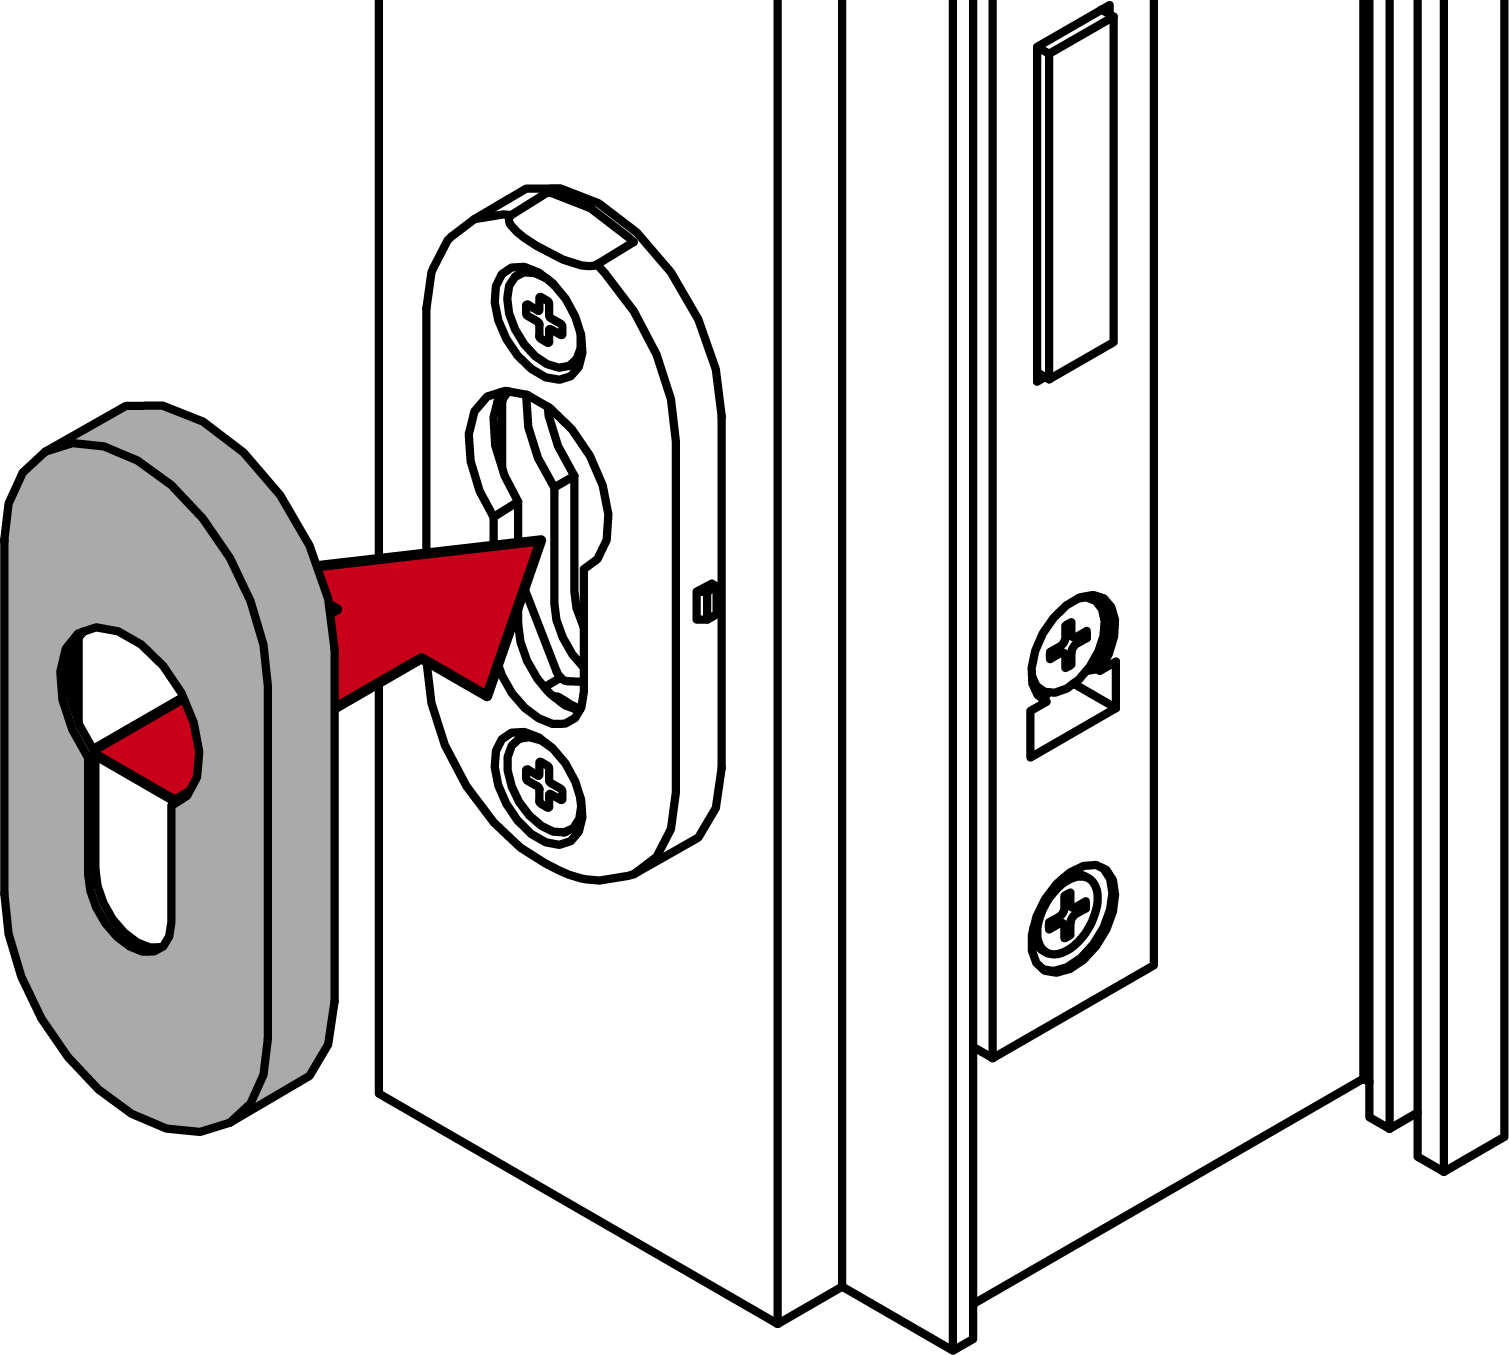
- For PO (oval escutcheon): screw on the oval escutcheon base (PH2, 1.1 Nm).
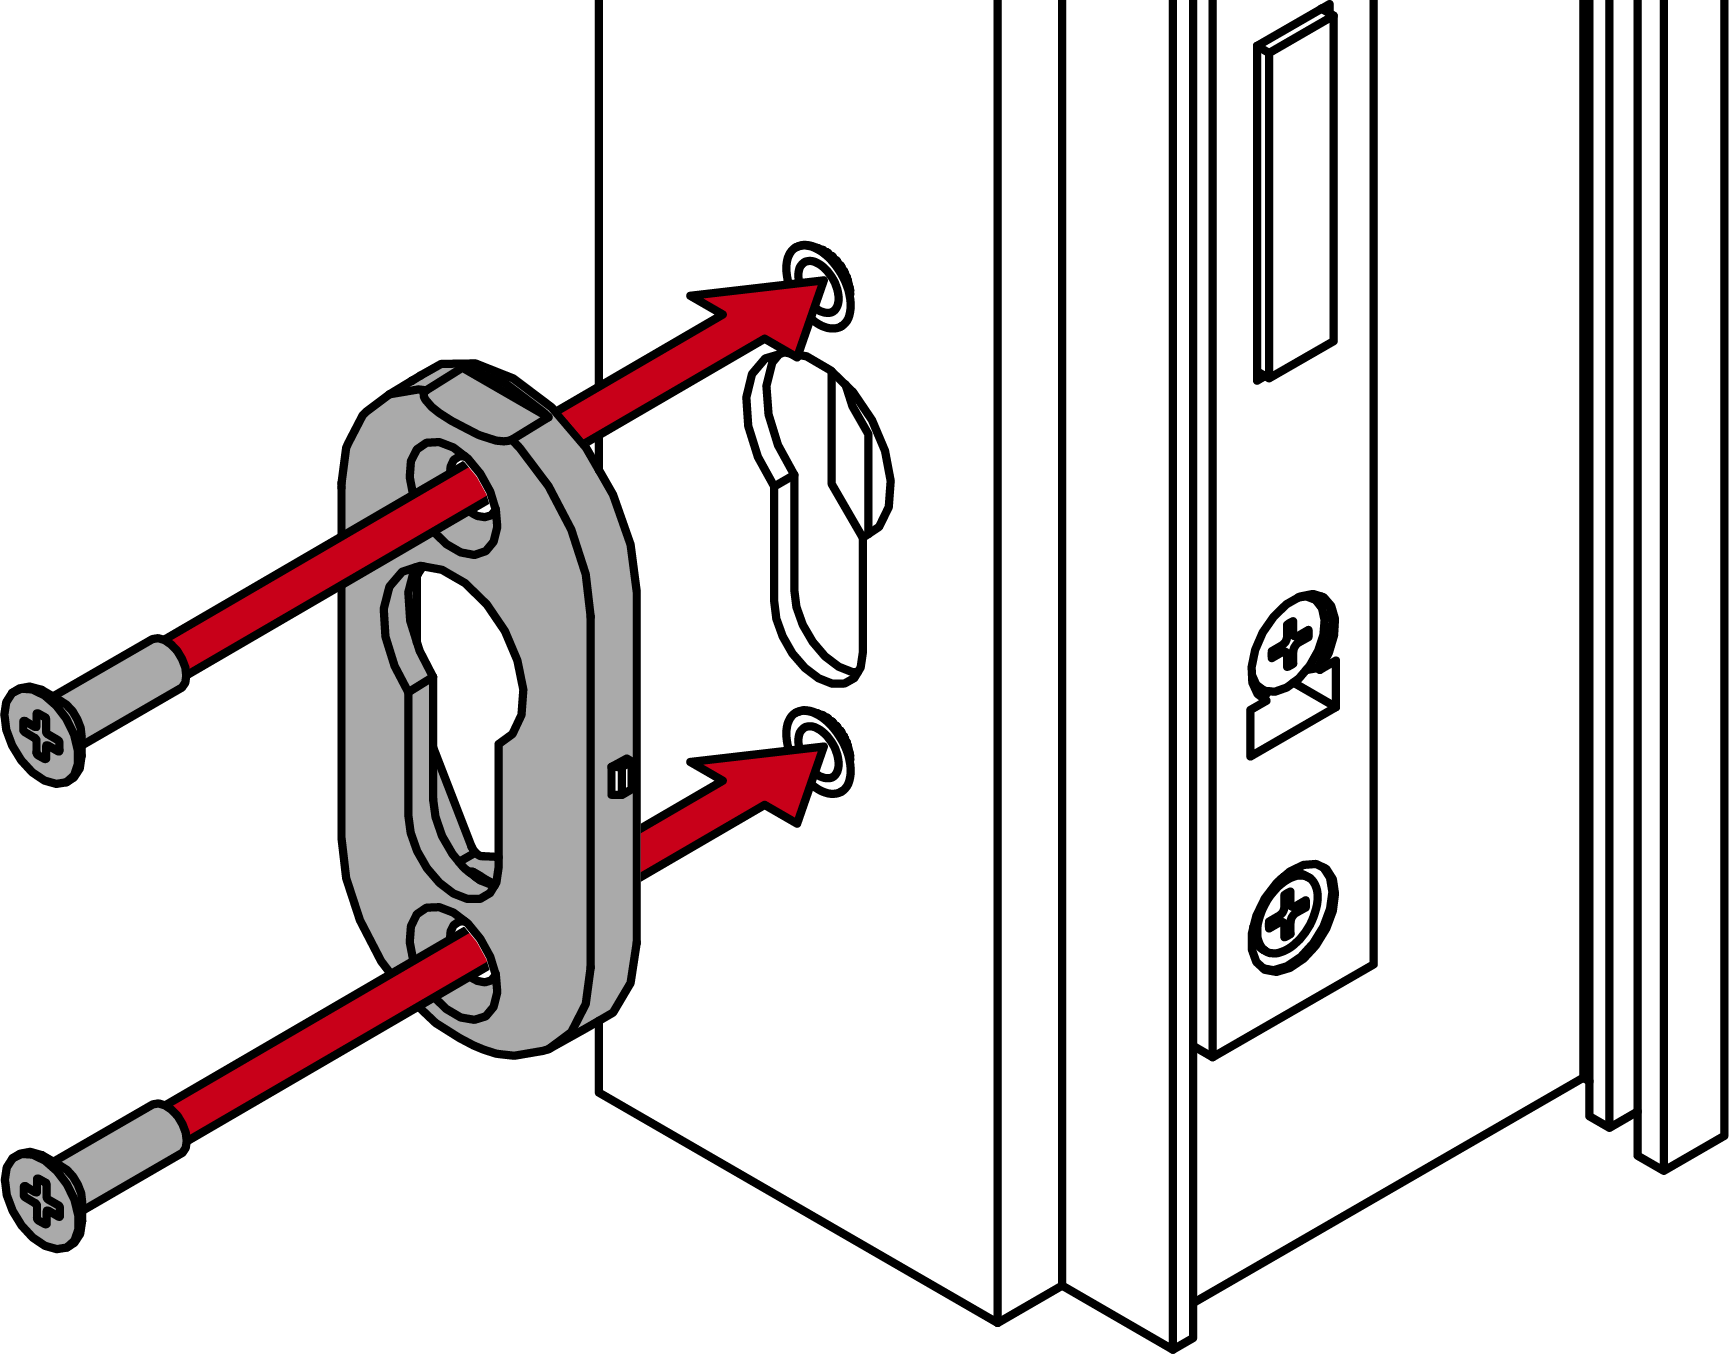
- For PO (oval escutcheon): place the cover on the oval escutcheon base.
- Firmly screw on the panic bar mounting plate (TX25, PO [oval escutcheon]) in addition to PH2 - please refer to the manufacturer’s documentation for torques).

- Observe any manufacturer-specific requirements for attaching the mounting plate.
- Fasten the panic bar according to the manufacturer’s specifications (e.g. using grub screw).
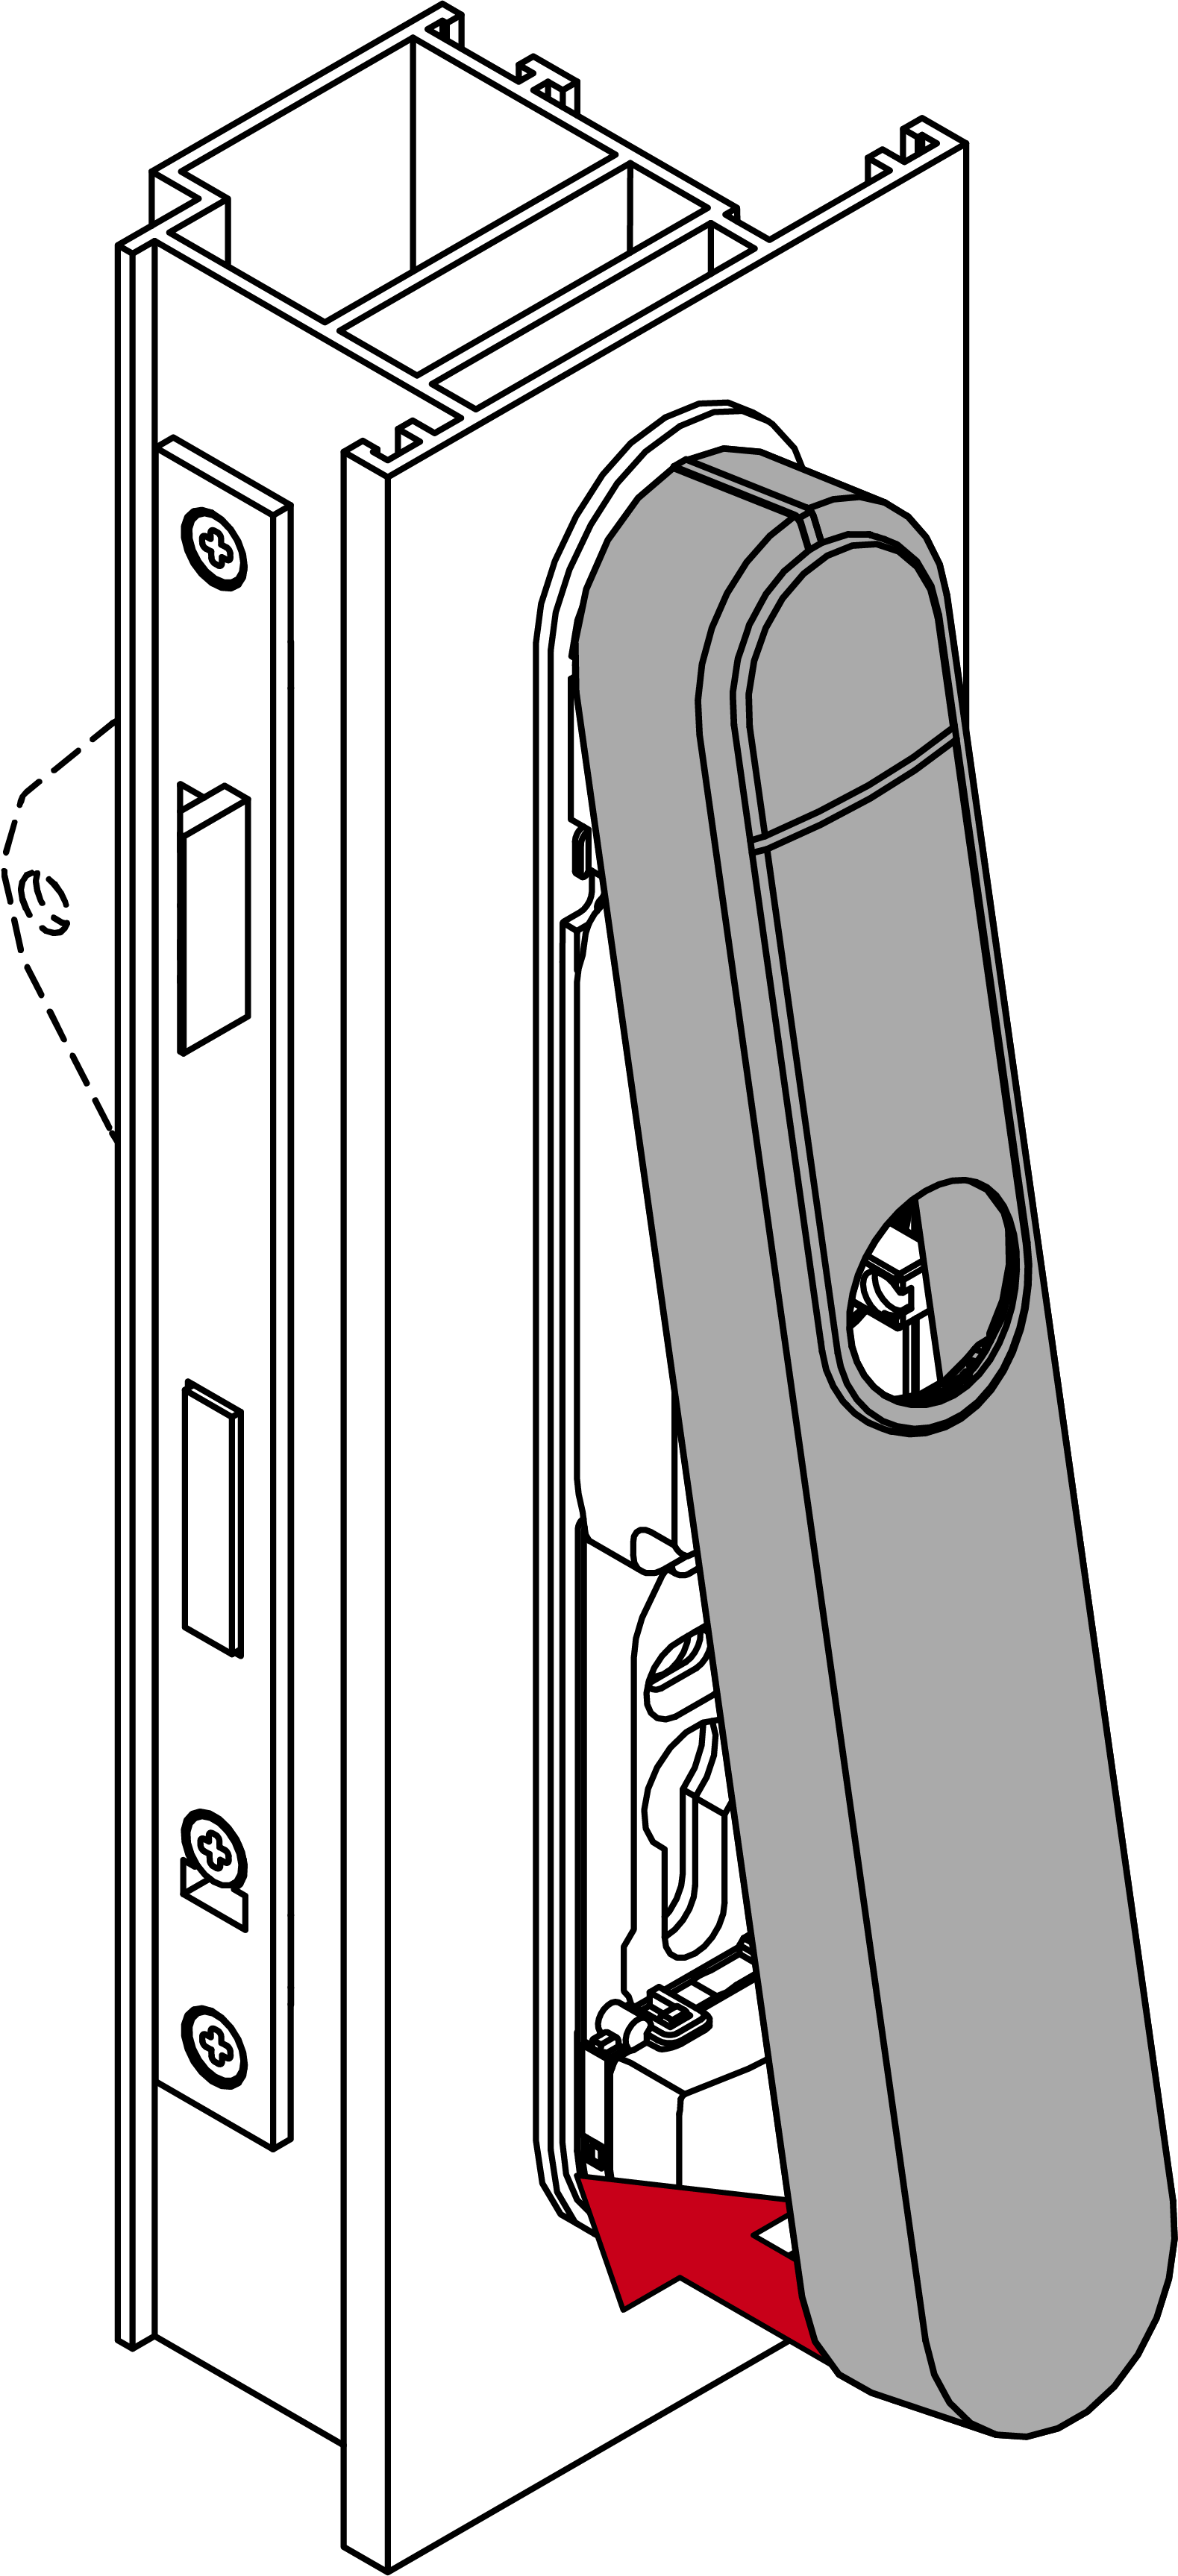
- Place the cover on top of the fastening plate.
- Fold down the cover.
- Slide the cover upwards.
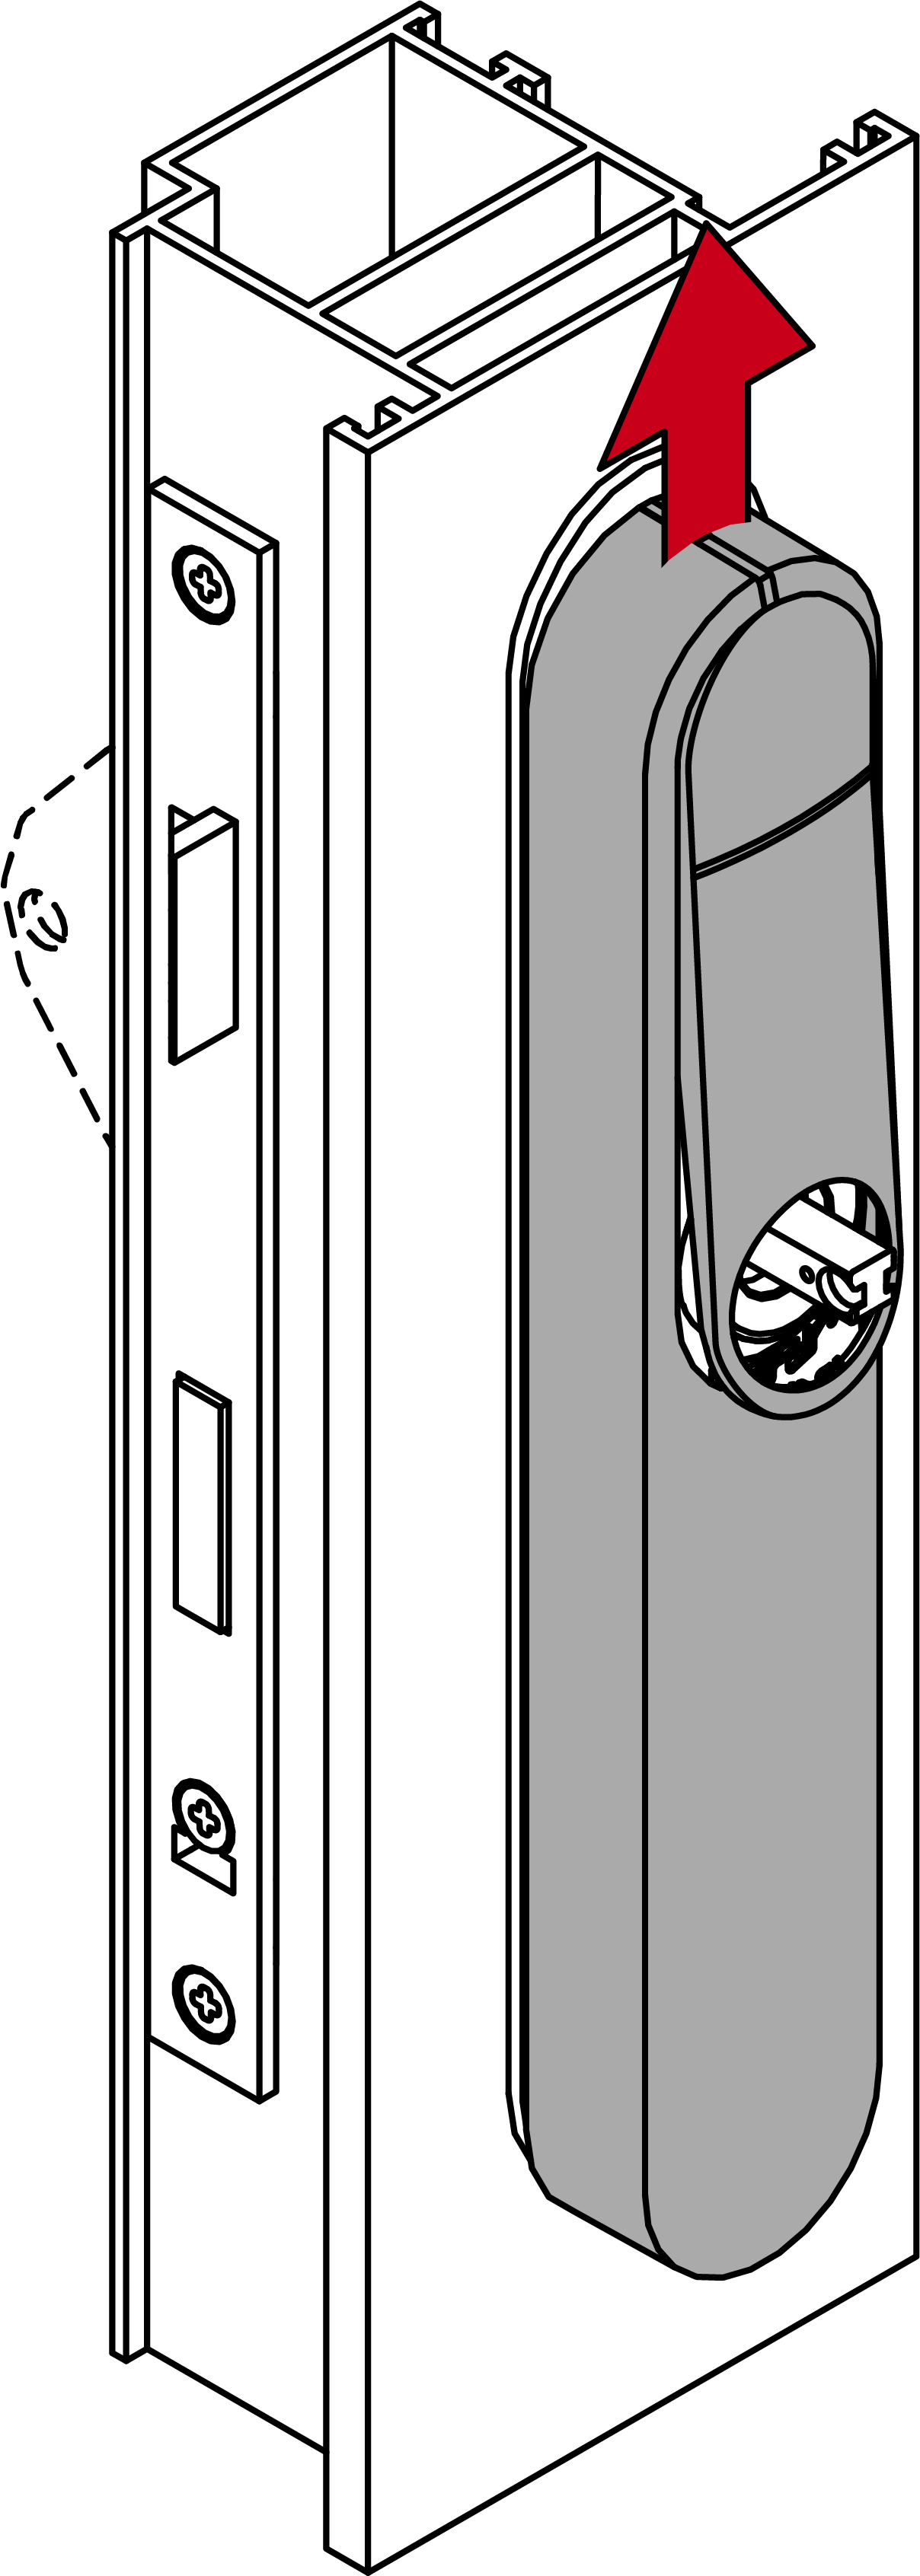
- Press the inlay into place.
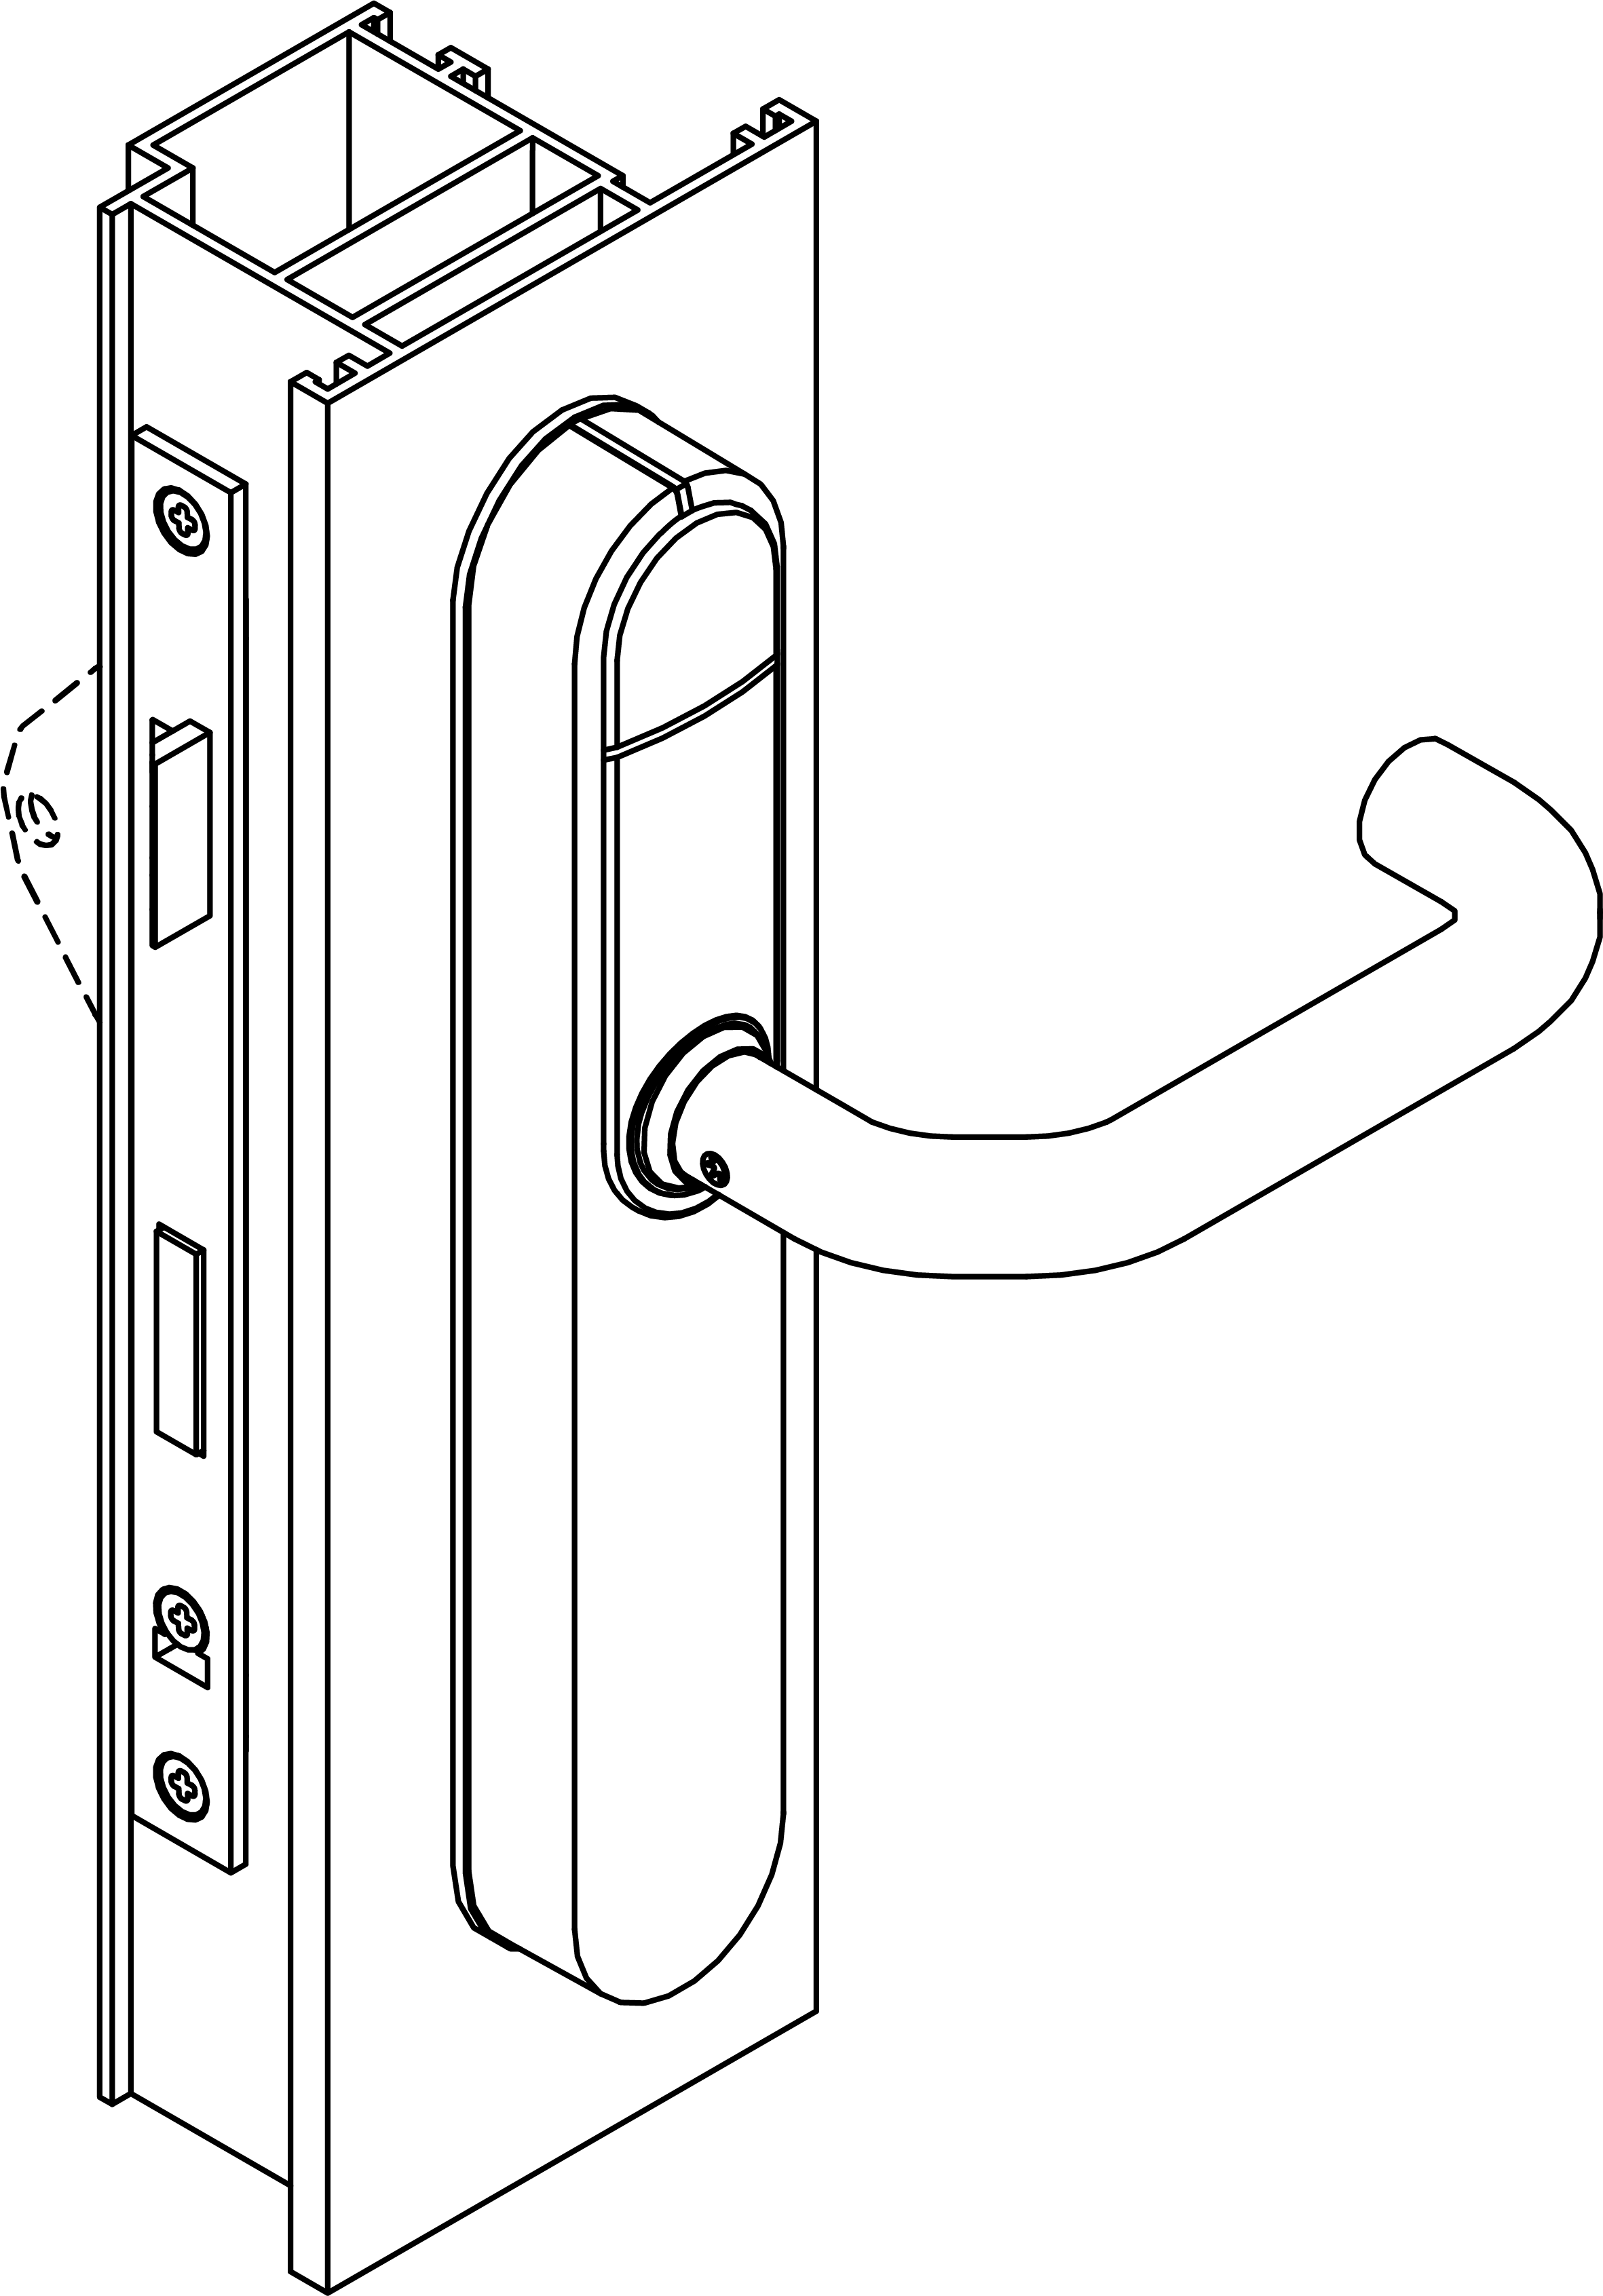
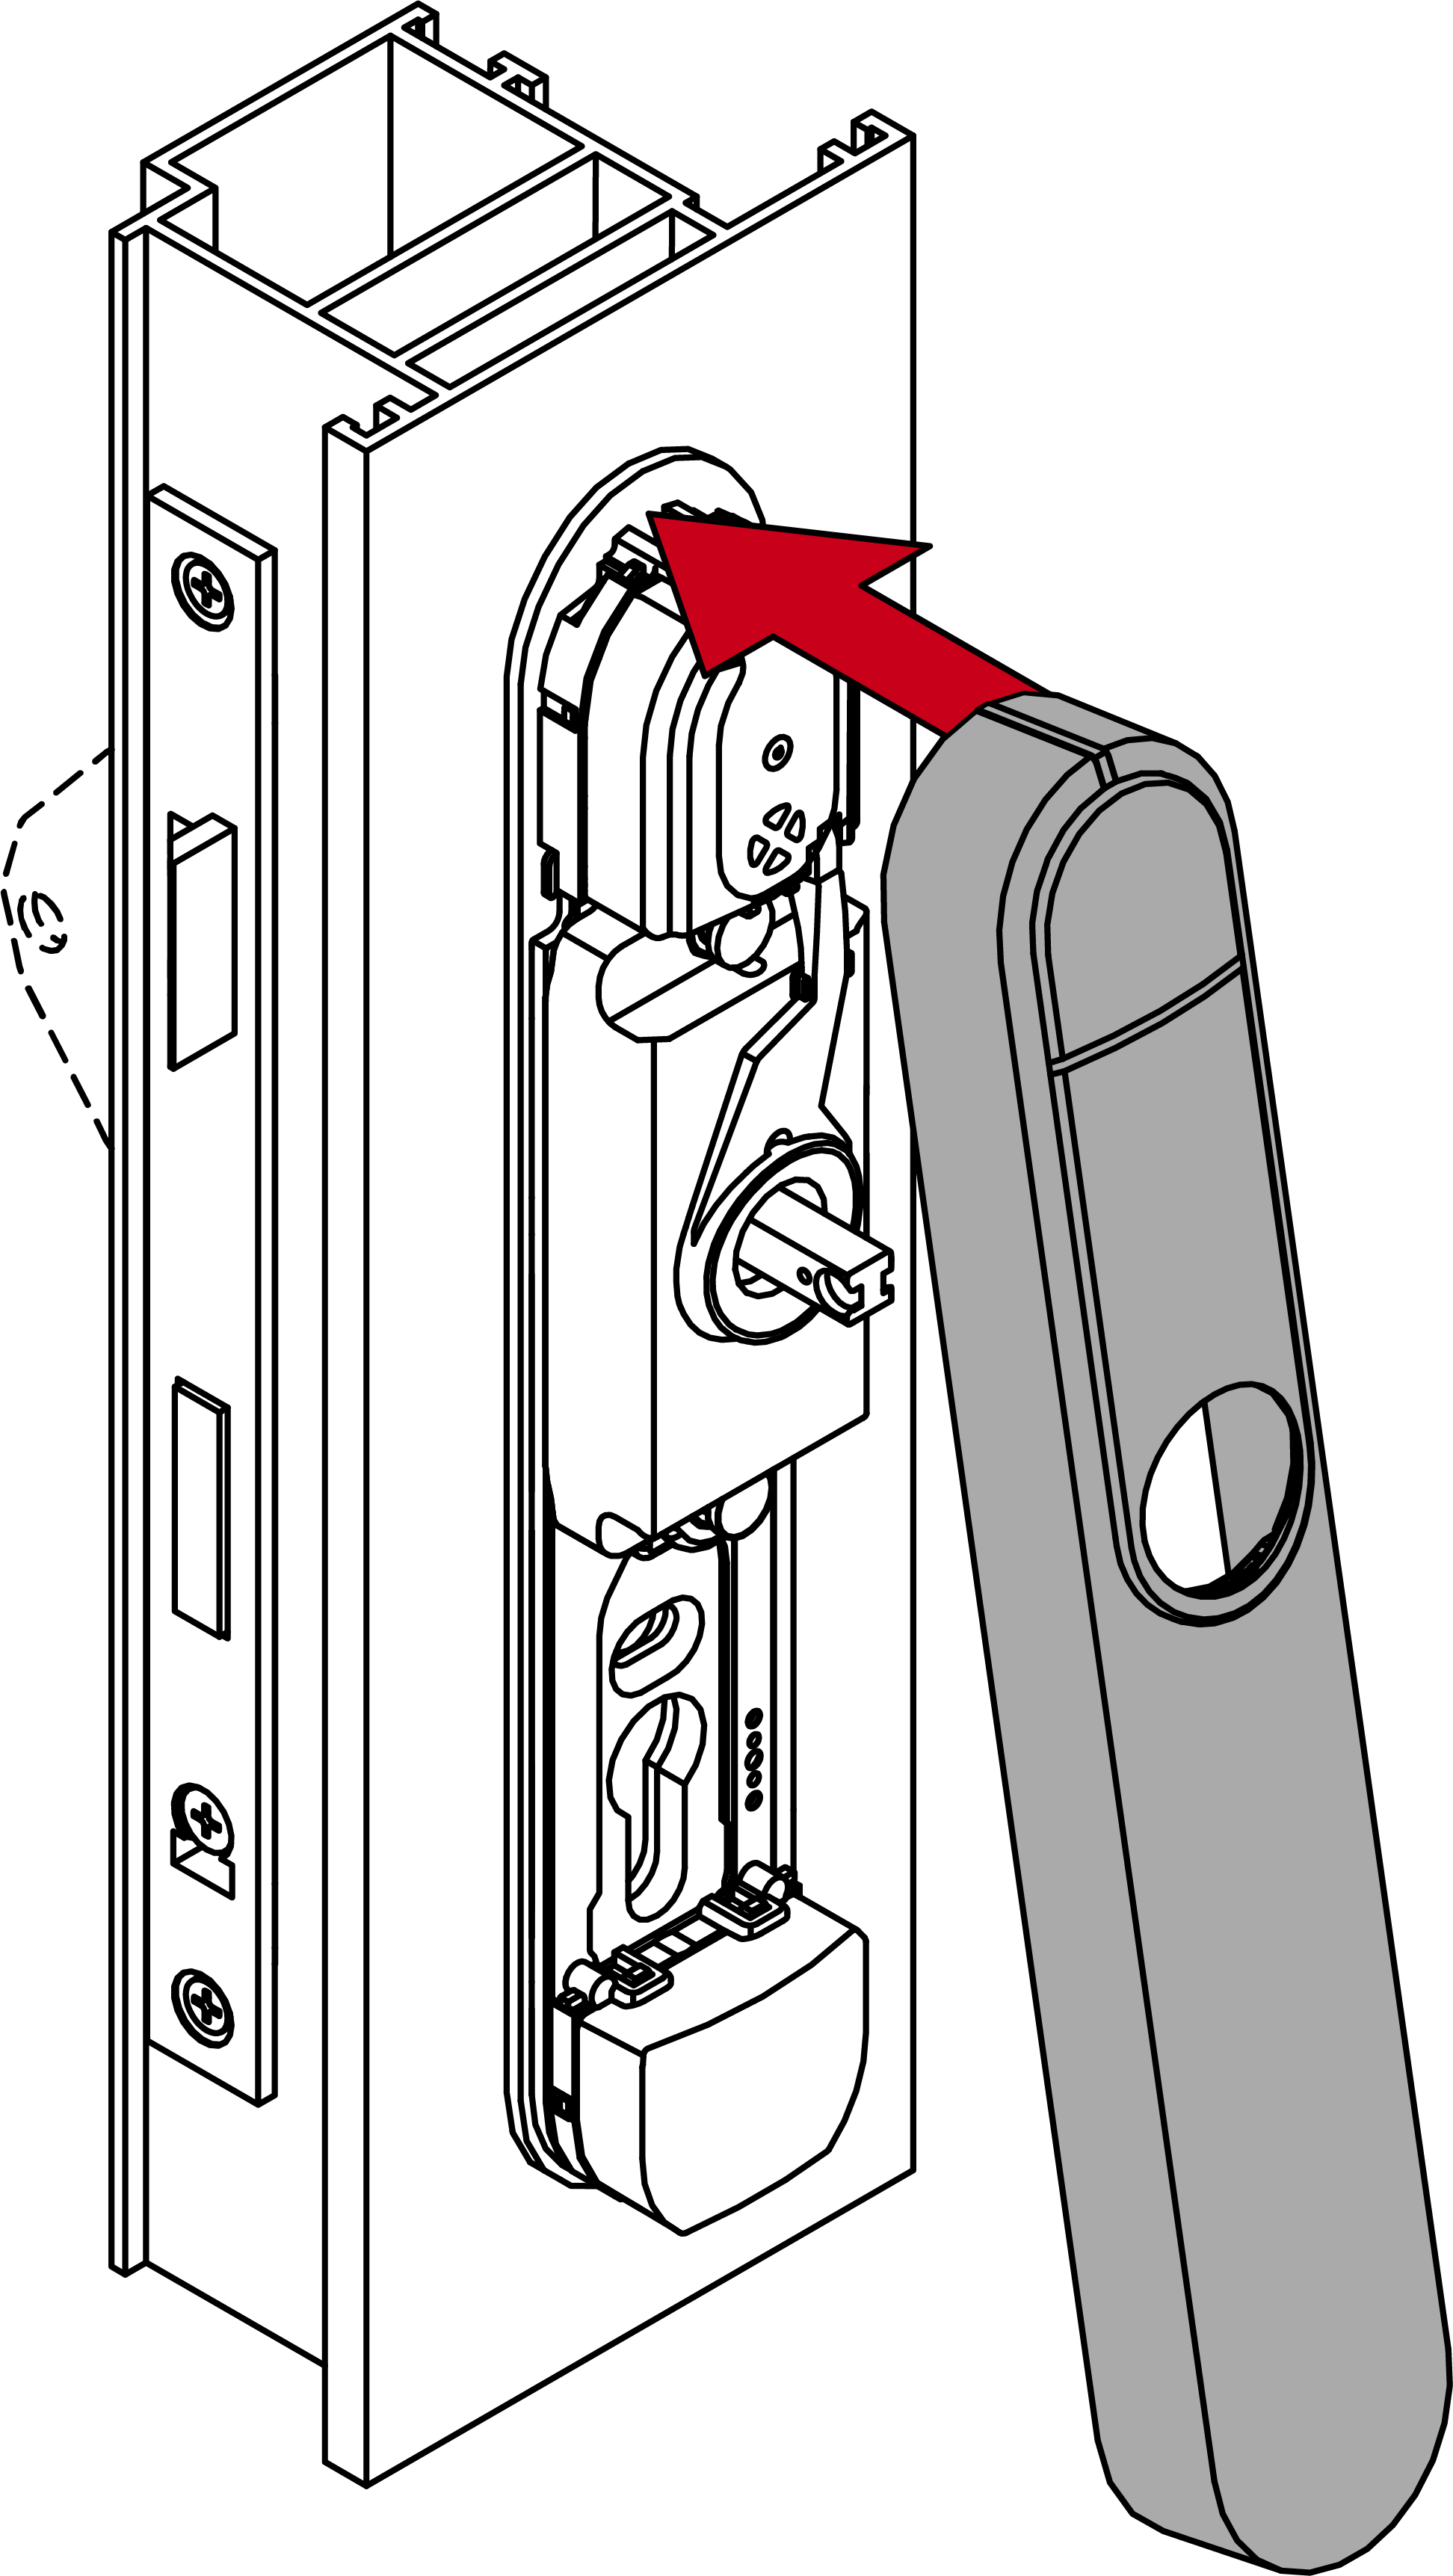
- Fit the outside handle.
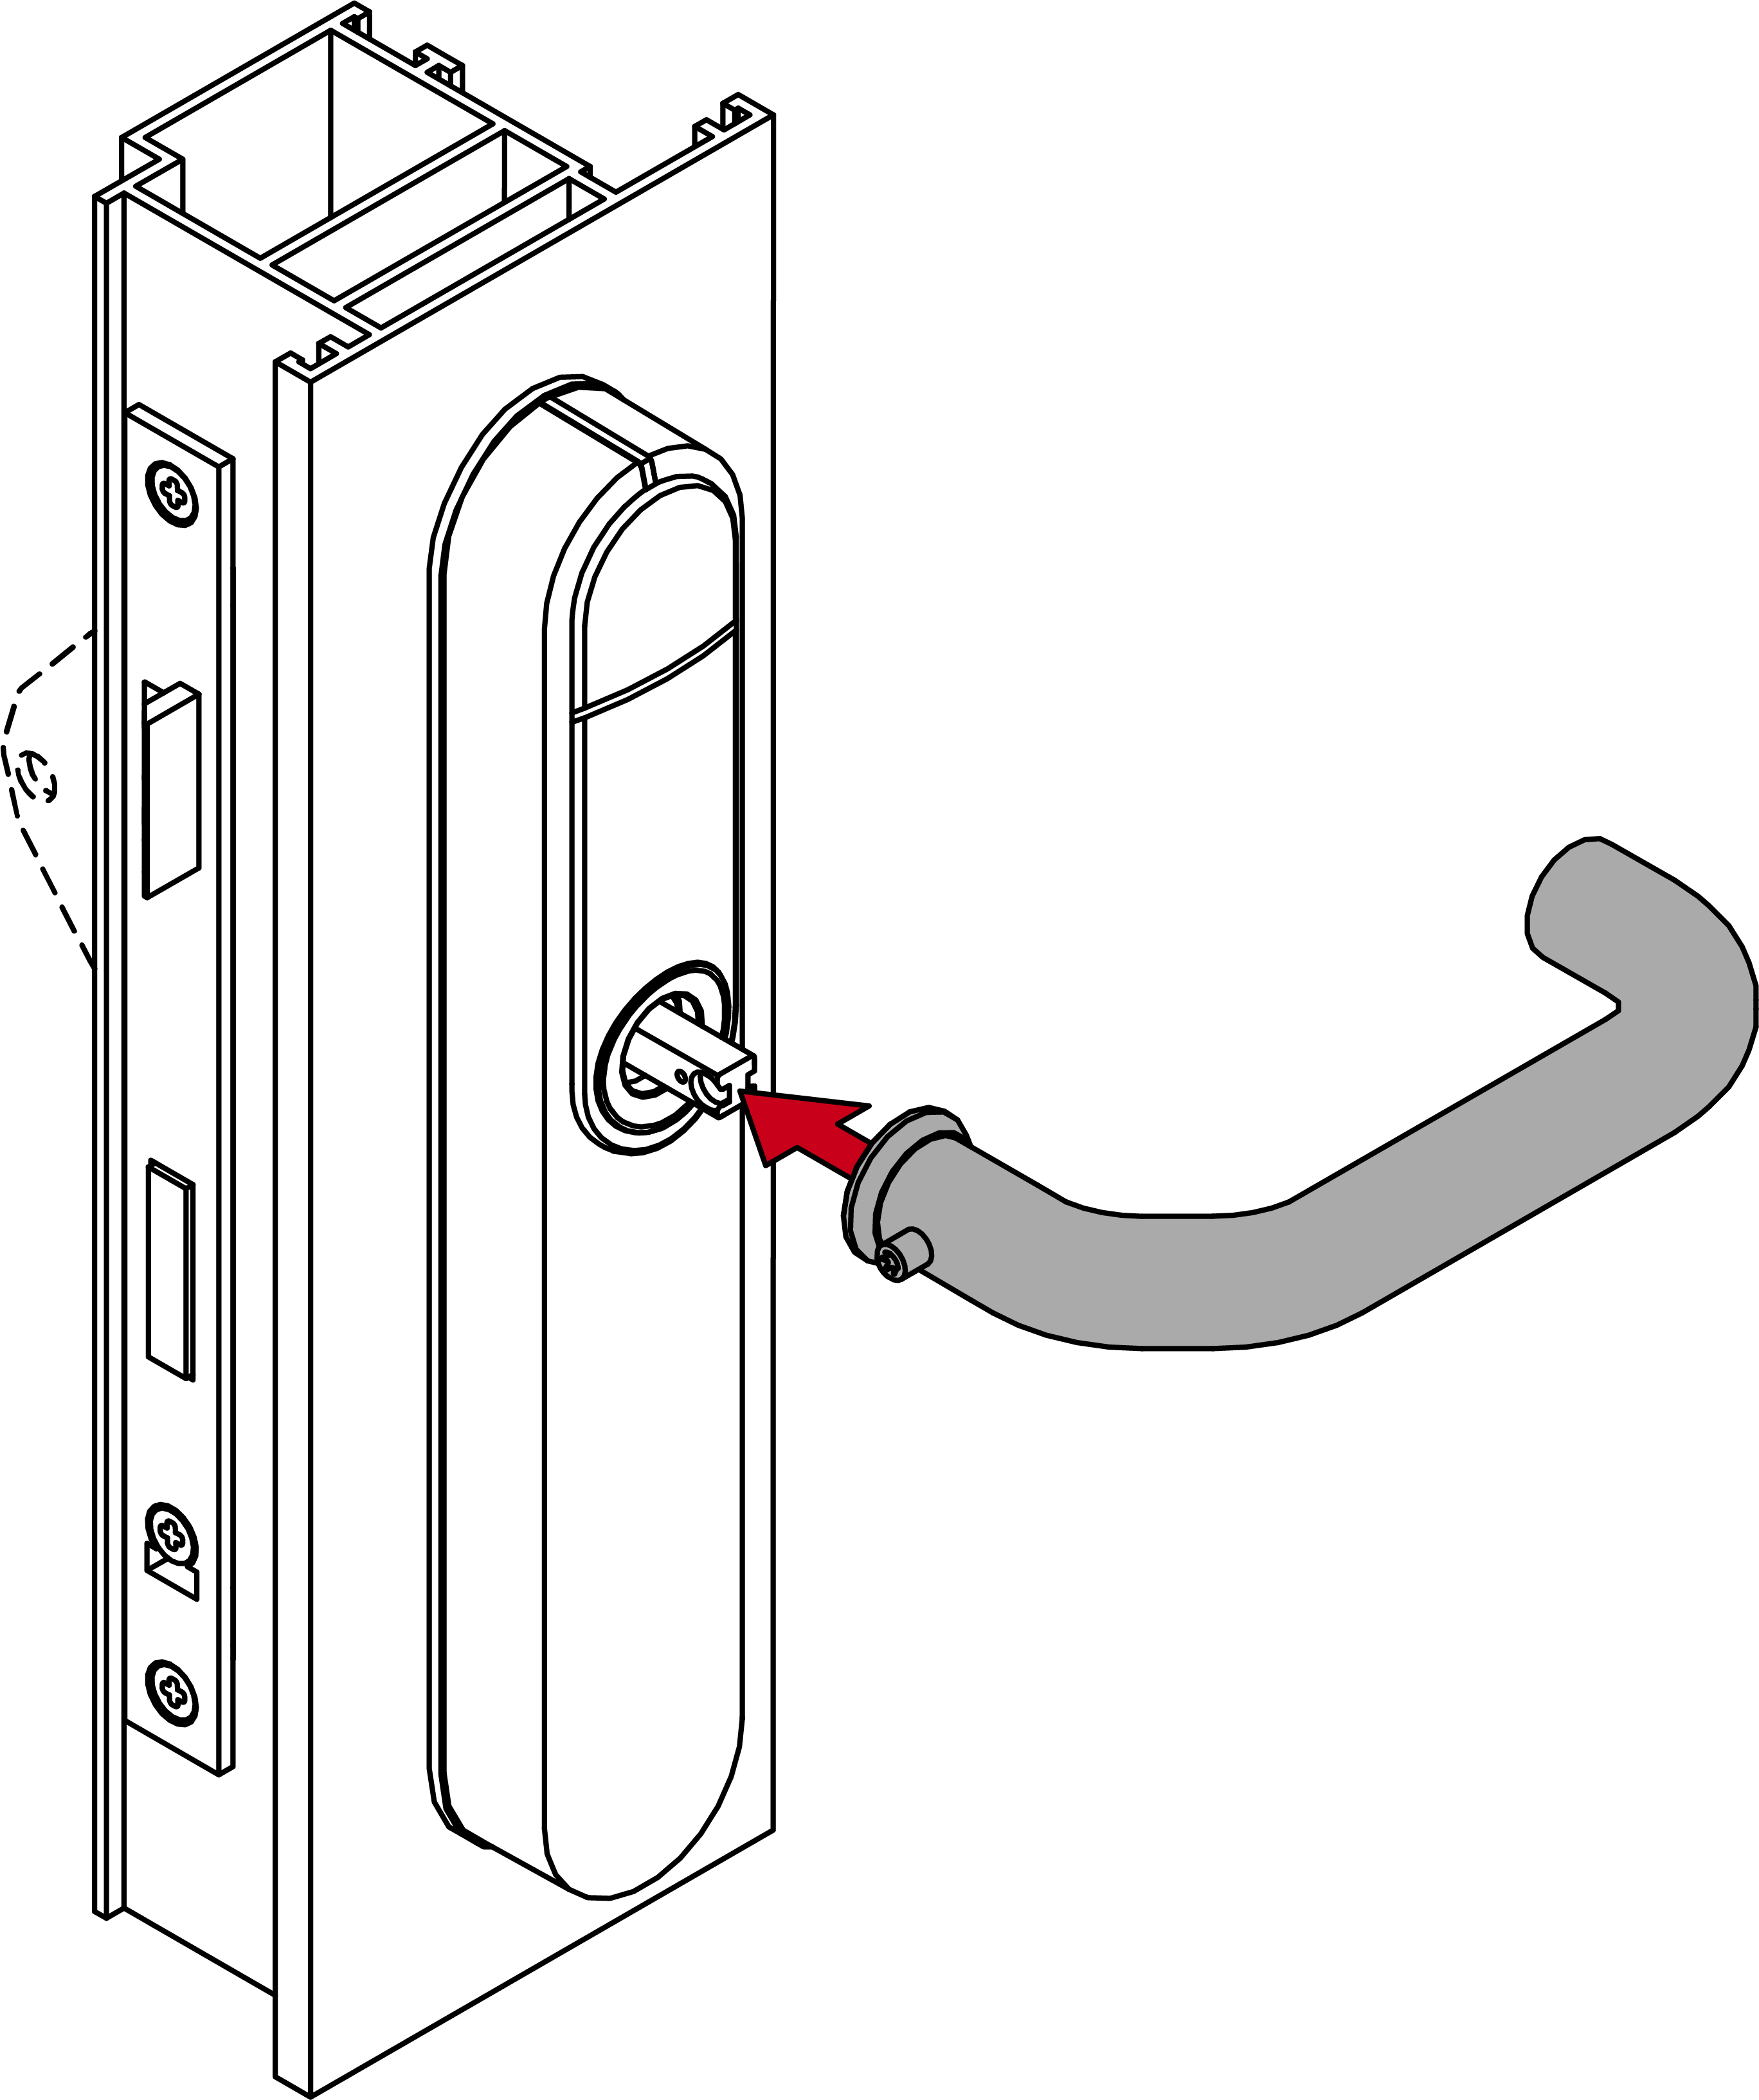
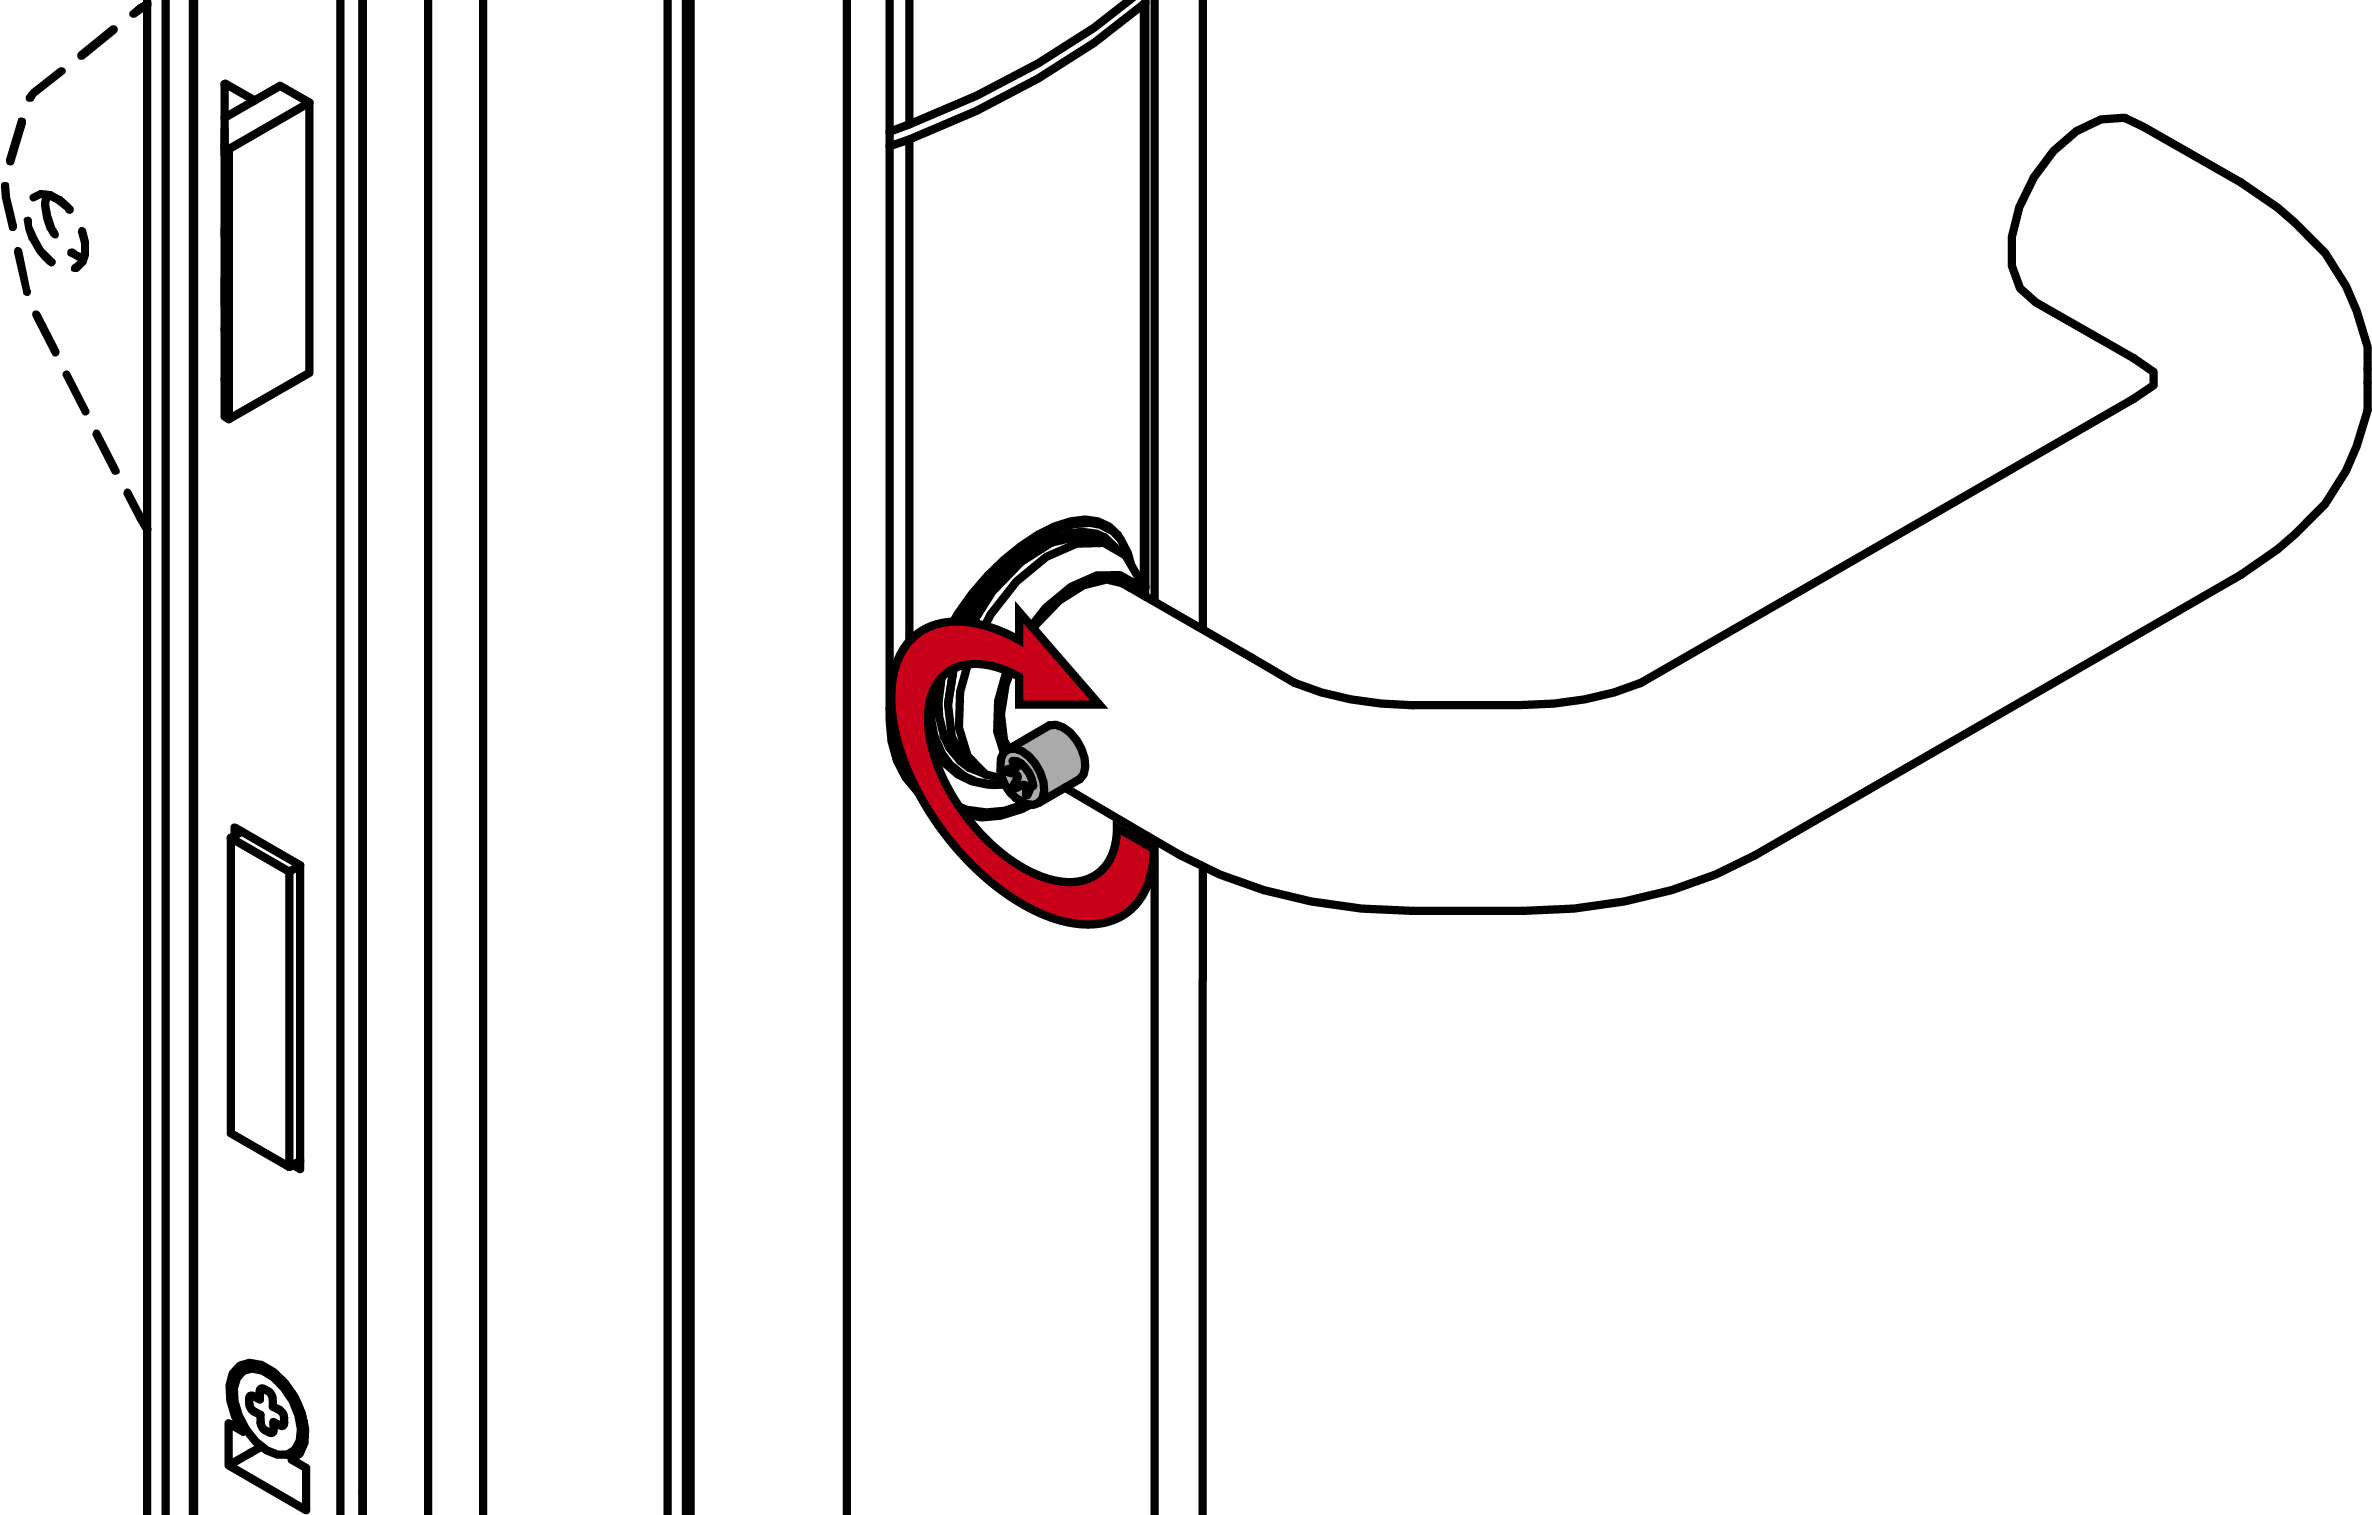
- Use the grub screw to fasten the outer handle (TX15, torque 5.0 Nm) into position.
- SI SmartHandle AX Advanced fully installed.