Initial operation - PinCode keypad AX
Initial operation is described as an example for the AXM in this section.
Create PIN code keypad AX
- Locking device has been created for the PIN code keypad (see Creating a locking device in the AXM manual).
- Click on the button
 .
. - The window will open.
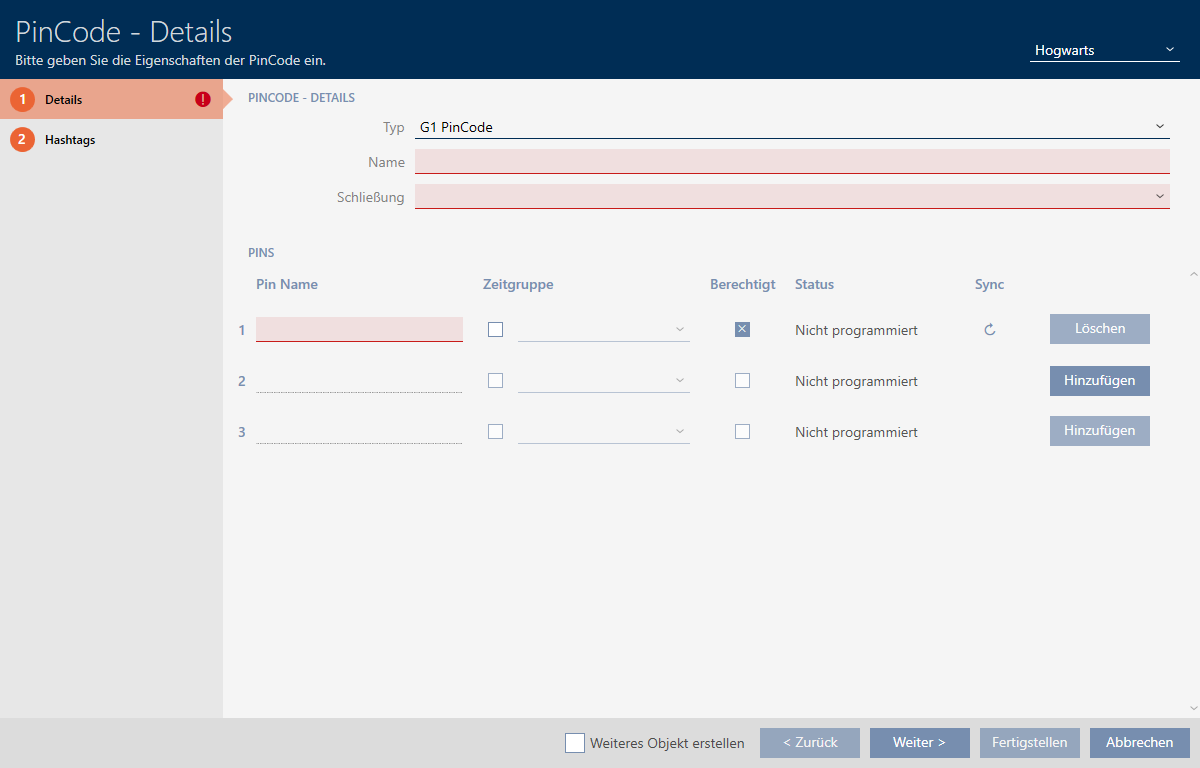
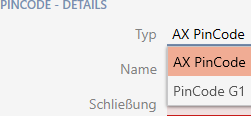
- Select the PIN code keypad you wish to create from the drop-down menu.
- Enter a name for the PIN code keypad in the field.
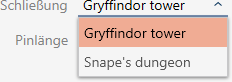
- Select the locking device on which you would like to use the PIN code keypad from the drop-down menu.
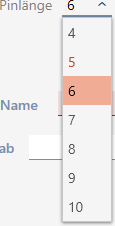
- If you are creating a PIN code keypad AX, select the length of the PINs from the drop-down menu.
- Enter the name to be displayed in the matrix for this PIN in the field.
- Enter a PIN.
- Authorisation is set automatically.
NOTE

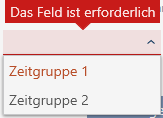
Duplicate PINs not permitted for PIN code keypad AX
All PINs for a PIN code keypad must be different for reasons of security and traceability.
Your AXM Plus detects duplicate PINs and highlights them with in red.
- Disable the
 Authorised checkbox if you want to authorise the PIN at a later stage.
 - If you want to control an activation/expiry date or the authorisation in terms of time, use
 to expand the PIN settings.
 - If necessary, enter the activation/expiry date in the or field.
(PIN code keypad AX: possible to the exact day; PIN code keypad 3068: possible to the exact hour) - Select the
 Time group checkbox if required.
 - A drop-down menu will appear.
- Select the time group you want to use for this PIN from the drop-down menu.
- If necessary, click the button to create additional PINs.
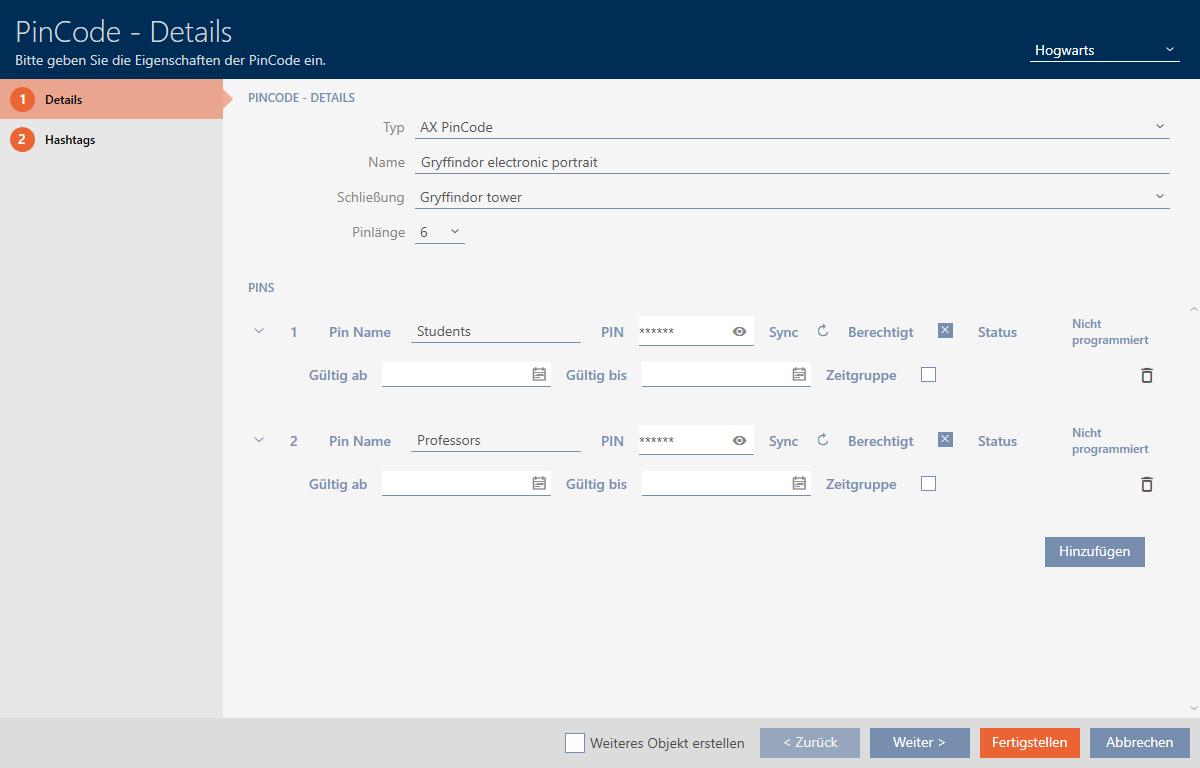
- Use the button to switch to the next tab or complete the entries with the button.
- Use
 to sort/filter the displayed entries if required (see Sorting and filtering).
 - Select the required hashtags in the right column (Ctrl+click for single hashtags or Shift+click for multiple hashtags).
- Use
 to move only the selected hashtags or
  to move all hashtags.
 NOTE
Double-clicking as an alternative to arrow keys
Double-clicking an entry in the list will also move this entry to the other column.
- The highlighted hashtags in the left-hand column are used for this PIN code.
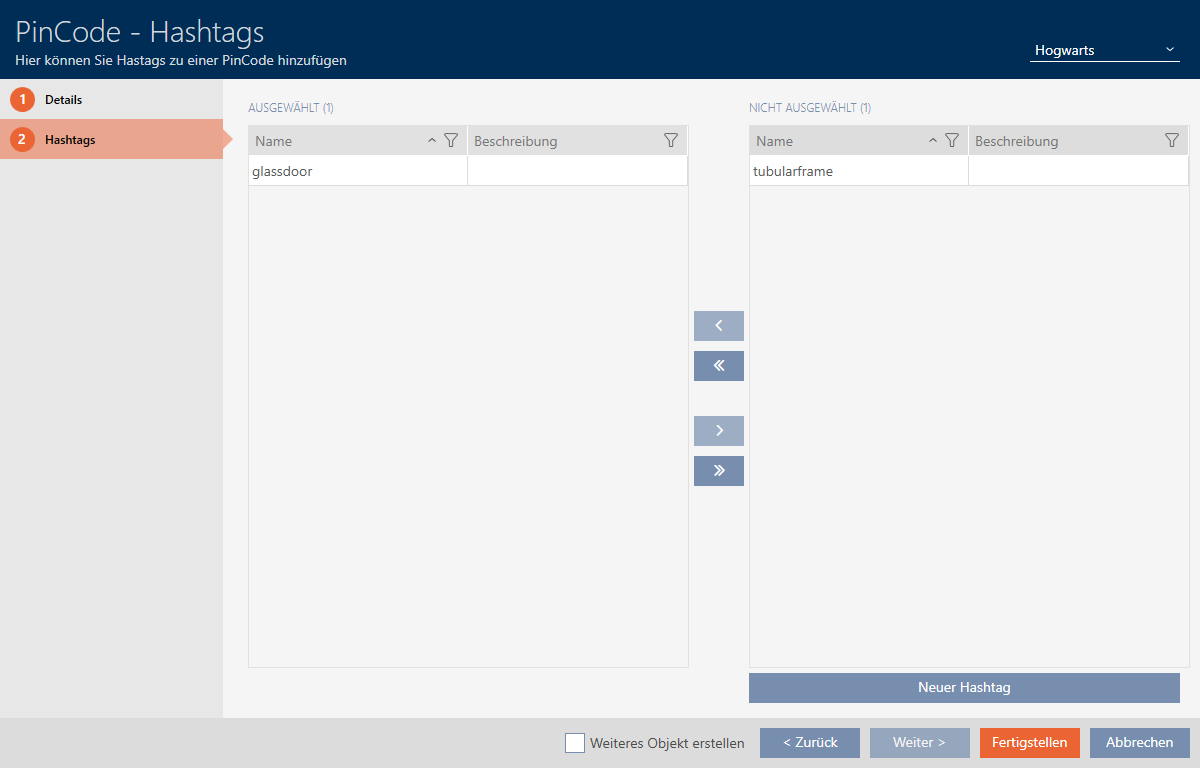
- Select the Create additional objects checkbox to leave the window with the same settings open for the next PIN code to be created.
- Click the button to create the PIN code.
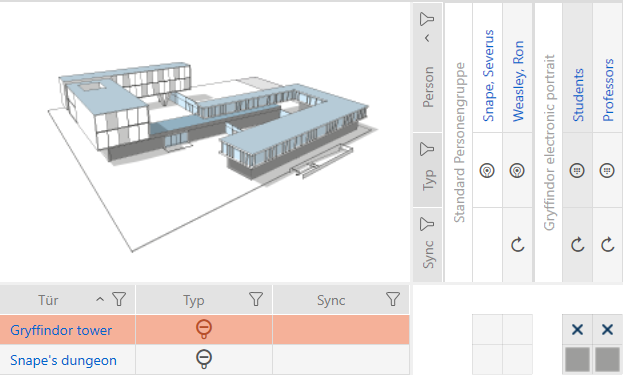
- window closes.
- Newly created PIN code is listed or displayed in the matrix.
Synchronise PIN code keypad AX
- PIN code keypad AX created and assigned (see Creating PIN code keypads).
- Programming requirement for PIN code keypad AX, e.g. due to a change in authorisation.
- Suitable programming device connected (SmartStick AX).
- Matrix screen open.
- Click the synchronise icon
 for any PIN associated with the PIN code keypad AX concerned.
 - The window opens and synchronisation starts.
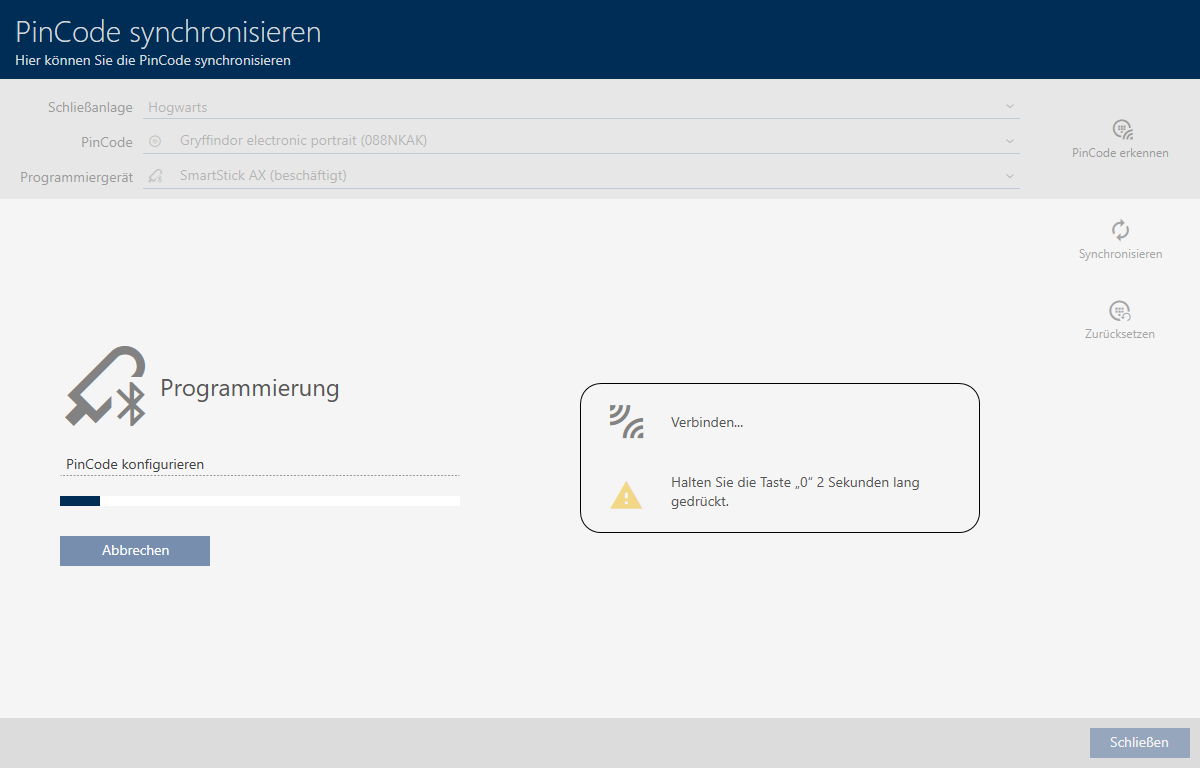
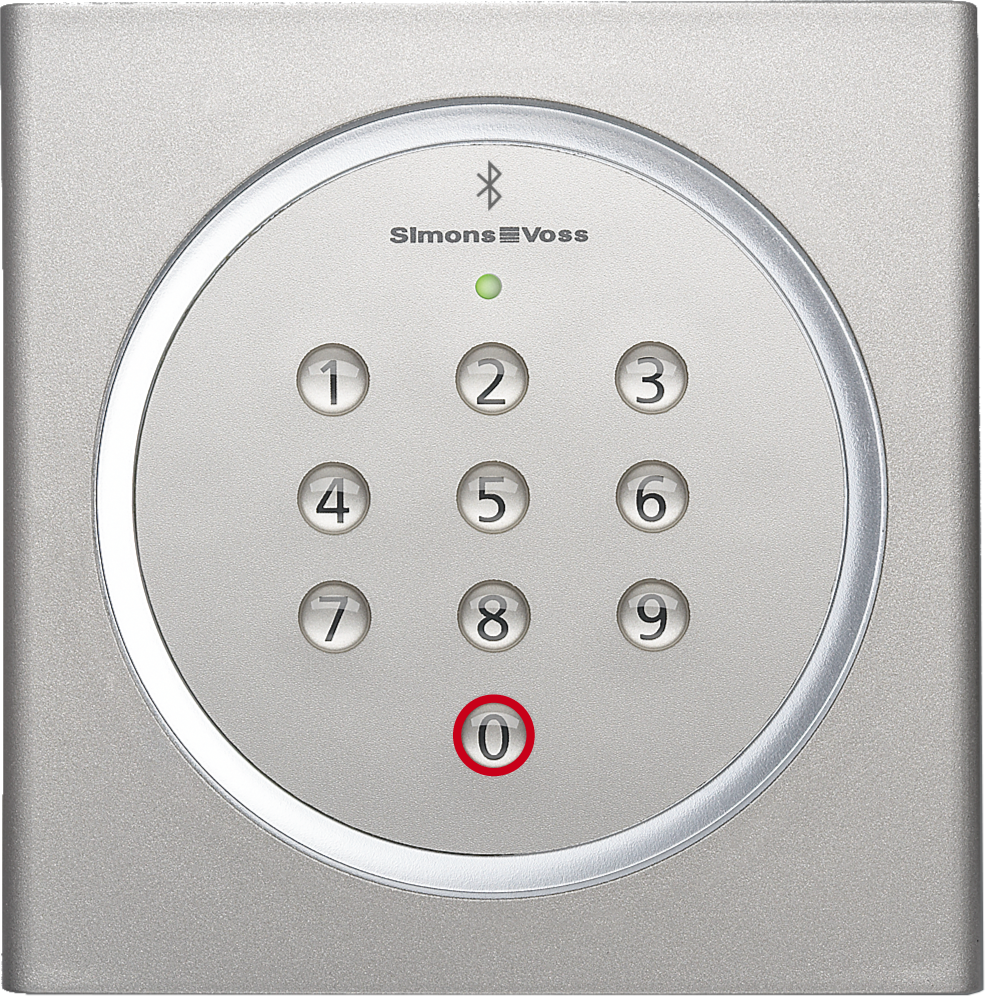
- Press and hold the “0” button on the PIN code keypad AX for at least two seconds.
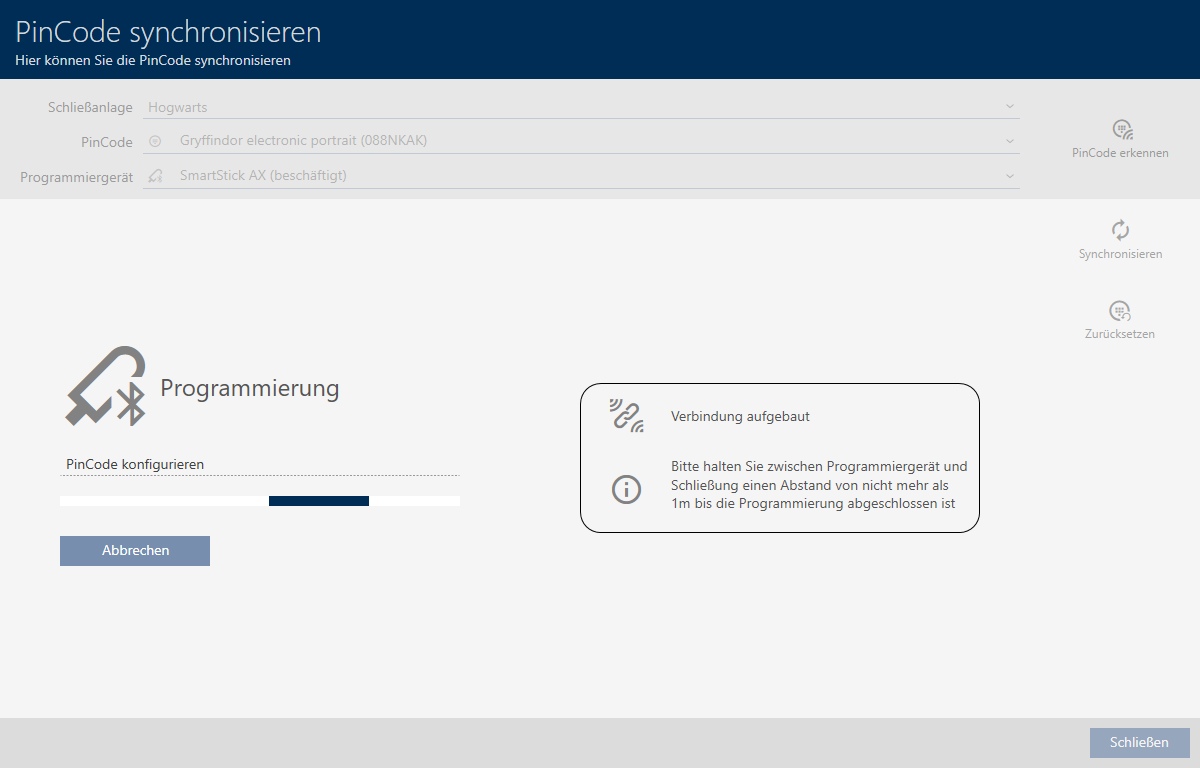
- Position the SmartStick AX close to the PIN code keypad AX (max. 1 m).
- LED flickers green and PIN code keypad AX beeps.
- BLE interface has been wakened.
- PIN code keypad AX is synchronised.
- PIN code keypad AX is synchronised.
NOTE
PIN code keypad AX in programming mode after synchronisation
After synchronisation is complete, the PIN code keypad AX will not function for about 30 seconds as it is still in programming mode.